1. Introduction
Thank you for choosing the TOTAL TBLI2002 20V Cordless Lithium-Ion Heat Gun. This portable tool is designed for various applications requiring precise heat, such as welding, heat shrink tubing, and loosening rusted bolts. Its cordless design offers excellent mobility and convenience. Please read this manual carefully before operation to ensure safe and effective use of the product.
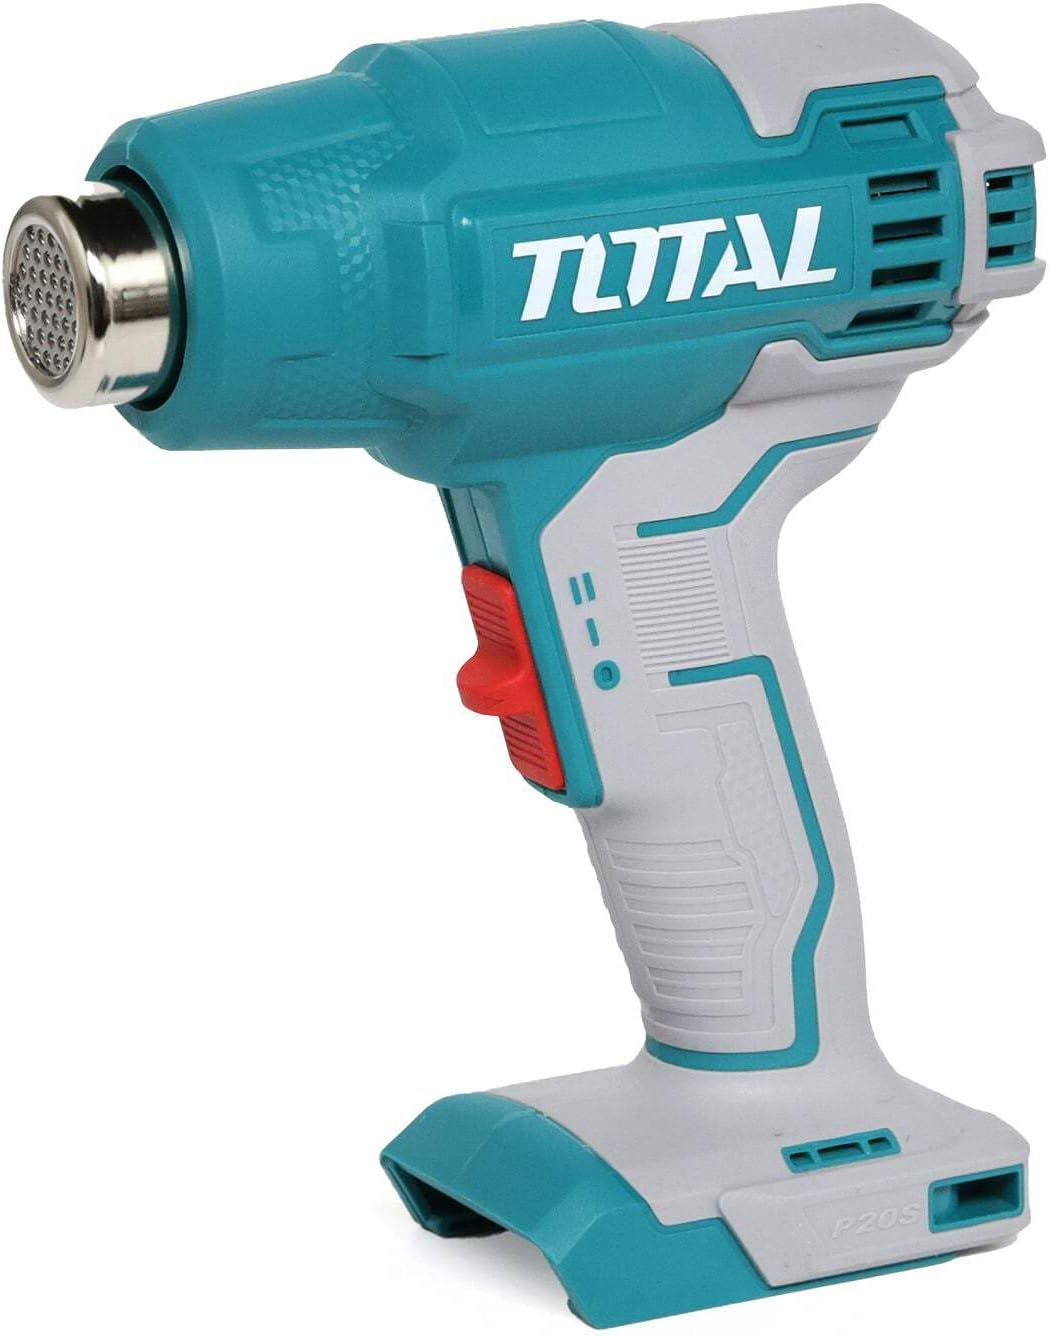
Image 1.1: The TOTAL TBLI2002 Cordless Heat Gun. This image shows the main unit of the heat gun, highlighting its ergonomic design and the nozzle at the front.
2. Safety Instructions
Always observe basic safety precautions to reduce the risk of fire, electric shock, and personal injury when using this tool.
- Read All Instructions: Familiarize yourself with the tool's operation and safety guidelines.
- Personal Safety: Wear appropriate personal protective equipment, including safety glasses and heat-resistant gloves.
- Work Area: Ensure your work area is well-ventilated and free from flammable materials. Do not use in explosive atmospheres.
- Avoid Contact: The nozzle and accessories become extremely hot during and after use. Avoid direct contact with skin.
- Proper Storage: Allow the tool to cool completely before storing. Store in a dry, secure place out of reach of children.
- Battery Safety: Use only specified 20V Lithium-Ion batteries and chargers (sold separately). Do not expose batteries to heat or water.
- Overheat Protection: The tool is equipped with overheat protection. If it shuts off, allow it to cool before resuming use.
3. Product Overview
Understand the main components of your TOTAL TBLI2002 heat gun.
- Heat Nozzle: Directs the hot air.
- Air Vents: For cooling and air intake.
- Power Switch: Controls ON/OFF and temperature/airflow settings.
- Handle: Ergonomic grip for comfortable use.
- Battery Port: Where the 20V Lithium-Ion battery (sold separately) is inserted.

Image 3.1: Exploded view of the heat gun showing included nozzles and a diagram of the battery compartment. This image illustrates the main components and how accessories attach.

Image 3.2: Close-up of the product label, detailing voltage, temperature, and airflow specifications.
4. Setup
4.1 Battery Installation
The TOTAL TBLI2002 requires a 20V Lithium-Ion battery, which is sold separately. Ensure the battery is fully charged before use.
- Align the battery with the battery port at the base of the heat gun handle.
- Slide the battery into the port until it clicks securely into place.
- To remove, press the battery release button (if present) and slide the battery out.
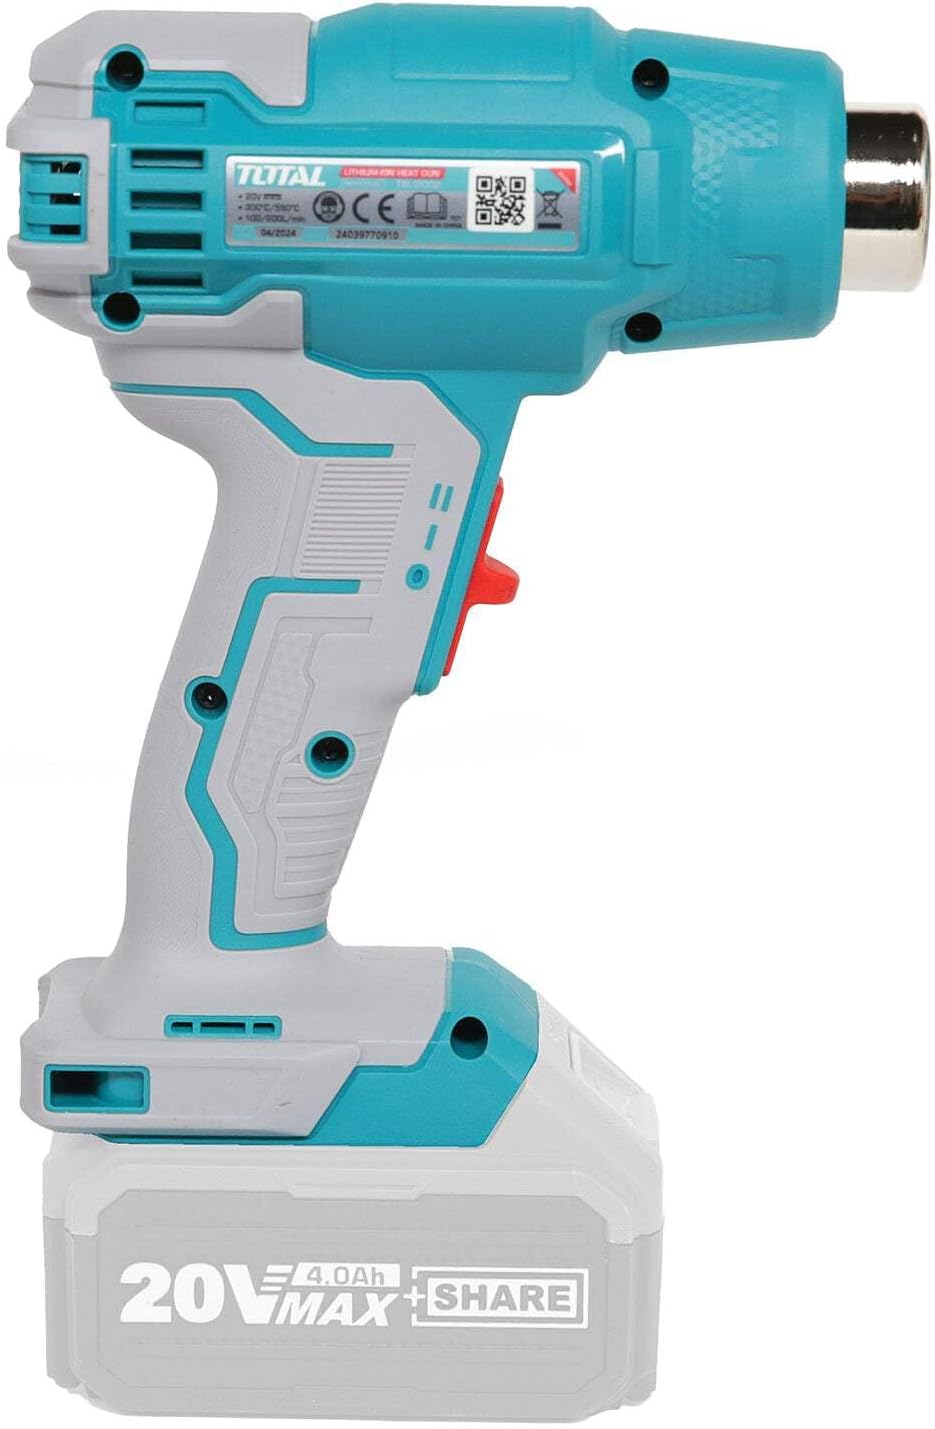
Image 4.1: Side view of the heat gun with a 20V battery attached, demonstrating proper battery installation.
4.2 Nozzle Attachment
The heat gun comes with various nozzles for different applications:
- Reduction Nozzle: For concentrating heat on small areas.
- Reflector Nozzle: For heat shrink tubing or bending plastic pipes.
- Flat Nozzle: For spreading heat over a wider area, such as paint stripping.
To attach a nozzle:
- Ensure the heat gun is off and cool.
- Slide the desired nozzle onto the heat nozzle until it is firmly seated.
- To remove, pull the nozzle off once the tool has cooled.

Image 4.2: The heat gun shown with a flat nozzle attached, ready for use.
5. Operating Instructions
5.1 Powering On/Off and Temperature/Airflow Settings
The power switch typically has multiple positions to control both power and heat/airflow settings.
- OFF (0): The tool is off.
- Setting 1: Provides lower temperature (300°C) and lower airflow (100 L/min).
- Setting 2: Provides higher temperature (550°C) and higher airflow (200 L/min).
To operate:
- Ensure the battery is installed and a suitable nozzle is attached.
- Slide the power switch to the desired setting (1 or 2). The tool will begin to heat up.
- Direct the hot air towards the workpiece, maintaining a safe distance to avoid scorching or damage.
- After use, slide the power switch to the OFF (0) position.
- Allow the tool to cool down completely before handling the nozzle or storing.

Image 5.1: Top view of the heat gun, showing the power switch with its distinct settings.
5.2 General Usage Tips
- Always test on a scrap piece of material first to determine the optimal temperature and distance.
- Keep the heat gun moving to prevent overheating a single spot.
- For delicate materials, use the lower temperature setting and maintain a greater distance.
6. Maintenance
Regular maintenance ensures the longevity and safe operation of your heat gun.
- Cleaning: After each use, ensure the tool is cool. Wipe the exterior with a soft, damp cloth. Do not use harsh chemicals or abrasive cleaners.
- Clear Air Vents: Regularly check and clear the air intake and exhaust vents of any dust or debris to prevent overheating. Use a soft brush or compressed air if necessary.
- Nozzle Care: Clean nozzles after use, ensuring they are free of residue.
- Storage: Store the heat gun and its accessories in a dry, clean, and secure location, away from direct sunlight and extreme temperatures. Ensure the battery is removed for long-term storage.

Image 6.1: Front view of the heat gun, highlighting the air vents that require regular cleaning.
7. Troubleshooting
If you encounter issues with your heat gun, refer to the following common problems and solutions:
| Problem | Possible Cause | Solution |
|---|---|---|
| Heat gun does not turn on. | Battery not charged or improperly installed. | Ensure battery is fully charged and correctly inserted. |
| Heat gun stops working during use. | Overheat protection activated. Battery depleted. | Allow tool to cool down. Recharge or replace battery. |
| Reduced airflow or heat output. | Blocked air vents. | Clean air intake and exhaust vents. |
If the problem persists after trying these solutions, please contact customer support.
8. Specifications
| Feature | Specification |
|---|---|
| Model Number | TBLI2002 |
| Voltage | 20V |
| Temperature Settings | 300°C / 550°C |
| Airflow | 100 L/min / 200 L/min |
| Power Source | Battery Powered (Lithium-Ion) |
| Item Weight | 1.5 Kilograms |
| Product Dimensions | 30 x 25 x 10 cm |
| Included Components | 1 Reduction Nozzle, 1 Reflector Nozzle, 1 Flat Nozzle |
| Battery/Charger | Sold Separately |
9. Warranty and Support
For warranty information and customer support, please refer to the documentation provided with your purchase or visit the official Total Tools website. Keep your proof of purchase for any warranty claims.
For further assistance, please contact Total customer service.


