1. Introduction
The Total TG11012556 1100 Watt Angle Grinder is a versatile electric power tool designed for grinding, cutting, and polishing various materials. This manual provides essential information for the safe and efficient operation, setup, and maintenance of your angle grinder. Please read these instructions carefully before use and keep them for future reference.

Image 1.1: Main view of the Total TG11012556 1100W Angle Grinder.
2. Safety Instructions
Always follow basic safety precautions to reduce the risk of fire, electric shock, and personal injury when operating power tools.
2.1 General Power Tool Safety
- Work Area Safety: Keep your work area clean and well-lit. Cluttered or dark areas invite accidents. Do not operate power tools in explosive atmospheres, such as in the presence of flammable liquids, gases, or dust.
- Electrical Safety: Power tool plugs must match the outlet. Never modify the plug in any way. Do not abuse the cord. Never use the cord for carrying, pulling, or unplugging the power tool. Keep cord away from heat, oil, sharp edges, or moving parts.
- Personal Safety: Always wear appropriate personal protective equipment (PPE) including safety glasses, hearing protection, gloves, and a dust mask. Dress properly; avoid loose clothing or jewelry that can get caught in moving parts.
- Tool Use and Care: Do not force the power tool. Use the correct power tool for your application. Disconnect the plug from the power source before making any adjustments, changing accessories, or storing power tools.
2.2 Specific Angle Grinder Safety
- Always ensure the guard is correctly positioned and securely fastened before operation.
- Use only discs that are rated for the grinder's speed and size (125mm).
- Hold the tool firmly with both hands, utilizing the auxiliary handle for maximum control.
- Be aware of kickback and how to avoid it. Kickback is a sudden reaction to a pinched or snagged rotating wheel.
- Do not use the grinder for applications for which it is not intended.
3. Package Contents
Verify that all items are present upon unpacking:
- 1 x Total TG11012556 1100W Angle Grinder
- 1 x 125mm Disc
- 1 x Auxiliary Handle
- 1 x Disc Guard
- 1 x Spanner (for disc changes)
- 1 x User Manual
4. Specifications
| Feature | Specification |
|---|---|
| Model Number | TG11012556 |
| Brand | Total |
| Power Input | 1100 Watt |
| Voltage | 220-240 Volt |
| No-Load Speed | 12000 RPM |
| Disc Diameter | 125 mm |
| Spindle Thread | M14 |
| Product Dimensions (L x W x H) | 30 x 15 x 11 cm |
| Item Weight | 2.4 kg |
| Material | Metal |
| Power Source | Corded Electric |
| Color | Multi-color |

Image 4.1: Angle Grinder with approximate dimensions for reference.
5. Setup
5.1 Attaching the Auxiliary Handle
- Ensure the angle grinder is unplugged from the power source.
- The auxiliary handle can be screwed into one of the threaded holes on either side of the gear housing, depending on your preference and working conditions.
- Tighten the handle securely by hand.
5.2 Installing/Changing the Grinding Disc
- Safety First: Always unplug the tool before changing discs.
- Press and hold the spindle lock button located on the gear housing.
- Using the provided spanner, loosen the flange nut by turning it counter-clockwise.
- Remove the old disc (if applicable) and clean the flanges.
- Place the new 125mm disc onto the inner flange, ensuring it sits flush.
- Replace the outer flange nut and tighten it clockwise with the spanner while holding the spindle lock button. Do not overtighten.
5.3 Adjusting the Guard
- The disc guard protects against sparks and debris. Ensure it is securely attached and adjusted to provide maximum protection for your specific task.
- Loosen the guard clamping screw (if applicable), rotate the guard to the desired position, and then securely tighten the screw.
6. Operating Instructions
6.1 Powering On/Off
- Connect the angle grinder to a suitable 220-240V power outlet.
- To start the tool, slide the ON/OFF switch forward. For continuous operation, press the front part of the switch down.
- To stop the tool, release the switch. If locked on, press the rear part of the switch to release it.
6.2 Variable Speed Control
This model features variable speed control, allowing you to adjust the RPM for different materials and applications. Refer to the speed dial or control mechanism on your tool to select the appropriate speed. Lower speeds are generally used for polishing or working with sensitive materials, while higher speeds are for aggressive grinding and cutting.
6.3 Grinding and Cutting Techniques
- Always allow the disc to reach full speed before contacting the workpiece.
- For grinding, hold the tool at a slight angle (15-30 degrees) to the workpiece. Apply moderate pressure and move the tool smoothly across the surface.
- For cutting, hold the tool perpendicular to the workpiece. Make straight, steady cuts without twisting or forcing the disc.
- Avoid applying excessive pressure, as this can damage the disc, reduce tool life, and increase the risk of kickback.
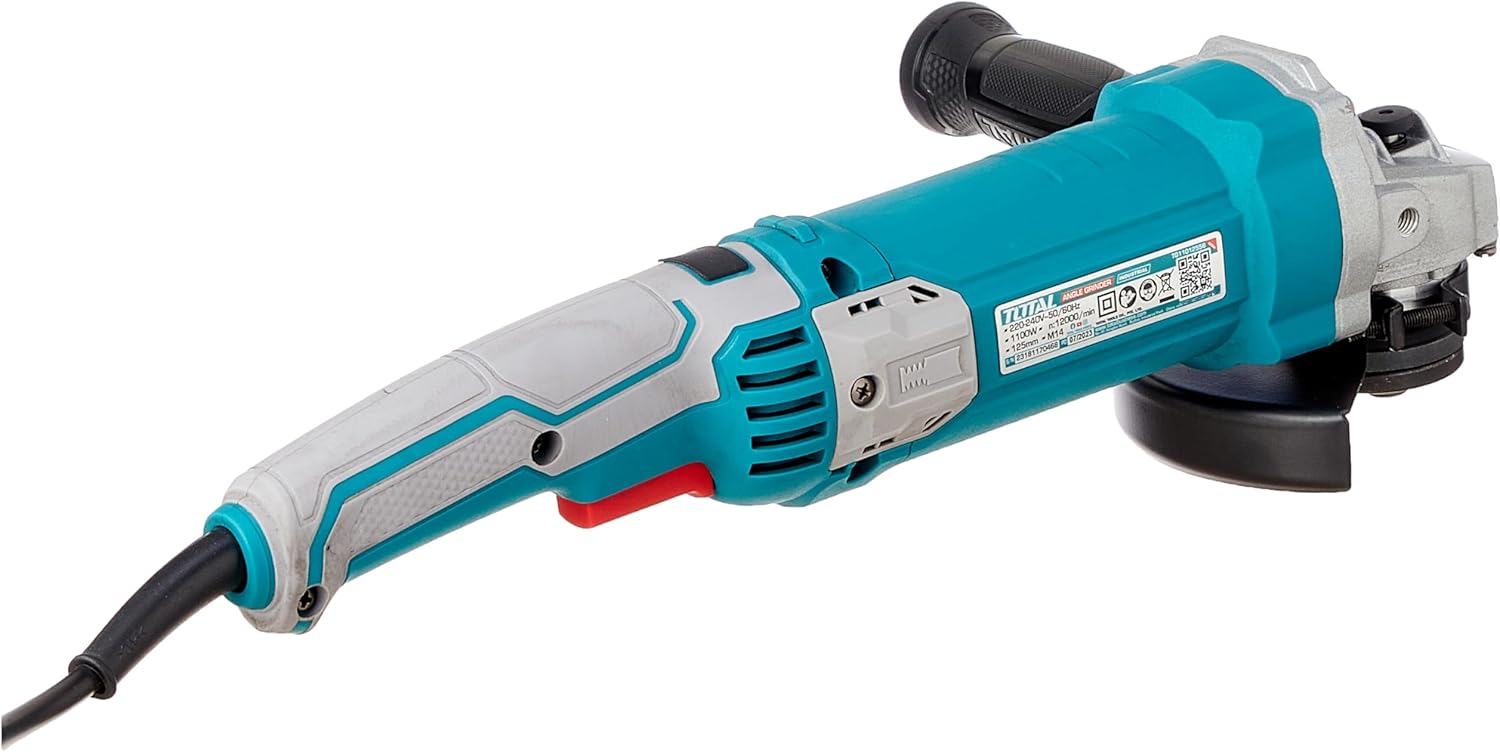
Image 6.1: Example of the angle grinder being used for a task.
7. Maintenance
Regular maintenance ensures optimal performance and extends the life of your tool.
7.1 Cleaning
- Always unplug the tool before cleaning.
- Keep the ventilation openings clear to prevent overheating. Use a soft brush or compressed air to remove dust and debris.
- Do not use water or chemical cleaning agents.
7.2 Disc Inspection and Replacement
- Regularly inspect discs for cracks, chips, or excessive wear. Replace damaged or worn discs immediately.
- Ensure replacement discs match the specified diameter (125mm) and are rated for the grinder's speed.
7.3 Storage
Store the angle grinder in a dry, secure place out of reach of children. Protect it from moisture and direct sunlight.
8. Troubleshooting
If you encounter issues with your angle grinder, refer to the following common problems and solutions:
| Problem | Possible Cause | Solution |
|---|---|---|
| Tool does not start | No power supply; Faulty switch; Damaged cord | Check power connection; Inspect switch; Check cord for damage (replace if necessary) |
| Excessive vibration | Damaged or unbalanced disc; Loose flanges | Replace disc; Ensure flanges are tightened correctly |
| Poor cutting/grinding performance | Worn or incorrect disc; Insufficient power | Replace disc; Ensure proper voltage supply |
| Overheating | Blocked ventilation; Excessive load | Clean ventilation openings; Reduce working pressure; Allow tool to cool |
If the problem persists after attempting these solutions, please contact Total customer support.
9. Warranty and Support
For warranty information, service, or technical support, please refer to the warranty card included with your product or visit the official Total tools website. Keep your purchase receipt as proof of purchase.


