1. Introduction
The FEELWORLD F5 Prox is a 5.5-inch 1600nit field camera monitor designed to enhance your camera's built-in screen. It provides a larger, brighter display for clear focus, exposure, and framing during shooting. This manual provides detailed instructions for setting up, operating, maintaining, and troubleshooting your F5 Prox monitor.

Figure 1: FEELWORLD F5 Prox 5.5 Inch 1600nit Field Camera Monitor.
2. What's in the Box
Verify that all items are present in your package:
- 1x FEELWORLD F5 Prox Monitor
- 1x F970 Battery
- 1x Bag
- 1x Micro HDMI Cable
- 1x Tilt Arm
- 1x Sunshade
- 1x TYPE-C to USB Cable
- 1x Disassemble Wrench
- 1x User Manual

Figure 2: Included accessories with the F5 Prox monitor.
3. Setup
3.1. Powering the Monitor
The F5 Prox monitor can be powered using an NP-F series battery (F550, F750, F970), a 12V DC adapter, or a Type-C connection.
- NP-F Battery: Insert a fully charged NP-F series battery into the battery plate on the back of the monitor.
- DC Adapter: Connect a 12V DC adapter (inside diameter: 2.1mm; outside diameter: 5.5mm) to the DC IN 12V port.
- Type-C: Connect a 5V Type-C cable to the DC IN 5V (Type-C) port.

Figure 3: Flexible power supply options for the F5 Prox.
3.2. Mounting the Monitor
The F5 Prox can be securely mounted on various camera rigs, cages, gimbals, tripods, and handheld setups using standard mounting points (1/4"-20 screws, hot shoe mount, or the included tilt arm).
- Using the Tilt Arm: Attach the tilt arm to your camera's hot shoe mount or a 1/4"-20 rig point, then secure the monitor to the tilt arm. This allows for 360° rotation for optimal viewing angles.
- Gimbal/Rig: For gimbals or other rigs, use compatible magic arms or 1/4"-20 screws to attach the monitor. The lightweight design ensures stability.

Figure 4: Convenient mounting options for the F5 Prox.
3.3. Connecting to Your Camera (HDMI)
The monitor supports HDMI input and loop output, with a maximum resolution of 4K (4096×2160p) at a 60Hz refresh rate.
- Check Camera Compatibility: Ensure your camera can output an HDMI signal. Refer to your camera's manual for HDMI output specifications.
- Select Correct HDMI Cable: The F5 Prox has a full-size HDMI interface. Use the appropriate HDMI cable (Micro HDMI to HDMI, Mini HDMI to HDMI, or Full HDMI to HDMI) for your camera model.
- Connect Cables: Connect the HDMI cable from your camera's HDMI output to the monitor's HDMI IN port. If needed, use the HDMI OUT port to loop the signal to another device.
- Camera Settings: Set your camera's output signal format to 1080p60 or 4K30/60 formats for optimal performance. Enable HDMI output in your camera's settings.

Figure 5: HDMI Input and Loop Output ports.

Figure 6: Camera compatibility and HDMI cable guide.
3.4. Wireless Monitoring Setup
The F970 kit can be used to install and power external devices like wireless video transmitters, simplifying your wireless setup.

Figure 7: Ready for wireless monitoring with F970 kit.
3.5. Powering Your Camera from the Monitor
The monitor features a 2.1mm DC output port (DC OUT 8.4V) that can power your DSLR or mirrorless camera directly for extended shooting. You will need to purchase a compatible dummy battery cable for your specific camera model.
- Choosing a Dummy Battery Cable: Select a dummy battery cable that matches your camera's battery type (e.g., NP-F series or LP-E6) and whose DC plug (2.1mm inner, 5.5mm outer) matches the monitor's DC output.

Figure 8: DC Output for powering external devices.
4. Operating the Monitor
4.1. Basic Controls and Navigation
The F5 Prox features both a responsive touchscreen and physical buttons for convenient control.
- Touchscreen: Swipe up or down on the left side to adjust brightness. Swipe up or down on the right side to adjust volume. Double-tap to access the main menu.
- Physical Buttons: The monitor has customizable function buttons (F1, F2, F3) and dedicated menu, exit, volume, and power buttons.

Figure 9: Flexible and convenient control options.
4.2. Menu Settings
The monitor offers a multi-language menu and allows saving up to 4 groups of custom settings for quick access during shoots.
- Accessing Menu: Double-tap the screen or press the 'MENU' button.
- Language Settings: Navigate to 'System' -> 'Language' to select your preferred language.
- Customizing Shortcut Keys: Go to 'Menu' -> 'User Settings' -> 'Shortcut Keys' or 'Quick Access Buttons' to assign functions to F1, F2, F3.
- Saving Menu Settings: The monitor allows you to save up to 4 groups of menu settings for quick recall.

Figure 10: Multi-language menu for global use.

Figure 11: 4 Groups Menu Setting for quick toggling.
4.3. Monitoring Tools
The F5 Prox includes a suite of professional monitoring tools to assist with accurate focus, exposure, and color during shooting.

Figure 12: Professional Monitoring Tools Built-In.
- Focus Peaking: Highlights edges in your image (e.g., red, yellow, or green) to show areas in focus, ensuring sharp, precise focus.
- Waveform: Monitors exposure in real-time, showing brightness distribution to fine-tune highlights, midtones, and shadows.
- Histogram: Quickly checks exposure and helps avoid underexposed or overexposed footage by displaying brightness distribution.
- False Color: Maps exposure levels to different colors on the monitor, displaying precise brightness values for each position on the screen.
- Zebra Exposure: Highlights overexposed areas with striped patterns, ensuring proper exposure, especially in bright outdoor scenes.
- 3D LUTs: Supports loading up to 32 custom LUTs via the Type-C interface to USB, allowing you to preview your desired filming look. Built-in S-Log2, S-Log3, C-Log, V-Log are also available.
- Anamorphic De-Squeeze: Instantly de-squeezes anamorphic footage for accurate preview, supporting modes like 1.33X, 1.6X, 2.0X, and user-customized (1.20X~2.00X).
- Embedded Audio Monitoring: Audio is transmitted through HDMI and displayed directly on the monitor, allowing real-time audio level checks.

Figure 13: Support for 3D LUTs.

Figure 14: Peaking Focus Assist in action.

Figure 15: Waveform for real-time exposure monitoring.
Figure 16: Histogram for quick exposure check.

Figure 17: Zebra Exposure for identifying overexposed areas.

Figure 18: False Color for accurate exposure mapping.
4.4. Outdoor Visibility
With 1600nits high brightness, the F5 Prox display remains clearly visible even under direct sunlight, making it ideal for outdoor filming. The included sunshade further reduces outdoor glare.
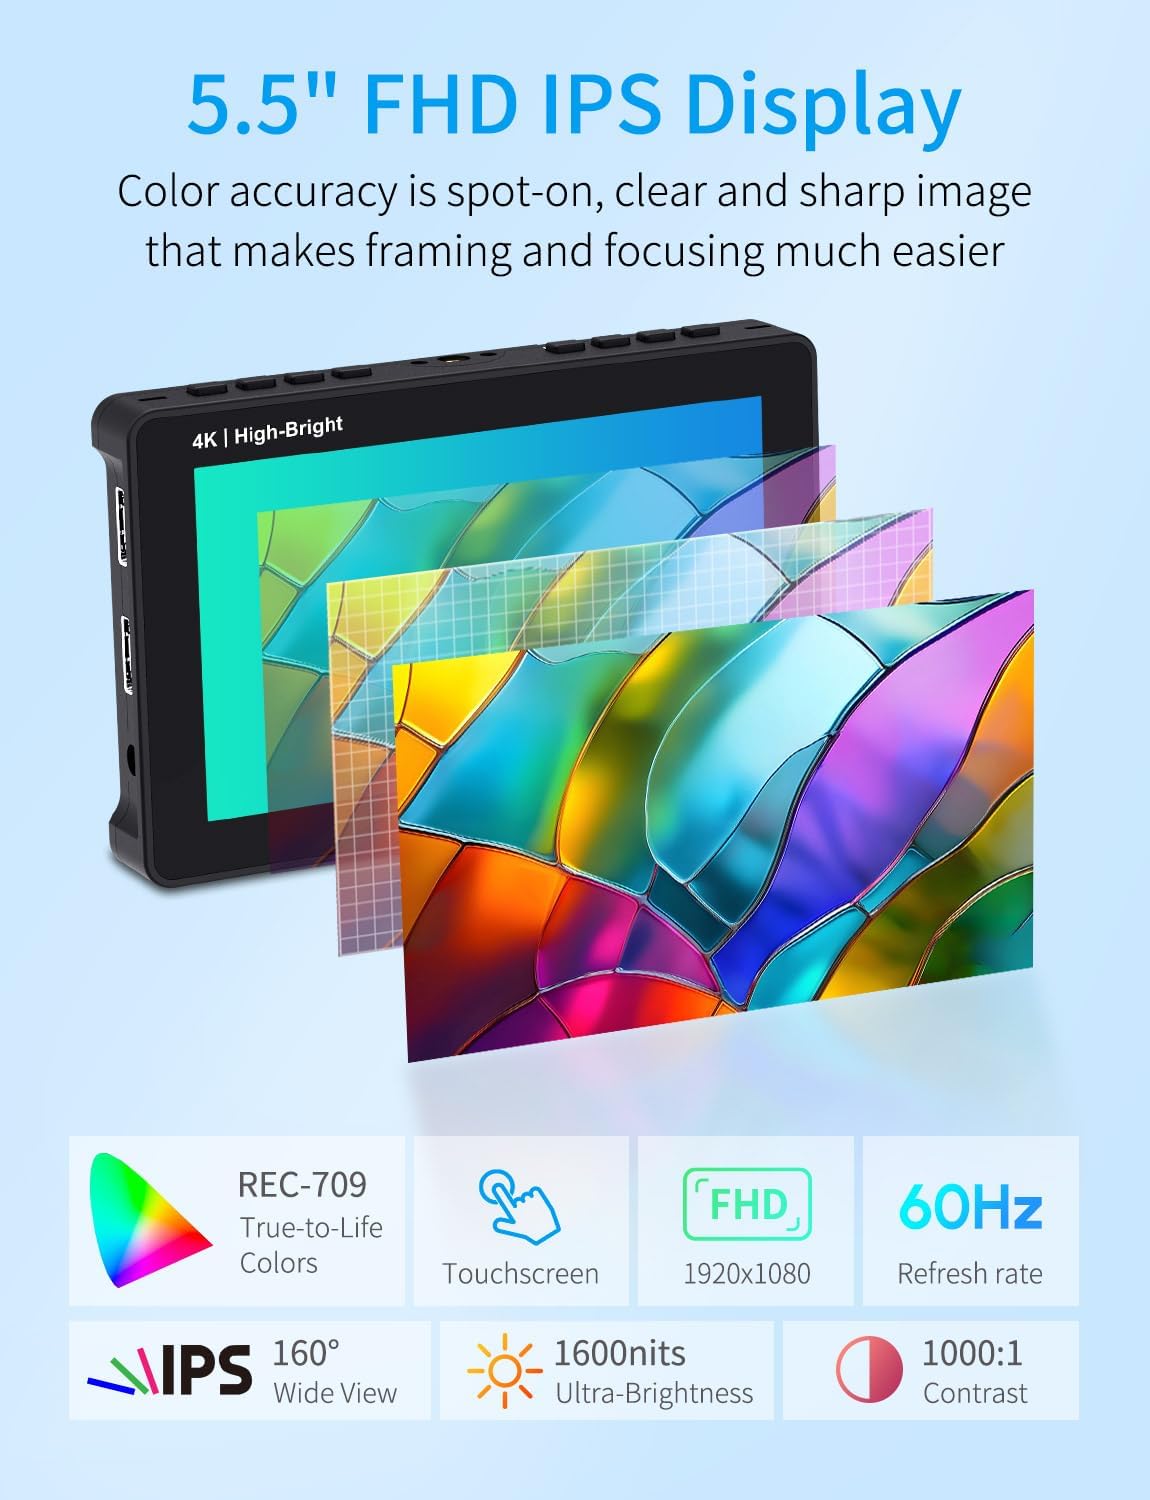
Figure 19: 1600nit Daylight Viewable display.
Figure 20: Portable Sunshade for outdoor use.
4.5. Wide Viewing Angle
The monitor features an ultra-wide 160° viewing angle, ensuring consistent color and brightness even when viewed from the side or mounted on gimbals and rigs.
Figure 21: Ultra-Wide 160° Viewing Angle.
5. Maintenance
5.1. Heat Dissipation
Slight warming is normal during prolonged use. The monitor is designed for efficient heat dissipation. To ensure optimal performance and longevity, avoid covering the vents on the monitor.
5.2. Cleaning
Use a soft, dry cloth to clean the monitor screen and body. Avoid using harsh chemicals or abrasive materials that could damage the surface.
6. Troubleshooting
6.1. Monitor Does Not Turn On
- Ensure a 12V 1.5A power adapter is connected or a fully charged NP-F series battery is inserted.
- Long press the power button to turn on the monitor.
6.2. No Signal / Black Screen / 4K Signal Not Supported
- Try a different HDMI cable to rule out cable issues.
- Connect the monitor to a computer via HDMI to verify if the monitor receives a signal.
- Change the camera's output signal format to 1080p60 or a compatible 4K format.
- Turn off the camera's wireless network function, as it can sometimes interfere with HDMI output.
6.3. Monitor Turns Black When Recording Starts
- Enable "HDMI output during recording" or "HDMI Info Display: On/Off while recording" in your camera's setup menu.
6.4. HDMI Display Info / Not Full Screen
- In your camera's menu, navigate to 'HDMI Settings' -> 'External Display' -> 'HDMI Info Display' (or 'Display Info' / 'Overlay Display') and set it to 'Off' or 'Clean'.
6.5. Camera Screen and External Monitor Display Simultaneously
- Set your camera menu to "Dual display", "Simultaneous display", "Monitor + HDMI output", or "HDMI display priority" to enable simultaneous display.
7. Specifications
| Model | F5 PROX | Input | HDMI, Type-C |
| Screen Size | 5.5" IPS Touch Screen | Output | HDMI, Stereo Headphone, DC OUT |
| Resolution | 1920x1080 pixels | Power Consumption | <9W |
| Aspect Ratio | 16:9 | Working Temperature | -20°C~50°C |
| Brightness | 1600cd/m² | Storage Temperature | -30°C~60°C |
| Contrast Ratio | 1000:1 | Unit Size | 148x93x20 mm (5.82x3.66x0.78 inch) |
| Viewing Angle | 80°/80°(L/R) 80°/80°(U/D) | Unit Weight | 245g (0.54lb) |

Figure 22: Key Specifications at a Glance.
8. Warranty & Support
8.1. Official Warranty
FEELWORLD provides a 1-year warranty for the F5 Prox monitor, with US local after-sales support available.
8.2. Firmware Updates
For firmware updates, please contact FEELWORLD customer support to obtain the latest firmware file and instructions.
8.3. Customer Service
For any further assistance, technical support, or inquiries, please visit the official FEELWORLD website or contact their customer service.
9. Product Videos
Affordable Camera Accessory You Need
Video 1: An overview of the FEELWORLD F5 Prox monitor as an affordable and essential camera accessory, highlighting its features and benefits for filmmakers.
Solutions for Camera Screens that are too Small
Video 2: Demonstrates how the FEELWORLD F5 Prox monitor provides a solution for small camera screens, offering a larger and clearer view for better shooting.
The F5 PROX Monitor for the Sony FX3
Video 3: Showcases the FEELWORLD F5 Prox monitor's compatibility and integration with the Sony FX3 camera, highlighting its benefits for FX3 users.
FEELWORLD 5.5" F5 PROX monitor with battery unboxing
Video 4: An unboxing video of the FEELWORLD F5 Prox 5.5-inch monitor, including the F970 battery and other accessories.