Introduction
This manual provides detailed instructions for the assembly, operation, and maintenance of your ELIVED Universal Height Adjustable Speaker Stands (Model YD5028). Please read these instructions carefully before installation and retain them for future reference. Proper installation and use will ensure optimal performance and longevity of your speaker stands.

Image: ELIVED Universal Speaker Stands supporting two speakers in a modern living room environment.
Safety Information
- Ensure all components are present and undamaged before assembly.
- Do not exceed the maximum weight capacity of 11 lbs (5 kg) per stand.
- Place stands on a stable, level surface to prevent tipping.
- Keep children and pets away from the stands during assembly and operation.
- Tighten all screws and knobs securely to ensure stability.
Package Contents
Please verify that all the following components are included in your package:
- Base plates (2)
- Bottom tubes (2)
- Upper tubes (2)
- Speaker support brackets (2)
- Rubber foot pads (8)
- Carpet nails (8)
- Assembly hardware kit (screws, Allen wrench)
- Instruction manual
Setup and Assembly
Follow these steps for proper assembly of your ELIVED speaker stands. An assembly video is provided for visual guidance.
Video: Official ELIVED assembly guide for Universal Speaker Stands.
Step 1: Install the Base Foot Pads
Choose the appropriate foot pads for your flooring type. Use rubber foot pads for hard floors and carpet nails for carpeted surfaces. Insert the chosen foot pads into the designated holes on the underside of each base plate.

Image: Detail of the base plate, illustrating the installation of either rubber feet for hard surfaces or carpet nails for carpeted floors.
Step 2: Install the Bottom Tube
Attach the bottom tube to the center of the base plate using the provided screws and Allen wrench. Ensure it is securely fastened.
Step 3: Install the Upper Tube
Slide the upper tube into the top of the bottom tube. Secure it in place using the provided screws and Allen wrench. Ensure the height adjustment mechanism is facing outwards for easy access.
Step 4: Install the Support Bracket
Align the speaker support bracket with the top of the upper tube. Insert the bracket and secure it with the provided screw and Allen wrench. Ensure the bracket is firmly attached and stable.
Step 5: Install Speakers
Measure the width of your speaker. Adjust the spring-loaded plates on the support bracket to match the speaker's width. Pull the spring-loaded plate outwards, place your speaker onto the bracket, and release the plate to secure the speaker firmly. The bracket is designed to accommodate speakers between 5 and 10 inches wide.

Image: A diagram illustrating the spring-loaded mechanism of the speaker support bracket, demonstrating its adjustable width from 5 to 10 inches to securely hold various speaker sizes.
Operating Instructions
Height Adjustment
To adjust the height of the speaker stand, loosen the knob on the upper tube. Extend or retract the inner tube to your desired height (between 34 and 43.3 inches). Once the desired height is achieved, tighten the knob securely to lock the tube in place. Proper speaker height can significantly improve sound quality by reducing reflections.

Image: A visual guide demonstrating how to adjust the speaker stand's height, ranging from 34 inches to 43.3 inches, by loosening and tightening a knob.
Speaker Width Adjustment
The spring-loaded support bracket allows for easy adjustment to fit speakers with widths from 5 to 10 inches. Gently pull the movable side of the bracket outwards, place your speaker, and then release the bracket to firmly grip the speaker.
Cable Management
The stand features a large cable hole (1.8"H x 0.87"W) with a soft rubber grommet to conceal speaker wires. Route your cables through this opening to maintain a clean and tidy appearance while protecting the wires from scratching.

Image: A close-up view of the speaker stand's pole, highlighting the large cable management hole with a protective grommet for concealing wires.
Speaker Rotation
The speaker support bracket allows for 360-degree rotation, enabling you to orient your speakers in any direction for optimal sound projection and room acoustics.
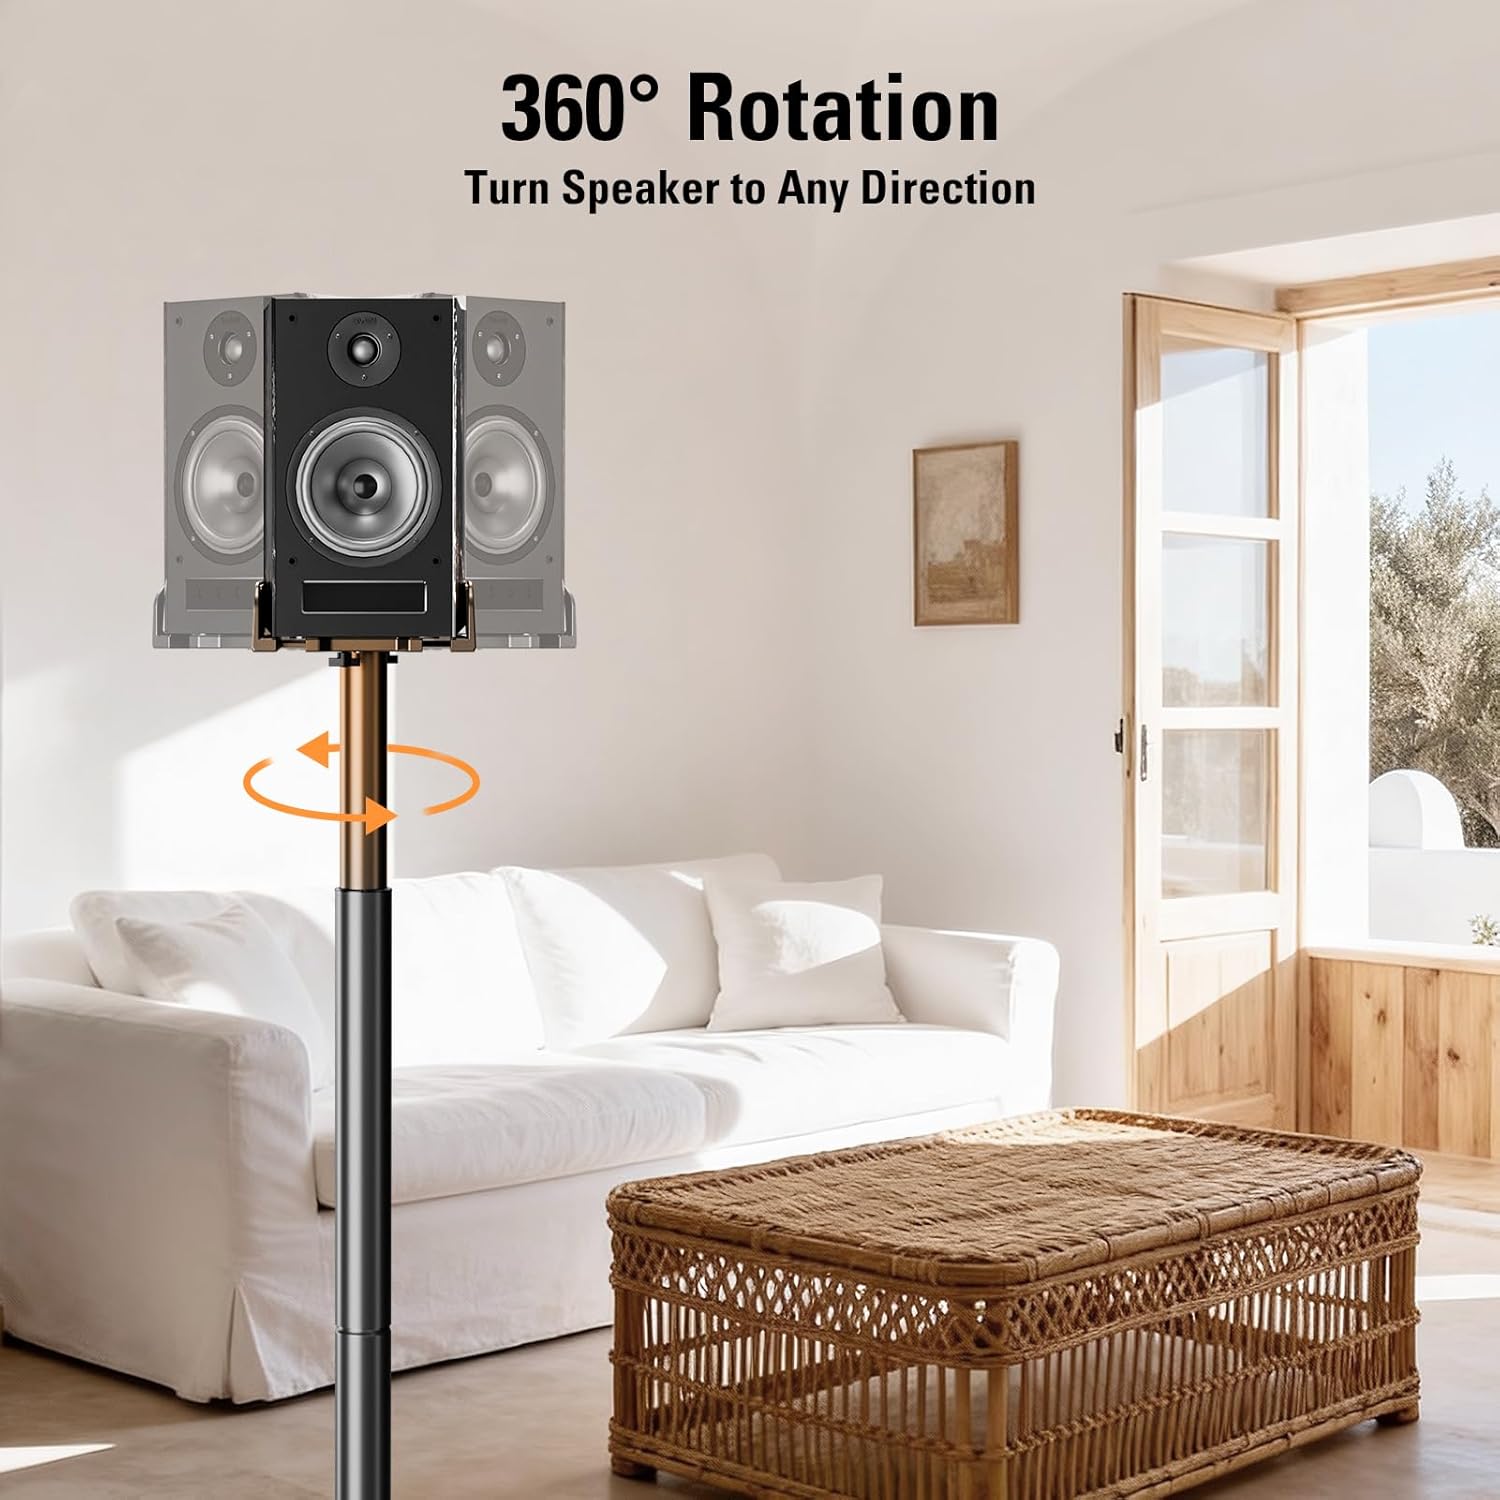
Image: A speaker stand with a speaker mounted, illustrating the 360-degree rotation capability of the support bracket.
Maintenance
To maintain the appearance and functionality of your speaker stands, regularly wipe them with a soft, dry cloth. Avoid using abrasive cleaners or solvents, as these may damage the finish. Periodically check all screws and connections to ensure they remain tight and secure.
Troubleshooting
- Stand feels unstable: Ensure all screws are tightened, especially those connecting the tubes and base. Verify that the stand is placed on a flat, stable surface.
- Speaker not fitting securely: Double-check the speaker width and adjust the spring-loaded bracket accordingly. Ensure the speaker is centered on the bracket.
- Height adjustment is difficult: Loosen the adjustment knob completely before attempting to change the height. If still stiff, ensure no debris is obstructing the inner tube.
Specifications
| Brand | ELIVED |
| Model Number | YD5028 |
| Material | Alloy Steel |
| Product Dimensions | 10"L x 5"W x 43.3"H (Maximum Height) |
| Height Adjustable Range | 34" to 43.3" |
| Speaker Width Compatibility | 5" to 10" |
| Maximum Speaker Weight | 11 lbs (5 kg) per stand |
| Item Weight | 15.34 pounds (6.97 Kilograms) |
| Color | Black |

Image: A visual representation of the stand's weight capacity, showing an 11 lbs kettlebell placed on the speaker support bracket.
Warranty and Support
For any questions, concerns, or technical support regarding your ELIVED Universal Height Adjustable Speaker Stands, please refer to the contact information provided with your purchase or visit the official ELIVED website. Please retain your proof of purchase for warranty claims.