1. Introduction
The Blackview MP80 Mini PC is a compact and powerful desktop computer designed for a wide range of uses, from home office tasks to multimedia entertainment. Featuring an Intel N5095 processor, 16GB LPDDR5 RAM, and a 512GB M.2 SSD, it offers efficient performance in a small form factor. This manual provides essential information for setting up, operating, maintaining, and troubleshooting your MP80 Mini PC.

Image: The Blackview MP80 Mini PC, demonstrating its remarkably compact size when held in a hand.

Image: A banner highlighting the Blackview MP80's small footprint while emphasizing its powerful capabilities.
2. Package Contents
Before you begin, please ensure all items are present in the package:
- 1 x Mini PC MP80
- 1 x Power adapter
- 1 x User manual
- 1 x VESA mount with screws
- 1 x HDMI cable

Image: A clear view of all items included in the Blackview MP80 Mini PC retail package.
3. Setup Guide
3.1 Connecting Your Mini PC
- Connect Display: Use the provided HDMI cable to connect the MP80 Mini PC to your monitor, TV, or projector. The MP80 supports up to three displays simultaneously via its three HDMI ports.
- Connect Peripherals: Plug in your USB keyboard, mouse, and any other USB devices into the available USB 3.0 ports.
- Connect Power: Insert the power adapter cable into the 5.5mm DC connector port on the Mini PC, then plug the adapter into a power outlet.
- Power On: Press the power button located on the front of the Mini PC. The system will boot up, and you should see the operating system load on your display.

Image: An overview of the Blackview MP80's various input/output ports, including USB, HDMI, Ethernet, and power.

Image: A visual representation of the MP80's comprehensive port selection, illustrating its versatility for connecting to various devices.
3.2 VESA Mount Installation
The Blackview MP80 comes with a VESA bracket, allowing you to mount it discreetly behind a monitor or on a wall.
- Attach the VESA bracket to the back of your monitor or a suitable wall surface using the provided screws.
- Secure the MP80 Mini PC to the VESA bracket. Ensure it is firmly attached before releasing.
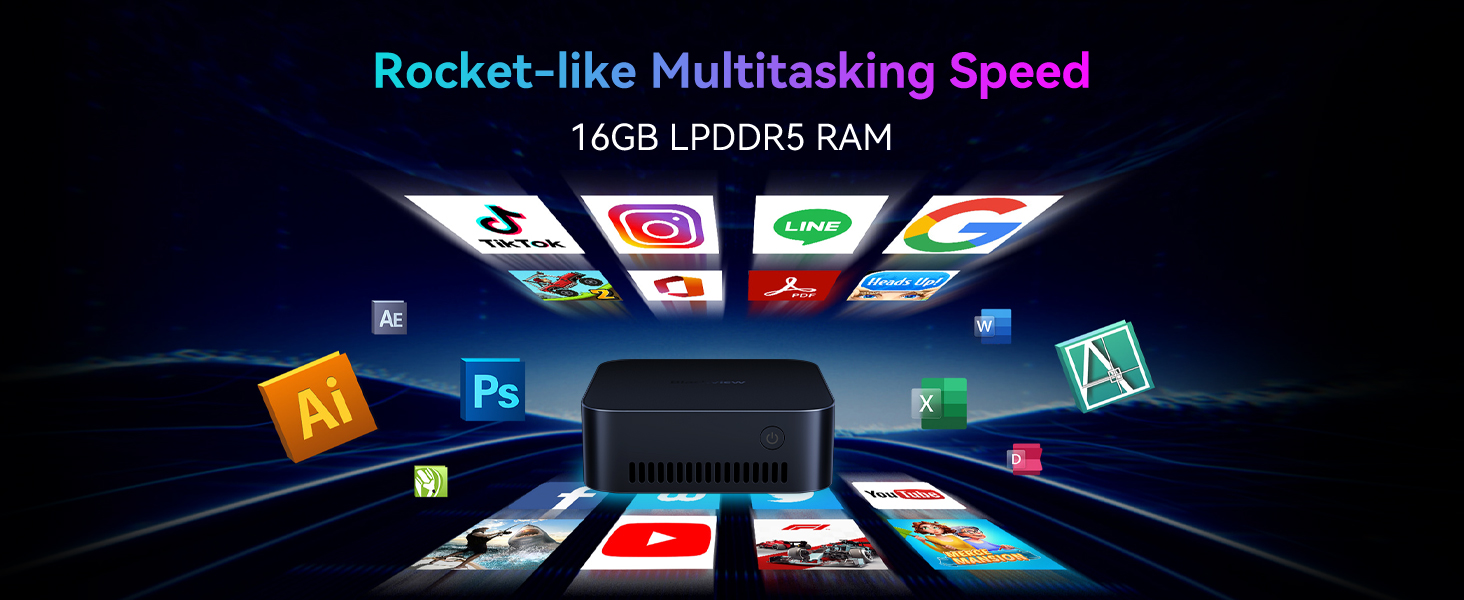
Image: The Blackview MP80 Mini PC shown mounted behind a monitor using its VESA bracket, demonstrating space-saving installation.
4. Operating Instructions
4.1 Power Management
- Power On: Press the power button once.
- Shut Down: From the operating system, select 'Shut Down'. Alternatively, press and hold the power button for 5-7 seconds for a forced shutdown (use only when necessary).
- Restart: From the operating system, select 'Restart'.
4.2 Network Connectivity
- Wi-Fi: The MP80 supports 2.4GHz/5.0GHz dual-band Wi-Fi. Access network settings in your operating system to connect to available wireless networks.
- Ethernet: For a stable wired connection, connect an Ethernet cable to one of the two Gigabit Ethernet ports on the back of the Mini PC.

Image: The Blackview MP80 Mini PC featuring its dual Gigabit Ethernet ports, ready for high-speed wired network connections.
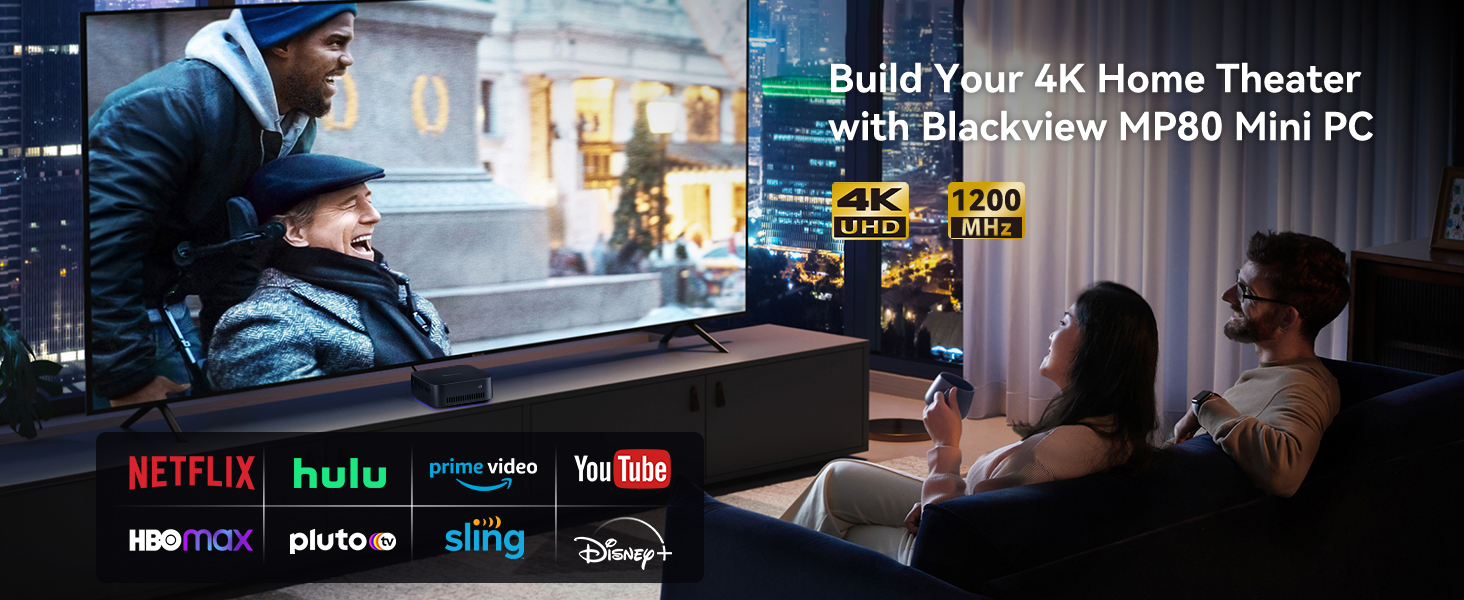
Image: A visual representation of the MP80's dual-band Wi-Fi capabilities, ensuring fast and stable wireless connectivity.
4.3 Multiple Display Setup
The MP80 supports up to three 4K UHD displays simultaneously, enhancing productivity and entertainment experiences.
- Connect each monitor to a separate HDMI port on the Mini PC.
- Configure display settings within your operating system (e.g., Windows Display Settings) to extend or duplicate your desktop across the connected screens.

Image: The Blackview MP80 Mini PC seamlessly powering a triple monitor setup, ideal for multitasking and immersive viewing.

Image: A dynamic scene illustrating the MP80's capability to drive three 4K displays, providing a rich visual experience.
4.4 Bluetooth Connectivity
The MP80 features Bluetooth for connecting wireless peripherals such as keyboards, mice, and headphones.
- Enable Bluetooth in your operating system settings.
- Pair your Bluetooth device with the MP80.
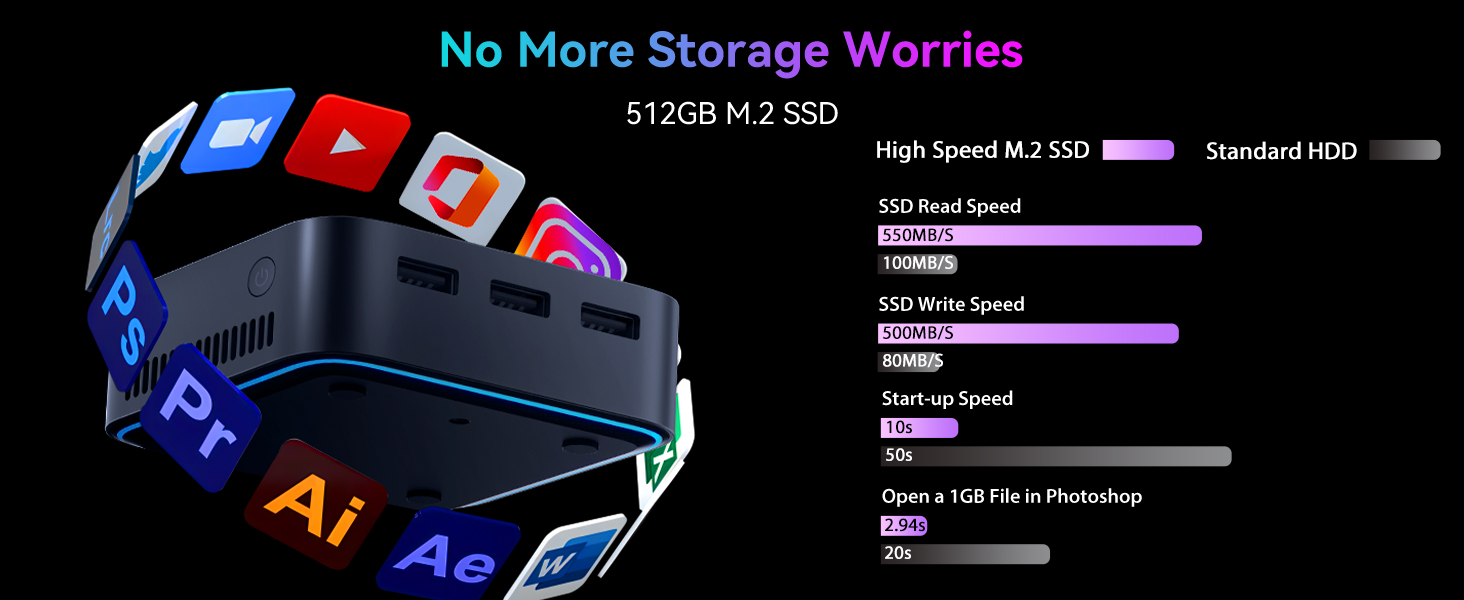
Image: A graphic illustrating the MP80's Bluetooth capabilities, enabling wireless connections to various devices within a 10-meter range.
5. Maintenance
5.1 Cooling System
The MP80 Mini PC is equipped with a 4-in-1 cooling and noise-cancelling system to maintain optimal performance and quiet operation.
- Ensure proper airflow around the device. Do not block the ventilation openings.
- Keep the Mini PC in a well-ventilated area to prevent overheating.

Image: A detailed diagram showcasing the internal cooling system of the Blackview MP80, designed for efficient heat dissipation.

Image: The Blackview MP80 Mini PC operating quietly in a bedroom setting, demonstrating its active noise-canceling technology for minimal disturbance.
5.2 General Care
- Clean the exterior of the Mini PC with a soft, dry cloth. Avoid using liquid cleaners.
- Protect the device from dust, moisture, and extreme temperatures.
6. Troubleshooting
If you encounter issues with your Blackview MP80 Mini PC, refer to the following common problems and solutions:
| Problem | Possible Cause | Solution |
|---|---|---|
| Mini PC does not power on | Power adapter not connected or faulty; power outlet issue. | Ensure power adapter is securely connected to both the PC and a working power outlet. Try a different outlet. |
| No display on monitor | HDMI cable loose or faulty; incorrect input selected on monitor. | Check HDMI cable connections. Ensure monitor is set to the correct HDMI input. Try a different HDMI port or cable. |
| System freezes or restarts randomly | Software conflict; overheating; hardware issue. | Ensure proper ventilation. Close unnecessary applications. Update drivers and operating system. If issues persist, contact technical support. |
| Wi-Fi or Ethernet connectivity issues | Driver issue; router problem; cable issue. | Restart the Mini PC and your router. Check Ethernet cable if applicable. Update network drivers. |
For persistent issues not covered here, please refer to the warranty and support section.
7. Specifications
Detailed technical specifications for the Blackview MP80 Mini PC:
| Feature | Specification |
|---|---|
| Processor | Intel Celeron N5095 (4C/4T, up to 2.9 GHz) |
| RAM | 16 GB LPDDR5 |
| Storage | 512 GB M.2 SSD |
| Graphics | Intel UHD Graphics (Integrated) |
| Operating System | Windows 11 (Pre-installed) |
| Display Output | 3 x HDMI (Supports 4K UHD @ 60Hz Triple Display) |
| USB Ports | 3 x USB 3.0 |
| Network | Dual Gigabit Ethernet Ports, 2.4/5G WiFi, Bluetooth |
| Audio | 1 x 3.5mm HP/MIC TRRS |
| Dimensions (LxWxH) | 3.45 x 3.45 x 1.45 inches |
| Weight | 1.63 pounds |

Image: A detailed breakdown of the Intel N5095 processor's core specifications and performance benchmarks.

Image: The Blackview MP80 surrounded by various application icons, illustrating its capability for rocket-like multitasking with 16GB LPDDR5 RAM.

Image: A graphic demonstrating the high-speed performance of the 512GB M.2 SSD, highlighting fast read/write speeds and quick boot times.
8. Warranty and Support
Blackview provides lifetime technical support for the MP80 Mini PC. If you encounter any issues or have questions regarding your device, please contact Blackview customer service through their official channels or the retailer from whom you purchased the product.
For the most up-to-date support information, please visit the official Blackview website or refer to the contact details provided with your purchase documentation.


