1. Introduction
This manual provides detailed instructions for the Diyeeni SQ11 Mini 1080P Security Camera. This compact and portable camera is designed for versatile surveillance, offering high-definition video recording with a wide viewing angle and night vision capabilities. Please read this manual thoroughly before operating the device to ensure proper use and optimal performance.
2. Package Contents
Verify that all items listed below are included in your package:
- Diyeeni SQ11 Mini Camera
- USB Charging/Video Output Cable
- Mounting Bracket
- Clip
- User Manual (this document)

Figure 1: Contents of the Diyeeni SQ11 Mini Camera package.
3. Product Overview
The Diyeeni SQ11 Mini Camera is a small, cube-shaped device designed for discreet surveillance. It features a 1080P HD lens, infrared lights for night vision, and intuitive controls.
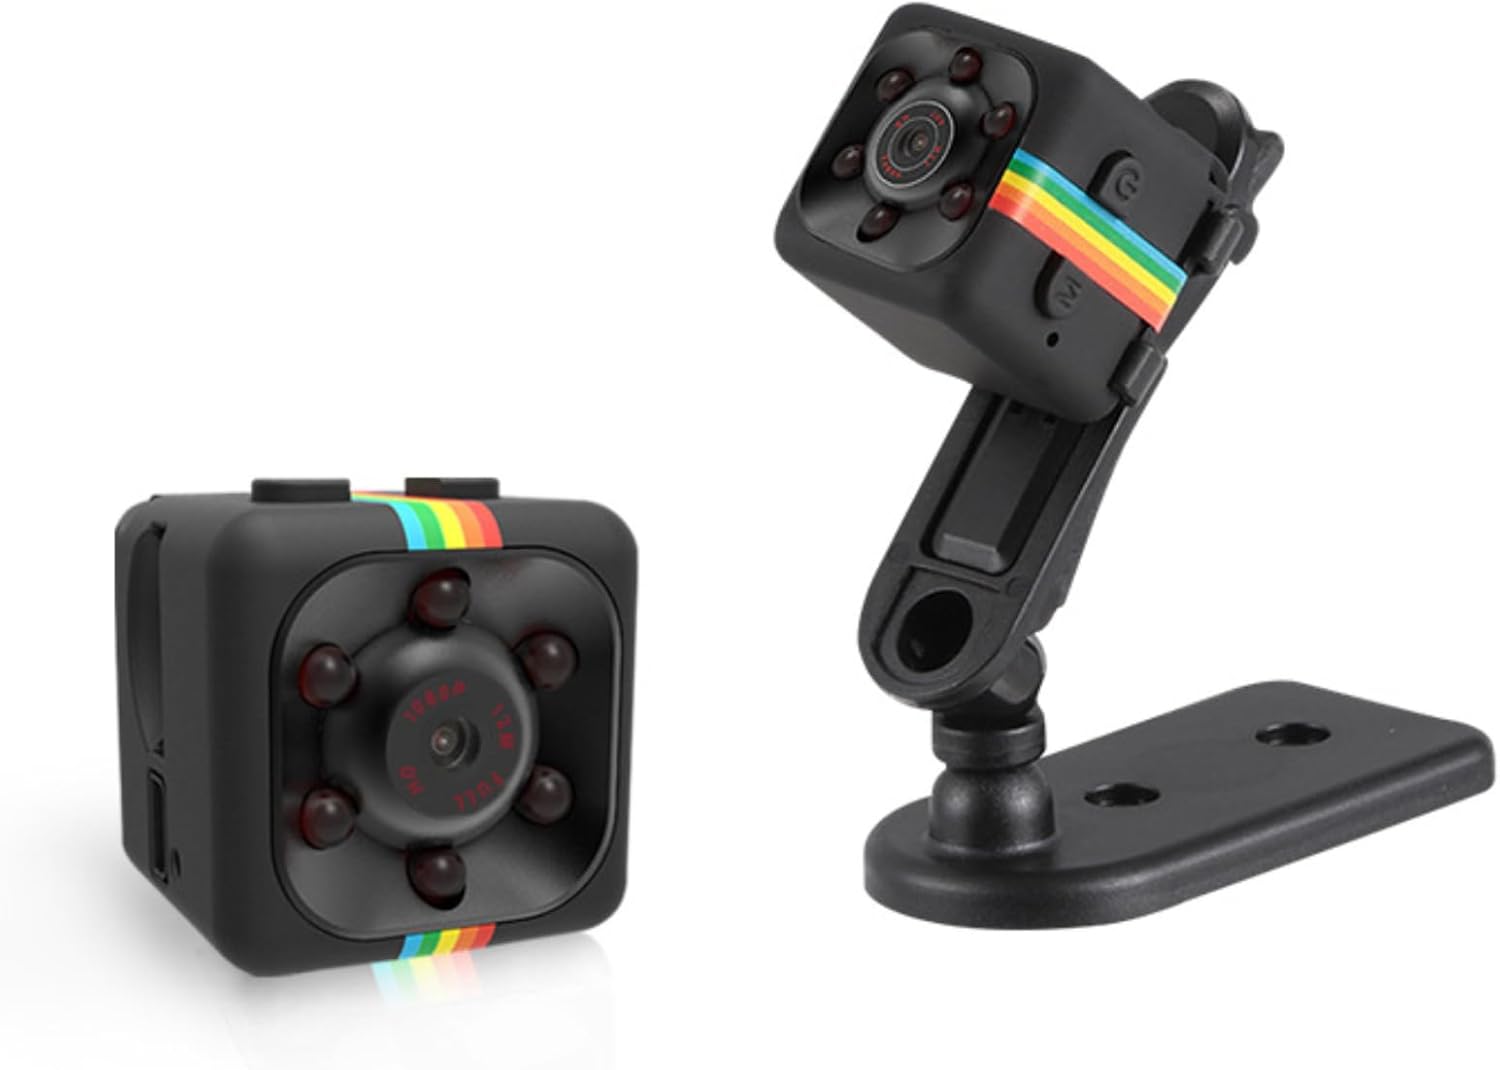
Figure 2: Front and side view of the Diyeeni SQ11 Mini Camera with its adjustable stand.
Key Features:
- 1080P HD Video: Records clear video at 1920x1080 resolution.
- 160° Wide Viewing Angle: Captures a broad field of view.
- Night Vision: Automatically switches to night vision mode in low-light conditions.
- Motion Detection: Records when motion is detected, conserving battery and storage.
- Loop Recording: Overwrites older footage when the memory card is full.
- Compact Design: Small and portable for discreet placement.

Figure 3: Visual representation of the camera's key features.
4. Setup
4.1. Inserting and Formatting the MicroSD Card
The Diyeeni SQ11 Mini Camera requires a MicroSD (TF) card for storing recordings. A MicroSD card is not included and must be purchased separately. Before first use, the MicroSD card must be formatted to FAT32.
- Insert the MicroSD card into a MicroSD to SD adapter.
- Insert the adapter with the MicroSD card into your computer's SD card slot.
- Access your computer's disk utility or file explorer.
- Locate the MicroSD card (often labeled "NO NAME").
- Select the option to format the card. Choose "MS-DOS (FAT)" or "FAT32" as the file system.
- Confirm the formatting process. All data on the card will be erased.
- Once formatted, safely eject the MicroSD card from your computer.
- With the camera powered off, carefully insert the formatted MicroSD card into the camera's TF card slot until it clicks into place. Ensure the correct orientation.
Video 1: Demonstration of inserting the MicroSD card into the SQ11 Mini Camera.
4.2. Charging the Camera
The camera is equipped with a 200mAh battery. To charge the camera:
- Connect the included USB cable to the camera's Mini USB port.
- Connect the other end of the USB cable to a 5V 1A (or higher) USB power source (e.g., computer USB port, USB wall adapter).
- The LED indicator will show the charging status (refer to the Operating section for LED indications).
- A full charge provides approximately 50 minutes of recording time. For extended recording, connect the camera to an external 10000mAh power bank (not included) for up to 30 hours of operation.
4.3. Mounting the Camera
The camera comes with a mounting bracket and clip for flexible placement:
- Attach the camera to the clip or mounting bracket. The camera can be rotated 360° and adjusted 90° on the bracket.
- Use the clip to attach the camera to clothing, bags, or other surfaces.
- Use the mounting bracket to secure the camera to a wall or flat surface.
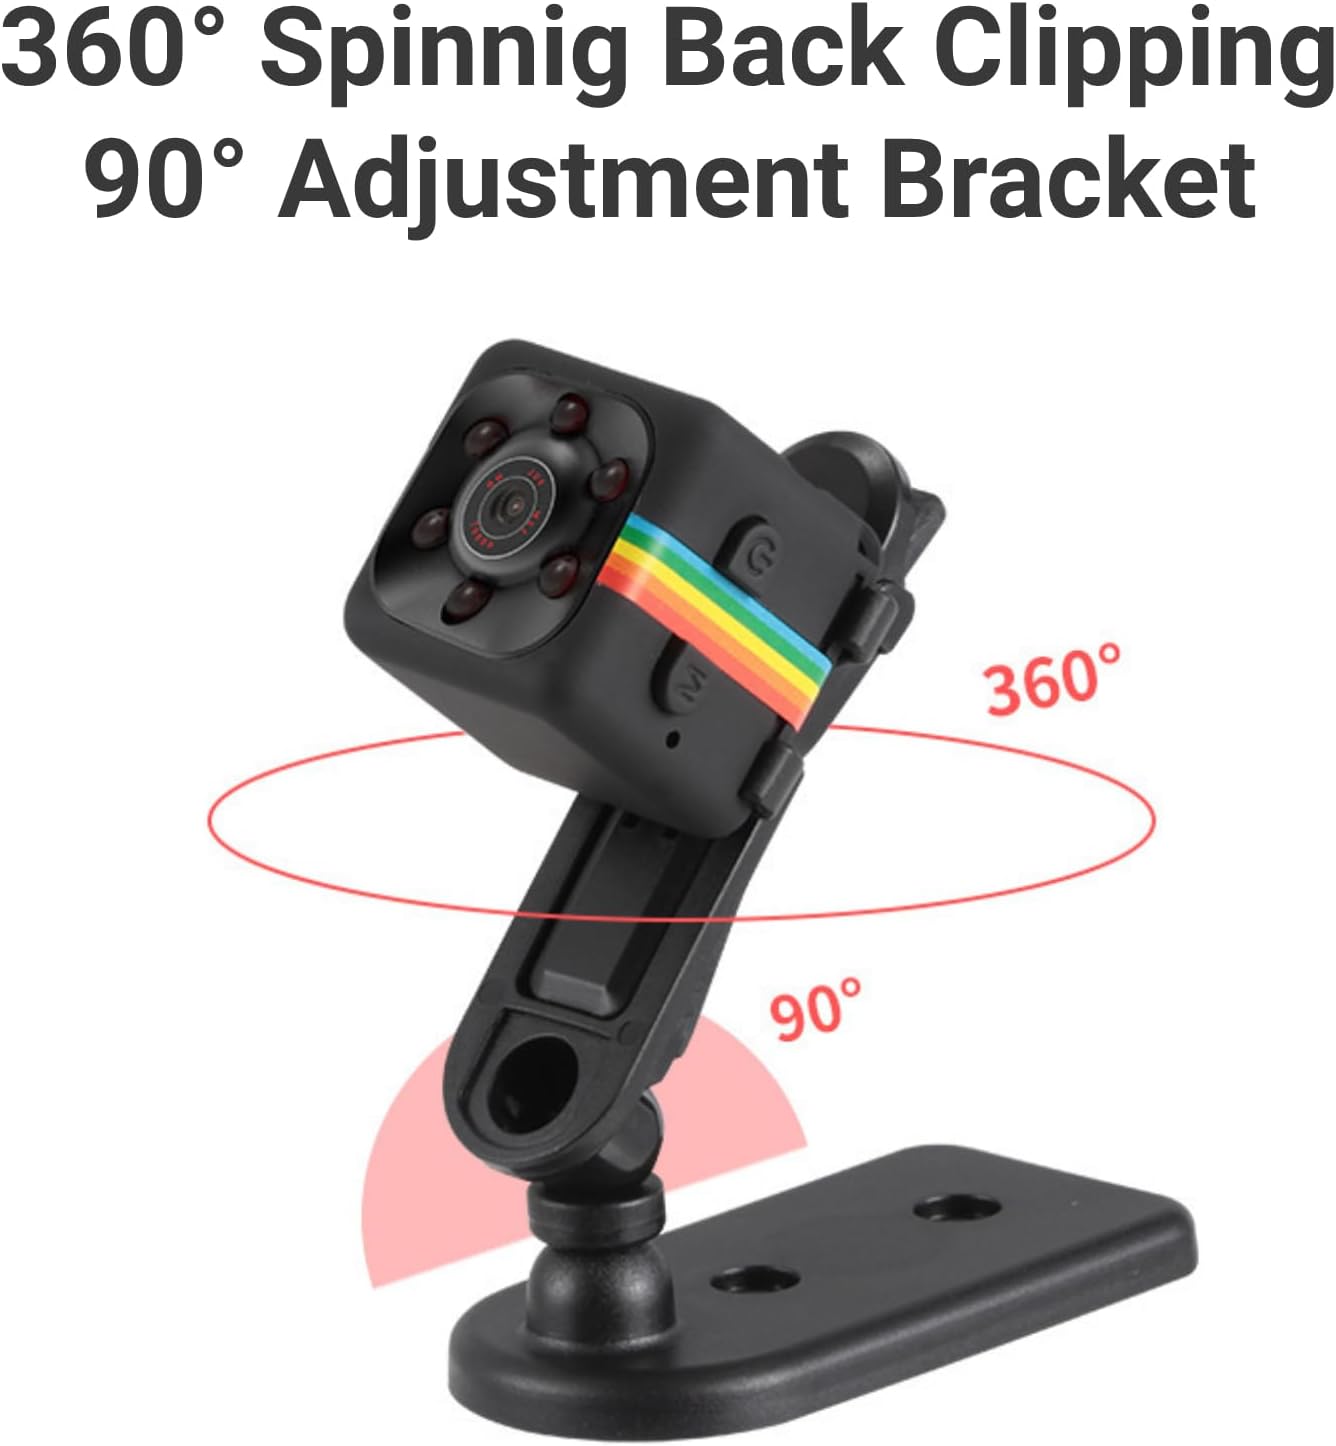
Figure 4: The camera mounted on its adjustable bracket.
5. Operating Instructions
5.1. Powering On/Off
- Power On: Press and hold the Power button (usually marked with a power symbol) for a few seconds until the blue LED indicator lights up.
- Power Off: Press and hold the Power button again for a few seconds until the LED indicator turns off.
5.2. Video Recording (1080P)
To record video in 1080P resolution:
- Ensure the camera is powered on and in standby mode (solid blue LED).
- Press the Mode button (usually marked 'M') once to switch to 1080P video recording mode. The blue LED will blink to indicate recording has started.
- To stop recording, press the Mode button again. The blue LED will become solid, indicating standby mode.

Figure 5: High-definition 1080P video recording capability.

Figure 6: The camera offers a 160° wide viewing angle.
5.3. Night Vision Mode
The camera supports night vision for clear recording in low-light conditions:
- While in standby mode, press and hold the Power button for 3 seconds. The infrared lights will activate, and the camera will begin recording in night vision.
- To deactivate night vision, press and hold the Power button again for 3 seconds.

Figure 7: Night vision capability for monitoring in unlit scenes.
5.4. Motion Detection
The motion detection feature allows the camera to record only when movement is detected, saving battery and storage space:
- From standby mode, press the Mode button twice to enter motion detection mode. The blue and red LEDs will flash simultaneously.
- The camera will automatically start recording when motion is detected and save the file every 5 minutes. If no motion is detected, the device will enter standby mode.
- To exit motion detection mode, press the Mode button again.
5.5. Taking Pictures
To take still pictures:
- From standby mode, press the Power button once. The red LED will flash once, indicating a picture has been taken.
- Pictures are saved at 12M (4032x3024) resolution.
5.6. Setting Date and Time
To ensure accurate timestamps on your recordings, you can set the date and time:
- Connect the formatted MicroSD card to your computer using an adapter.
- Create a new text file named "time.txt" in the root directory of the MicroSD card.
- Open "time.txt" and enter the current date and time in the format: YYYYMMDDHHMMSS Y (e.g., 20250527101200 Y). The 'Y' indicates that the timestamp should be displayed on recordings. Use 'N' if you do not want the timestamp.
- Save the "time.txt" file and safely eject the MicroSD card from your computer.
- Insert the MicroSD card back into the camera and power it on. The camera will automatically update its date and time settings.
5.7. Loop Recording
The camera supports loop recording, which means it will automatically overwrite the oldest video files when the MicroSD card is full. This ensures continuous recording without manual deletion.

Figure 8: Loop recording feature for continuous surveillance.
6. Maintenance
- Cleaning: Use a soft, dry cloth to clean the camera lens and body. Avoid using liquid cleaners or abrasive materials.
- Storage: Store the camera in a cool, dry place away from direct sunlight and extreme temperatures.
- Battery Care: To prolong battery life, avoid fully discharging the camera frequently. Charge it regularly, even if not in active use.
7. Troubleshooting
| Problem | Possible Cause | Solution |
|---|---|---|
| Camera does not power on. | Low battery. | Charge the camera fully using the provided USB cable. |
| Camera does not record. | No MicroSD card inserted or card is full/corrupted. | Ensure a formatted MicroSD card is inserted. If full, enable loop recording or transfer files. If corrupted, reformat the card. |
| Poor video quality. | Lens is dirty or insufficient lighting. | Clean the camera lens. Ensure adequate lighting or activate night vision mode. |
| Incorrect date/time stamp. | Date/time not set or "time.txt" file is incorrect. | Follow instructions in Section 5.6 to correctly set the date and time. |
8. Specifications
- Model Name: Diyeeni3ys71gxaui (SQ11)
- Video Capture Resolution: 1080p
- Viewing Angle: 160 Degrees
- Frame Rate: 30 fps
- Video Capture Format: AVI
- Battery Power: 200 Milliampere Hour (mAh)
- Item Weight: 1.76 ounces (0.05 Kilograms)
- Package Dimensions: 3.86 x 3.74 x 1.34 inches
- Connectivity Protocol: Wi-Fi
- Mounting Type: Wall Mount (with included accessories)
- Alert Type: Motion Only
- Manufacturer: Diyeeni
9. Warranty and Support
For warranty information or technical support, please refer to the product packaging or contact Diyeeni customer service directly. Keep your purchase receipt for warranty claims.


