Introduction
Thank you for choosing the ADE Digital Alarm Clock, Model CK2310-1. This device is designed to provide accurate timekeeping, alarm functions, and environmental monitoring with its temperature and humidity display. It features a DCF radio signal for automatic time synchronization, two independent alarm times, a snooze function, and an automatic backlight. Please read this manual carefully to ensure proper use and optimal performance of your alarm clock.
Safety Information
- Keep the device away from water and high humidity.
- Do not expose the device to extreme temperatures or direct sunlight.
- Use only the specified battery type (2 x AA batteries).
- Ensure correct battery polarity when inserting.
- Remove batteries if the device will not be used for an extended period.
- Do not attempt to disassemble or repair the device yourself. Contact qualified service personnel.
- Keep out of reach of children.
Package Contents
The package includes:
- 1 x ADE Digital Alarm Clock (Model CK2310-1)
- 2 x AA Batteries
- 1 x User Manual
Product Overview
The ADE Digital Alarm Clock features a clear display and intuitive controls. Key features include:
- Large digital time display
- Date and day of the week display
- Indoor temperature display (°C/°F)
- Indoor humidity display
- DCF radio signal reception indicator
- Alarm 1 and Alarm 2 indicators
- Snooze/Light button (top)
- Function buttons (side/back) for setting time, alarms, and modes
- Auto-light sensor switch (back)
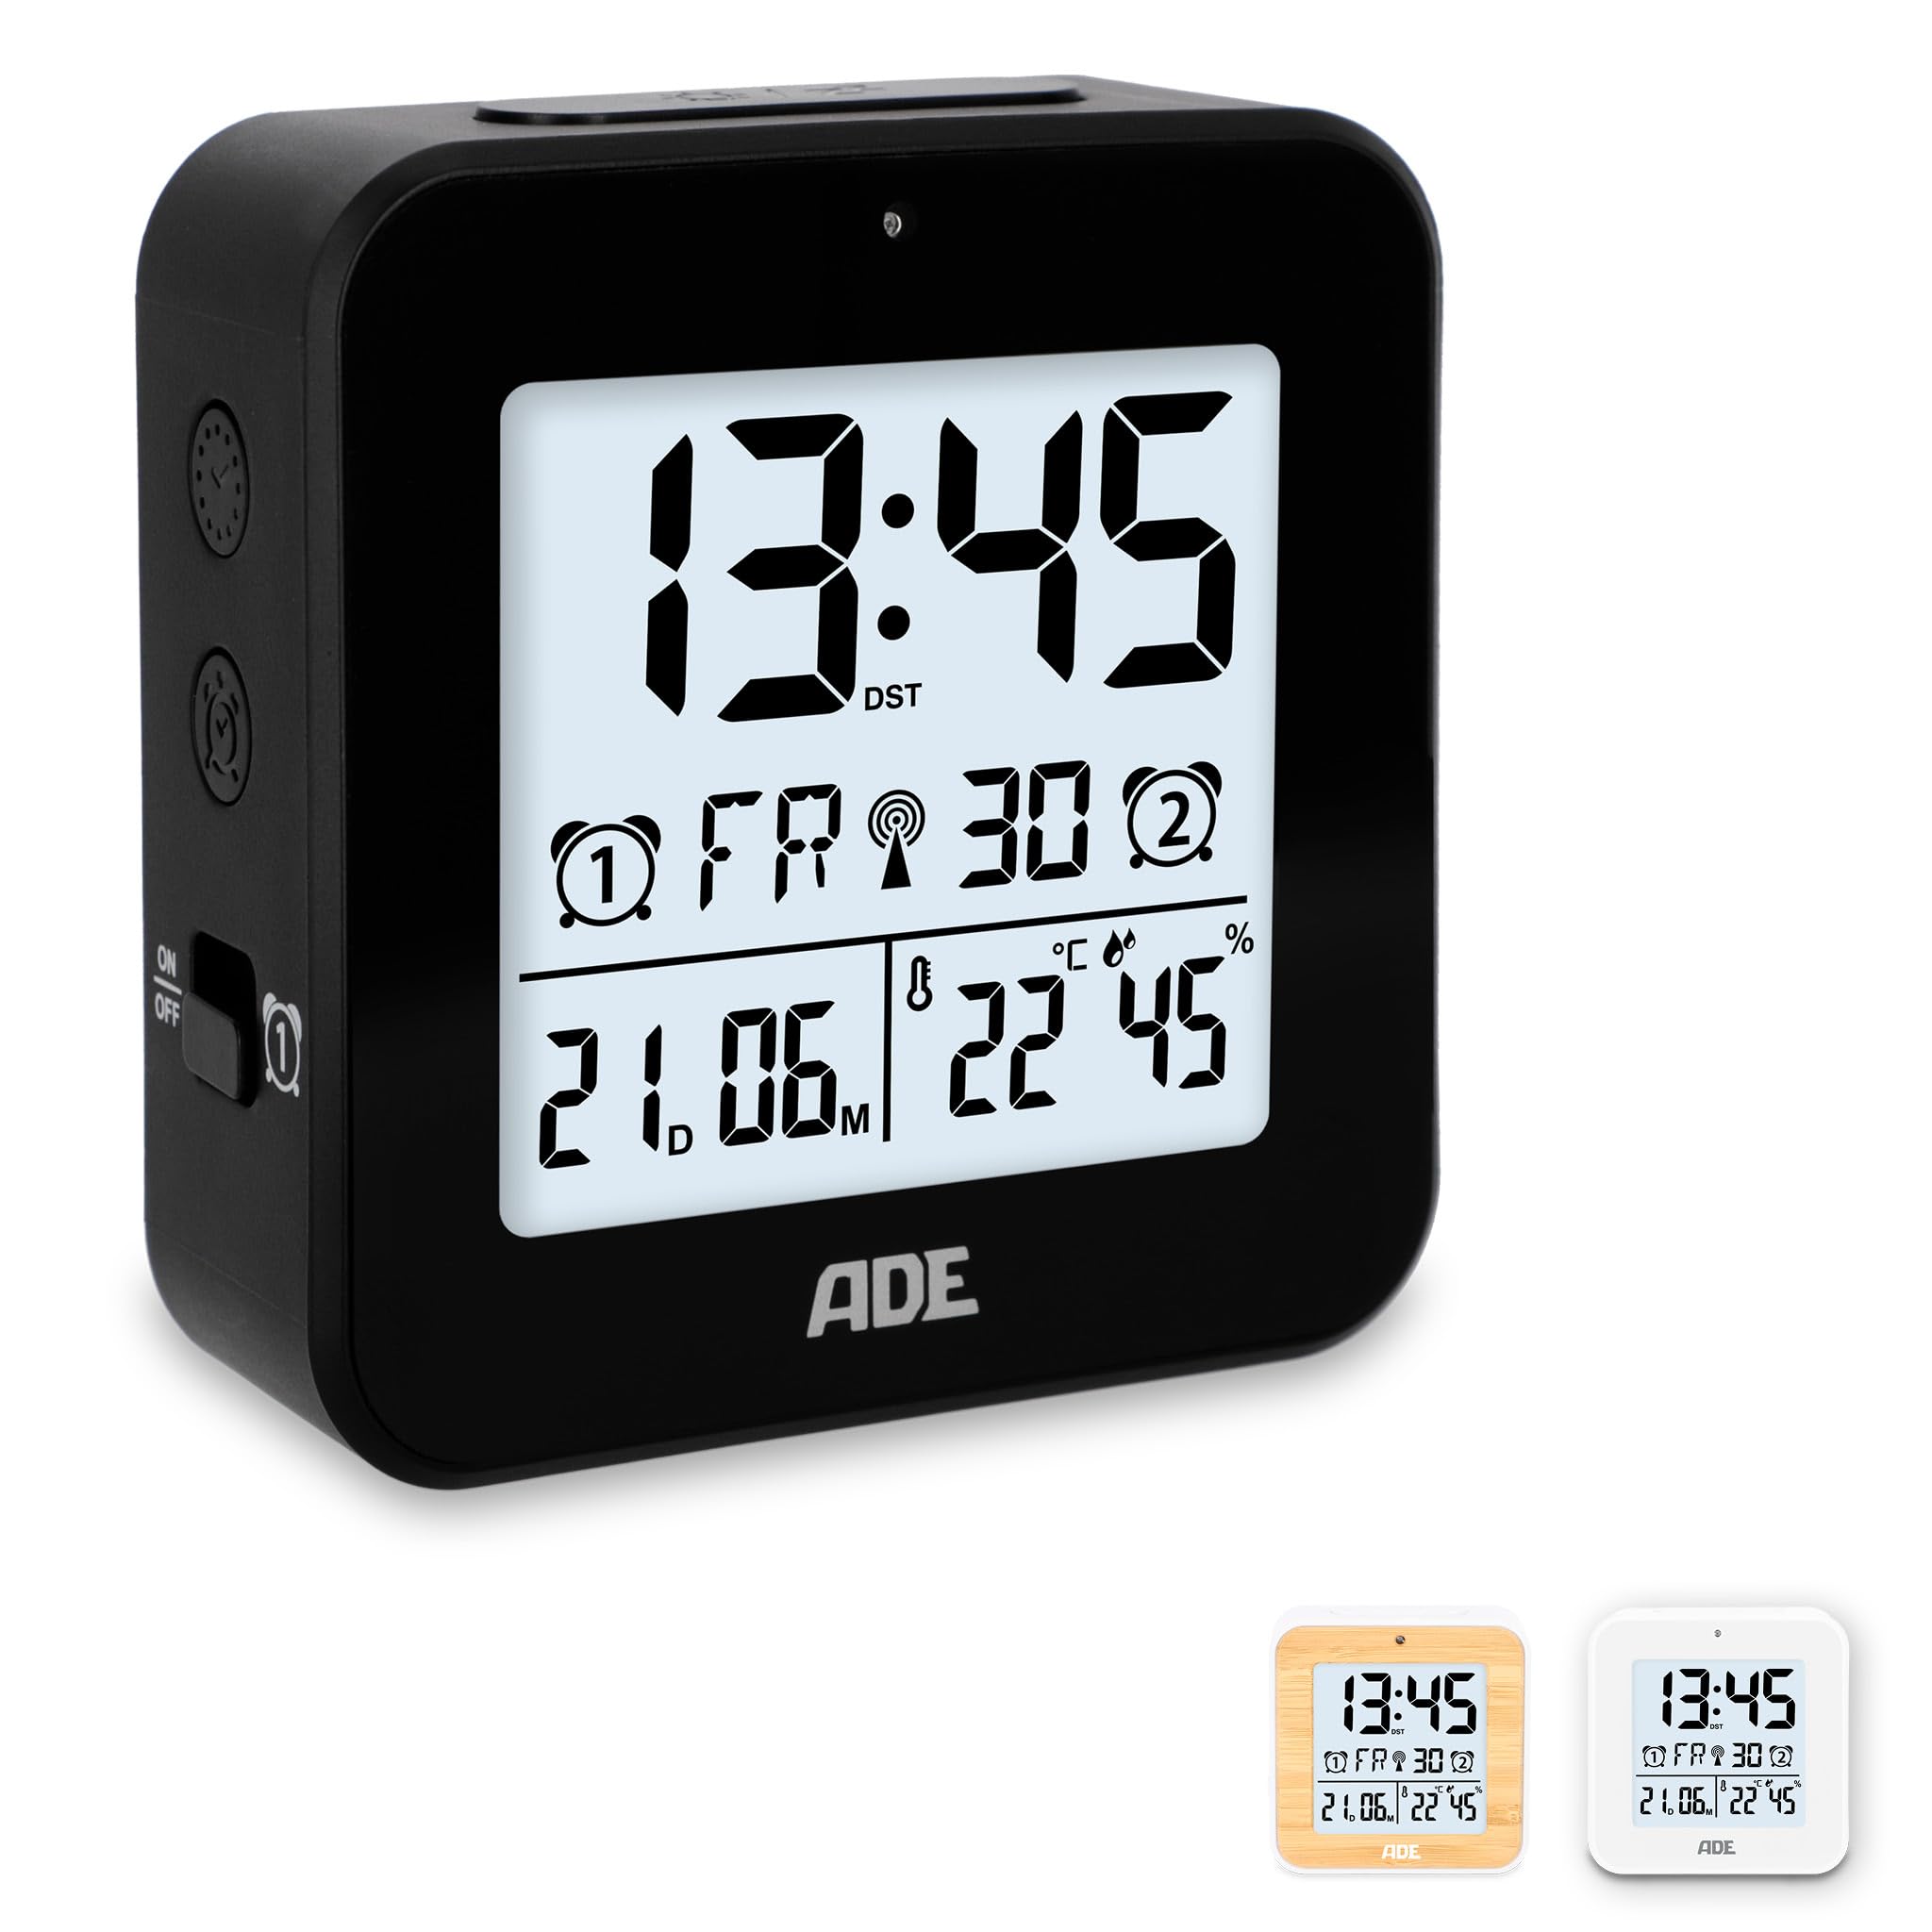
Image: Front view of the ADE Digital Alarm Clock CK2310-1, showing the digital display with time, date, temperature, and humidity.

Image: Side view of the ADE Digital Alarm Clock CK2310-1, highlighting the accessible buttons for intuitive operation and the two alarm ON/OFF switches.
Setup
1. Battery Installation
- Open the battery compartment cover on the back of the alarm clock.
- Insert the two AA batteries (included) according to the polarity markings (+ and -) inside the compartment.
- Close the battery compartment cover securely.
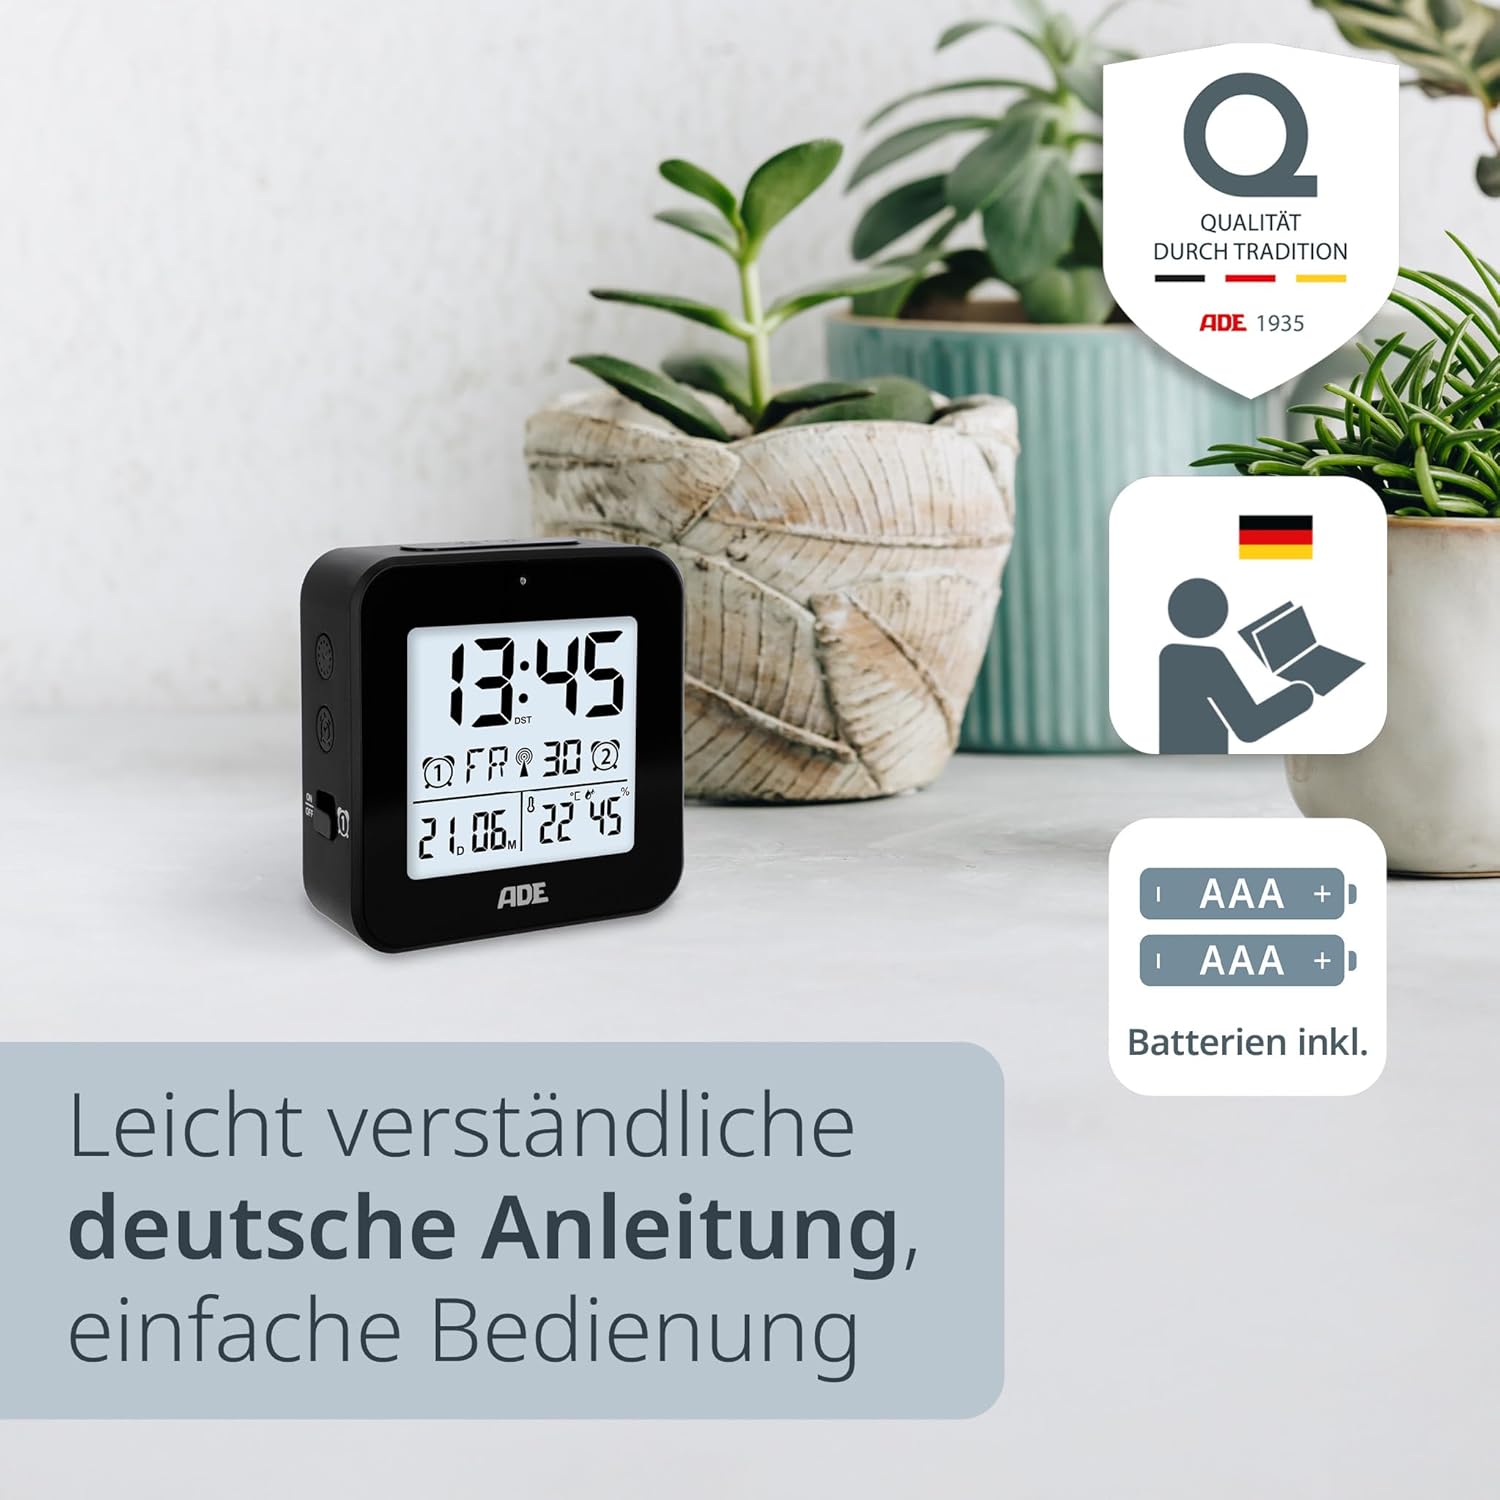
Image: The ADE Digital Alarm Clock CK2310-1 shown with two AA batteries, indicating that batteries are included for immediate use.
2. Initial Power On and DCF Signal Reception
Upon inserting the batteries, the clock will power on and automatically begin searching for the DCF radio signal. This process can take several minutes. During this time, the DCF signal icon will flash on the display. Once the signal is successfully received, the time and date will be set automatically, and the DCF icon will appear steadily.
- For best reception, place the clock near a window and away from electronic devices that may cause interference.
- The clock automatically adjusts for daylight saving time (summer/winter time).
Operating Instructions
Manual Time and Date Setting (if DCF signal is unavailable)
If the DCF signal cannot be received, or if you prefer to set the time manually:
- Press and hold the "SET" button (usually on the back or side) for a few seconds until the time display starts flashing.
- Use the "+" or "-" buttons to adjust the hour. Press "SET" to confirm and move to the minutes.
- Adjust the minutes using "+" or "-" and press "SET" to confirm.
- Continue this process for setting the year, month, and day.
- After setting the date, you may be prompted to select the temperature unit (°C or °F) and day of the week language (e.g., English, German). Use "+" or "-" to select and "SET" to confirm.
- Press "SET" one last time to exit the setting mode.
Setting Alarm Times (Alarm 1 and Alarm 2)
The clock allows for two independent alarm times.
- To set Alarm 1: Slide the Alarm 1 switch (often labeled with a bell icon and 'ON/OFF') to the 'ON' position. The alarm time will start flashing.
- Use the "+" or "-" buttons to adjust the desired alarm hour. Press the "ALARM SET" button (or similar, refer to specific button labels on your device) to confirm and move to minutes.
- Adjust the alarm minutes using "+" or "-" and press "ALARM SET" to confirm.
- To set Alarm 2: Repeat the process using the Alarm 2 switch and corresponding buttons.
- To activate/deactivate an alarm: Simply slide the respective Alarm 1 or Alarm 2 switch to 'ON' or 'OFF'. An alarm icon will appear on the display when an alarm is active.

Image: The ADE Digital Alarm Clock CK2310-1 displaying smart alarm features, including automatic time adjustment, radio clock functionality, and snooze function.
Snooze Function
When an alarm sounds, press the large "SNOOZE/LIGHT" button on the top of the clock. The alarm will pause for approximately 5 minutes and then sound again. This can typically be repeated several times.
Backlight and Auto-Light Function
- Manual Backlight: Press the "SNOOZE/LIGHT" button on the top of the clock to briefly illuminate the display for approximately 8 seconds.
- Auto-Light Function: Locate the "AUTO LIGHT" switch on the back of the clock. Slide it to the 'ON' position. The display backlight will automatically adjust its brightness based on the ambient light conditions in the room, providing a softer glow in the dark. Slide to 'OFF' to disable this feature.

Image: The ADE Digital Alarm Clock CK2310-1 demonstrating its auto-light function, where the display illumination adapts to room brightness for optimal visibility.
Temperature and Humidity Display
The clock continuously measures and displays the indoor temperature and humidity. The temperature can be displayed in Celsius (°C) or Fahrenheit (°F). This setting can usually be changed during manual time setup or by a dedicated button (e.g., a "°C/°F" button) on the device.
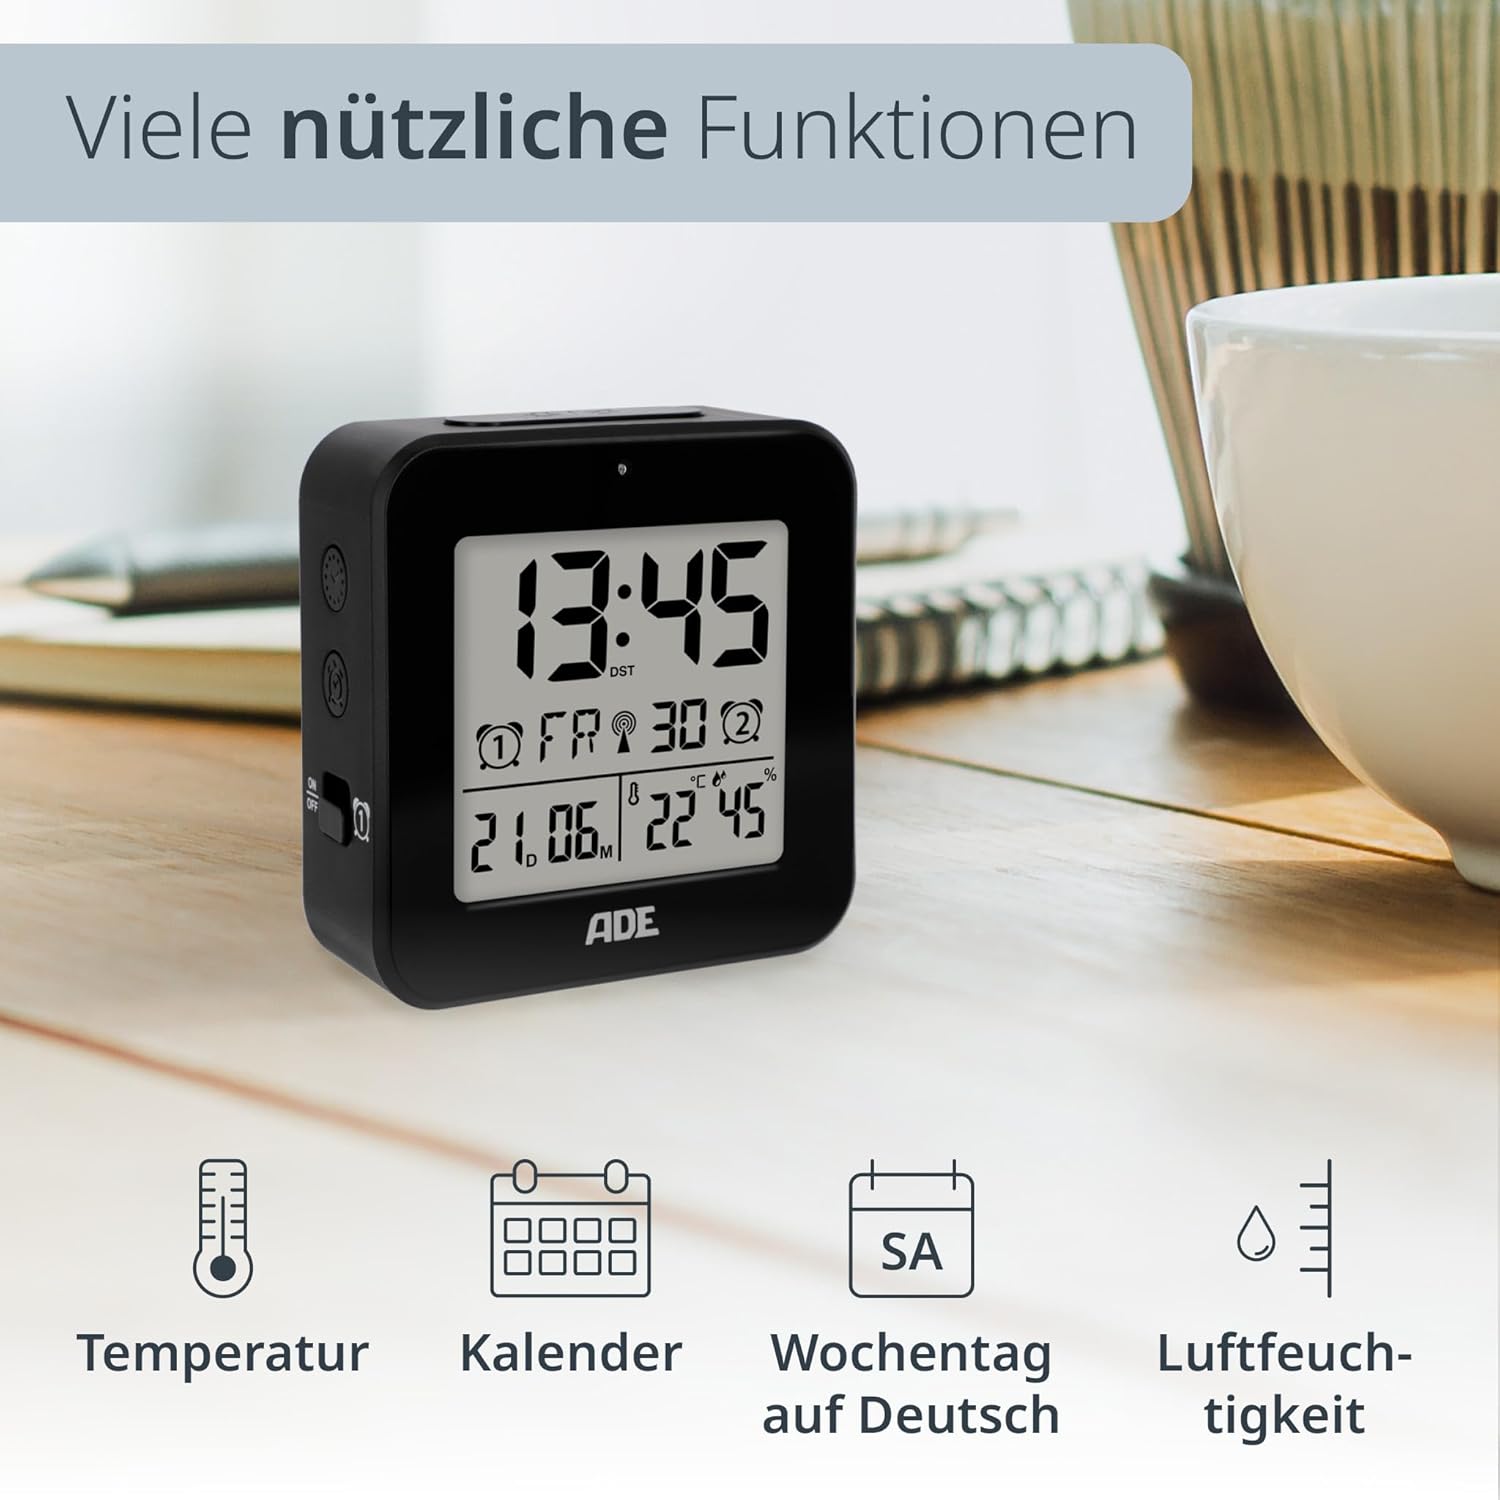
Image: The ADE Digital Alarm Clock CK2310-1 showcasing its various useful functions, including temperature, calendar, weekday, and humidity display.
DCF Radio Signal
The ADE Digital Alarm Clock features a DCF-77 radio signal receiver. This signal is broadcast from Mainflingen, Germany, and provides highly accurate time information. The clock automatically synchronizes with this signal, ensuring precise timekeeping and automatic adjustment for daylight saving time.
- The signal reception is typically stronger at night.
- Obstacles like concrete walls, mountains, or other electronic devices can interfere with reception.
- If reception is poor, try relocating the clock to a different position, preferably near a window.
Maintenance
- Clean the clock with a soft, dry cloth. Do not use abrasive cleaners or solvents.
- Avoid exposing the device to excessive dust or dirt.
- If the display becomes dim or functions irregularly, replace the batteries.
Troubleshooting
| Problem | Possible Cause | Solution |
|---|---|---|
| No display or dim display | Batteries are dead or incorrectly inserted. | Replace batteries with new AA batteries, ensuring correct polarity. |
| Incorrect time/date | Poor DCF signal reception or manual setting error. | Relocate the clock for better DCF reception. If signal is consistently poor, set time manually. |
| Alarm does not sound | Alarm is not activated or set incorrectly. | Ensure the alarm switch is in the 'ON' position and the alarm time is correctly set. |
| Backlight not working | Auto-light function is off, or batteries are low. | Check the 'AUTO LIGHT' switch. Replace batteries if necessary. |
Specifications
- Model Number: CK2310-1
- Brand: ADE
- Product Dimensions: 8 x 3.81 x 8 cm
- Item Weight: 100 Grams
- Display Type: Digital
- Power Source: Battery (2 x AA, included)
- Special Features: DCF Radio Controlled Clock, Calendar Display, Multi-language Day of Week, Temperature Display (°C/°F), Illuminated Display, Humidity Display, Two Alarm Times, Snooze Function, Auto-Light Sensor.
- Color: Black

Image: The ADE Digital Alarm Clock CK2310-1 held in a hand, illustrating its compact and portable design, ideal for travel.
Warranty and Support
ADE products are manufactured with quality and reliability in mind. This product comes with a standard manufacturer's warranty. For specific warranty details, please refer to the warranty card included in your package or visit the official ADE website.
For technical support, troubleshooting assistance, or inquiries regarding your ADE Digital Alarm Clock, please contact ADE customer service through their official website or the contact information provided with your purchase.