
Introduction
Thank you for choosing a Hotpoint Ariston appliance. This user manual provides essential information for the safe and efficient operation, installation, and maintenance of your new FA3 840 P BL HA electric oven. Please read these instructions carefully before using the appliance and keep them for future reference.
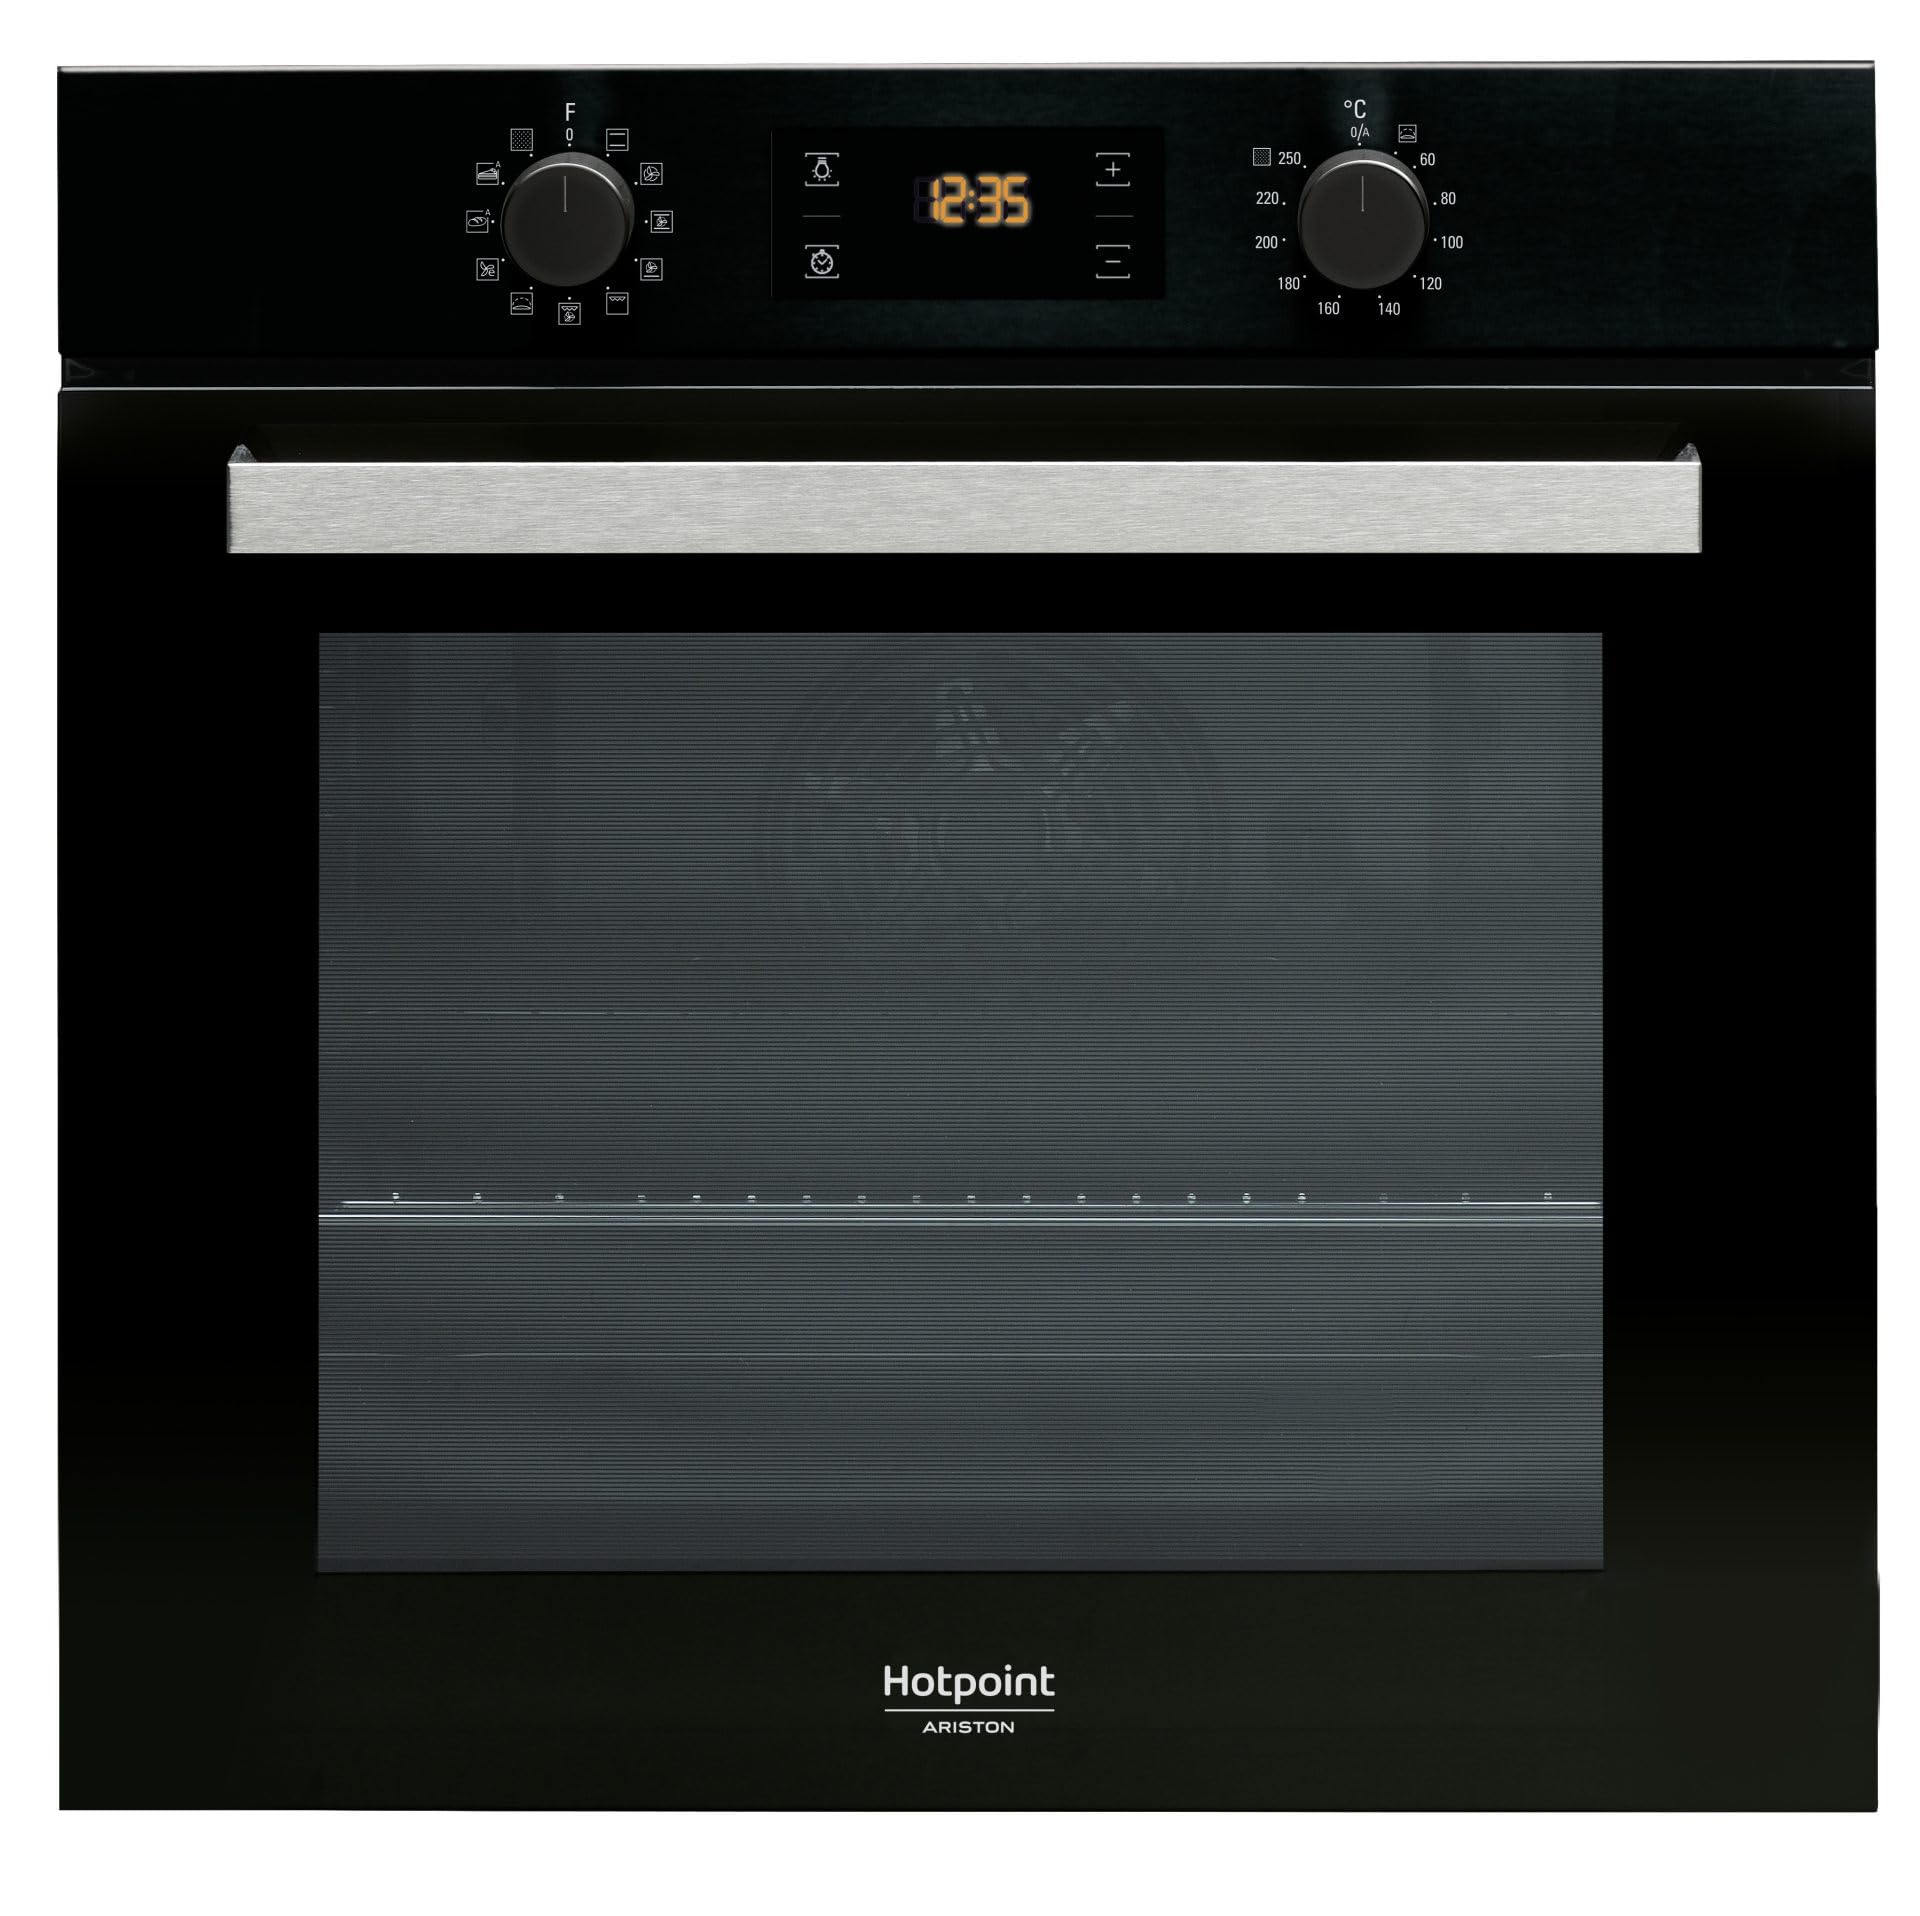
Image 1: Front view of the Hotpoint Ariston FA3 840 P BL HA electric oven, showing the control panel, oven door, and handle.
Important Safety Instructions
Always follow basic safety precautions when using electrical appliances to reduce the risk of fire, electric shock, and injury to persons.
- Read all instructions before using the oven.
- Ensure the oven is properly installed and earthed by a qualified person.
- Do not touch hot surfaces. Use oven mitts or pot holders.
- Never use the oven for heating the room.
- Keep children away from the oven during operation and cooling.
- Do not store flammable materials in or near the oven.
- Always unplug the appliance before cleaning or performing maintenance.
Setup and First Use
Unpacking
Carefully remove all packaging materials from the oven. Check for any damage during transit. Keep packaging materials out of reach of children.
Installation
The oven must be installed by a qualified technician in accordance with local regulations. Ensure adequate ventilation around the appliance. Refer to the installation diagram for precise measurements and clearances.

Image 2: Technical drawing illustrating the dimensions and required clearances for installing the Hotpoint Ariston oven into a kitchen cabinet.
First Use
Before cooking food for the first time:
- Clean the oven interior with a damp cloth and mild detergent.
- Heat the empty oven at maximum temperature for approximately 30 minutes to burn off any manufacturing residues. This may produce a slight odor; ensure the kitchen is well-ventilated.
- Allow the oven to cool completely before wiping the interior again.
Operating Instructions
Control Panel Overview
Your oven features an intuitive control panel for easy operation.

Image 3: Close-up view of the oven's control panel, showing the function selector knob on the left, the digital display and timer controls in the center, and the temperature selector knob on the right.
- Left Knob: Function Selector (e.g., Ventilated, Grill, Conventional).
- Digital Display: Shows time, temperature, and cooking duration.
- Center Buttons: Timer and clock settings.
- Right Knob: Temperature Selector (from 50°C to 250°C).
Setting the Time
Upon first connection or after a power outage, the display will flash. Use the '+' and '-' buttons to set the current time. Press the clock icon button to confirm.
Selecting a Cooking Function
Turn the left knob to select the desired cooking function. The available functions include:
- Ventilated: Ideal for cooking different types of food that require the same cooking temperature on multiple shelves simultaneously.
- Conventional: For traditional baking and roasting.
- Grill: For grilling and browning.
- (Other functions as indicated by symbols on the knob)
Setting the Temperature
After selecting a function, turn the right knob to set the desired cooking temperature. The oven will begin to preheat.
Using the Timer
Press the timer button (clock icon) and use the '+' and '-' buttons to set the cooking duration. The oven will automatically switch off once the set time has elapsed.
Maintenance and Cleaning
Regular cleaning and maintenance will ensure the longevity and optimal performance of your oven. Always ensure the oven is cool and disconnected from the power supply before cleaning.
Cleaning the Oven Cavity
- Wipe the interior with a damp cloth and a mild, non-abrasive detergent after each use.
- For stubborn stains, use a specialized oven cleaner, following the product instructions carefully. Avoid cleaners containing caustic soda.
- Remove oven racks and accessories and wash them separately in warm soapy water.
Cleaning the Oven Door
Clean the glass door with a soft cloth and a non-abrasive glass cleaner. Do not use harsh abrasive cleaners or sharp metal scrapers as they can scratch the surface.
Replacing the Oven Lamp
Ensure the oven is unplugged and cool. Unscrew the protective glass cover, replace the bulb with a new one of the same type (check specifications for bulb type), and then reattach the cover.
Troubleshooting
If you encounter problems with your oven, consult the table below before contacting customer service.
| Problem | Possible Cause | Solution |
|---|---|---|
| Oven does not heat up. | No power supply. Door not closed properly. Function/temperature not set. | Check power connection and circuit breaker. Ensure door is fully closed. Verify function and temperature settings. |
| Light not working. | Bulb is faulty. | Replace the oven lamp (refer to Maintenance section). |
| Excessive smoke during cooking. | Food spillage or grease build-up. | Clean the oven thoroughly (refer to Maintenance section). Reduce cooking temperature if necessary. |
Technical Specifications
- Model: FA3 840 P BL HA
- Type: Electric Oven
- Capacity: 66 Liters
- Energy Class: A+
- Functions: Ventilated, Conventional, Grill, etc.
- Power Supply: 220-240V ~ 50/60Hz (refer to product label for exact details)

Image 4: Energy efficiency label indicating the oven's A+ rating, signifying high energy efficiency.
Warranty and Customer Support
Your Hotpoint Ariston oven comes with a manufacturer's warranty. Please refer to the separate warranty card provided with your appliance for detailed terms and conditions. For technical assistance, spare parts, or to report a fault, please contact Hotpoint Ariston customer service. Have your model number (FA3 840 P BL HA) and serial number ready when you call.


