Introduction
This manual provides comprehensive instructions for the setup, operation, and maintenance of your TFA Dostmann 60.2036 Mini Digital Clock. Please read these instructions carefully before using the device to ensure proper function and longevity.
Product Overview
The TFA Dostmann 60.2036 is a versatile mini digital clock designed for portability and multiple functions, including an alarm, stopwatch, and timer. It features a clear digital display and intuitive controls.
Key Features:
- Digital alarm mode with stopwatch and timer functions.
- Compact size, ideal for travel, with a key lock feature to prevent accidental settings changes.
- Multiple mounting options: magnetic attachment or integrated stand.
- Powered by 1 AAA 1.5V alkaline battery (included).
- Can be used as a table clock, stopwatch, timer, or alarm clock in various settings.
Components:
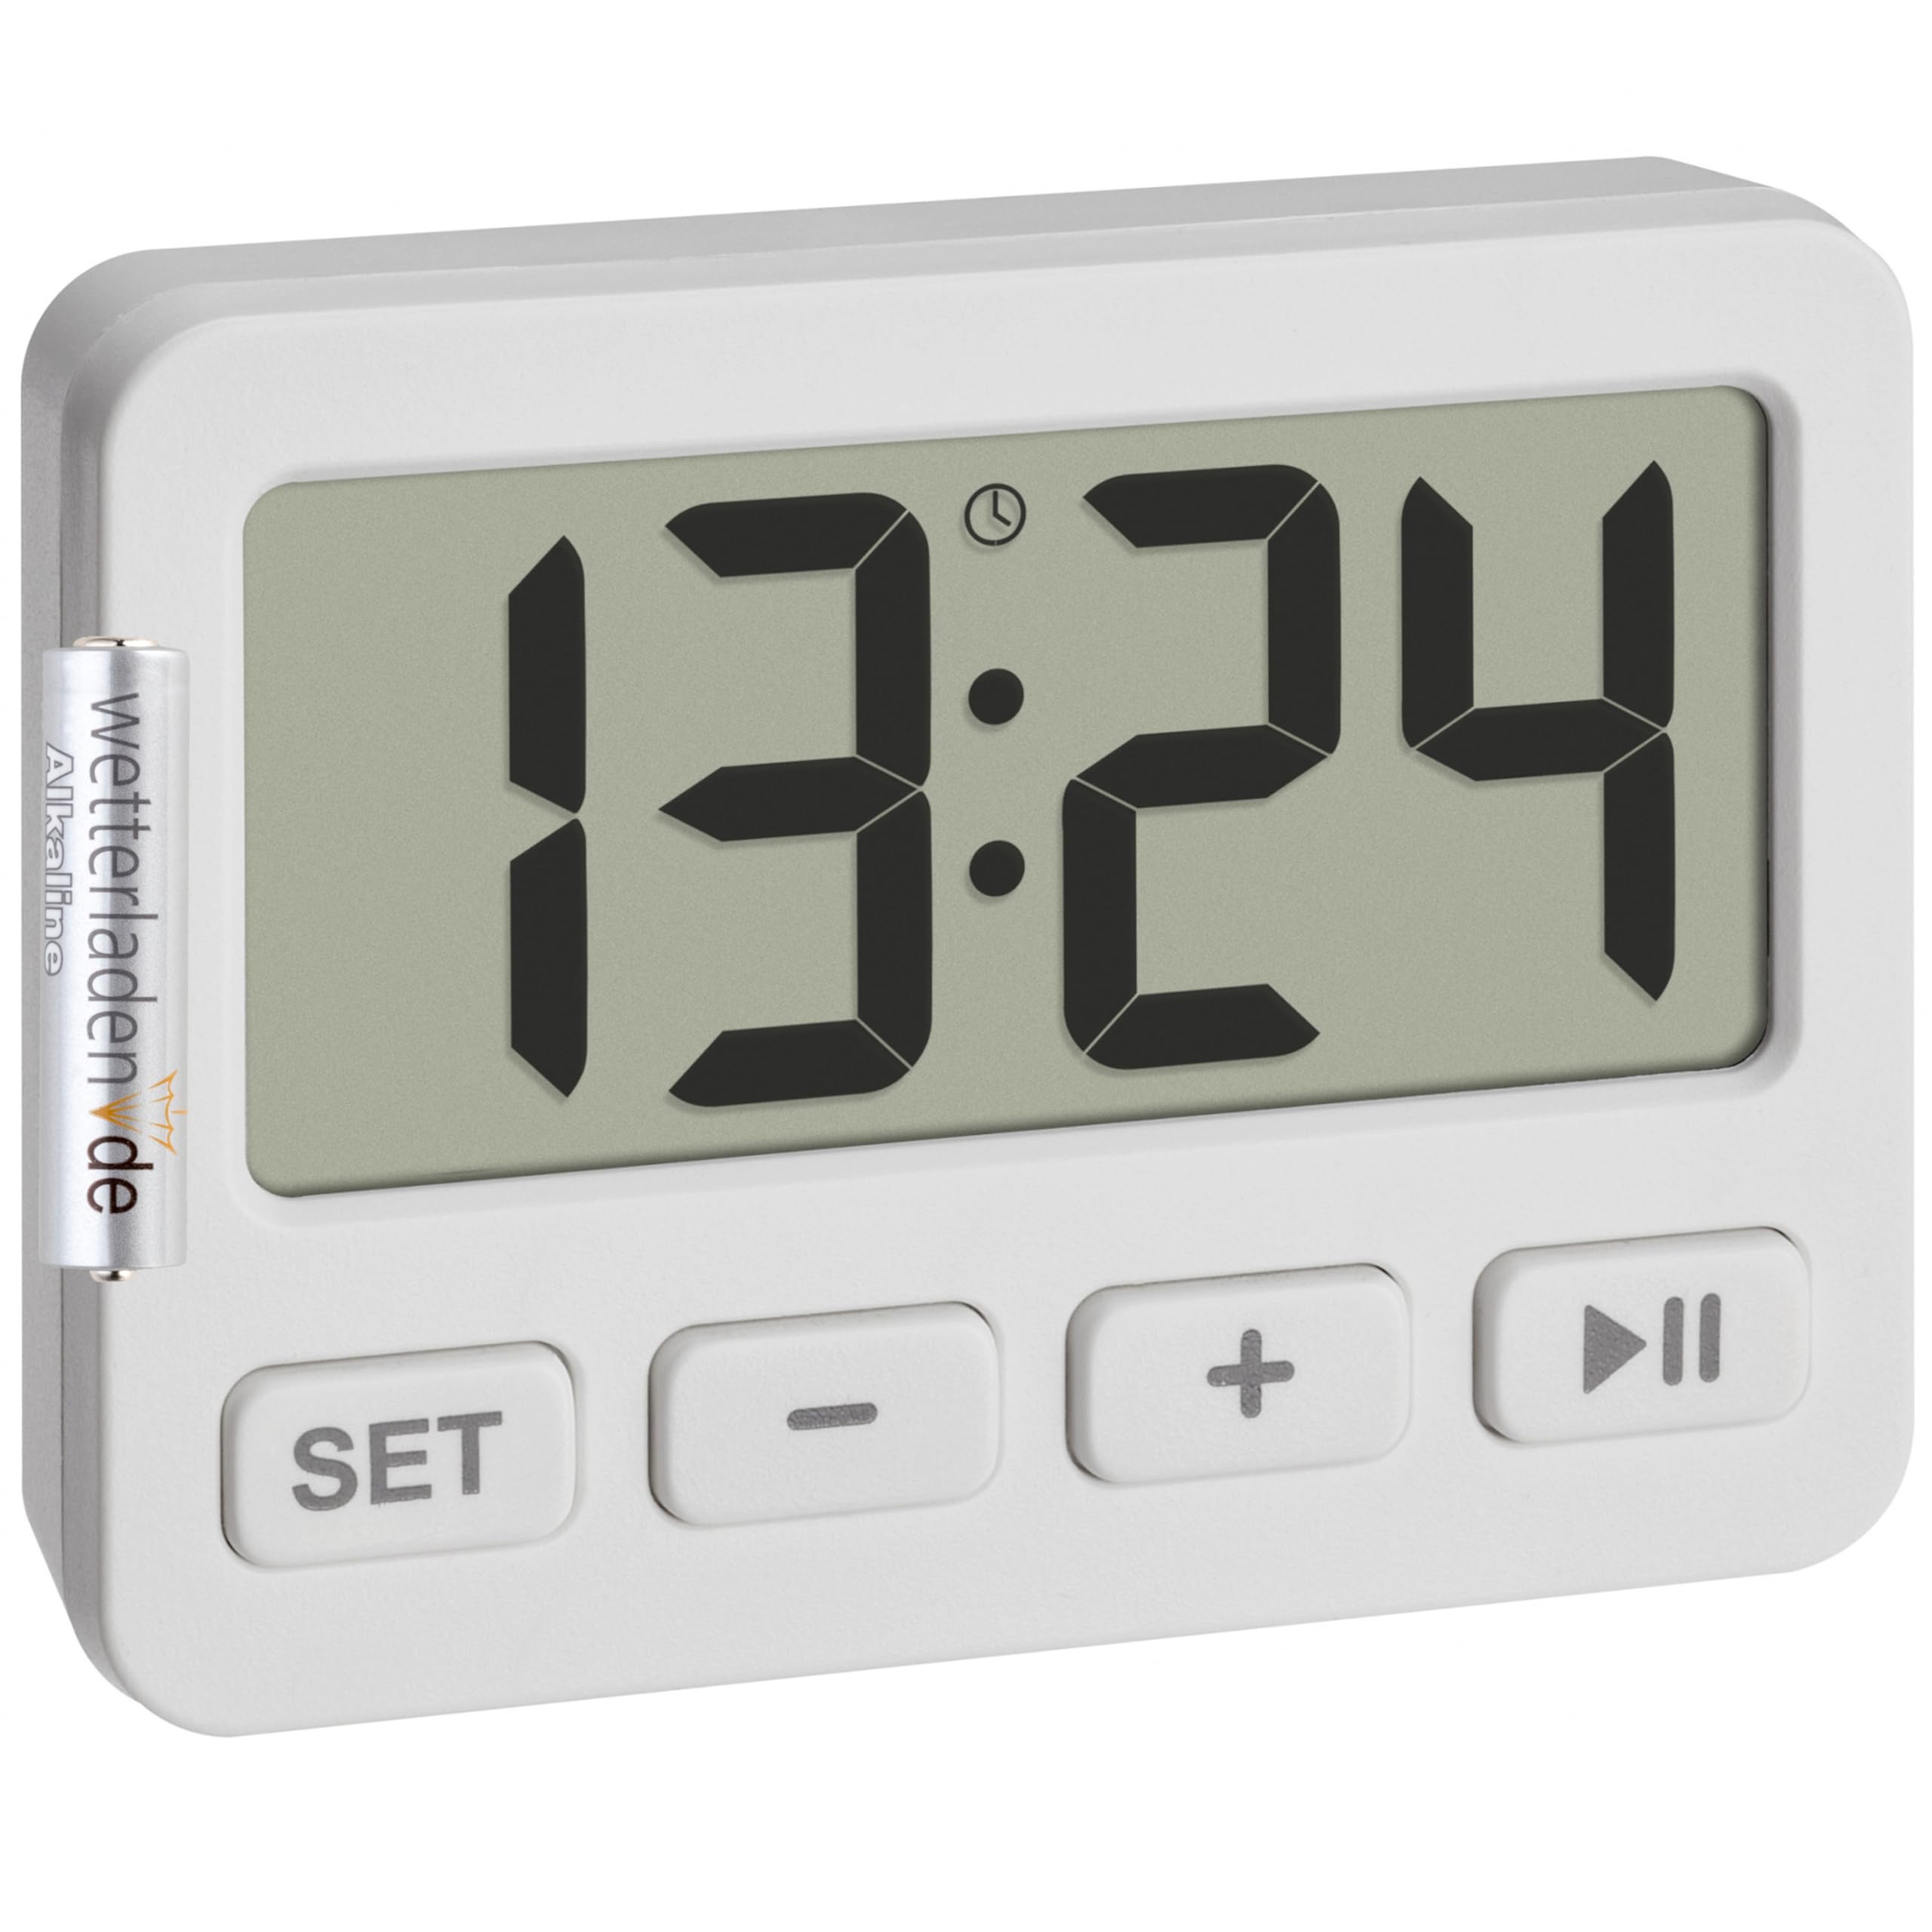
Figure 1: Front view of the TFA Dostmann 60.2036 Mini Digital Clock. The clock features a large digital display, a 'SET' button, a '-' (minus) button, a '+' (plus) button, and a 'Play/Pause' button. An alarm icon is visible on the display.
- Digital Display: Shows time, alarm status, stopwatch, or timer.
- SET Button: Used to enter and confirm settings.
- - (Minus) Button: Decreases values or navigates options.
- + (Plus) Button: Increases values or navigates options.
- Play/Pause Button: Starts/stops stopwatch or timer, activates/deactivates alarm.
- Battery Compartment (Rear): Holds 1 AAA battery.
- Integrated Stand (Rear): For tabletop placement.
- Magnets (Rear): For attachment to metallic surfaces.
Setup
1. Battery Installation
- Locate the battery compartment on the back of the device.
- Open the battery compartment cover.
- Insert one AAA 1.5V alkaline battery, ensuring correct polarity (+/-). A battery is included with the product.
- Close the battery compartment cover securely.
2. Initial Time Setting
- After battery installation, the display will show a default time or flash.
- Press and hold the SET button for a few seconds until the hour digits begin to flash.
- Use the + or - buttons to adjust the hour.
- Press the SET button again to confirm the hour and move to the minute setting.
- Use the + or - buttons to adjust the minutes.
- Press the SET button one last time to confirm the minutes and exit time setting mode.
Operating Instructions
1. Switching Between Modes (Clock, Alarm, Stopwatch, Timer)
Press the SET button briefly to cycle through the different modes: Time Display → Alarm Setting → Stopwatch → Timer.
2. Setting the Alarm
- Press SET repeatedly until the alarm time is displayed (often indicated by an alarm icon).
- Press and hold the SET button until the alarm hour digits flash.
- Use + or - to set the desired alarm hour.
- Press SET to confirm the hour and move to minutes.
- Use + or - to set the desired alarm minutes.
- Press SET to confirm and exit alarm setting.
Activating/Deactivating the Alarm:
In alarm display mode, press the Play/Pause button to toggle the alarm ON or OFF. An alarm icon on the display indicates that the alarm is active.
Stopping the Alarm:
When the alarm sounds, press any button to silence it. The alarm will reset for the next day.
3. Using the Stopwatch
- Press SET repeatedly until the stopwatch mode is displayed (usually showing "00:00:00").
- Press the Play/Pause button to start the stopwatch.
- Press the Play/Pause button again to pause the stopwatch.
- To resume, press Play/Pause again.
- To reset the stopwatch to zero, press the - button while the stopwatch is paused.
4. Using the Timer (Countdown)
- Press SET repeatedly until the timer mode is displayed (usually showing "00:00:00" or the last set timer value).
- Press and hold the SET button until the hour digits flash.
- Use + or - to set the desired timer hour.
- Press SET to confirm the hour and move to minutes.
- Use + or - to set the desired timer minutes.
- Press SET to confirm and exit timer setting.
- Press the Play/Pause button to start the countdown.
- When the timer reaches zero, an alarm will sound. Press any button to silence it.
- To pause the timer, press Play/Pause during countdown. Press again to resume.
- To reset the timer to its last set value, press the - button while the timer is paused or has finished.
5. Key Lock Function
To prevent accidental changes to settings, especially during travel, the device features a key lock function.
- To activate the key lock: Press and hold the Play/Pause button for approximately 3 seconds. A lock icon may appear on the display.
- To deactivate the key lock: Press and hold the Play/Pause button again for approximately 3 seconds. The lock icon will disappear.
6. Mounting Options
- Integrated Stand: Pull out the stand located on the back of the clock to place it on any flat surface.
- Magnetic Attachment: Use the integrated magnets on the back of the clock to attach it to metallic surfaces like refrigerators or whiteboards.
Maintenance
Cleaning:
- Clean the device with a soft, dry cloth.
- Do not use abrasive cleaners or solvents, as these can damage the display or casing.
- Avoid exposing the device to excessive moisture.
Battery Replacement:
When the display becomes dim or the device stops functioning, it is time to replace the battery.
- Follow the battery installation steps outlined in the Setup section.
- Always use a fresh AAA 1.5V alkaline battery.
- Dispose of old batteries responsibly according to local regulations.
Troubleshooting
| Problem | Possible Cause | Solution |
|---|---|---|
| Display is blank or dim. | Low or dead battery. Incorrect battery installation. | Replace the AAA battery. Check battery polarity. |
| Buttons are unresponsive. | Key lock is activated. | Deactivate the key lock by pressing and holding the Play/Pause button for 3 seconds. |
| Alarm does not sound. | Alarm is not activated. Alarm volume is too low (if adjustable, though not specified for this model). | Ensure the alarm icon is visible on the display. Check battery level. |
| Time/settings reset unexpectedly. | Battery removed or power interrupted. | Re-enter time and settings. Ensure battery is securely in place. |
Specifications
- Model: TFA Dostmann 60.2036
- Material: Plastic
- Color: White
- Power Source: 1 x AAA 1.5V battery (included)
- Product Dimensions (Depth x Height): 15P x 15H millimeters
- Package Dimensions: 6.5 x 5 x 3 cm
- Item Weight: 21 Grams
- Display Size: 55 Millimeters
- Functions: Clock, Alarm, Stopwatch, Timer, Key Lock
Warranty and Support
For warranty information and customer support, please refer to the documentation provided with your purchase or visit the official TFA Dostmann website. Keep your proof of purchase for any warranty claims.
Manufacturer: TFA Dostmann