Introduction
This manual provides detailed instructions for the safe and efficient operation of your Czgor 60 LED Stage Light. Please read this manual thoroughly before use and retain it for future reference.
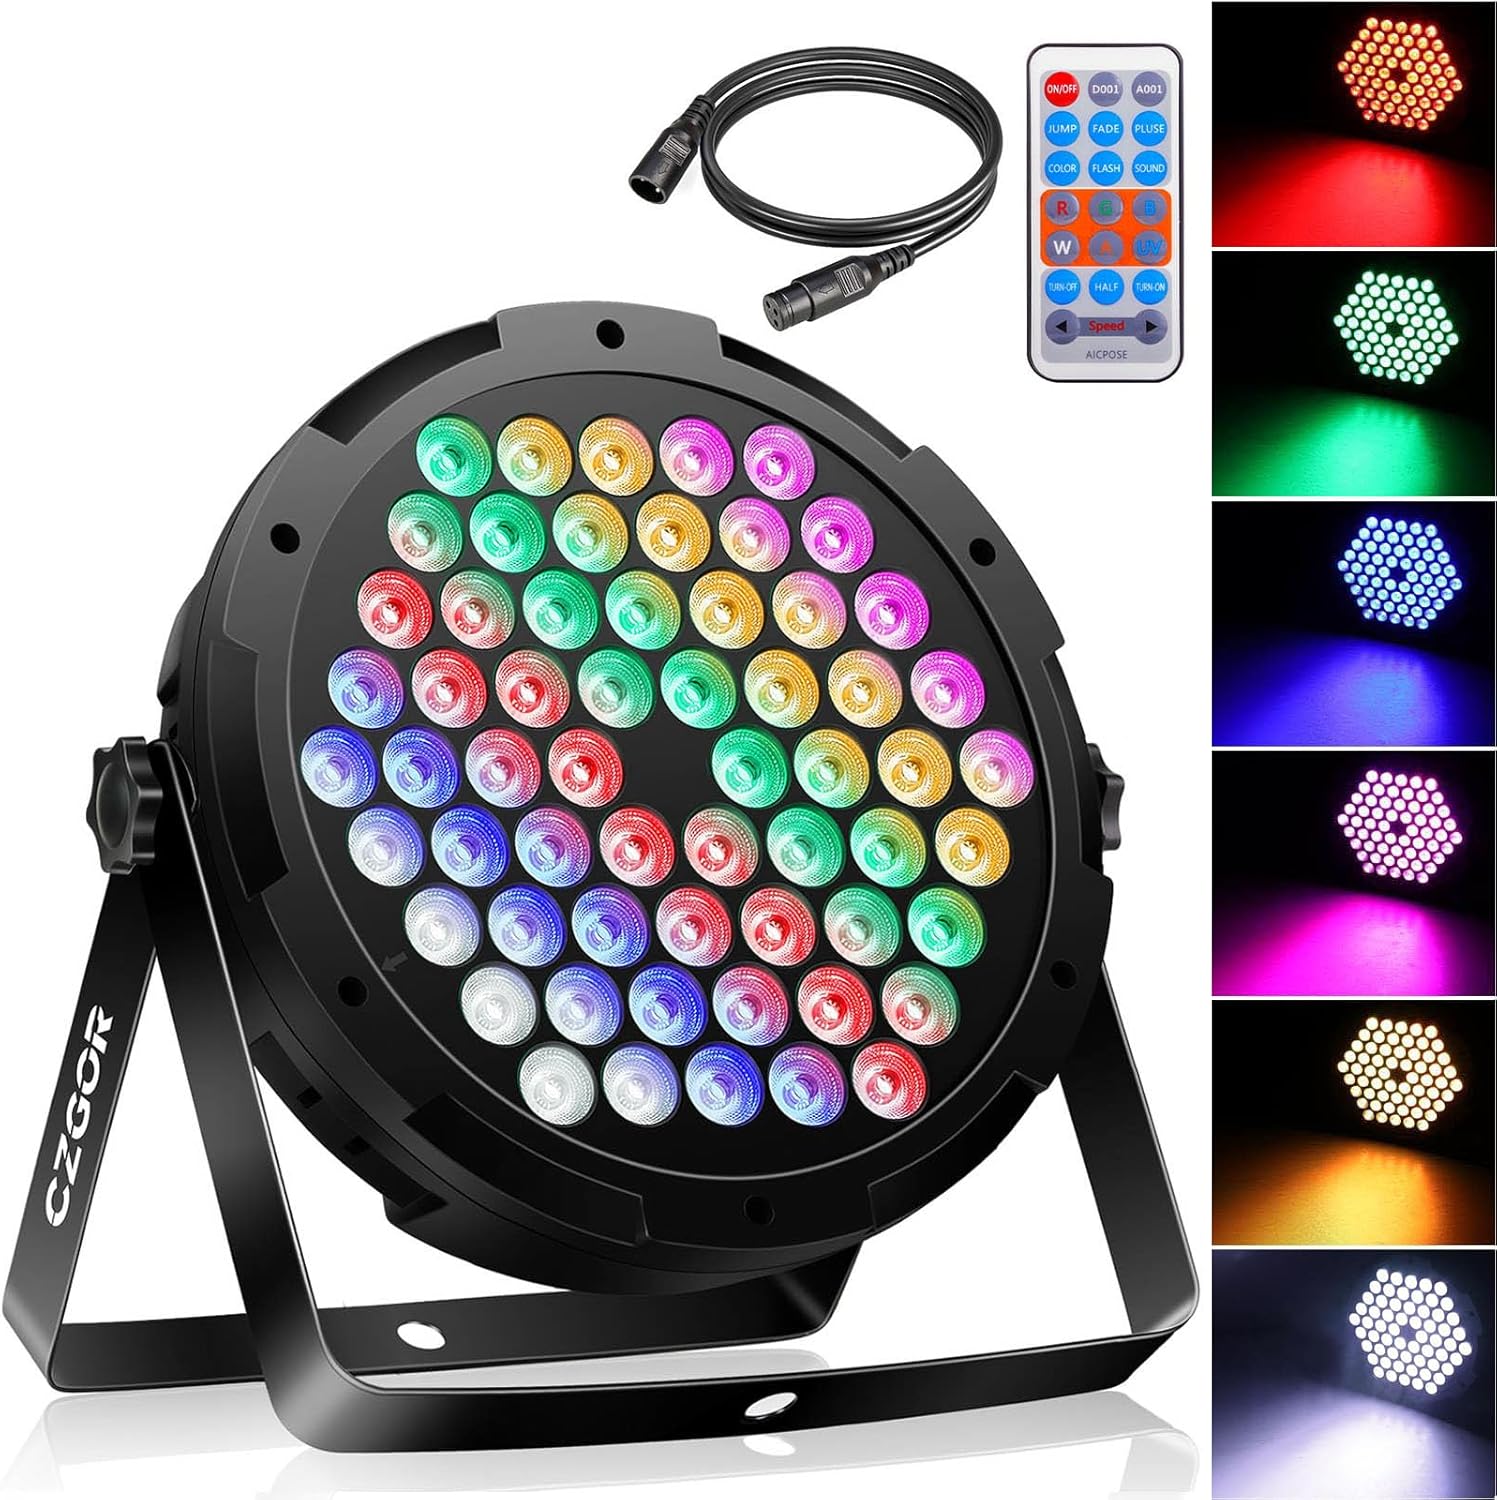
Image: The Czgor 60 LED Stage Light, showcasing its front LED array, included remote control, and DMX cable.
What's in the Box
Verify that all components are present upon opening the package:
- 90W Par Light x 1
- 3.2FT DMX Cable x 1
- Remote x 1
- Metal Stand x 2
- Screws x 2
- Manual x 1

Image: All components included in the package: the 60 LED stage light, remote control, DMX cable, metal stands, and screws.
Video: An unboxing demonstration showing the contents of the Czgor 60 LED Stage Light package.
Specifications
| Brand | Czgor |
| Model Number | 50w parlightW |
| Light Source Type | Light Emitting Diode (LED) |
| Number of Light Sources | 60 |
| Wattage | 90 Watts |
| Voltage | 110 Volts (AC) |
| Beam Angle | 25 Degrees |
| Control Channels | 7 DMX Channels |
| Control Modes | Auto / Master/Slave / DMX512 |
| Material | Acrylonitrile Butadiene Styrene (ABS), Metal, Plastic |
| Product Dimensions | 9"L x 2.5"W x 9"H |
| Item Weight | 2.52 pounds |

Image: Detailed technical specifications and dimensions of the Czgor 60 LED Stage Light.
Setup
- Attach the Metal Stand: Secure the two metal stands to the sides of the light using the provided screws. Ensure they are tightened for stability.
- Placement: The 360° adjustable brackets allow for flexible placement. Position the light on a table, floor, wall, or ceiling as required. Ensure the light is stable and securely mounted to prevent accidental falls.
- Power Connection: Connect the power cord to the light and then to a standard 110V AC power outlet.
- DMX Connection (Optional): If using DMX control, connect the provided 3.2FT DMX cable from your DMX controller to the DMX IN port on the light. For multiple lights, connect them in a daisy chain from DMX OUT to DMX IN.

Image: The Czgor 60 LED Stage Light with its dimensions and all accessories laid out, illustrating the components for setup.
Video: A demonstration of the Czgor 60 LED Stage Light displaying various color changes and effects.
Operating Modes
1. Remote Control Operation
The included wireless remote control allows for convenient adjustment of lighting effects and colors.
- Power On/Off: Press the "ON/OFF" button to power the light on or off.
- Color Selection: Use the R (Red), G (Green), B (Blue), W (White), Y (Yellow), PK (Pink), UV (Ultraviolet) buttons to select a static color. To change colors, first turn off the current color by pressing its button again, then select a new color.
- Lighting Modes:
- JUMP Mode: Colors change abruptly.
- FADE Mode: Colors transition smoothly.
- PLUSE Mode: Colors pulse.
- FLASH Mode: Colors flash rapidly.
- SOUND Mode: Light effects react to sound.
- Brightness/Speed Adjustment: Use the "Speed +" and "Speed -" buttons to adjust the speed of dynamic modes or the brightness of static colors.
- Half/Turn-On/Turn-Off: These buttons control brightness levels or turn off specific color channels.

Image: The remote control for the Czgor 60 LED Stage Light, highlighting buttons for power, color selection, and various lighting modes.

Image: A detailed diagram of the remote control, labeling each button and its corresponding function for controlling the light.
Video: A demonstration of the Czgor 60 LED Stage Light being controlled by its remote, showcasing various color and mode changes.
2. Control Panel Operation
The rear control panel provides direct access to settings and modes.
- MENU: Press to cycle through different operating modes (e.g., DMX, Auto, Sound Active).
- UP/DOWN: Use these buttons to navigate options or adjust values within a selected mode.
- ENTER: Confirm your selection or setting.
- Digital Display: Shows the current mode or value.

Image: A labeled diagram of the light's rear control panel, indicating the digital display, menu navigation buttons, DMX input/output, and cooling fan.
3. DMX Control
For advanced control, connect the light to a DMX512 controller using the DMX IN/OUT ports.
- DMX Address Setting: Use the control panel to set the DMX address for each light. Refer to the DMX Description table for channel values.
- Channel Functions: The light utilizes 7 DMX channels for various functions including total dimming, individual RGB color control, strobe effects, program selection (jump, gradual, pulse, voice control), and speed adjustment.

Image: A table outlining the 7 DMX channels and their corresponding functions and value ranges for controlling the Czgor 60 LED Stage Light.
Maintenance
- Cleaning: Regularly clean the lens and exterior with a soft, dry cloth to maintain optimal light output. Do not use harsh chemicals or abrasive materials.
- Cooling Fan: Ensure the built-in cooling fan is free from dust and obstructions to prevent overheating.
- Storage: When not in use, store the light in a cool, dry place away from direct sunlight and extreme temperatures.
- Cable Inspection: Periodically check power and DMX cables for any signs of wear or damage. Replace damaged cables immediately.
Troubleshooting
| Problem | Possible Cause | Solution |
|---|---|---|
| Light does not turn on. | No power supply; faulty power cord. | Check power connection and outlet. Ensure power cord is securely connected and undamaged. |
| Remote control not working. | Remote battery depleted; remote not aimed correctly. | Replace remote battery. Ensure remote is aimed directly at the light's sensor. |
| Incorrect color display via remote. | Previous color not deselected. | Press the current color button again to turn it off, then select the desired new color. |
| DMX control issues. | Incorrect DMX address; faulty DMX cable; controller issue. | Verify DMX address settings on the light. Check DMX cable connections. Test with a different DMX cable or controller if available. |
Warranty and Support
For any questions or support needs regarding your Czgor 60 LED Stage Light, please refer to the contact information provided with your purchase or visit the official Czgor website. Keep your purchase receipt for warranty claims.


