1. Introduction
1.1 Product Overview
The ADBEN M108 Smart Digital Multimeter is a versatile handheld testing device designed for various electrical measurements. It features auto-ranging capabilities, a 4000-count display, and functions such as NCV (Non-Contact Voltage) detection, AC/DC voltage and current measurement, resistance, capacitance, and frequency testing. Its compact design includes a backlight, flashlight, and convenient test lead storage.

Image: The ADBEN M108 Smart Digital Multimeter shown with its red and black test leads connected, highlighting its compact design and clear display.
2. Safety Information
Always adhere to safety precautions when using electrical testing equipment. Failure to do so may result in injury or damage to the meter or equipment under test.
- Do not exceed the maximum input values specified for each measurement range.
- Ensure test leads are properly connected before taking measurements.
- Do not use the meter if it appears damaged or if the test leads are compromised.
- Exercise extreme caution when working with live circuits.
- Always disconnect power to the circuit before measuring resistance, capacitance, or continuity.
- Replace batteries when the low battery indicator appears to ensure accurate readings.
3. Package Contents
Verify that all items are present in the package:
- 1 x ADBEN M108 Smart Digital Multimeter
- 2 x Test Leads (Red and Black)
- 1 x User Manual (English)
4. Product Features
The M108 Multimeter offers a range of features for efficient and safe electrical testing:
- Automatic Identification: Simplifies operation by automatically recognizing measurement types.
- 4000 Counts Display: Provides precise readings.
- NCV (Non-Contact Voltage) Detection: Detects AC voltage without direct contact, enhancing safety.
- Backlight Display: Ensures readability in low-light conditions.
- Flashlight Function: Integrated flashlight for illuminating work areas.
- Data Hold: Freezes the current reading on the display for convenient recording.
- Anti-drop Silicone Shell: Durable design with a protective silicone casing.
- Integrated Test Lead Storage: Convenient slots on the back for storing test leads.
- High Quality PVC Test Leads: Durable and safe test leads with 1000V PVC/Brass construction.

Image: The M108 Multimeter held in hand, illustrating the non-contact voltage (NCV) detection feature with an alarm indication on the display.

Image: The M108 Multimeter displaying its screen backlight and active flashlight function, useful for dark environments.
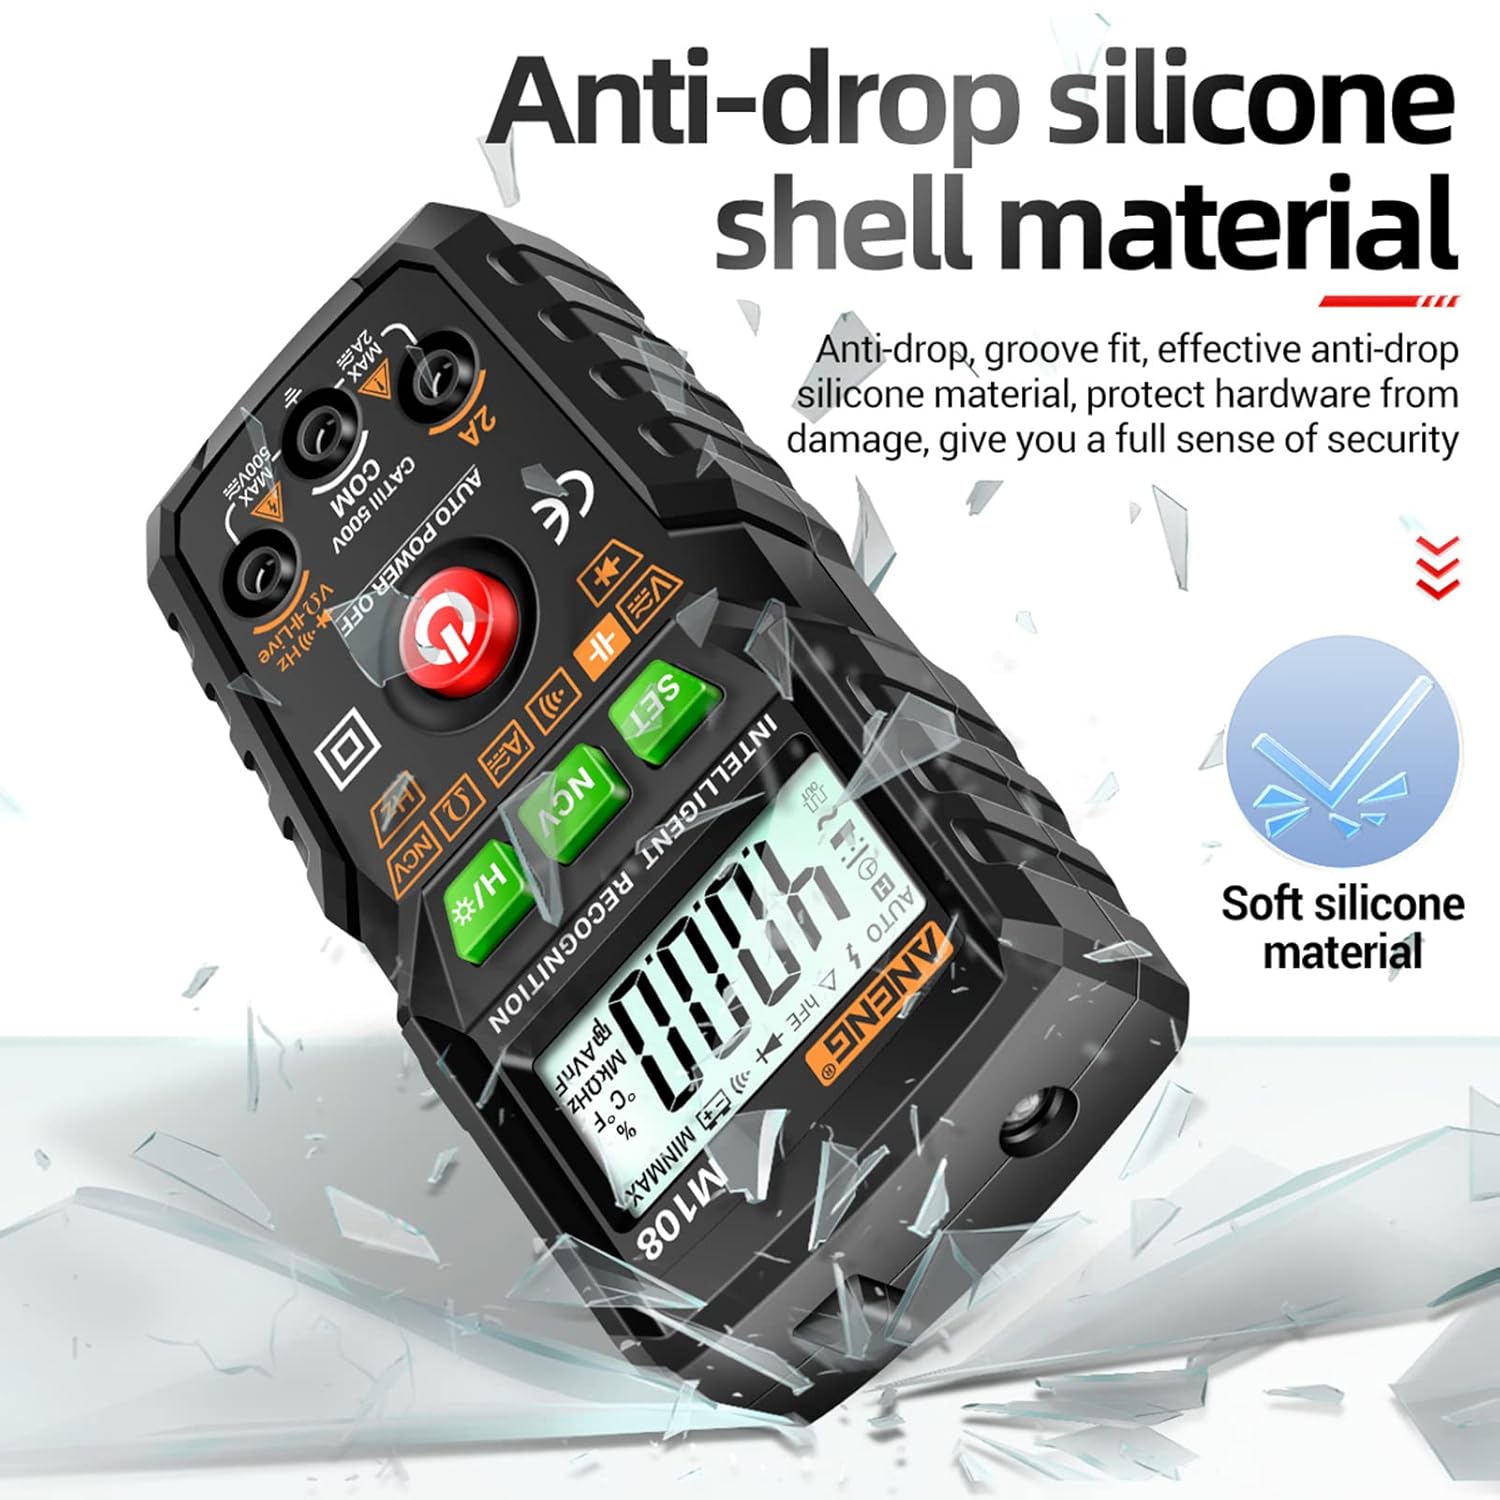
Image: The M108 Multimeter showcasing its anti-drop silicone shell material, designed for enhanced durability and protection.

Image: The rear view of the M108 Multimeter, illustrating the integrated slots for neat storage of the test leads.

Image: A close-up of the high-quality PVC test leads, emphasizing their robust construction and 1000V rating.
5. Setup
5.1 Battery Installation
- Locate the battery compartment on the back of the multimeter.
- Use a screwdriver to open the battery cover.
- Insert two 1.5V AAA batteries, observing the correct polarity (+/-).
- Replace the battery cover and secure it with the screw.
5.2 Connecting Test Leads
- Insert the red test lead into the "VΩHz" input jack.
- Insert the black test lead into the "COM" (common) input jack.
- For current measurements up to 2A, insert the red test lead into the "2A" input jack.
6. Operating Instructions
The M108 features automatic identification for most measurements, simplifying operation.
6.1 Power On/Off
Press the red power button (⑂) to turn the multimeter on or off. The meter will automatically power off after 15 minutes of inactivity.
6.2 Automatic Measurement Mode
In the default automatic mode, the multimeter will intelligently identify the type of measurement (AC/DC voltage, resistance, continuity) when test leads are connected to the circuit.
6.3 Manual Function Selection
Press the SET button to cycle through different measurement functions if manual selection is desired or if the automatic mode does not select the intended function.
6.4 NCV (Non-Contact Voltage) Measurement
- Press the NCV button to enter NCV mode.
- Bring the front end of the multimeter close to the AC voltage source.
- The meter will beep and the NCV indicator will light up when voltage is detected.
6.5 Flashlight and Backlight
Long press the H/* button to toggle the flashlight and screen backlight on or off.
6.6 Data Hold
Press the H/* button briefly to activate or deactivate the data hold function, which freezes the current reading on the display.
6.7 Specific Measurement Functions
6.7.1 DC Voltage Measurement
- Connect the red test lead to the positive side and the black test lead to the negative side of the DC voltage source.
- The meter will automatically display the DC voltage.
6.7.2 AC Voltage Measurement
- Connect the test leads across the AC voltage source.
- The meter will automatically display the AC voltage.
6.7.3 Resistance Measurement
- Ensure the circuit is de-energized before measuring resistance.
- Connect the test leads across the component to be measured.
- The meter will display the resistance value.
6.7.4 Continuity Test
- Ensure the circuit is de-energized.
- Connect the test leads across the circuit or component.
- A continuous beep indicates continuity (low resistance).
6.7.5 Diode Test
- Ensure the circuit is de-energized.
- Connect the red test lead to the anode and the black test lead to the cathode of the diode.
- The meter will display the forward voltage drop. Reverse the leads to check for open circuit.
6.7.6 Capacitance Measurement
- Ensure the capacitor is fully discharged before measurement.
- Connect the test leads across the capacitor terminals.
- The meter will display the capacitance value.
6.7.7 Frequency Measurement
- Connect the test leads to the circuit where frequency needs to be measured.
- The meter will display the frequency in Hz.
7. Maintenance
7.1 Cleaning
Wipe the multimeter with a dry, soft cloth. Do not use abrasive cleaners or solvents.
7.2 Battery Replacement
When the low battery indicator appears on the display, replace the batteries as described in Section 5.1.
7.3 Storage
Store the multimeter in a cool, dry place away from direct sunlight and extreme temperatures. Remove batteries if the meter will not be used for an extended period.
8. Troubleshooting
| Problem | Possible Cause | Solution |
|---|---|---|
| Meter does not power on | Dead or incorrectly installed batteries | Check battery polarity or replace batteries. |
| Inaccurate readings | Low battery, incorrect function selected, or damaged test leads | Replace batteries, ensure correct function is selected (if not in auto mode), inspect and replace test leads if damaged. |
| No NCV detection | Not in NCV mode, or no AC voltage present | Press NCV button to enter NCV mode. Verify AC voltage presence with a known source. |
| Display shows "OL" | Overload or open circuit | The measured value exceeds the range, or there is an open circuit. Check connections and measurement range. |
9. Specifications
| Parameter | Range/Resolution | Accuracy |
|---|---|---|
| DC Voltage | 0~500V / 0.001~1V | ±(1.2%+5) |
| AC Voltage | 0~500V / 0.001~1V | ±(1.5%+8) |
| DC Current | 0mA~2A / 0.1~1mA | ±(2.5%+8) |
| AC Current | 0mA~2A / 0.1~1mA | ±(3.0%+8) |
| Resistance | 0kΩ~20MΩ / 0Ω~10kΩ | ±(1.5%+10) |
| Capacitance | 0nF~40mF / 0pF~10uF | ±(10%+8) |
| Frequency | 0Hz~4MHz / 0Hz~1kHz | ±(4%+10) |
| Max. Display | 4000 counts | N/A |
| Auto-off | 15 minutes | N/A |
| Power Supply | 2 * 1.5V AAA battery | N/A |
| Item Size | 120.3 * 57.3 * 37.4mm (4.73 * 2.25 * 1.47in) | N/A |
| Item Weight | 108g (3.81oz) | N/A |
10. Warranty and Support
For warranty information and technical support, please refer to the contact details provided with your purchase or visit the official ADBEN website.
This product is manufactured by ADBEN.