1. Introduction
This manual provides essential information for the installation, operation, maintenance, and troubleshooting of the MoVols Electronic Door Lock Micro-Delay Door Switch, model 0024000128E/C. This component is designed as a replacement part compatible with Haier Drum Washing Machines, ensuring proper door locking mechanisms for safe and efficient operation.
2. Safety Information
WARNING: Before attempting any installation, maintenance, or repair, ensure the washing machine is completely disconnected from the power supply. Failure to do so can result in electric shock, serious injury, or death.
- Always disconnect power before servicing.
- Wear appropriate personal protective equipment (PPE).
- If you are unsure about any step, consult a qualified technician.
- Do not operate the washing machine with a damaged or improperly installed door lock switch.
3. Product Overview
The MoVols Electronic Door Lock Micro-Delay Door Switch is a critical safety component in drum washing machines. It ensures that the washing machine door remains securely locked during operation, preventing water leaks and accidental opening. The micro-delay feature allows for a brief delay before the door can be opened after a cycle, enhancing safety.
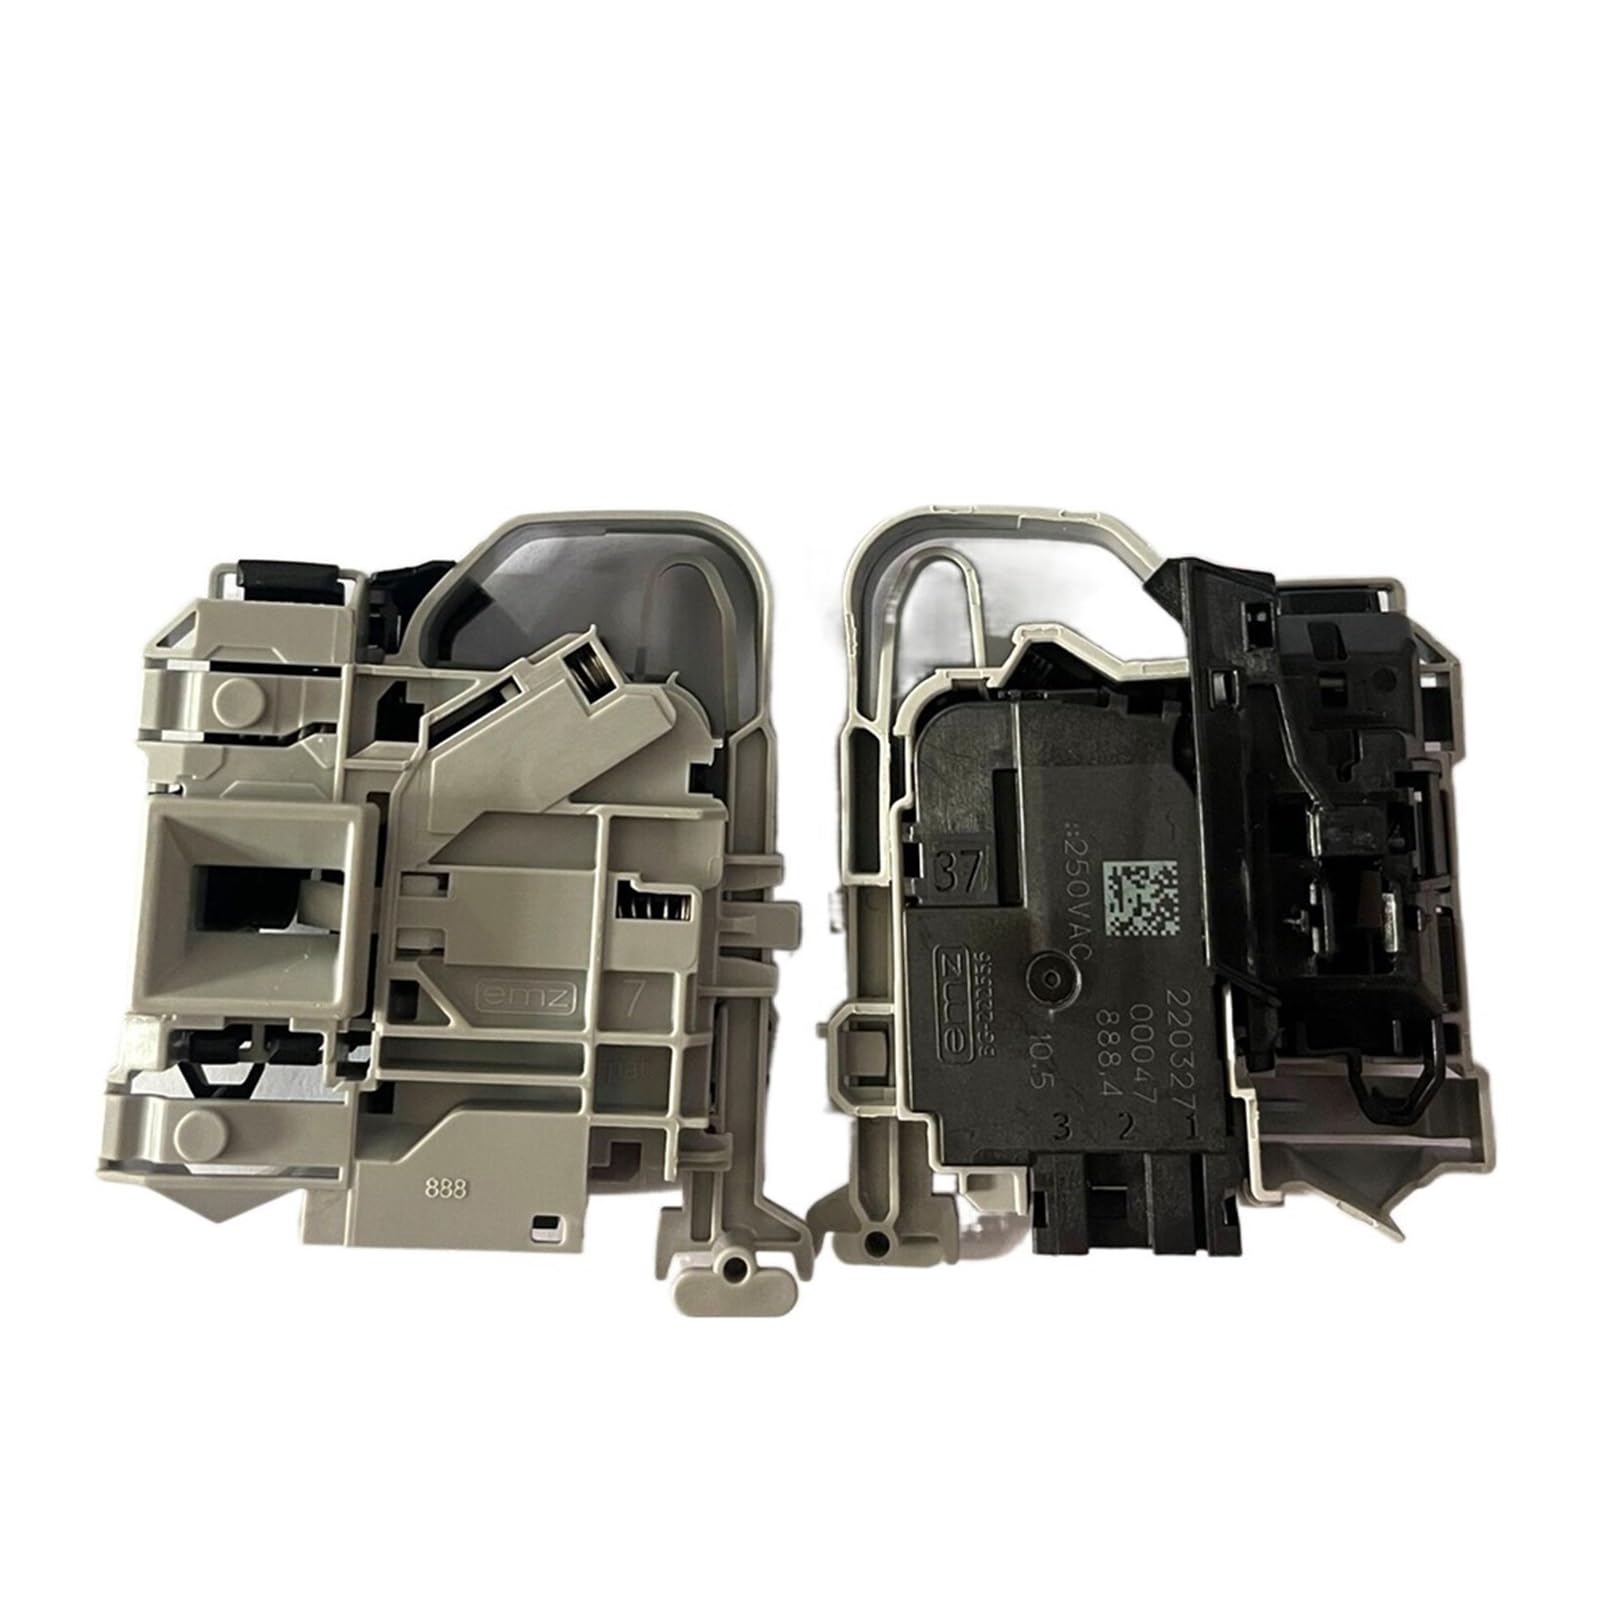
Figure 1: Front and back view of the MoVols Electronic Door Lock Micro-Delay Door Switch. The white rectangular component on the left contains the main electronic circuitry and part number markings. The gray housing shows the mechanical and electrical connection points.
Key markings visible on the component include: V13305 0024000128E, 317 92 001 WP, T85 1E4 180823 16:38, and electrical ratings 1-2 18 (6) A 250VAC μ.
4. Installation (Setup)
This section outlines the general procedure for replacing the door lock switch. Specific steps may vary slightly depending on your washing machine model. Always refer to your washing machine's service manual for detailed instructions.
Tools Required (Typical):
- Screwdriver set (Phillips and flathead)
- Pliers
- Multimeter (for testing, optional)
Installation Steps:
- Disconnect Power: Unplug the washing machine from the electrical outlet and turn off the circuit breaker for the appliance.
- Access the Door Lock: Depending on your washing machine model, you may need to remove the top panel, front panel, or the rubber door seal (boot gasket) to access the door lock switch. Typically, the door lock is located behind the front panel, near the door opening.
- Remove Old Switch:
- Carefully disconnect the electrical wiring harness from the old door lock switch. Note the position of each wire if not color-coded or keyed.
- Unscrew or unclip the old door lock switch from its mounting bracket.
- Install New Switch:
- Position the new MoVols door lock switch into the mounting bracket. Ensure it is securely fastened with screws or clips.
- Reconnect the electrical wiring harness to the new switch. Ensure all connections are firm and correct.
- Reassemble: Reattach any panels or the door seal that were removed. Ensure all components are properly secured.
- Test Operation: Plug the washing machine back into the electrical outlet and restore power. Close the door and initiate a short wash cycle to verify that the door locks correctly and the machine operates as expected.
5. Operating Principles
The Electronic Door Lock Micro-Delay Door Switch functions automatically as part of the washing machine's control system. When a wash cycle begins, the control board sends a signal to the door lock switch, which then engages a locking mechanism to secure the door. This prevents the door from being opened during high-speed spinning or when water is present in the drum. After the cycle completes and a safe period has passed (the micro-delay), the switch disengages, allowing the door to be opened.
There is no direct user interaction required for the operation of this component once installed correctly.
6. Maintenance
The door lock switch is a sealed unit and does not require routine user maintenance. However, regular inspection of the washing machine door area can help identify potential issues early:
- Inspect Door Seal: Ensure the rubber door seal (gasket) is clean and free from debris that could obstruct the door from closing properly, which might affect the door lock switch's engagement.
- Check Door Alignment: Verify that the washing machine door closes smoothly and aligns correctly with the door frame. Misalignment can put undue stress on the door lock mechanism.
- Listen for Operation: During the start of a wash cycle, listen for the distinct "click" sound of the door lock engaging.
If the door lock switch becomes faulty, it typically requires replacement rather than repair.
7. Troubleshooting
If your washing machine is experiencing issues related to the door lock, consider the following troubleshooting steps:
| Symptom | Possible Cause | Solution |
|---|---|---|
| Washing machine will not start, door light flashing/error code. | Door not fully closed, faulty door lock switch, wiring issue. | Ensure door is firmly closed. Inspect door lock switch for damage. Check wiring connections. If switch is faulty, replace it. |
| Door remains locked after cycle completion. | Faulty door lock switch, control board issue. | Disconnect power for 5 minutes and reconnect. If issue persists, the door lock switch may be faulty and require replacement. |
| Door opens during operation. | Severely faulty door lock switch, mechanical failure. | Immediately stop the machine and disconnect power. This is a critical safety issue. Replace the door lock switch. |
If troubleshooting does not resolve the issue, it is recommended to contact a qualified appliance repair technician.
8. Specifications
| Feature | Detail |
|---|---|
| Brand | MoVols |
| Model Number | 0024000128E/C (also identified as V13305 0024000128E) |
| Compatibility | Haier Drum Washing Machine Accessories |
| Electrical Rating | 1-2 18 (6) A 250VAC μ (from component marking) |
| Item Weight | 1.76 ounces (approx. 50 grams) |
| Package Dimensions | 1.18 x 0.79 x 0.39 inches (approx. 3 x 2 x 1 cm) |
9. Warranty and Support
For warranty information, please refer to the terms and conditions provided by your retailer or the manufacturer at the time of purchase. For technical support or further assistance, please contact the seller or manufacturer directly.