UDPATIO RWG
UDPATIO Outdoor Storage Shed 10x10 FT Instruction Manual
Brand: UDPATIO | Model: RWG
Introduction
This manual provides comprehensive instructions for the assembly, operation, and maintenance of your UDPATIO 10x10 FT Outdoor Storage Shed. Designed for durability and functionality, this galvanized steel shed offers ample space for organizing various outdoor items, including lawnmowers, bikes, tools, and more. Please read this manual thoroughly before beginning assembly or use to ensure safe and proper installation and long-term performance.
Safety Information
- Always wear appropriate personal protective equipment (PPE) such as gloves and safety glasses during assembly to prevent injury from sharp edges or falling components.
- Assembly requires a minimum of 2-4 people. Attempting to assemble alone can lead to injury or damage to the product.
- Ensure the assembly area is clear of obstructions and on a level, stable surface. A concrete slab or reinforced wooden base is recommended.
- Keep children and pets away from the assembly area.
- Do not assemble in strong winds or adverse weather conditions.
- Periodically check all bolts and screws to ensure they remain tight and secure.
Components and Preparation
Your UDPATIO storage shed is delivered in multiple boxes (typically 4 for the 10x10 FT model). All parts are clearly labeled for easy identification. Before starting assembly, unpack all components and verify against the packing list provided in your product packaging. Ensure all parts are present and undamaged.
The shed features galvanized steel panels, a sloped roof for water runoff, integrated vents for air circulation, and a lockable double door system. A protective film is applied to the surface of the panels; this film can be removed during assembly or left on for additional protection, though some users note it can be difficult to remove completely.

Figure 1: Key dimensions of the UDPATIO 10x10 FT Storage Shed.

Figure 2: Key structural and security features of the shed, including strong beams, a safe lock, and protective shells.
Setup and Assembly
Assembly typically takes 4-8 hours with 2-4 people. Follow the step-by-step instructions provided in the included assembly manual. While the instructions are primarily visual, careful attention to detail is required.
- Foundation: Begin by preparing a solid, level foundation. This is critical for the stability and longevity of your shed. Concrete or a sturdy wooden platform is ideal.
- Frame Assembly: Assemble the base frame first, ensuring it is square and level.
- Wall Panel Installation: Attach the galvanized steel wall panels to the frame. The pre-drilled holes are designed for alignment, though minor adjustments with an electric screwdriver may be necessary in some instances.
- Roof Assembly: The sloped roof design aids in water runoff. Assemble the roof sections carefully. It is often easier to attach the outer roof parts to the wall unit before fully linking all roof components, especially if assembling with fewer people.
- Door Installation: Install the sliding doors and the lockable handle bar. Ensure smooth operation.
- Protective Film: The panels come with a surface protective film. You may choose to remove this film during assembly or leave it on. Be aware that removing it can be time-consuming.
- Sealing: For optimal weather resistance, it is highly recommended to apply a silicone caulk along all seams and joints, particularly where panels meet the base and roof, to prevent water ingress.

Figure 3: Assembly requires multiple people and significant time for proper installation.
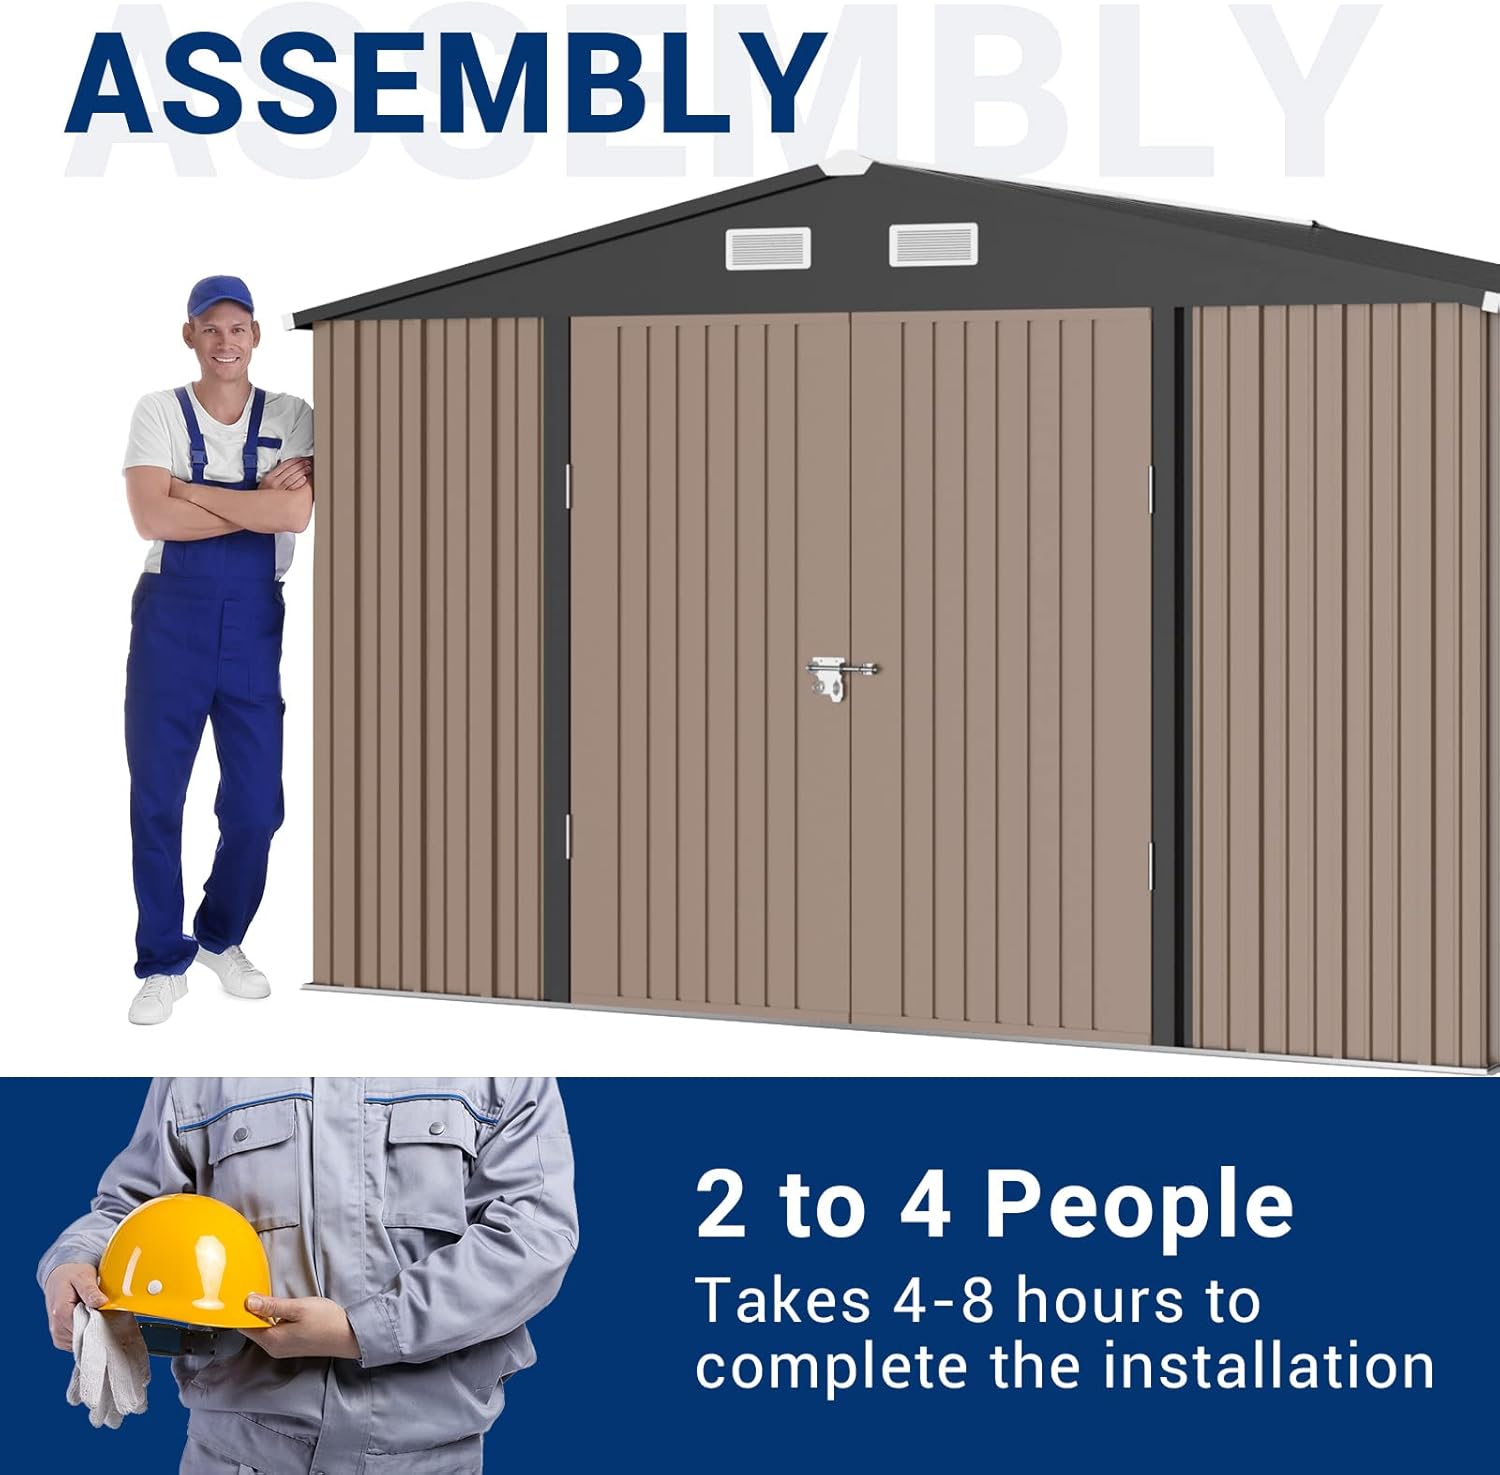
Figure 4: Detailed view of the shed's design elements, including the sloped roof for drainage and integrated vents for air circulation.
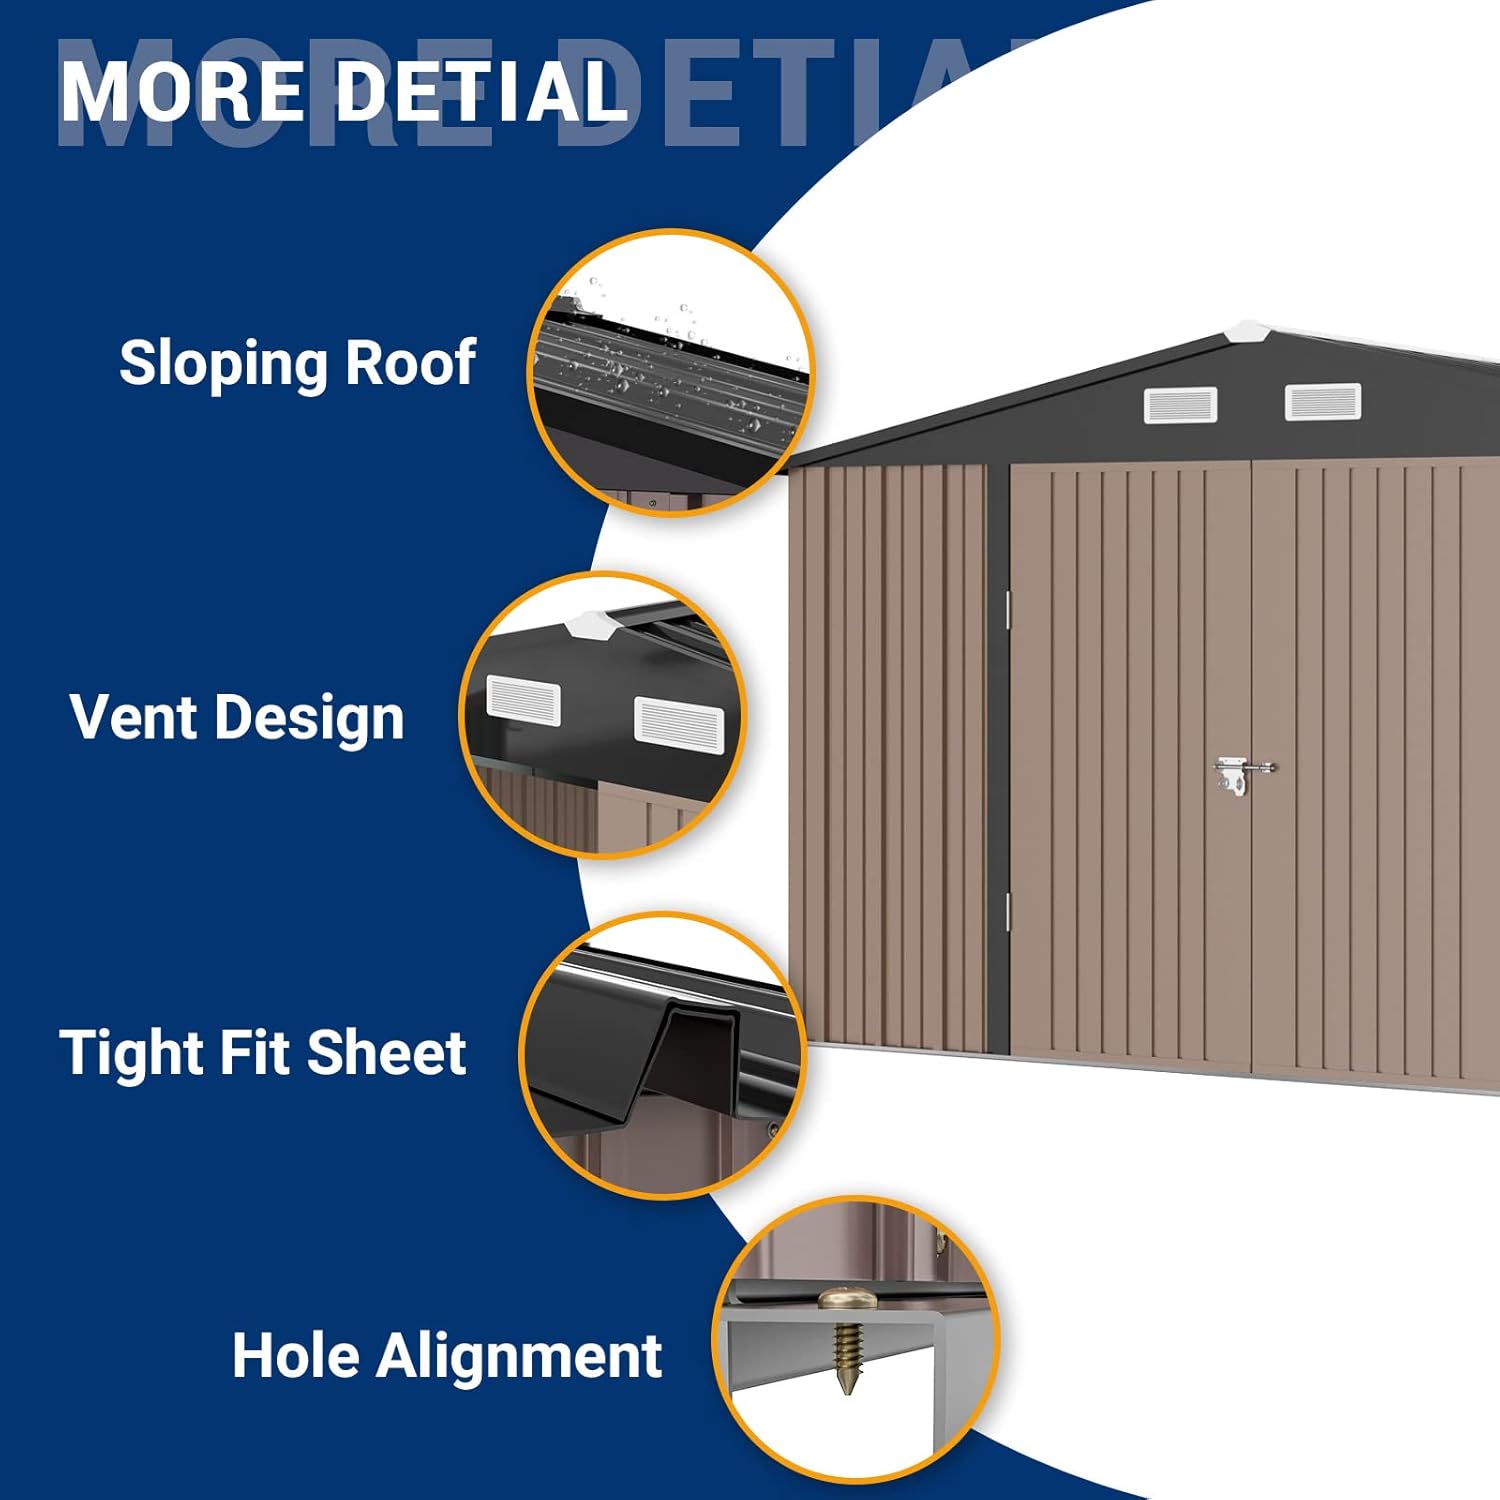
Figure 5: The shed panels are coated with a protective film, contributing to their waterproof and UV-resistant qualities.
Operating the Shed
The UDPATIO storage shed features smooth-gliding double sliding doors for easy access. To open, simply slide the doors along their tracks. To close, slide them back until they meet. The integrated lockable handle bar allows you to secure your stored items. Ensure the doors are fully closed and the lock engaged to protect contents from weather and unauthorized access.

Figure 6: The shed's spacious interior with double sliding doors provides easy access for various storage needs.
Maintenance
Regular maintenance will extend the life of your storage shed.
- Cleaning: Clean the exterior of the shed periodically with mild soap and water. Avoid abrasive cleaners or harsh chemicals that could damage the galvanized finish.
- Rust Prevention: While made of galvanized steel, inspect for any signs of rust, especially in areas where the protective coating might have been scratched or damaged. Touch up with rust-inhibiting paint if necessary.
- Seals and Joints: Annually inspect all seams and joints for cracks or deterioration in the caulk. Reapply caulk as needed to maintain waterproof integrity.
- Door Tracks: Keep the sliding door tracks clean and free of debris to ensure smooth operation. Lubricate with a silicone spray if the doors become stiff.
- Ventilation: Ensure the vents remain clear of obstructions to allow for proper air circulation and prevent moisture buildup inside the shed.
Troubleshooting
| Problem | Possible Cause | Solution |
|---|---|---|
| Water leaks inside the shed. | Incomplete sealing during assembly; damaged caulk. | Apply silicone caulk to all seams and joints, especially around the base and roof. Inspect existing caulk for cracks and reapply as needed. |
| Doors are difficult to slide. | Debris in tracks; lack of lubrication; misaligned doors. | Clean tracks thoroughly. Apply silicone spray lubricant to tracks. Check door alignment and adjust if necessary. |
| Shed feels unstable after assembly. | Uneven foundation; loose fasteners. | Ensure the foundation is perfectly level. Tighten all bolts and screws. Consider anchoring the shed to the foundation if not already done. |
| Parts do not align during assembly. | Minor manufacturing variations; incorrect orientation of parts. | Double-check part numbers and orientation. Use an electric screwdriver for minor adjustments to align holes. Do not force components. |
Specifications
- Model: RWG
- Brand: UDPATIO
- Dimensions (Overall): 124" L x 120" W x 80.71" H (10' x 10' nominal)
- Actual Dimensions (from image): 120.87" L x 118.11" W x 80.3" H (peak height) / 66.14" H (side wall height)
- Door Dimensions: 47.63" W x 60.6" H
- Material: Galvanized Steel, Metal
- Color: Brown
- Item Weight: 272 Pounds
- Features: Sloped Roof, Vent Design, UV Protection, Water Resistant, Lockable Doors
- Assembly Required: Yes
Warranty and Support
Your UDPATIO storage shed is backed by a commitment to quality. Please refer to your purchase documentation for specific warranty details. In general, the product is eligible for 30-day easy returns. For any questions, concerns, or assistance with assembly or parts, please contact UDPATIO customer support through the retailer where you purchased the product or visit the official UDPATIO store online.
Customer Support: For assistance, please refer to the contact information provided with your purchase or visit the UDPATIO Store on Amazon.
Related Documents - RWG
 |
UDPATIO 12'x14' Hardtop Gazebo with Netting - NBGB002-1214 Assembly Instructions This document provides comprehensive assembly instructions for the UDPATIO 12'x14' Hardtop Gazebo with Netting (Model NBGB002-1214). It includes a detailed parts list, hardware list, step-by-step assembly guide with textual descriptions of diagrams, and after-sale service information. Essential for proper installation and maintenance of your outdoor patio gazebo. |
 |
Hardtop Gazebo with Netting - NBGB002-1012 Assembly Instructions Comprehensive assembly instructions for the NBGB002-1012 Hardtop Gazebo with Netting. Includes parts list, required tools, warnings, and step-by-step guidance for setting up your outdoor gazebo. |
 |
28 Gallon Deck Box: Assembly Instructions and Product Information Comprehensive guide for assembling the UDPATIO 28 Gallon Deck Box. Includes a detailed parts list, step-by-step assembly instructions, and customer support contact information for this durable outdoor storage solution. |
 |
UDPATIO 5-Piece Outdoor Conversation Set Assembly Instructions & Care Guide Detailed assembly instructions, parts list, hardware guide, and care tips for the UDPATIO 5-Piece Outdoor Rattan Conversation Set. Includes step-by-step guidance for chairs, ottomans, and coffee table. |
 |
UDPATIO Hardtop Pavilion NBGB014-1010 Assembly and User Manual Comprehensive assembly and maintenance instructions for the UDPATIO NBGB014-1010 Hardtop Pavilion. Includes parts list, safety warnings, and contact information for customer support. |
Ask a question about this manual
Ask about setup, troubleshooting, compatibility, parts, safety, or missing instructions. Manuals+ will review the question and use this page’s manual context to help answer it.