1. Introduction
This manual provides detailed instructions for the proper setup, operation, and maintenance of your Shanrya Wireless Microphone System. Please read this manual thoroughly before using the product to ensure optimal performance and longevity. This system is designed for various applications, including home theater, KTV rooms, conferences, clubs, schools, auditoriums, and corporate meeting rooms.

Image: Top-down view of the Shanrya Wireless Microphone System receiver unit with antennas extended.
2. Package Contents
Verify that all items listed below are included in your package. If any items are missing or damaged, please contact customer support.
- 1 x Receiver Host Unit
- 4 x Wireless Microphones
- 1 x Power Adapter (EU Plug)
- 4 x Microphone Accessories (e.g., anti-roll rings)
- 1 x Connection Cable
- 1 x User Manual (this document)

Image: All components of the Shanrya Wireless Microphone System laid out, including the receiver, four microphones, power adapter, and cables.
3. Product Features
- Interference-Free Operation: Each microphone operates on a distinct frequency, ensuring no interference or crosstalk between microphones.
- Ergonomic Design: The wireless microphones feature a durable metal construction, providing a comfortable and secure grip during use.
- Flexible XLR Outputs:
- Each microphone has a separate XLR output, allowing individual microphones to be sent to their own mixer channel.
- A combined XLR mix output is available to send all four microphones to a single mixer channel.
- UHF Microphone System: Each microphone's frequency is adjustable, offering 20 unique frequencies per microphone for interference-free operation. Frequencies can be easily changed by pressing a button on the microphone.
- Clear Sound Quality: Microphones are designed to capture clear and crisp vocals, minimizing fatigue during extended use. Integrated foam filters effectively reduce ambient noise.
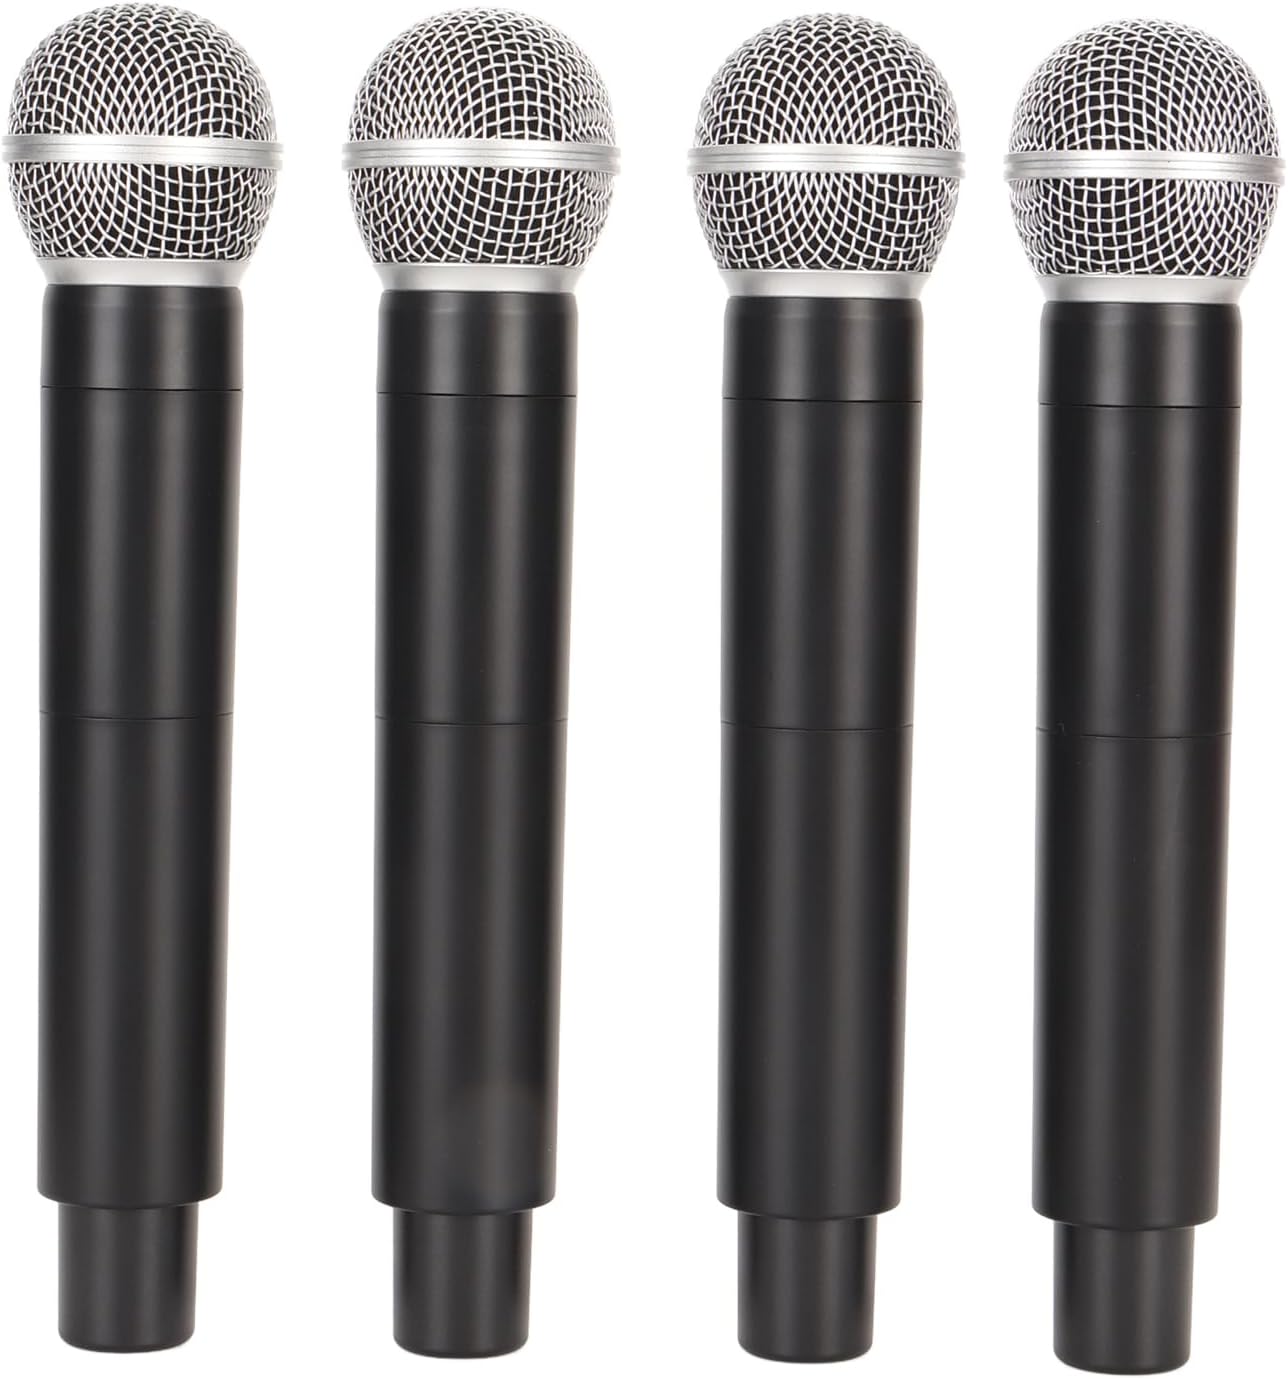
Image: Four individual Shanrya wireless microphones, showcasing their ergonomic design.
4. Setup Instructions
- Unpack Components: Carefully remove all items from the packaging and ensure they match the package contents list.
- Install Batteries in Microphones: Each microphone requires 2 AA batteries (not included). Open the battery compartment at the bottom of each microphone and insert the batteries, observing correct polarity.
- Connect Power Adapter: Connect the provided power adapter to the DC INPUT port on the receiver host unit. Plug the other end of the adapter into a standard 100-240V AC power outlet.
- Connect to Audio System:
- For individual microphone control: Use XLR cables (not included) to connect the BALANCED-A, BALANCED-B, BALANCED-C, and BALANCED-D outputs on the receiver to separate input channels on your audio mixer.
- For combined output: Use the MIX OUT (6.35mm jack) to connect all microphones to a single input channel on your audio mixer.
- Position Antennas: Extend the antennas on the receiver unit vertically for optimal signal reception.
- Power On: Press the POWER button on the receiver unit to turn it on. The display will illuminate.

Image: Rear panel of the receiver unit, highlighting the BALANCED-A, BALANCED-B, MIX OUT, and DC INPUT ports.
5. Operating Instructions
- Power On Microphones: Press and hold the power button on each microphone to turn them on. The microphone display will show its current frequency.
- Frequency Synchronization: The microphones should automatically synchronize with the receiver. If a microphone is not connecting, ensure its frequency matches one of the receiver's channels (A, B, C, D).
- Adjusting Microphone Frequency:
- On the microphone, locate the frequency adjustment button (often recessed or a small button near the display).
- Press this button to cycle through the available 20 unique UHF frequencies. Select a frequency that is clear and free from interference.
- Ensure the selected frequency on the microphone corresponds to the channel you intend to use on the receiver (e.g., if microphone is on frequency X, ensure receiver channel A is also on frequency X).
- Volume Control: Adjust the volume levels on your connected audio mixer or amplifier. The receiver unit itself does not have individual volume controls for each microphone.
- Testing: Speak into each microphone to test sound output through your audio system. Adjust microphone gain on your mixer as needed.
- Power Off: After use, press and hold the power button on each microphone to turn them off. Then, press the POWER button on the receiver unit to turn it off. Disconnect the power adapter.

Image: Close-up of the receiver's front panel, showing the RF indicators, channel selection buttons (A, B, C, D), and the power button.
6. Maintenance
- Cleaning: Use a soft, dry cloth to clean the receiver and microphones. Do not use liquid cleaners or abrasive materials.
- Battery Replacement: Replace microphone batteries when the low battery indicator appears or when sound quality degrades. Always use fresh AA batteries. Remove batteries if the microphones will not be used for an extended period.
- Storage: Store the system in a cool, dry place away from direct sunlight and extreme temperatures.
- Antenna Care: Handle antennas carefully to avoid bending or breaking.
7. Troubleshooting
| Problem | Possible Cause | Solution |
|---|---|---|
| No sound from microphone. |
|
|
| Interference or static. |
|
|
| Weak or distorted sound. |
|
|
8. Specifications
| Product Type | Wireless Microphone System |
| Model Number | Shanrya0o8xwpkf71-11 |
| Brand | Shanrya |
| Material | ABS (Receiver), Metal (Microphones) |
| Wireless Range | Approx. 30 meters / 98.4 feet |
| Power Adapter Voltage | 100-240V AC (EU Plug) |
| Receiver Power Consumption | 8.5W |
| Microphone Battery Type | AA (8 total, 2 per microphone, not included) |
| Frequency Type | UHF (20 adjustable frequencies per microphone) |
| Outputs | Individual XLR (4 channels), Mixed 6.35mm Jack |
9. Warranty and Support
This product is covered by a standard manufacturer's warranty. For specific warranty terms and conditions, please refer to the documentation provided at the time of purchase or contact your retailer.
For technical support, troubleshooting assistance, or to inquire about replacement parts, please contact Shanrya customer service through the platform where you purchased the product. Please have your model number (Shanrya0o8xwpkf71-11) and purchase date available when contacting support.