1. Introduction
This manual provides essential information for the installation, operation, and maintenance of your CWTD 2-Stroke 47cc 49cc Starter Motor Replacement. This high-performance electric start motor is designed to provide reliable starting for various small engine applications.
Please read this manual thoroughly before installation and use to ensure proper function and safety.
2. Product Overview
The CWTD 2-Stroke 47cc 49cc Starter Motor is a durable replacement component engineered for small engines. It features a reinforced metal body for rust resistance and long-term durability, especially in off-road environments. The gear-reduction design improves torque output and ensures smoother crankshaft rotation for consistent starts.

Figure 1: CWTD 2-Stroke 47cc 49cc Starter Motor, main view.
3. Compatibility
This starter motor is compatible with the following engine types and applications:
- Engine Types: 47cc and 49cc (40-6) 2-stroke horizontal engines, including 139F and 142 type engines.
- Applications: Pocket bikes, mini dirt bikes, scooters, lawn mowers, choppers, go-karts, and ATVs/quads.
- Suitable for DIY engine rebuilds and aftermarket performance applications.
4. Package Contents
Upon opening the package, please verify that all components are present and undamaged:
- 1 × Electric Start Motor (Starter Engine)
- Mounting hardware (if included by supplier)
5. Installation (Setup)
Installation of the CWTD starter motor is designed to be a direct bolt-on replacement for most compatible 49cc setups. No modifications are typically required.
- Safety First: Before beginning installation, ensure the vehicle's ignition is off and the battery is disconnected to prevent accidental starting or electrical shorts.
- Access the Old Starter: Locate the existing starter motor on your engine. Depending on your vehicle, this may require removing fairings, covers, or other components.
- Disconnect Wiring: Carefully disconnect the electrical wiring from the old starter motor. Note the connections for reassembly.
- Remove Old Starter: Unbolt and remove the old starter motor. The CWTD starter motor has a standard mounting hole distance of approximately 2.75 inches (70mm) center-to-center.
- Install New Starter: Position the new CWTD starter motor in place. Ensure the mounting holes align correctly.
- Secure Mounting: Use the appropriate bolts (either from your old starter or the included hardware) to securely fasten the new starter motor. Do not overtighten.
- Reconnect Wiring: Reconnect the electrical wiring to the new starter motor, ensuring all connections are secure and correct.
- Test Functionality: Reconnect the battery, turn on the ignition, and attempt to start the engine to verify proper operation.

Figure 2: Key dimensions of the starter motor, showing mounting hole distances and overall size.

Figure 3: Top view of the starter motor, illustrating the internal brush assembly.
6. Operating Instructions
Once installed, the CWTD starter motor operates as a standard electric starter. Its gear-reduction design ensures efficient and powerful engagement with the engine's crankshaft for reliable starting.
- Ensure your vehicle's battery is adequately charged.
- Follow your vehicle's specific starting procedure (e.g., turn ignition key, press start button, apply brake).
- The starter motor will engage the engine, rotating the crankshaft until the engine starts.
- Release the start mechanism once the engine has successfully started. Avoid prolonged cranking to prevent overheating the starter motor.
7. Maintenance
The CWTD starter motor is designed for durability and requires minimal maintenance. However, periodic inspection can help ensure its longevity and reliable performance.
- Visual Inspection: Periodically check the starter motor for any signs of physical damage, corrosion, or loose connections.
- Wiring: Ensure all electrical connections to the starter motor are clean, tight, and free from corrosion.
- Cleaning: If the motor becomes excessively dirty, gently clean the exterior with a soft, dry cloth. Avoid using harsh chemicals or excessive moisture.
- Battery Health: A healthy battery is crucial for starter motor performance. Ensure your vehicle's battery is regularly checked and maintained.
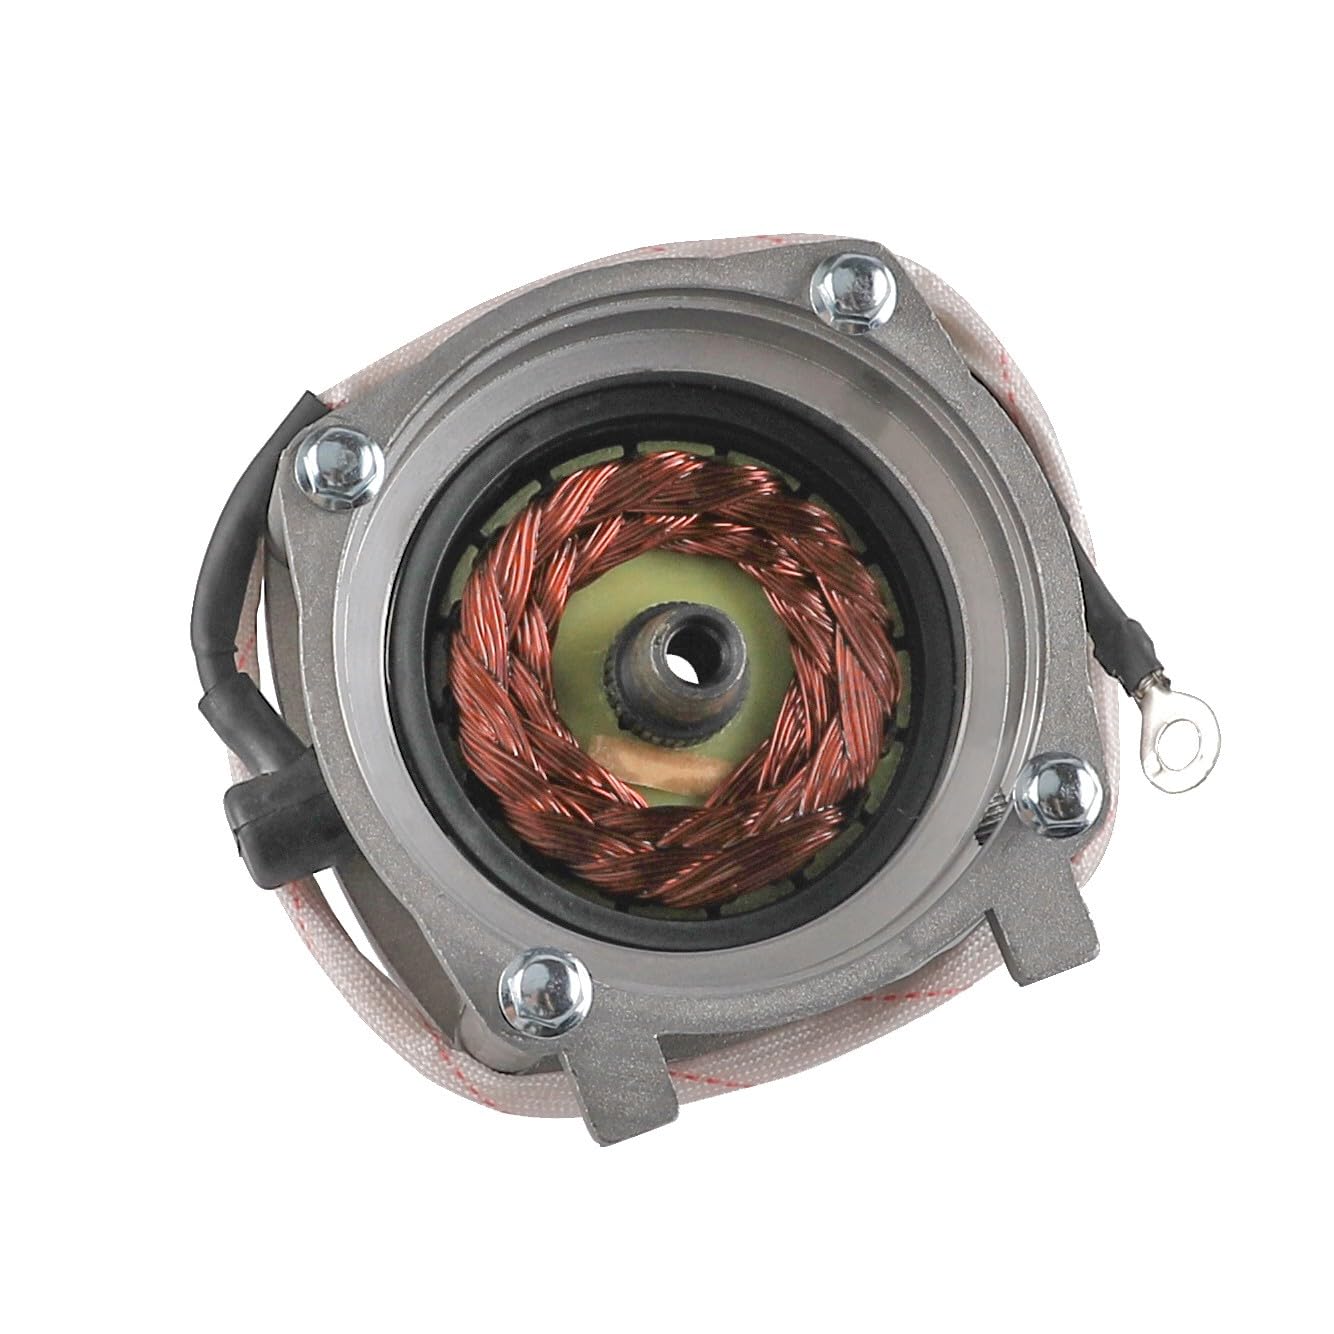
Figure 4: Internal view of the starter motor, showing the copper windings.
8. Troubleshooting
If you encounter issues with your starter motor, consider the following common troubleshooting steps:
- Motor Does Not Turn:
- Check battery charge: A low battery is the most common cause of a non-starting motor.
- Inspect electrical connections: Ensure all wires to the starter motor are securely connected and free of corrosion.
- Check fuses: Verify that any relevant fuses in the starting circuit are intact.
- Motor Turns Slowly or Weakly:
- Low battery charge: Recharge or replace the battery.
- Corroded battery terminals or cables: Clean terminals and ensure good contact.
- Engine issues: Ensure the engine itself is not seized or experiencing excessive resistance.
- Grinding Noise During Start:
- Improper alignment: Recheck the starter motor's mounting and ensure it is seated correctly.
- Damaged flywheel/ring gear: Inspect the engine's flywheel or ring gear for damage.
If these steps do not resolve the issue, it is recommended to consult a qualified mechanic or contact CWTD customer support.
9. Specifications
| Feature | Detail |
|---|---|
| Engine Type Compatibility | 47cc and 49cc (40-6) 2-stroke horizontal engines (139F, 142 types) |
| Mounting Hole Distance | Approx. 2.75 inches (70mm) center-to-center |
| Construction Material | Premium rust-resistant metal |
| Function | Gear-reduced electric start for enhanced torque |
| Brand | CWTD |
| ASIN | B0CM43QX6R |

Figure 5: Side view of the starter motor, showing internal components.

Figure 6: Another side view of the starter motor, highlighting the brush assembly.
10. Safety Information
Always observe the following safety precautions when working with vehicle components:
- Wear appropriate personal protective equipment (PPE), such as safety glasses and gloves.
- Ensure the vehicle is stable and secured before working on it.
- Disconnect the battery before performing any electrical work to prevent shocks or short circuits.
- Keep hands and clothing clear of moving parts when testing the starter motor.
- If you are unsure about any installation or repair procedure, seek assistance from a qualified professional.
11. Warranty and Support
Information regarding product warranty and customer support is typically provided with your purchase documentation or can be found on the manufacturer's official website. For specific inquiries, please refer to the contact information provided by CWTD.