Introduction
This manual provides detailed instructions for the assembly, operation, maintenance, and troubleshooting of your MELLCOM 12' x 24' Hardtop Gazebo. This permanent pavilion features a galvanized steel double roof, a rustproof aluminum frame, and includes curtains and netting for enhanced outdoor living. Please read all instructions carefully before beginning assembly and retain this manual for future reference.
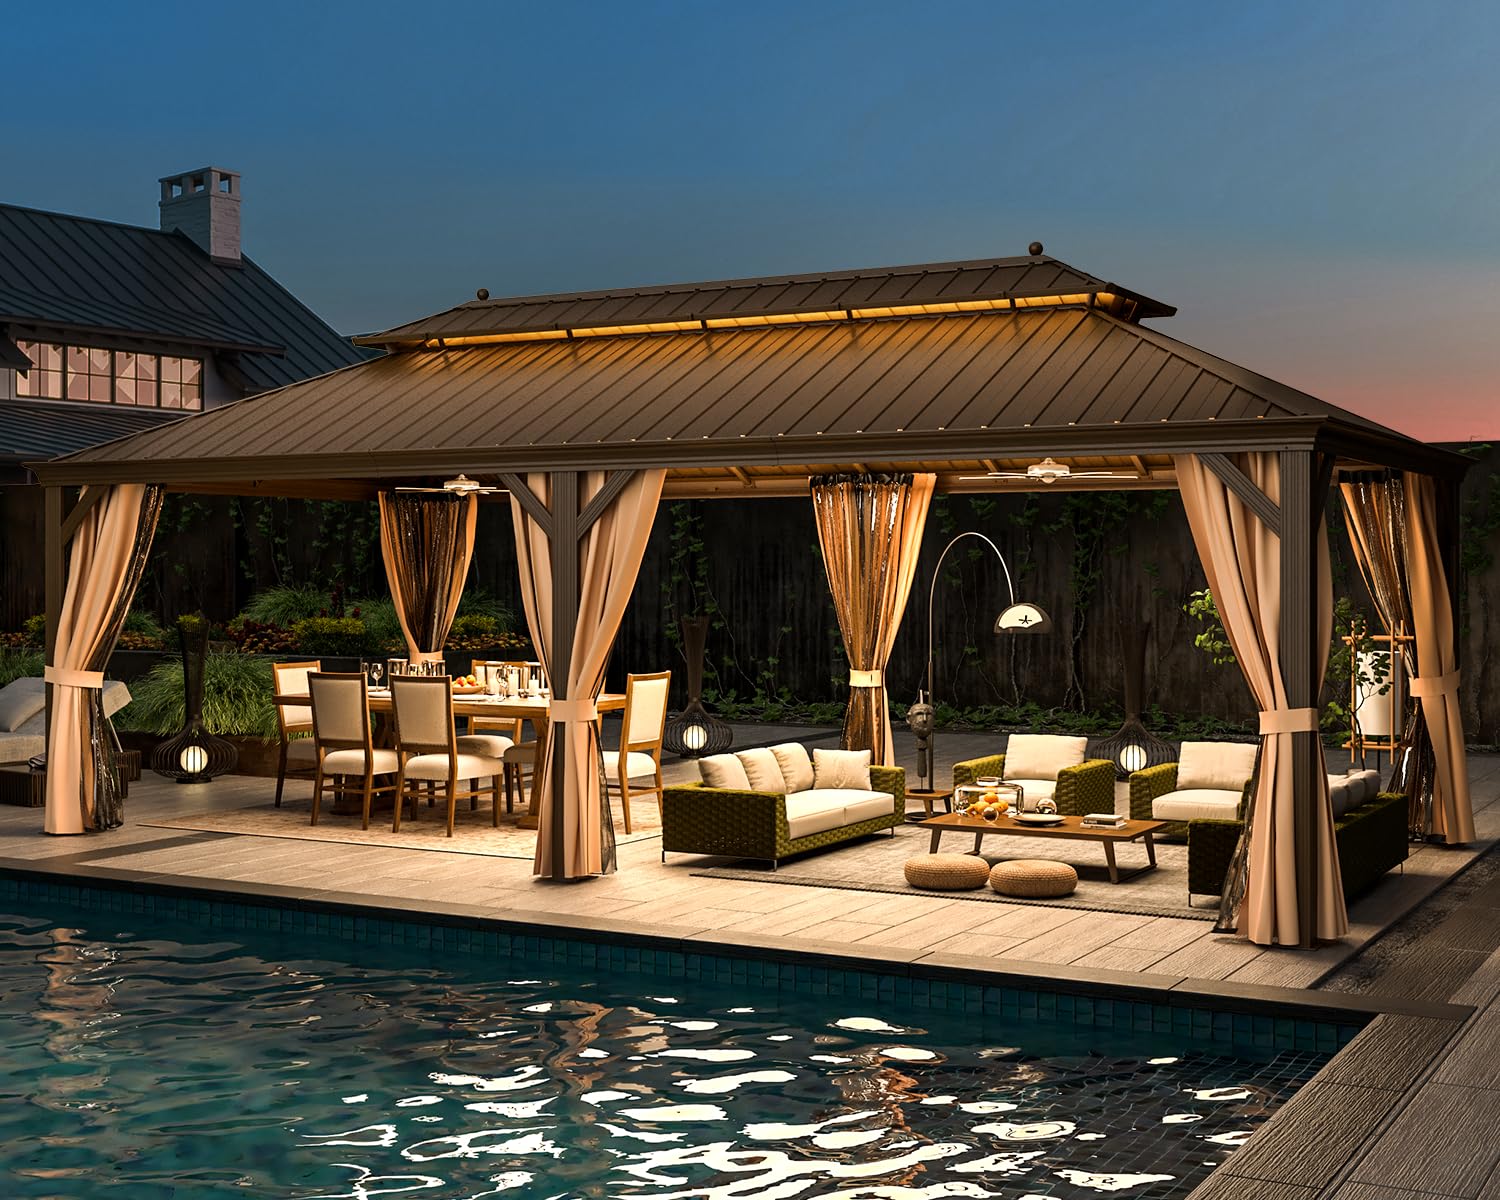
Image: The MELLCOM 12' x 24' Hardtop Gazebo, showcasing its spacious design and integrated features in an outdoor environment.
Setup and Assembly
The MELLCOM Hardtop Gazebo is designed for stability and durability. Assembly typically requires 3-5 people and an estimated completion time of 6-8 hours. Ensure all 7 boxes are gathered before starting installation.
Key Assembly Steps:
- Unpacking and Part Identification: Carefully unpack all components and verify against the parts list provided in your separate assembly guide.
- Frame Assembly: Construct the powder-coated aluminum frame. The frame features pre-drilled bases for secure anchoring.
- Roof Panel Installation: This is the most intricate part of the assembly. The roof consists of galvanized steel double panels.
- Assemble the four triangular sections at each end before the rectangular middle sections.
- For triangular sections, install the lower (larger) section first. A helper should hold the bottom edge while the upper (smaller) triangle is inserted from above.
- Ensure the upper panel overlaps the lower panel by approximately 2 inches for proper waterproofing.
- Secure panels with plastic wedges (Y1) from the top and clips (Y) from the bottom. Screw in tiny screws (#7) into the plastic wedge from above.
- For rectangular middle sections, slide the upper section into grooves from the ground, then overlap with the lower section and slide both into place.
- Adjust panels to align with triangular sections before securing with clips and wedges.
- Curtain and Netting Installation: Attach the fully enclosed, zippered, and removable curtains and netting to the designated tracks.
- Anchoring: Once the gazebo is fully assembled and squared, anchor the structure to solid ground using the provided bolts. Do not anchor before full assembly to allow for necessary flex.

Image: Detail of the rustproof aluminum frame, highlighting the triangular design for stability and the pre-drilled bases for concrete anchors.

Image: A detailed diagram illustrating the overall dimensions and headroom of the 12 x 24 FT hardtop gazebo.
Operating Instructions
Curtains and Netting:
The gazebo features a two-layer system for comfort and privacy:
- Bug Mesh: The inner layer provides ventilation and protection against insects. It is fully zippered for easy opening and closing.
- Privacy Curtains: The outer layer offers UV protection, privacy, and resistance against wind and rain. These are also zippered and can be tied back using the integrated Velcro straps when not in use.
Roof Features:
- Vented Double Roof: The design improves air circulation and reduces the impact of strong winds, enhancing stability and comfort.
- Water Gutter System: Integrated gutters ensure efficient rainwater drainage from the roof edges and poles, preventing water accumulation.
Integrated Hooks:
Utilize the hooks located on the top roof structure to hang lights, fans, or other decorative items, creating a personalized outdoor space.

Image: A visual representation of the gazebo's two-layer design, featuring both bug mesh for ventilation and privacy curtains for sun shade and wind protection.
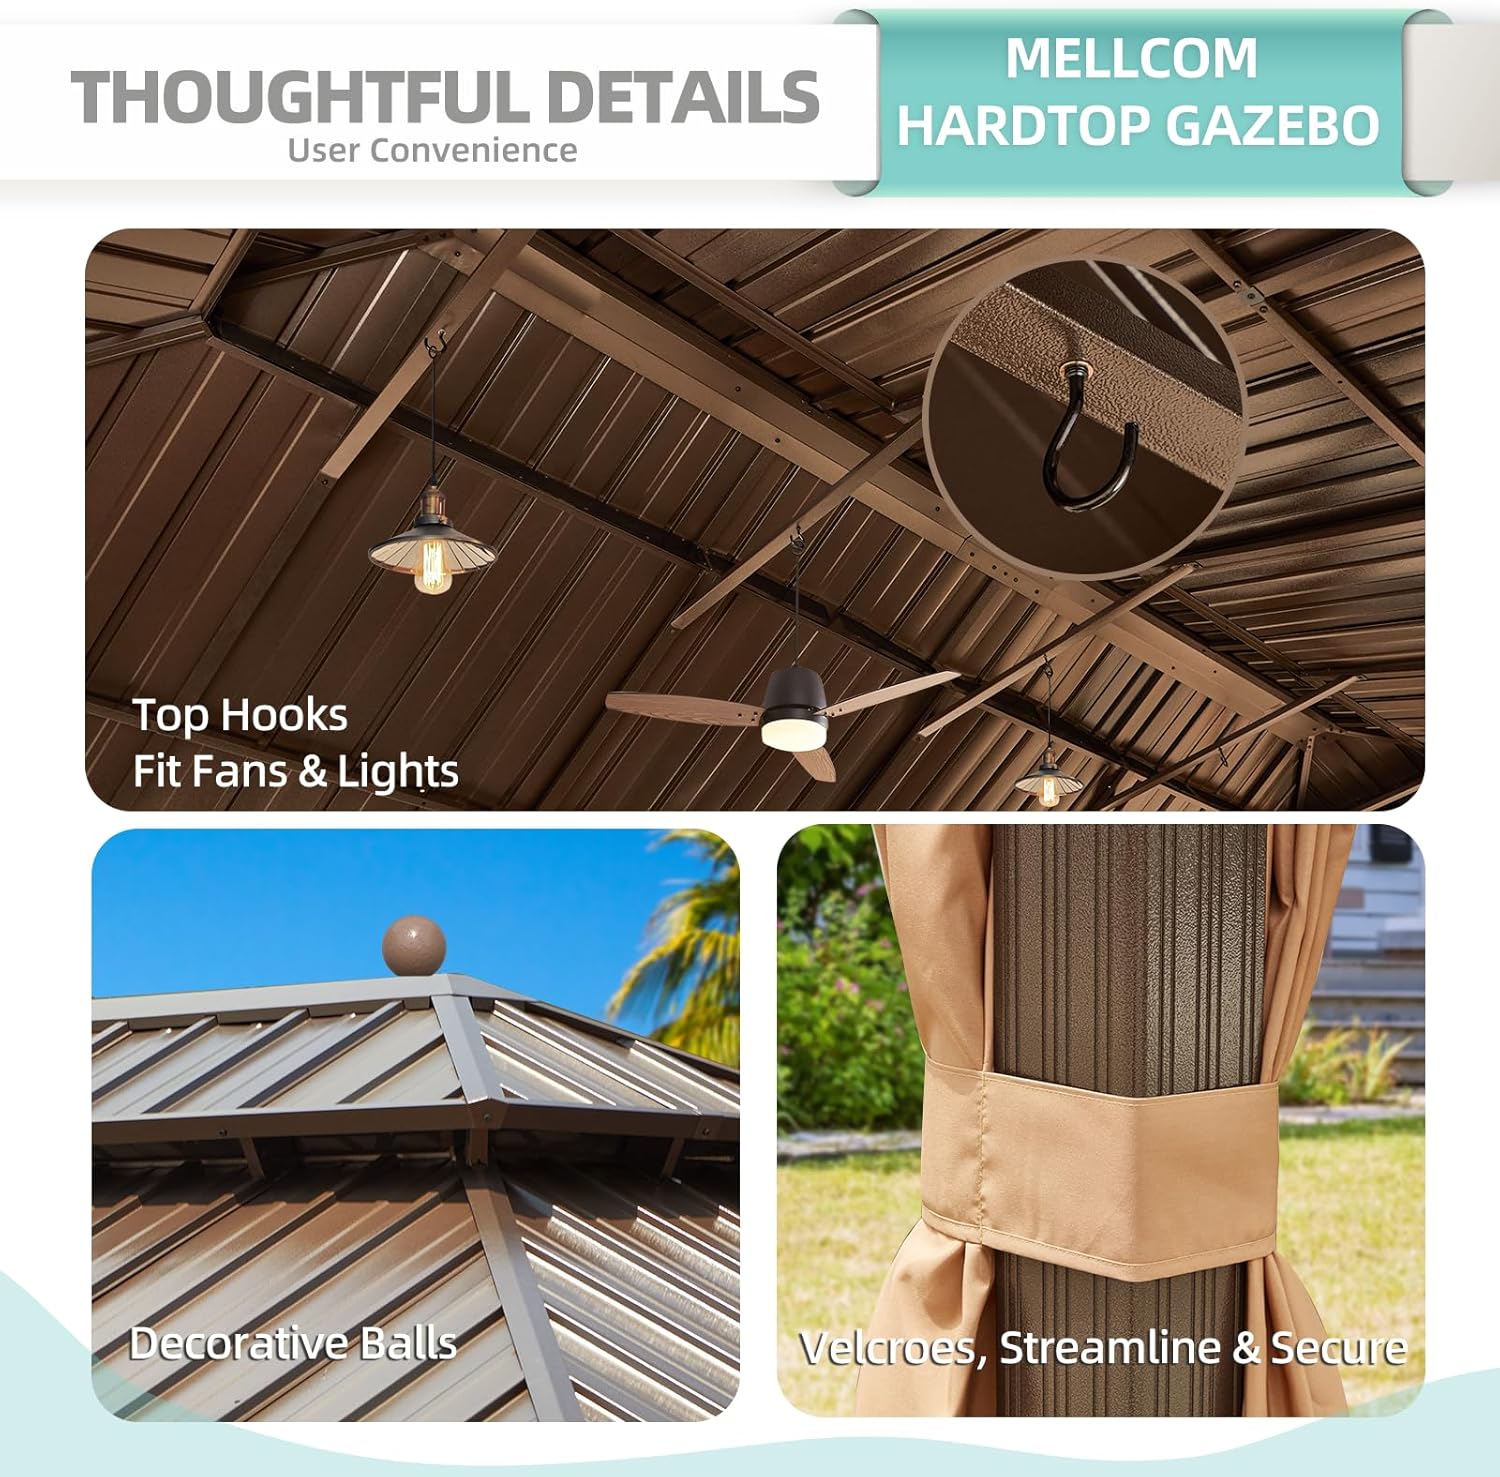
Image: Details of the gazebo's thoughtful features, including top hooks for accessories, decorative balls on the roof, and Velcro straps for securing curtains.
Maintenance
Regular maintenance will extend the life and appearance of your gazebo.
- Cleaning: Clean the galvanized steel roof and aluminum frame periodically with mild soap and water. Avoid abrasive cleaners or harsh chemicals that could damage the finish.
- Curtains and Netting: The curtains and netting can be removed for cleaning. Follow care instructions on the fabric tags. Ensure they are completely dry before storing to prevent mildew.
- Fastener Checks: Periodically inspect all bolts, screws, and connections to ensure they remain tight. Re-tighten as necessary to maintain structural integrity.
- Waterproofing: While the roof is designed to be waterproof, regularly check roof seams for any signs of wear or gaps. Applying a silicone sealant to seams during or after assembly can enhance waterproofing.
- Winterization: Although the gazebo is designed to adapt to various weather conditions (snow load up to 6 inches, wind rate up to 45 MPH), consider removing curtains and netting during severe winter weather or high winds to prevent damage. Clear heavy snow accumulation from the roof to avoid excessive stress on the structure.

Image: The gazebo's resilience to various weather conditions, indicating its capacity to withstand snow loads up to 6 inches and wind rates up to 45 MPH.
Troubleshooting
This section addresses common issues encountered during assembly and use.
- Difficulty with Roof Panel Clips: If roof panel clips detach during assembly, ensure each panel joint is secured at the bottom before proceeding to the next. This helps hold the previous panel in place.
- Water Seepage from Roof: Ensure all roof panels are correctly overlapped (upper panel over lower panel) and that all plastic wedges (Y1) and clips (Y) are securely installed. Applying a silicone sealant to roof seams during assembly can prevent minor leaks.
- Hardware Not Reaching: If bolts seem too short, slightly loosen main support trusses one at a time. A helper can push up from underneath to expose bolt threads. Ensure not to overtighten with power tools; use a low clutch setting.
- Dented Roof Panels: Handle roof panels with care during installation. Dropping them can cause dents.
- Curtains Sliding Too Easily: If curtains slide open unintentionally, consider using bungee cords or similar temporary fasteners to hold them in desired positions.
Specifications
| Brand | MELLCOM |
| Model Number | B0CM3HWK3G |
| Product Dimensions (L x W x H) | 288"L x 144"W x 120"H (12' x 24' x 10') |
| Item Weight | 613 Pounds |
| Frame Material | Alloy Steel, Aluminum, Metal |
| Roof Material | Galvanized Steel |
| Water Resistance Level | Waterproof |
| Ultraviolet Light Protection | Yes |
| Shape | Rectangular |
| Assembly Required | Yes |
| Occupancy | 10-20 People |
Warranty Information
Specific warranty details for the MELLCOM 12' x 24' Hardtop Gazebo are typically provided with your purchase documentation. Please refer to the warranty card or contact MELLCOM customer support for comprehensive information regarding coverage, terms, and conditions.
Customer Support
Should you require assistance with assembly, parts, or have any questions regarding your MELLCOM Hardtop Gazebo, please contact MELLCOM customer service. Our after-sales service team is available to provide support as needed.
For returns or issues within the 30-day return policy, please refer to your purchase platform's return process.