
Introduction
This user manual provides comprehensive instructions for the ADMIO 5V/12V Single Button Bistable Relay Module. It covers product overview, specifications, safety guidelines, setup procedures, operating instructions, maintenance tips, and troubleshooting information to ensure safe and efficient use of the module.
Product Overview
The ADMIO Single Button Bistable Relay Module is designed for automatic modification applications, featuring a one-button start-stop self-locking function. It is available in both 5V and 12V versions, providing a versatile solution for various electronic projects requiring latching relay control.
- Relay functionality for switching circuits.
- Bistable operation, maintaining its state until triggered again.
- Single button control for simplified operation.
- Suitable for automatic modification and self-locking applications.

Figure 1: Two ADMIO Single Button Bistable Relay Modules, one 5V and one 12V version, with a connecting wire.
Specifications
| Feature | Value |
|---|---|
| Package Dimensions | 3 x 2 x 1 cm |
| Item Weight | 241 g (Note: Product image shows 19.88g with wire, this might be for a single module) |
| Manufacturer | ADMIO |
| ASIN | B0CLZNT48V |
| Model Number | ADMIO |
| First Available Date | October 28, 2023 |
| Guaranteed Software Updates Until | Unknown |

Figure 2: Detailed dimensions (50.3mm x 25.8mm) and weight (19.88g with wire) of a single ADMIO relay module.
Safety Instructions
Please read and understand all safety instructions before operating the module. Failure to do so may result in electric shock, fire, or damage to the product.
- Power Supply: Ensure the power supply voltage matches the module's rating (5V or 12V DC). Connecting an incorrect voltage can damage the module.
- Polarity: Observe correct polarity when connecting the DC power supply (+ and - terminals).
- Current Rating: Do not exceed the relay's maximum current rating (10A for 250VAC/125VAC and 10A for 30VDC/28VDC). Overloading can cause overheating and failure.
- Isolation: Ensure proper electrical isolation between the control circuit and the load circuit.
- Environment: Operate the module in a dry environment, away from moisture, dust, and extreme temperatures.
- Professional Installation: If you are unsure about wiring or electrical connections, seek assistance from a qualified electrician or electronics professional.
- Disconnection: Always disconnect power before making any wiring changes or performing maintenance.
Setup
Follow these steps to set up your ADMIO Bistable Relay Module:
- Identify Module Type: Confirm whether you have the 5V or 12V version of the module. This is typically indicated on the relay itself (e.g., JQC3F-05VDC-C for 5V, JQC3F-12VDC-C for 12V).
- Power Connection: Connect the appropriate DC power supply to the DC+ and DC- terminals on the module. Ensure correct polarity.

Figure 3: A 5V ADMIO Single Button Bistable Relay Module showing the power input terminals (DC+, DC-) and relay output terminals (NO, COM, NC).
- Load Connection: Connect your load (e.g., motor, light, solenoid) to the relay output terminals:
- NO (Normally Open): Connect one side of your load to this terminal and the other side to your power source (or ground, depending on your circuit design). The circuit will be open (off) when the relay is de-energized and closed (on) when energized.
- COM (Common): Connect the common line of your load circuit to this terminal.
- NC (Normally Closed): Connect one side of your load to this terminal and the other side to your power source (or ground). The circuit will be closed (on) when the relay is de-energized and open (off) when energized.
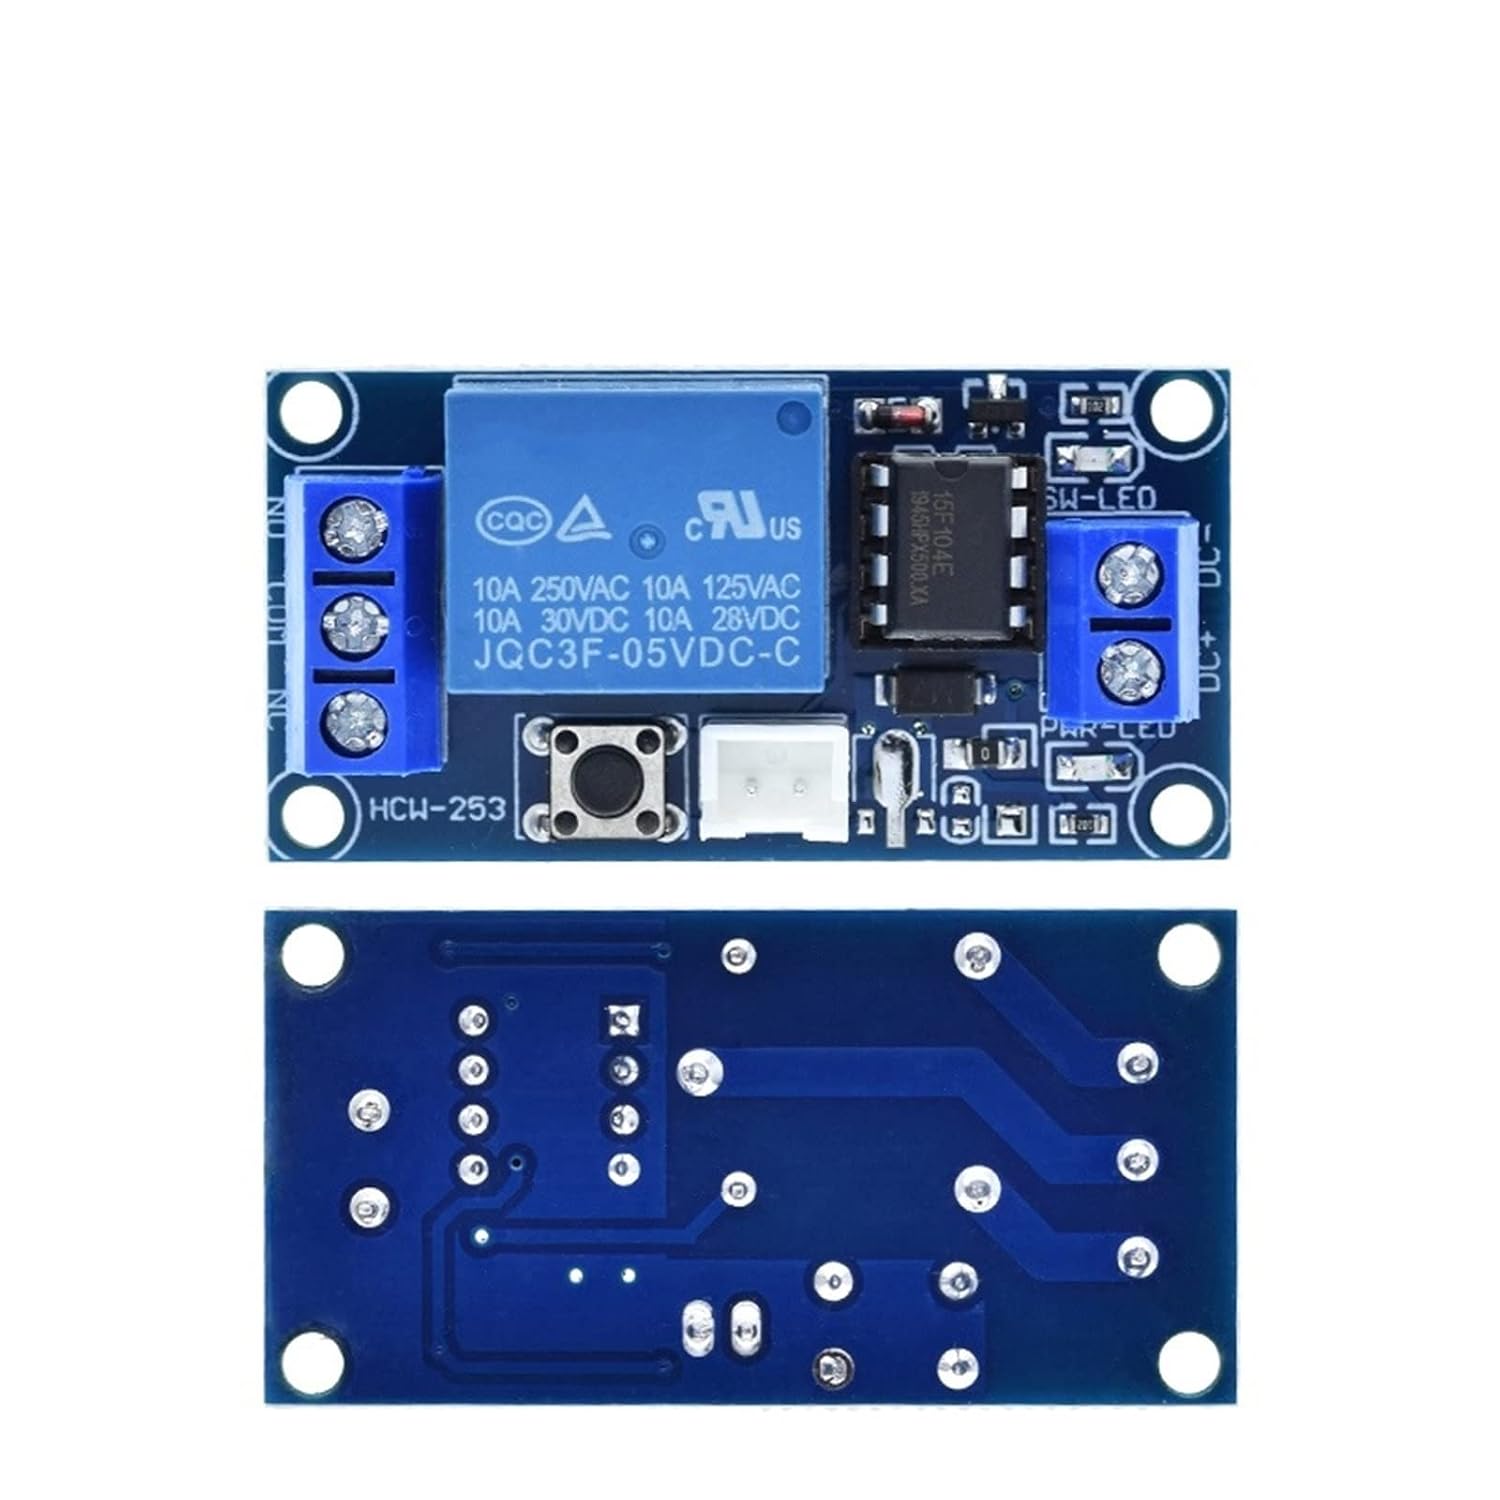
Figure 4: Top and bottom views of the ADMIO relay module, illustrating the compact design and PCB layout.
- Indicator LED: The module includes a PWR-LED (Power LED) which illuminates when power is supplied to the module.
Operating Instructions
The ADMIO Bistable Relay Module operates with a single button for control:
- Power On: Once the module is correctly wired and power is supplied, the PWR-LED will light up. The relay will be in its initial state (either NO or NC connected to COM, depending on the module's default power-up state or previous state if power was maintained).
- Toggle State: Press the onboard button once. The relay will switch its state (e.g., if NO was connected, it will now disconnect, and if NC was connected, it will now disconnect, or vice-versa depending on the specific relay configuration and internal logic). The module is bistable, meaning it will maintain this new state even after the button is released.
- Toggle Back: Press the button again. The relay will switch back to its previous state.
This single-button operation makes it ideal for applications requiring a simple on/off toggle or state change with memory.
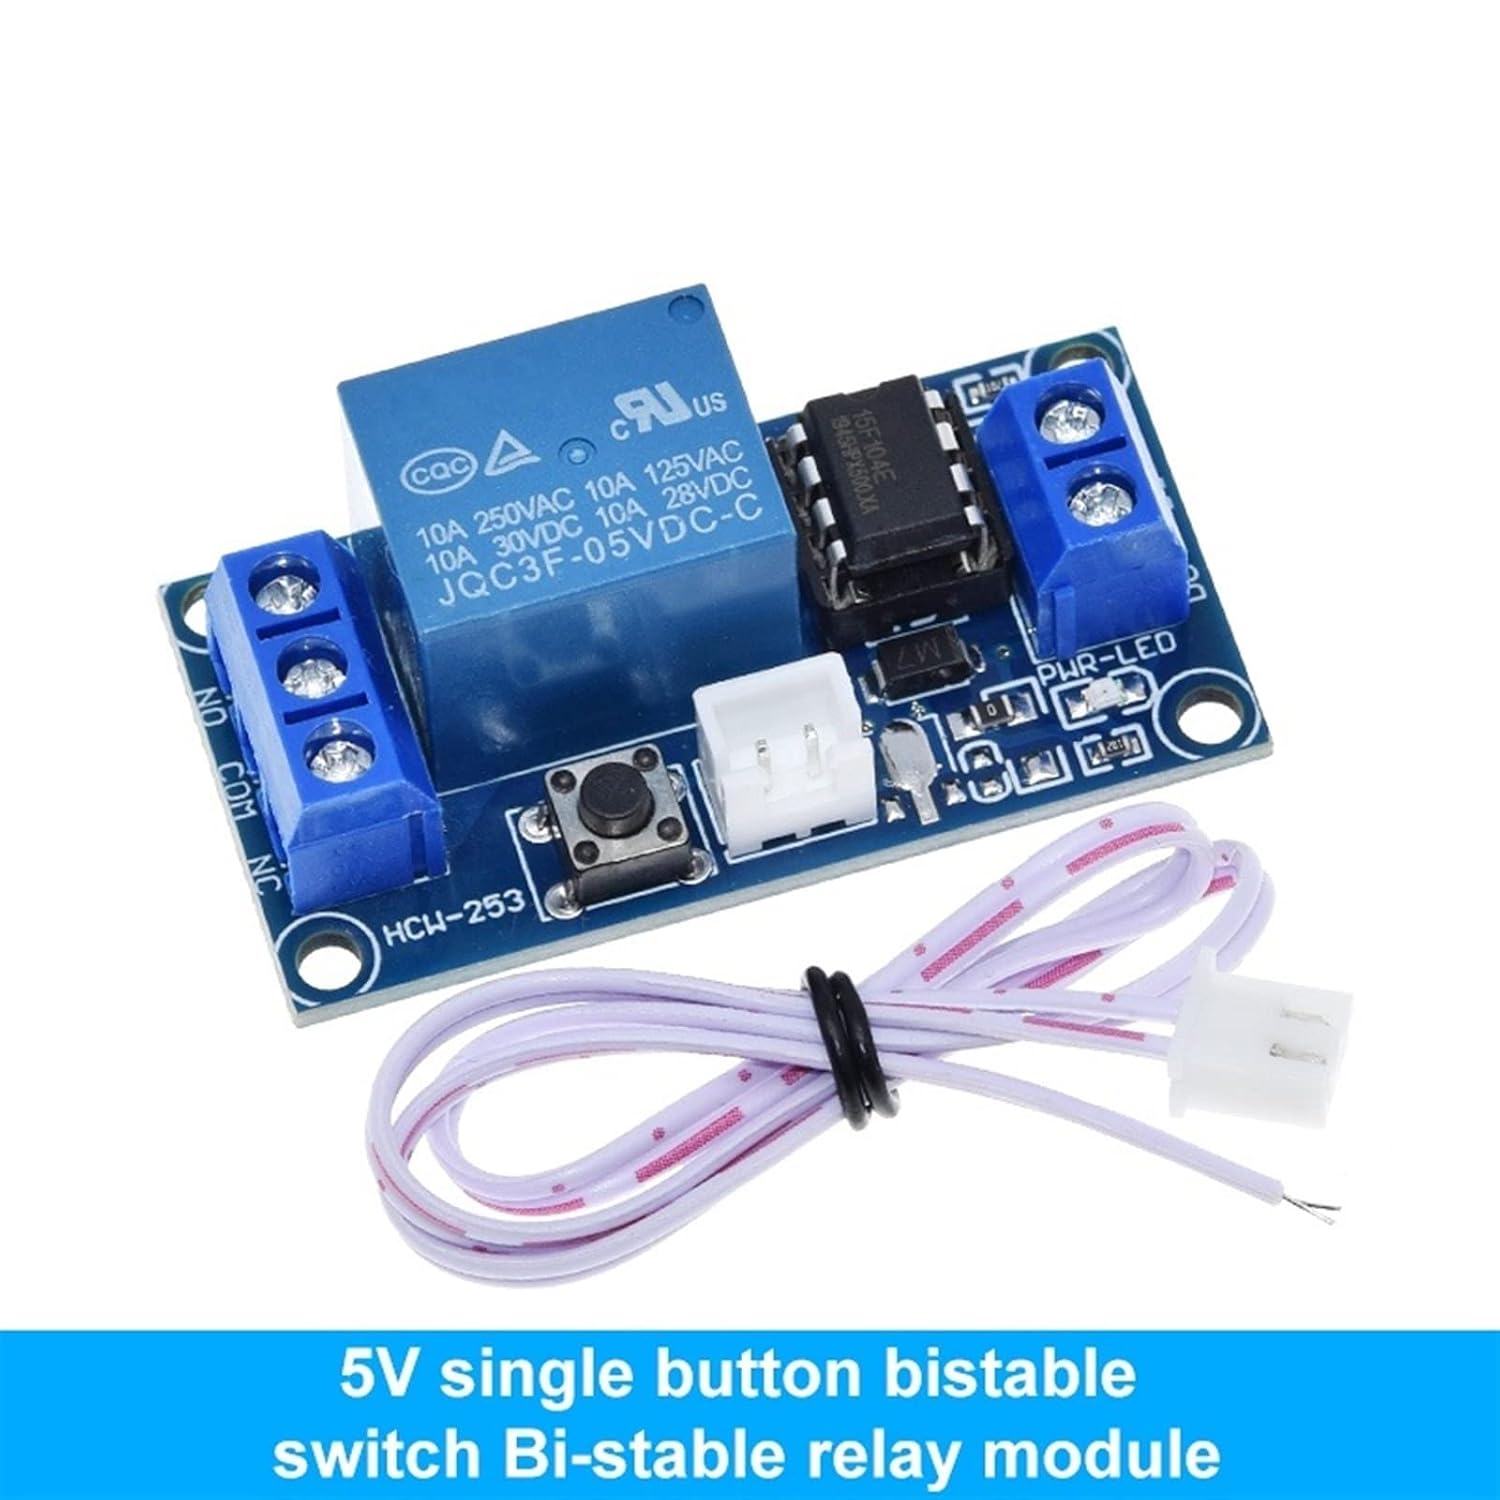
Figure 5: A close-up view of the 5V ADMIO relay module, highlighting the single control button and the relay component.
Maintenance
The ADMIO Bistable Relay Module requires minimal maintenance. Follow these guidelines to ensure its longevity:
- Cleaning: Keep the module clean and free from dust and debris. Use a soft, dry cloth for cleaning. Do not use liquid cleaners.
- Environment: Ensure the operating environment remains within specified temperature and humidity ranges. Avoid exposure to corrosive gases or liquids.
- Connections: Periodically check all wiring connections to ensure they are secure and free from corrosion.
- Inspection: Visually inspect the module for any signs of physical damage, such as cracked components or burnt areas.
Troubleshooting
If you encounter issues with your ADMIO Bistable Relay Module, refer to the following troubleshooting guide:
| Problem | Possible Cause | Solution |
|---|---|---|
| Module not powering on (PWR-LED off) |
|
|
| Relay not switching state when button pressed |
|
|
| Load not activating/deactivating |
|
|
Warranty and Support
This product is manufactured by ADMIO. For specific warranty information, please refer to the product packaging or contact your retailer. For technical support or inquiries, please reach out to the seller or manufacturer directly through the platform where the product was purchased.
Please note that unauthorized modifications or improper use of the module will void any applicable warranty.