
1. Introduction
This manual provides essential instructions for the safe assembly, operation, and maintenance of your IMagacFun Outdoor Storage Shed. Please read all instructions carefully before beginning assembly and retain this manual for future reference. Proper assembly and care will ensure the longevity and functionality of your shed.
1.1 Safety Information
- Always wear appropriate safety gear, including gloves and eye protection, during assembly.
- Ensure the assembly area is clear of obstructions and children.
- Two adults are recommended for assembly to ensure safety and ease of installation.
- Do not assemble in strong winds or adverse weather conditions.
- Secure the shed to the ground immediately after assembly to prevent wind damage.
- Keep all small parts away from children to prevent choking hazards.
1.2 Package Contents
Verify all components are present and undamaged before starting assembly. Refer to the parts list provided in your packaging. If any parts are missing or damaged, contact customer support.
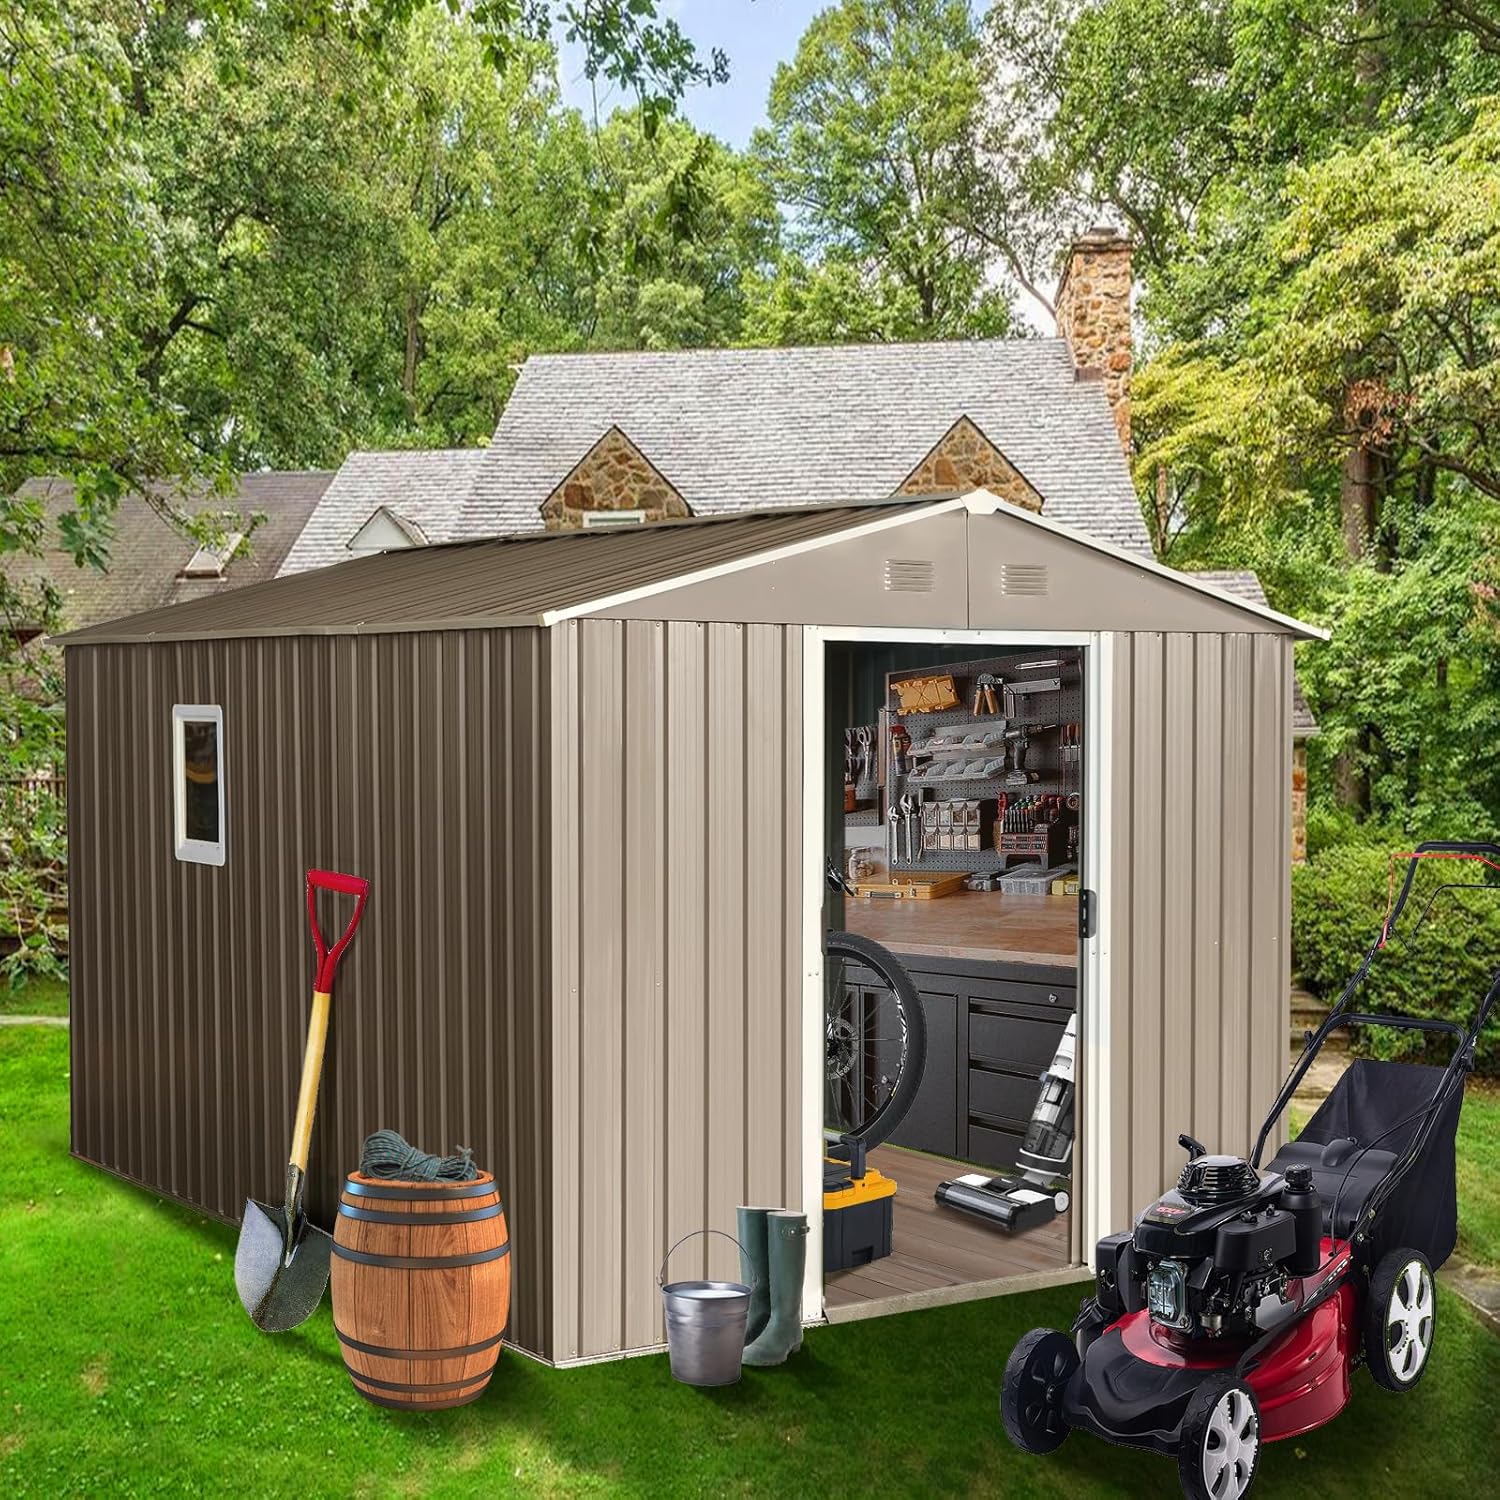
Image 1: Overview of the IMagacFun Outdoor Storage Shed.
2. Setup
2.1 Site Preparation
Select a level, well-drained area for your shed. The ground must be firm and free of debris. A concrete slab or a treated timber foundation is recommended for optimal stability and longevity. Ensure adequate clearance around the shed for assembly and future access.

Image 2: Illustration of the included metal floor frame and window feature.
2.2 Assembly Steps
All panels and frames are pre-cut and pre-drilled for ease of assembly. Follow the numbered instructions and diagrams provided in the separate assembly manual. It is crucial to identify all parts correctly before beginning each step.
- Foundation Assembly: Begin by assembling the metal floor frame on your prepared site. This frame provides a base for the shed and helps keep items off the ground.
- Wall Panel Installation: Attach the wall panels to the base frame, ensuring they are correctly oriented. Pay close attention to the placement of panels with the window opening.
- Roof Structure Assembly: Construct the roof beams and attach them to the top of the wall panels. The roof is designed with a slope to prevent rainwater accumulation.
- Roof Panel Installation: Secure the roof panels to the roof structure. Ensure all seams are properly sealed to prevent water infiltration.
- Door Installation: Install the sliding doors according to the instructions, ensuring they operate smoothly and can be securely locked.
- Final Securing: Anchor the shed to the ground using appropriate hardware for your foundation type. This step is critical for stability.
Note: Assembly typically requires 6-8 hours for two people. Gloves are recommended to protect hands during handling of metal components.

Image 3: Key structural and functional features of the shed.
3. Operating the Shed
3.1 Door Usage
The shed features sliding doors for easy access. To open, slide the door along its track. To close, slide it back until it meets the frame. The doors are equipped with a latch for securing. For added security, a padlock (not included) can be used with the integrated lockable mechanism.
3.2 Ventilation
Integrated perforated vents are designed to provide air circulation within the shed, reducing condensation and maintaining a suitable environment for stored items. Ensure these vents remain unobstructed.

Image 4: Example of interior organization and storage capacity.
4. Maintenance
Regular maintenance will extend the life of your storage shed.
- Cleaning: Clean the exterior of the shed periodically with mild soap and water. Avoid abrasive cleaners or harsh chemicals that could damage the galvanized steel finish.
- Inspection: Annually inspect all bolts, screws, and anchors for tightness. Tighten any loose fasteners. Check for any signs of rust or damage to the panels and frame.
- Door Tracks: Keep the sliding door tracks clean and free of debris to ensure smooth operation. Lubricate with a silicone-based spray if necessary.
- Ventilation: Ensure the vents are clear of spiderwebs, leaves, or other blockages to maintain proper airflow.

Image 5: Shed's resistance to rain and UV exposure.
5. Troubleshooting
- Doors are difficult to slide: Check the door tracks for debris or obstructions. Ensure the shed is level and the frame is not warped. Lubricate tracks with a silicone spray.
- Water leakage: Inspect all roof and wall panel seams. Ensure all fasteners are tight and panels are correctly overlapped. Verify the foundation is level and properly sealed.
- Shed feels unstable: Confirm the shed is securely anchored to the ground. Check all frame connections and tighten any loose bolts. Ensure the foundation is solid and level.
- Condensation inside: Ensure vents are clear and unobstructed. Consider adding a moisture absorber if humidity is consistently high.
6. Specifications
| Brand | IMagacFun |
| Model Dimensions (L x W x H) | 119.29" x 92.91" x 74.8" (9.94ft x 7.74ft x 6.23ft) |
| Material | Galvanized Steel |
| Item Weight | 205 Pounds |
| Door Style | Sliding Doors |
| Water Resistance Level | Waterproof |
| Assembly Required | Yes (2 persons, approx. 6-8 hours) |

Image 6: Product dimensions and assembly tips.
7. Warranty and Support
For warranty information, please refer to the documentation included with your purchase or contact IMagacFun customer service. If you encounter any issues or require assistance with your shed, please reach out to our support team through the retailer where the product was purchased. Provide your model number and purchase date for efficient service.