
1. Introduction
This manual provides detailed instructions for the installation, operation, and maintenance of your WOWOW Commercial Kitchen Faucet with Pull Down Sprayer, Model 2318400C-21. Please read this manual thoroughly before installation and use to ensure proper function and longevity of the product.
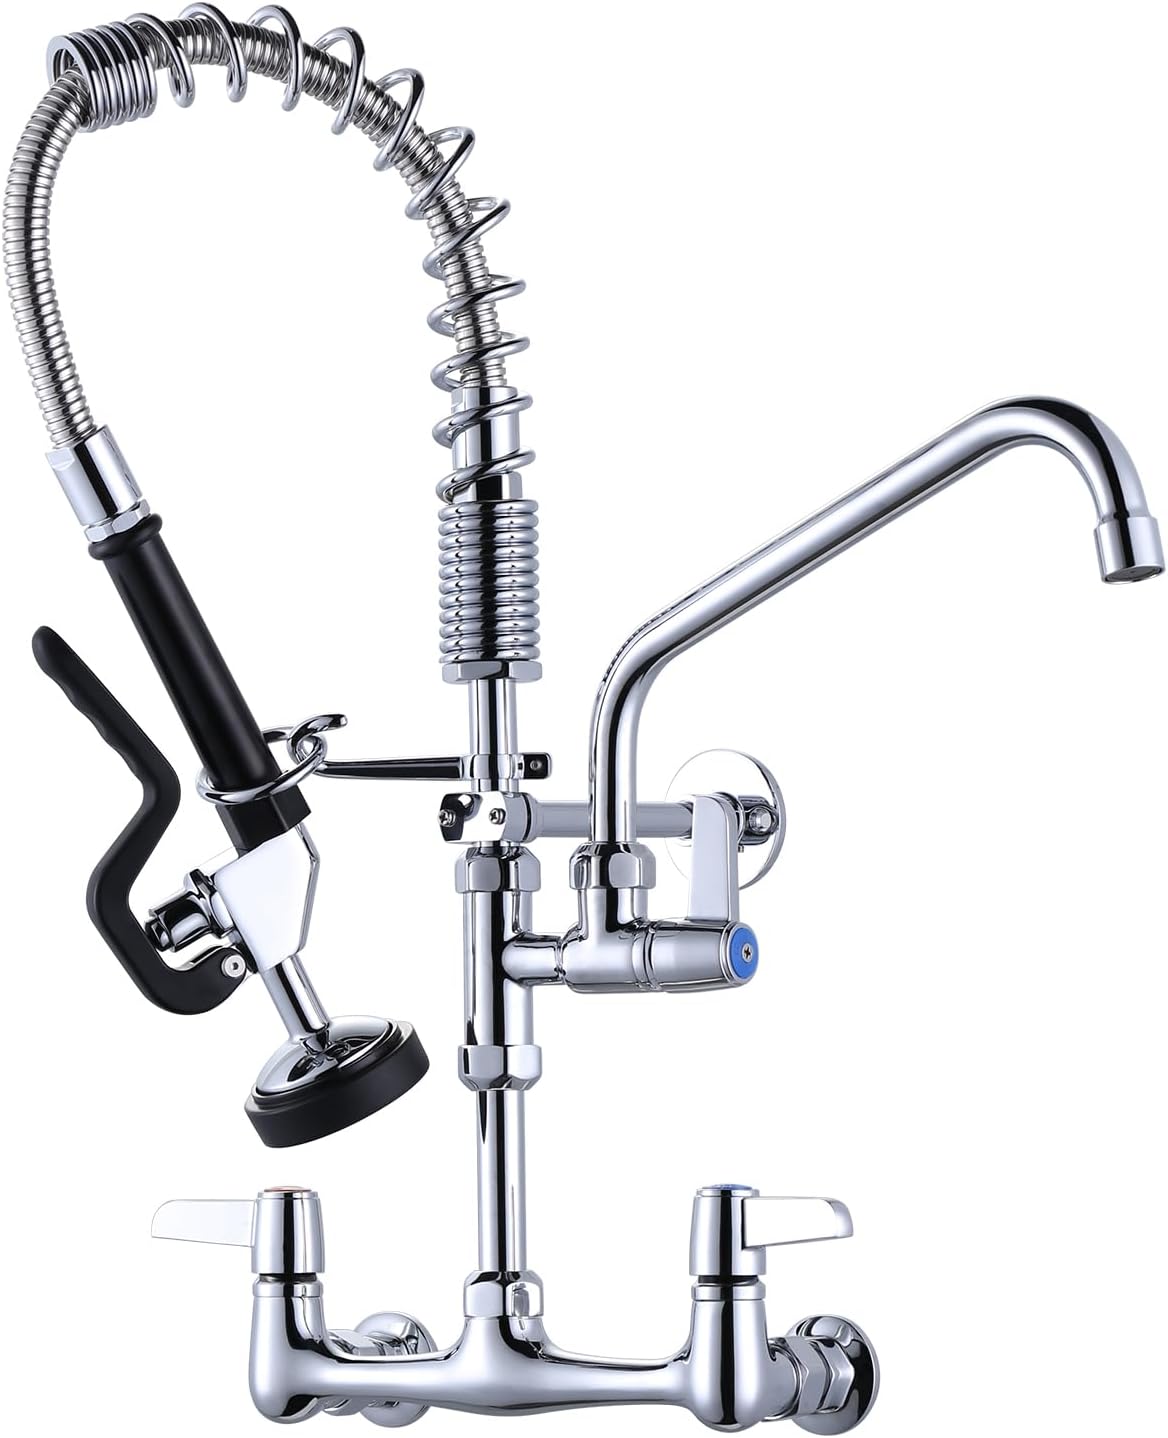
Figure 1: Overview of the WOWOW Commercial Kitchen Faucet. This image displays the complete faucet assembly, including the main body, pull-down sprayer, and add-on spout, all in a polished chrome finish.
2. Package Contents
Verify that all components are present and undamaged before proceeding with installation. If any parts are missing or damaged, please contact customer support.
- Main Faucet Body (Wall Mount)
- Pre-Rinse Sprayer with Flexible Hose
- Add-on Swivel Spout
- Hot and Cold Water Handles
- Installation Hardware (Gaskets, Screws, Teflon Tape)
- Installation Manual
- Protective Gloves

Figure 2: All components included in the WOWOW Commercial Kitchen Faucet package. The image shows the faucet parts neatly arranged, along with the instruction manual and protective gloves.
3. Specifications
| Feature | Detail |
|---|---|
| Brand | WOWOW |
| Model Name | Commercial Kitchen Faucet |
| Model Number | 2318400C-21 |
| Mounting Type | Wall Mount |
| Material | Brass |
| Finish Type | Polished Chrome |
| Number of Handles | 2 |
| Hole Count | 2 |
| Adjustable Center | 7 3/4" to 8 1/4" |
| Spout Height | 8.25 Inches |
| Spout Reach | 19 Inches |
| Hose Length (Sprayer) | 19 Inches |
| Maximum Flow Rate | 1.42 Gallons Per Minute (GPM) |
| Product Dimensions | 17.32 x 13.19 x 3.74 inches |
| Item Weight | 10.14 pounds (4.61 kg) |

Figure 3: Detailed technical drawing with dimensions for the WOWOW Commercial Kitchen Faucet. This diagram illustrates key measurements such as total height, spout reach, and inlet spacing.
4. Setup and Installation
Tools Required (Not Included): Adjustable wrench, pipe wrench, screwdriver, thread sealant tape (if not included), safety glasses.
- Prepare the Installation Area: Ensure water supply is turned off at the main valve. Clear the area around the wall-mount location.
- Adjust Inlet Spacing: The G1/2" female inlets can be adjusted from 7 3/4" to 8 1/4" to match your wall's hole distance. Adjust the main faucet body accordingly.
- Mount the Faucet Body: Secure the main faucet body to the wall using the provided G1/2" copper female inlets with 2" flanges. Use thread sealant tape on all threaded connections to prevent leaks.
- Install Handles: Attach the hot (red) and cold (blue) water handles to their respective valves on the faucet body.
- Attach Add-on Spout: Connect the 10-inch swivel add-on spout to the designated port on the faucet body. Ensure a tight seal.
- Connect Pre-Rinse Sprayer: Attach the flexible stainless steel hose of the pre-rinse sprayer to the remaining port. Secure the sprayer head to its holder.
- Test for Leaks: Slowly turn on the main water supply. Check all connections for leaks. Tighten any leaking connections as necessary.

Figure 4: Illustration demonstrating the adjustable center installation feature of the faucet. The image highlights how the inlets can be adjusted to fit various wall-mount hole distances.

Figure 5: Visual representation of the faucet's versatility, showing its use in a restaurant setting, for pet bathing, garden watering, and car washing.
5. Operating Instructions
- Using the Add-on Spout: Turn the hot or cold handle to activate water flow through the main spout. The spout swivels 360° for extended reach.
- Using the Pre-Rinse Sprayer:
- Ensure the main water handles are open.
- Grasp the sprayer handle and depress the lever to activate the high-pressure spray.
- Release the lever to stop the spray.
- The sprayer comes with two interchangeable spray heads (1.3 GPM and 3.85 GPM) for different flow requirements.
- Temperature Control: Use the red (hot) and blue (cold) handles to adjust the water temperature to your desired level.

Figure 6: The pull-down sprayer of the WOWOW Commercial Kitchen Faucet in use, demonstrating its powerful pre-rinse function for dishwashing.
6. Maintenance
- Cleaning: Clean the chrome finish regularly with a soft cloth and mild soap or a non-abrasive cleaner. Avoid harsh chemicals or abrasive pads, which can damage the finish.
- Sprayer Head Maintenance: Periodically check the sprayer head for mineral buildup. Unscrew the spray face and clean any debris from the holes.
- Leak Checks: Regularly inspect all connections for signs of leaks. Tighten fittings as needed.
- Cartridge Replacement: If water flow becomes inconsistent or handles become stiff, the ceramic disc cartridges may need replacement. Contact customer support for replacement parts and instructions.
7. Troubleshooting
| Problem | Possible Cause | Solution |
|---|---|---|
| Low Water Pressure | Clogged aerator or sprayer head. | Clean or replace the aerator/sprayer head. Check water supply valves are fully open. |
| Leaks at Connections | Loose fittings or worn gaskets. | Tighten connections. Replace worn gaskets or O-rings. Ensure thread sealant tape was used. |
| Water Not Shutting Off Completely | Worn ceramic disc cartridge. | Replace the ceramic disc cartridge. |
| Sprayer Not Functioning | Hose kinked or sprayer head clogged. | Check for kinks in the hose. Clean the sprayer head. |
8. Warranty and Support
WOWOW provides a lifetime after-sales service and a 90-day free refund service for any issues encountered during the purchase or use of this product. For technical assistance, replacement parts, or warranty claims, please contact WOWOW customer support.
Contact Information: Refer to the contact details provided in your product packaging or visit the official WOWOW website.


