
1. Introduction
This manual provides detailed instructions for the installation, operation, and maintenance of your Souyou Mechanical Keyless Entry Door Lock with Handle. Please read this manual thoroughly before installation and use to ensure proper function and longevity of your lock.
The Souyou mechanical keyless lock offers a secure and convenient access solution without the need for batteries or external power. Its robust design is suitable for various indoor and outdoor applications.

Image 1.1: Front and back view of the Souyou Mechanical Keyless Entry Door Lock with Handle.
2. Product Features
- Fully Mechanical Operation: No batteries or external power source required, ensuring reliable performance in various conditions.
- Keyless Entry: Access via a 4-6 digit mechanical keypad code.
- Automatic Locking: The lock automatically secures the door upon closing, enhancing security.
- Durable Construction: Made from high-quality zinc alloy with an electroplated coating, providing waterproof, anti-rust, high temperature resistance, and anti-freeze properties.
- Adjustable Handle Direction: Can be configured for both left and right-handed door openings.
- Wide Door Thickness Compatibility: Suitable for doors with a thickness of 1.38 inches to 2.95 inches (35mm to 75mm).
- Simplified Password Management: Password changes can be performed directly on the panel without disassembling the lock.

Image 2.1: Overview of key features: 100% mechanical, IP54 waterproof, high temperature resistance, more secure, keyless, non-electronic, and easy to install.

Image 2.2: Illustration of the lock's durable zinc alloy material and its resistance to water, rust, high temperatures, and freezing.
3. Setup and Installation
Before beginning installation, ensure your door thickness is between 1.38 inches and 2.95 inches (35mm to 75mm). Note that the maximum pre-drilled hole size this mechanical lock can cover is 1.9 inches, which is not suitable for the US standard 2 1/8 inch pre-drilled holes without modification or a gate lock box.
3.1. Adjusting Handle Direction
The handle direction can be adjusted to suit your door's opening direction (left or right).
- Locate the screw on the back of the lock panel that secures the handle.
- Loosen this screw using a screwdriver.
- Rotate the handle to the desired opening direction.
- Tighten the screw firmly to secure the handle in place.
- On the back panel, ensure the triangular arrow inside the square hole points towards the direction of the handle. Adjust if necessary using a screwdriver.

Image 3.1: Visual guide for adjusting the handle direction.

Image 3.2: Critical step: Ensure the triangular mark points towards the handle direction.
3.2. General Installation Steps
For a comprehensive visual guide, please refer to the installation video provided below.
- Install the latch into the door edge. The latch is adjustable for 60/70mm backset.
- Insert the square spindle through the latch mechanism.
- Attach the front panel (keypad side) to the door, ensuring the spindle and connecting rods align with the latch.
- Place the rubber pad and then the back panel onto the door, aligning with the front panel.
- Secure both panels with the provided screws.

Image 3.3: Easy installation steps for the lock.
Video 3.1: This video demonstrates the installation process for the mechanical keyless entry door lock, including how to adjust the handle direction and secure the panels.
4. Operating Instructions
4.1. Initial Password and Unlocking
The lock comes with an initial factory password, typically '123'. To unlock:
- Press the 'C' key to clear any previous entries.
- Enter the initial password (e.g., '123').
- Press down the handle to open the door.
The lock cannot be opened without entering the correct password after pressing 'C'.
4.2. Changing the Password
To change the password, you will need to access the internal mechanism of the lock. This process involves identifying which pins are set as part of the current password and then reconfiguring them for a new password.
- Remove the lock from the door to access the back panel.
- On the back of the keypad panel, observe the small rectangular holes next to each number. The numbers with a red indicator visible through these holes are part of the current password.
- To change the password, use a small flat-head screwdriver to push the pins corresponding to the old password numbers from red to silver (or vice-versa, depending on the current state).
- Then, push the pins corresponding to your new desired password numbers from silver to red.
- Ensure that the 'C' key pin is always set to red (password).
- Reassemble the lock onto the door.
- Test the new password: Press 'C', enter your new password, and press down the handle.
Video 4.1: This video demonstrates how to set and change the password for the mechanical keyless entry door lock, including how to identify the current password pins and configure new ones.

Image 4.2: Detail of the password setting mechanism on the back panel, showing red indicators for active password digits.
4.3. Automatic Locking and Normal Opening Mode
The lock is designed for automatic locking after the door closes. This provides enhanced security. For situations where the door needs to remain unlocked for flexible entry and exit, the lock can be set to a normal opening mode (specific instructions for this mode are not detailed in the provided information, but generally involve a specific sequence or a hold-open feature if available).

Image 4.3: The lock's automatic locking feature for enhanced security.
5. Maintenance
To ensure optimal performance and longevity of your Souyou Mechanical Keyless Entry Door Lock, follow these maintenance guidelines:
- Cleaning: Regularly wipe the lock's exterior with a soft, damp cloth. Avoid abrasive cleaners or solvents that could damage the finish.
- Lubrication: Periodically apply a small amount of silicone-based lubricant to the moving parts of the latch mechanism to ensure smooth operation. Do not use oil-based lubricants as they can attract dirt.
- Inspection: Periodically check all screws and fasteners to ensure they are tight. Inspect the handle and keypad for any signs of wear or damage.
- Environmental Protection: The lock is designed to be waterproof and resistant to various weather conditions. However, extreme conditions may still affect its appearance over time. Regular cleaning can help maintain its aesthetic.
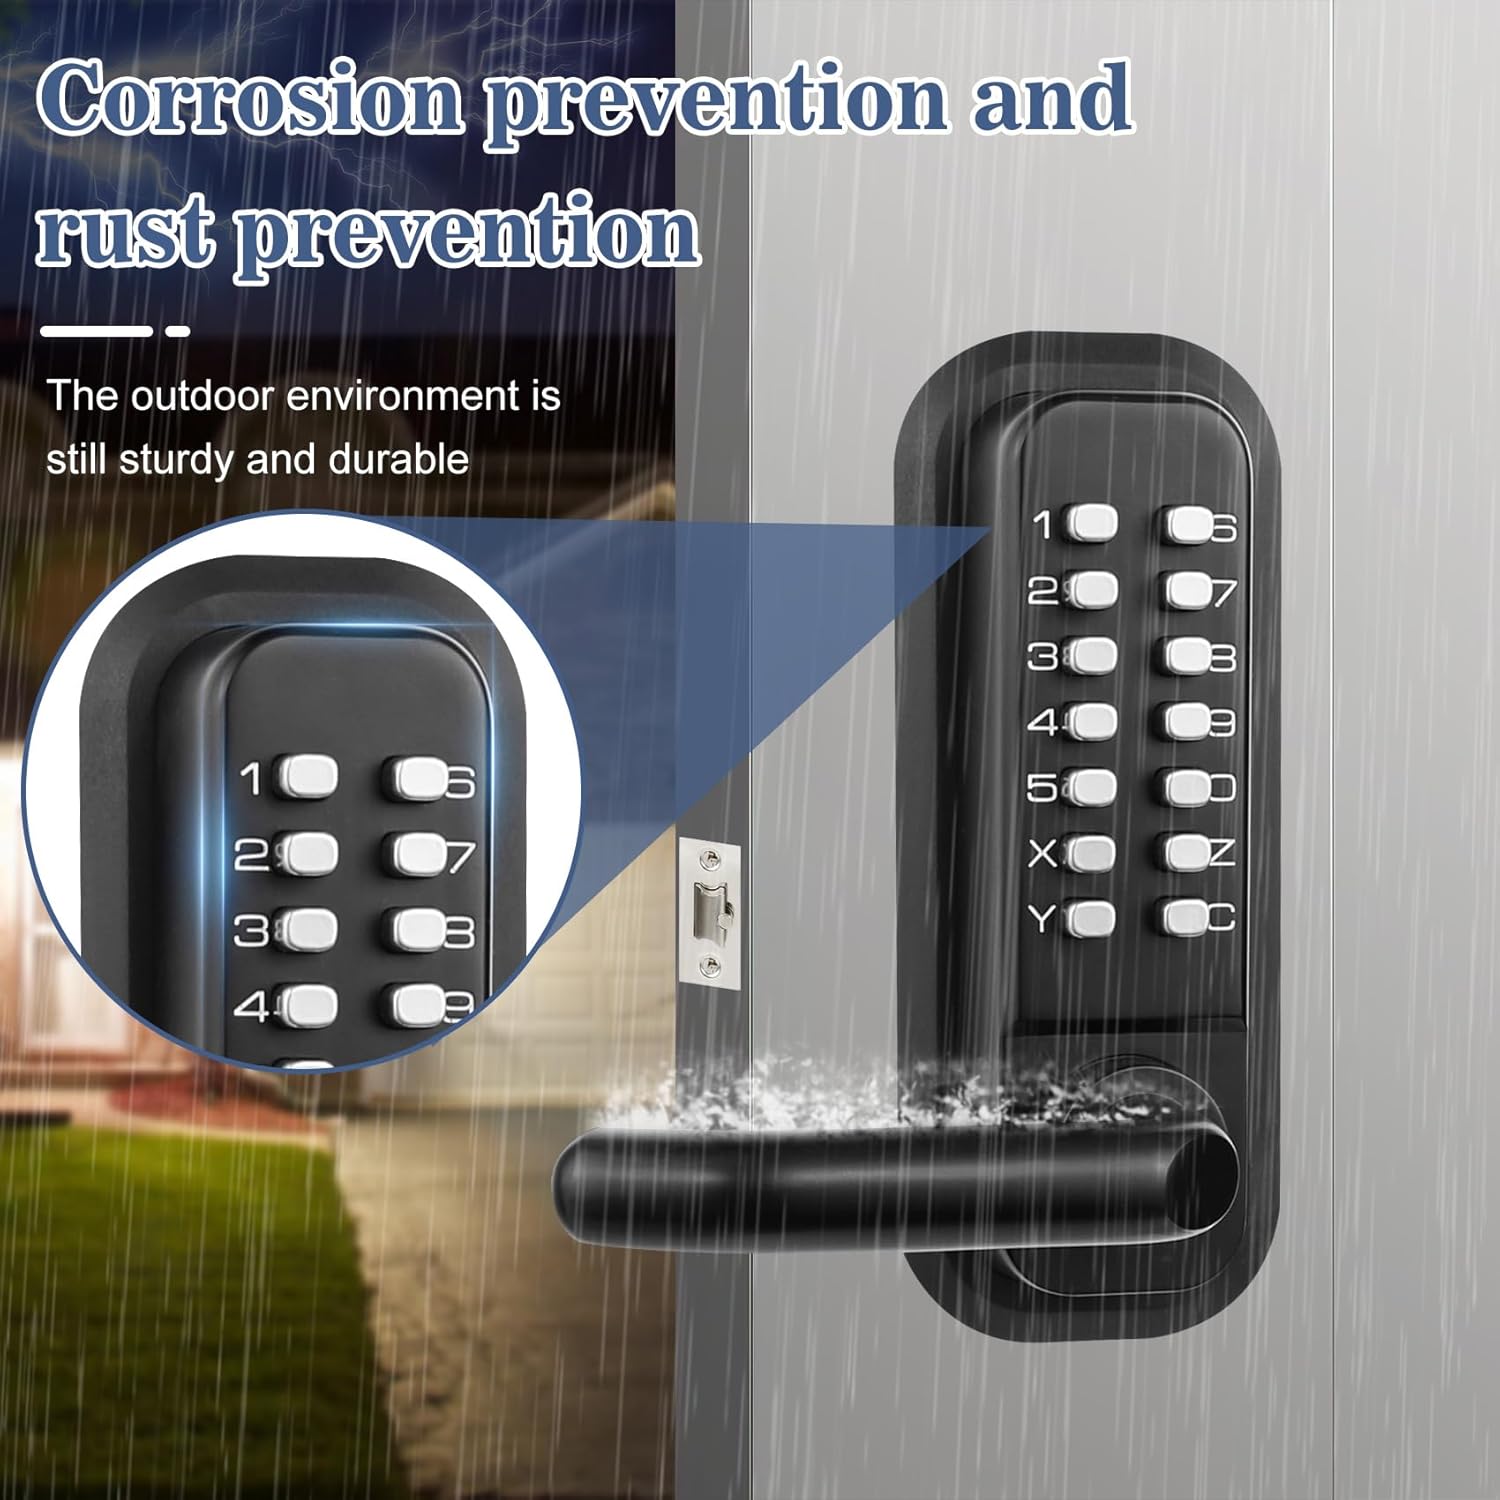
Image 5.1: The lock's corrosion and rust prevention features ensure durability in outdoor settings.
6. Troubleshooting
- Lock not opening with correct password: Ensure you press the 'C' key before entering the password. Verify that the handle direction is correctly set and the triangular arrow on the back panel points towards the handle.
- Handle feels loose or does not engage: Check the handle screw on the back of the panel and tighten it if necessary. Ensure the square spindle is correctly inserted and engaging with the latch mechanism.
- Spindle too long: If the spindle is too long for your door thickness, it may need to be shortened. This can typically be done with a hacksaw. Exercise caution to avoid cutting it too short, as this will render it unusable.
- Difficulty changing password: Refer to the password setting video and ensure all pins are correctly flipped for the old and new passwords. The 'C' key pin must always be set to red (password).
- Lock mechanism stiff: Apply a silicone-based lubricant to the latch bolt and internal moving parts.
7. Specifications
| Specification | Detail |
|---|---|
| Brand | Souyou |
| Model Number | e8cb5272-5168-417e-b186-dd9d7843817b |
| Lock Type | Keypad (Mechanical) |
| Recommended Uses | Securing and controlling access to various doors and outdoor spaces (e.g., outdoor gates, fences, warehouses) |
| Style | Single keyboard with large cushion |
| Color | Black |
| Number of Pieces | 2 (Front and Back Panels) |
| Controller Type | Hand Control, Mechanical Knob |
| Item Weight | 2.9 pounds (1.32 Kilograms) |
| Control Method | Touch (Keypad) |
| Door Thickness Compatibility | 1.38 inches to 2.95 inches (35mm to 75mm) |
| Batteries Required | No |
| Pre-drilled Hole Size (Max Cover) | 1.9 inches (Not suitable for US standard 2 1/8 inch without modification) |
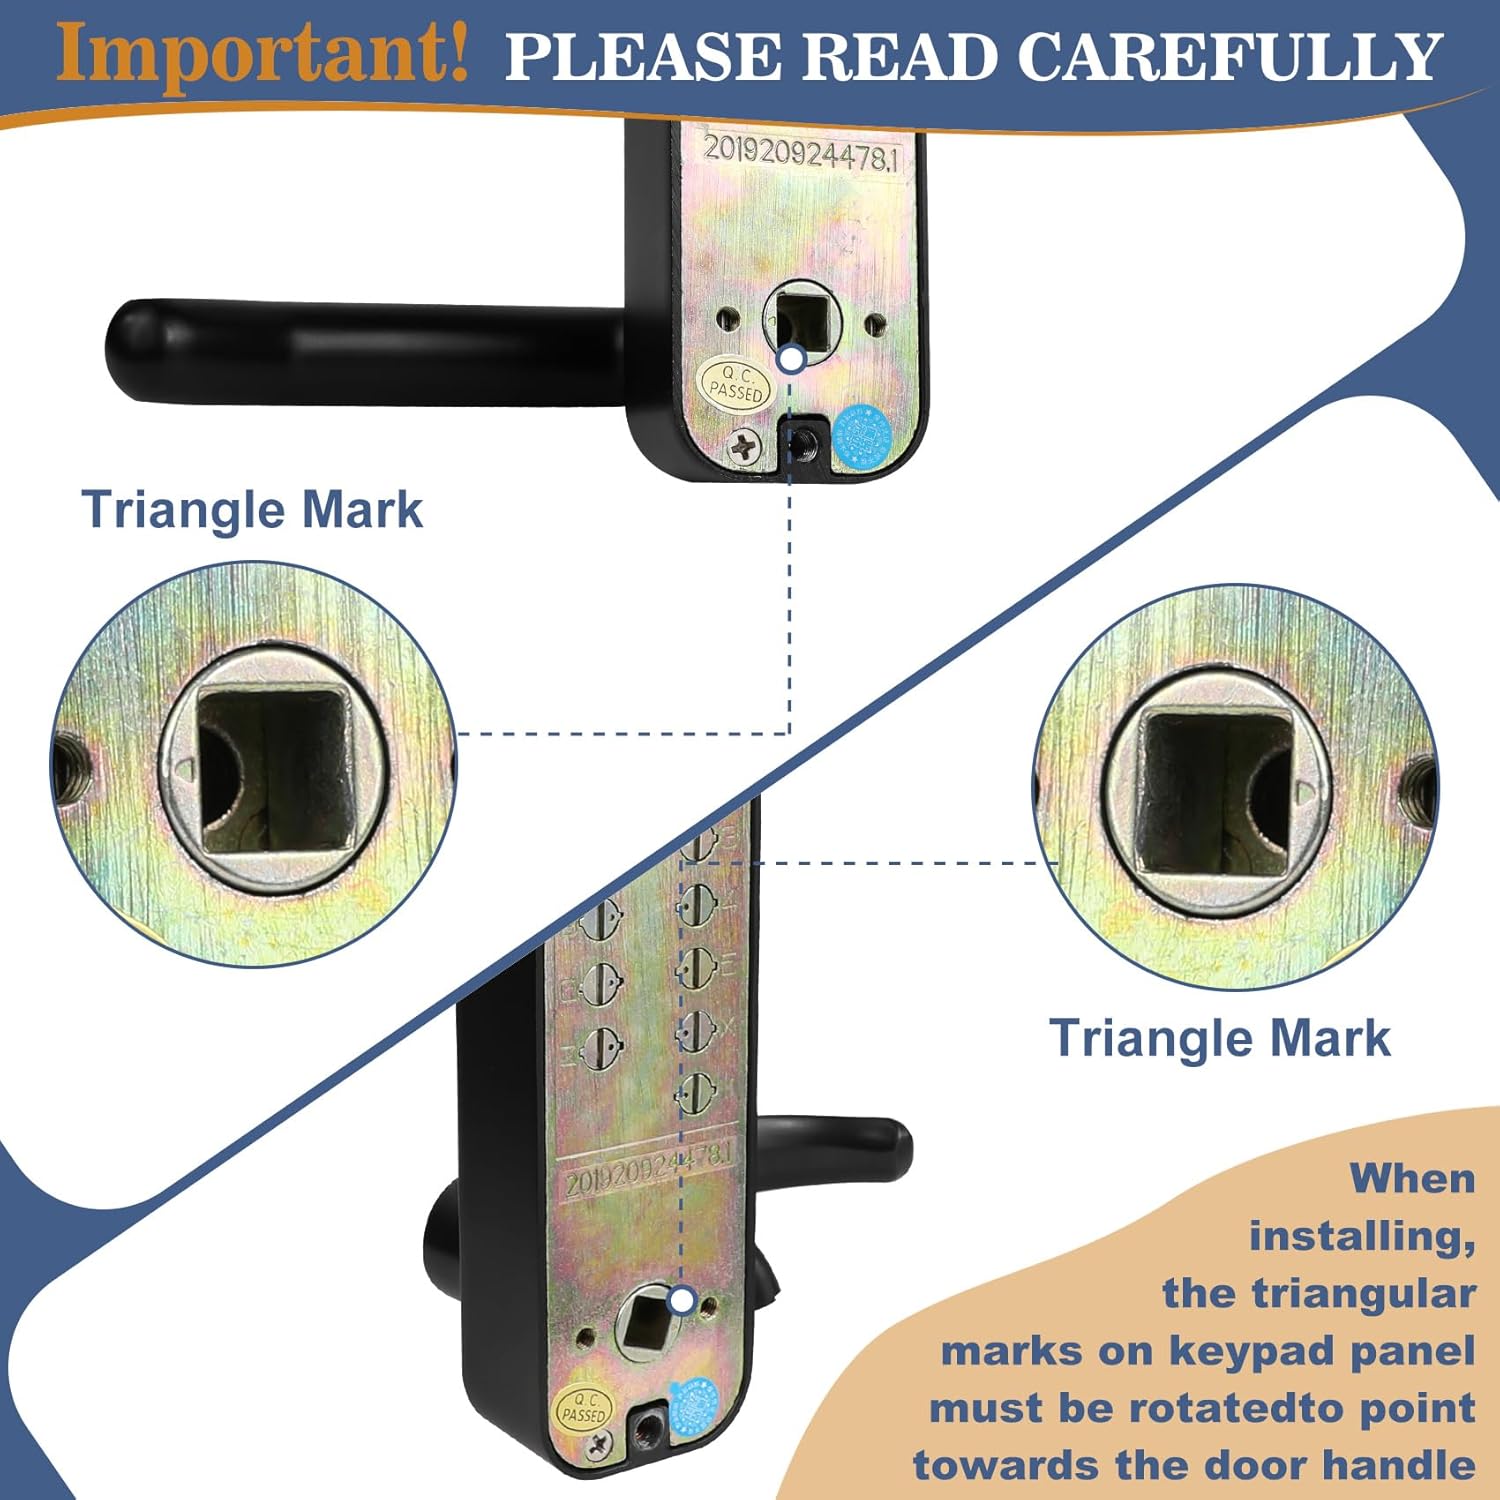
Image 7.1: Applicable door thickness range.

Image 7.2: Detailed dimensions and hole requirements for installation.

Image 7.3: Spindle and screw length compatibility with various door thicknesses.
8. Warranty and Support
Souyou is committed to providing comprehensive after-sales service. If you encounter any issues or have questions regarding your mechanical keyless entry door lock, please contact Souyou customer service for assistance. Your satisfaction is our priority.