1. Introduction
The Greluma ZL780LUM PIR (Passive Infrared) Motion Sensor is designed to provide automatic lighting control by detecting human movement and ambient light levels. This device offers convenience, enhanced security, and energy savings by ensuring lights are only active when needed. Its IP44 rating makes it suitable for both indoor and outdoor applications.
2. Product Overview
The Greluma ZL780LUM motion sensor features a wide detection range and angle, along with adjustable settings for light sensitivity (LUX) and time delay. Its robust design ensures reliable performance in various environments.

Image: Front view of the Greluma ZL780LUM PIR Motion Sensor, showcasing its compact design and sensor dome.
3. Safety Information
- Electrical Hazard: Always disconnect power at the circuit breaker before installing, servicing, or removing the device to prevent electric shock.
- Qualified Installation: Installation should be performed by a qualified electrician or a person with a thorough understanding of electrical wiring and local electrical codes.
- Proper Wiring: Ensure all wiring connections are secure and comply with the wiring diagram provided in this manual and local regulations.
- Operating Voltage: This device operates on AC 220-240V. Do not connect to other voltage sources.
- Environmental Conditions: Do not expose the sensor to extreme temperatures or corrosive environments beyond its specified operating conditions.
4. Package Contents
- 1 x Greluma ZL780LUM PIR Motion Sensor
- Mounting screws and wall plugs (typically included)
- Instruction Manual (this document)
5. Setup and Installation
Follow these steps for proper installation of your motion sensor.
5.1 Mounting the Sensor
- Choose a suitable mounting location. The sensor can be wall-mounted or ceiling-mounted. For optimal performance, install the sensor at a height of 1-2.5 meters.
- Mark the drilling points using the sensor's base as a template.
- Drill holes and insert the wall plugs.
- Secure the sensor base to the wall or ceiling using the provided screws.

Image: Visual guide for mounting the sensor and connecting the wires.
5.2 Wiring Connections
Refer to the wiring diagram below. Ensure power is disconnected before making any connections.
- Connect the Live (L) wire from your power supply to the 'IN~ L' terminal on the sensor.
- Connect the Neutral (N) wire from your power supply to the 'IN~ N' terminal on the sensor.
- Connect the Live (L) wire of your load (e.g., light fixture) to the 'OUT~ L' terminal on the sensor.
- Connect the Neutral (N) wire of your load to the 'OUT~ N' terminal on the sensor.

Image: Detailed view of the sensor's internal wiring terminals (L, N for input and output).
5.3 Adjusting Detection Direction
After installation, the sensor head can be rotated up to 180 degrees to adjust the detection direction, allowing you to optimize the coverage area.

Image: Illustration of the sensor's detection range (up to 12m at 180 degrees) and recommended installation height (1-2.5m).
6. Operating Instructions
Once installed and powered on, the Greluma ZL780LUM motion sensor will automatically begin its operation cycle. The sensor detects changes in infrared radiation caused by human movement within its detection zone. When motion is detected and the ambient light level meets the set LUX threshold, the connected light fixture will turn on. The light will remain on for the duration of the set time delay and will turn off once no further motion is detected within that period.
7. Knob Adjustments
The sensor features two adjustable knobs to customize its operation:

Image: Close-up of the sensor's adjustment knobs for 'TIME' and 'LUX'.
7.1 TIME Adjustment
- This knob controls the duration the light remains on after motion is detected and then stops.
- The adjustable range is approximately 8 seconds to 7 minutes.
- If continuous motion is detected, the timer will reset and extend the 'on' time.
7.2 LUX Adjustment (Light Sensor)
- This knob determines the ambient light level at which the sensor will activate.
- Adjustable range: 3 to 2000 Lux.
- Setting to the 'sun' position (maximum LUX value) allows the sensor to operate both day and night.
- Setting to the 'moon' position (minimum LUX value) allows the sensor to operate only when the ambient light is below approximately 3 Lux (i.e., in darkness or very low light conditions).
8. Maintenance
- Cleaning: Periodically wipe the sensor lens with a soft, dry cloth to remove dust or dirt that may obstruct detection. Do not use abrasive cleaners or solvents.
- Inspection: Regularly check the sensor for any signs of damage or loose connections.
- Power Cycle: If the sensor behaves erratically, try turning off the power at the circuit breaker for a few minutes, then restore power.
9. Troubleshooting
| Problem | Possible Cause | Solution |
|---|---|---|
| Light does not turn on when motion is detected. | No power to the sensor or light fixture. LUX setting is too low (moon position) during daytime. Faulty wiring connection. Motion not within detection range. | Check power supply and circuit breaker. Adjust LUX knob towards 'sun' position. Verify all wiring connections are secure. Ensure motion occurs within the sensor's detection area. |
| Light stays on continuously. | Continuous motion in detection area. TIME setting is too long. Wiring error (e.g., load directly connected to power). Sensor malfunction. | Remove obstructions or reposition sensor. Adjust TIME knob to a shorter duration. Re-check wiring against the diagram. Contact support if problem persists after checking other causes. |
| Light turns on and off too frequently. | Sensor is too sensitive. Interference from heat sources (e.g., vents, moving trees). | Adjust TIME and LUX settings. Reposition sensor to avoid interference. |
| Detection range is poor. | Obstructions blocking the sensor. Incorrect installation height. Temperature difference between ambient and moving object is too small. | Clear any obstructions from the sensor's view. Ensure installation height is within 1-2.5m. Sensor performance may vary with environmental conditions. |
10. Specifications
| Feature | Specification |
|---|---|
| Model Number | ZL780LUM |
| Operating Voltage | AC 220-240V |
| Detection Range | Up to 12 meters |
| Detection Angle | 180 degrees |
| Time Delay Adjustment | 8 seconds ~ 7 minutes |
| LUX Adjustment (Light Sensor) | 3 ~ 2000 Lux |
| Power Consumption (Standby) | 0.5 W |
| Operating Humidity | Less than 93% RH |
| IP Rating | IP44 (Splash-proof) |
| Dimensions (L x W x H) | 9 x 8.8 x 6.4 cm |
| Weight | 110 grams |
| Mounting Type | Ceiling or Wall Mount |
| Compatible Devices | Home lighting, ceiling lights, simple luminaires |
11. Applications
The Greluma ZL780LUM PIR Motion Sensor is versatile and can be used in various settings to automate lighting:
- Garages: Automatically illuminate when entering or exiting.
- Corridors/Hallways: Lights turn on as you walk through, then off.
- Basements: Convenient lighting in infrequently used areas.
- Stairwells: Enhance safety by lighting stairs upon approach.
- Kitchens/Pantries: Hands-free lighting when carrying items.
- Wardrobes/Lofts: Light up storage areas as needed.
- Outdoor Security Lighting: Activate lights upon detecting movement in courtyards or near sheds.

Image: Example of the motion sensor installed on an outdoor shed, demonstrating an outdoor application.
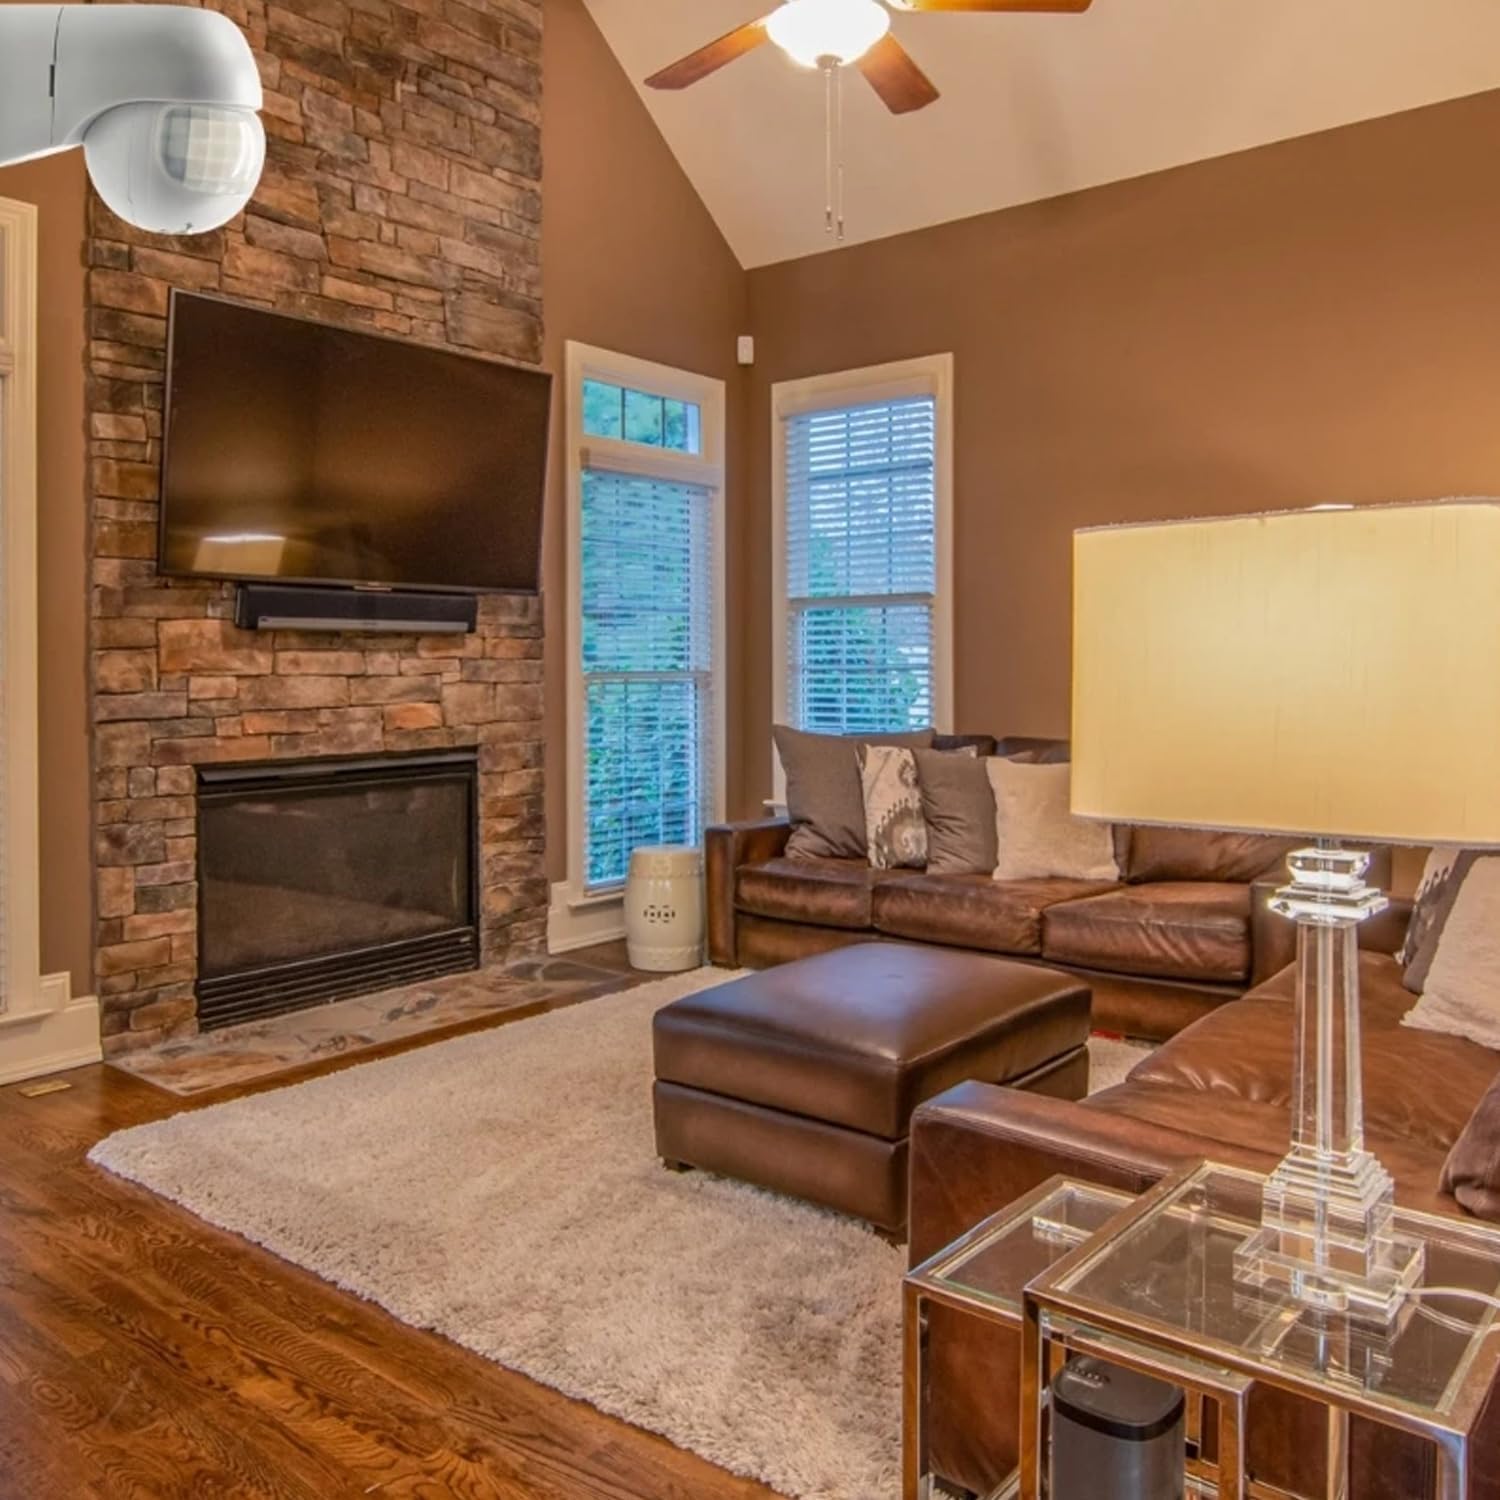
Image: Example of the motion sensor installed in an indoor living room, demonstrating an indoor application.

Image: Visual representation of different lighting types and locations where the sensor can be applied, such as wall lamps, spotlights, and ceiling lights in passages, eaves, balconies, and courtyards.
12. Warranty and Support
Warranty information for the Greluma ZL780LUM PIR Motion Sensor is typically provided at the point of purchase or through the retailer. Please retain your proof of purchase for warranty claims.
For technical support, troubleshooting assistance beyond this manual, or warranty inquiries, please contact your seller or the manufacturer directly. Contact details can usually be found on the product packaging or the retailer's website.