1. Introduction
The Satisure Wireless Doorbell Extender system is designed to upgrade your existing hardwired doorbell into a wireless system, providing extended range and multiple chime options. This manual provides detailed instructions for the installation, operation, and maintenance of your new doorbell extender.
2. Safety Information
Please read and understand all safety instructions before installation and use. Failure to follow these instructions may result in electric shock, fire, or other hazards.
- Always disconnect power to your existing doorbell system at the circuit breaker before attempting any installation.
- Ensure the voltage of your existing doorbell system is within the specified range of 3-24V AC/DC for the transmitter.
- Do not expose the devices to rain or moisture.
- Do not disassemble or modify the devices. Refer all servicing to qualified personnel.
- Keep out of reach of children.
3. Package Contents
Verify that all items are present in your package:
- 1 x Wireless Doorbell Extender (Transmitter)
- 2 x Plug-in Doorbell Receivers
- 1 x User Manual
- Necessary wiring for transmitter connection
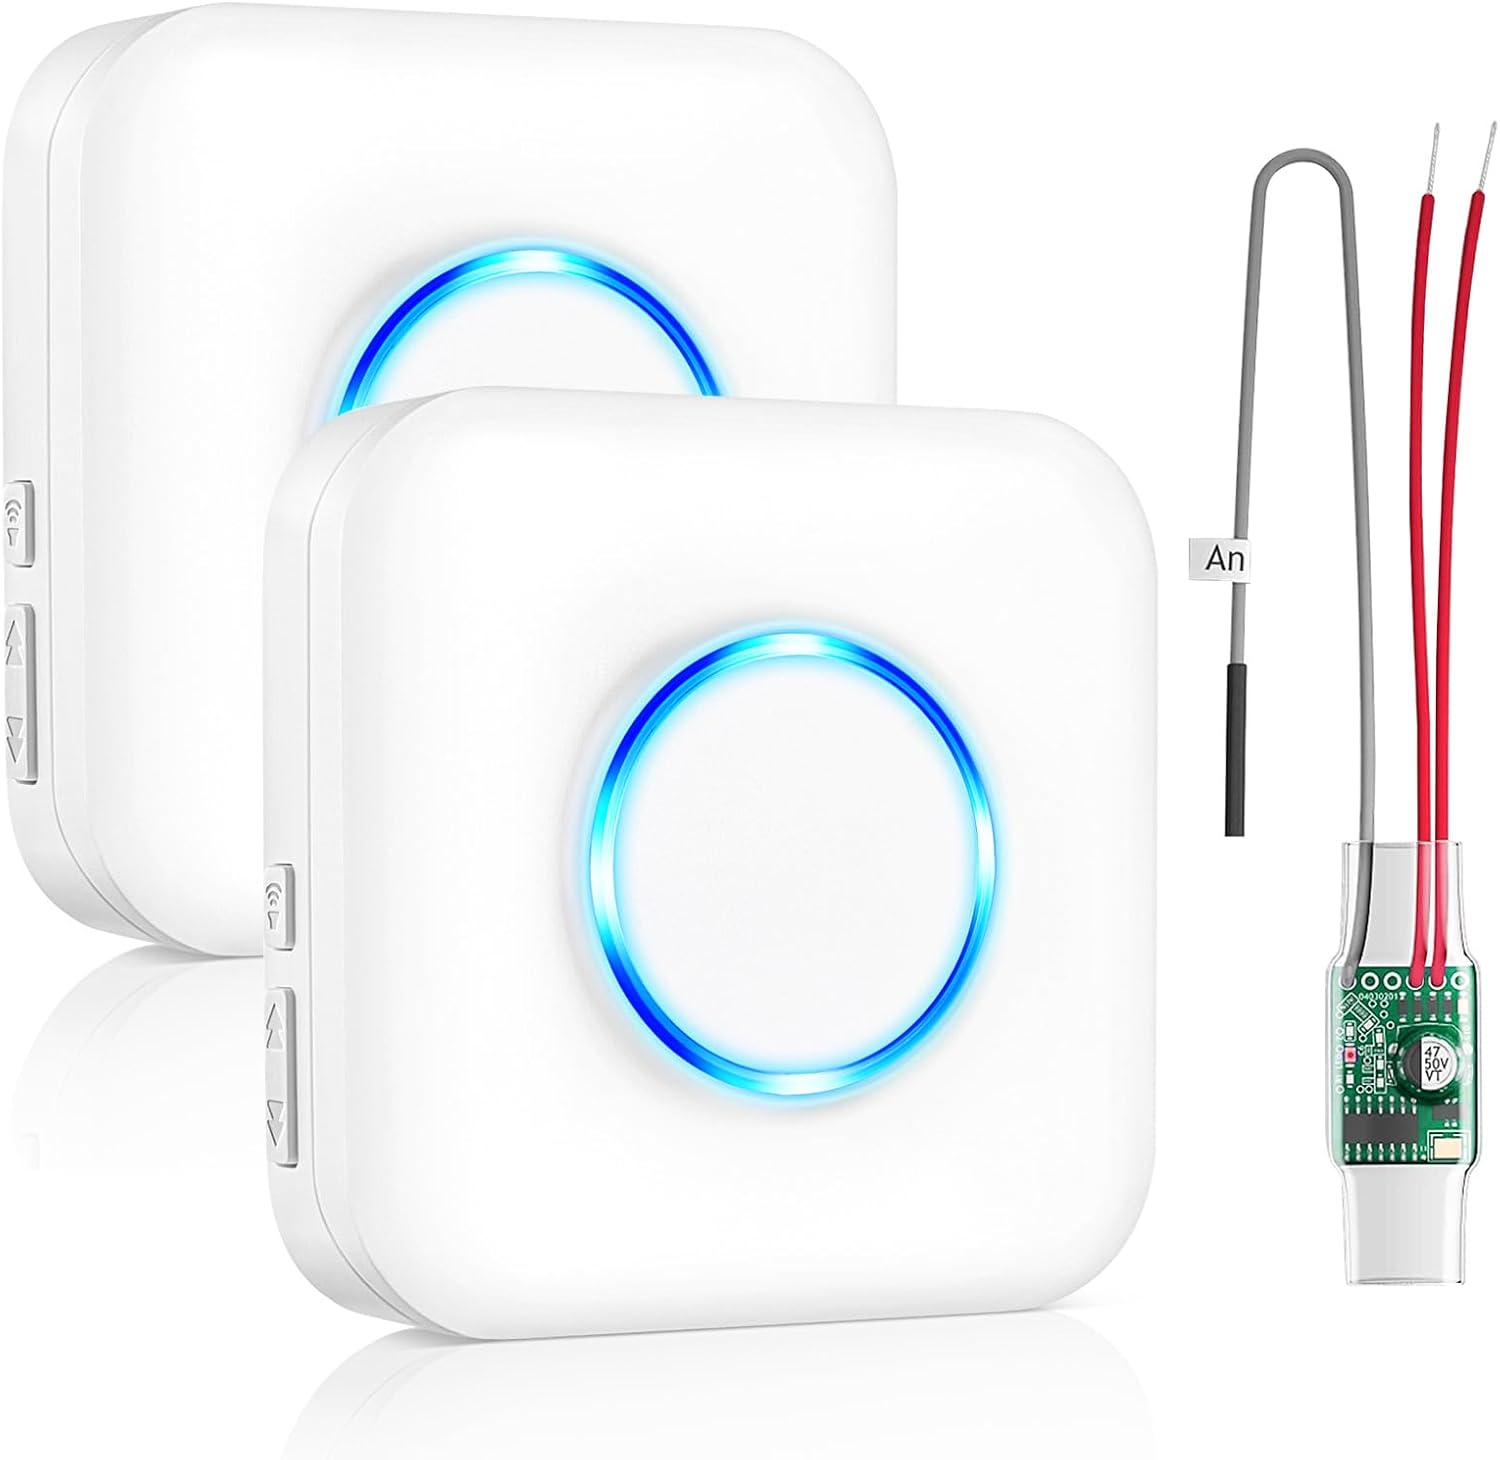
Image: Contents of the Satisure Wireless Doorbell Extender package, including two plug-in receivers, one wired transmitter, and connection wires.
4. Product Overview
The Satisure Wireless Doorbell Extender system consists of a wired transmitter and wireless plug-in receivers. The transmitter connects to your existing wired doorbell system, converting its signal into a wireless one. The receivers plug into standard wall outlets and chime when the doorbell is pressed.
Receiver Features:
- LED Indicator: A blue LED ring illuminates when the doorbell rings, providing a visual alert.
- Volume Buttons: Adjust the volume level (5 levels, 0-110dB).
- Music Buttons: Cycle through 58 available chimes.
- Plug-in Design: Easily plugs into any standard AC outlet.
Transmitter Features:
- Compact Design: Fits inside most existing doorbell chime boxes.
- Wired Connection: Connects directly to your existing doorbell wiring.
- Signal Conversion: Converts wired doorbell signal to a wireless radio frequency.

Image: Detailed diagram illustrating the dimensions and key features of both the Satisure doorbell receiver and the radio converter transmitter.

Image: The plug-in receiver features a blue LED night light, visible in both daytime and nighttime settings, providing a visual alert even in silent mode.
5. Setup and Installation
Follow these steps to install the Satisure Wireless Doorbell Extender:
- Disconnect Power: Before starting, turn off the power to your existing doorbell system at the circuit breaker to prevent electric shock.
- Open Doorbell Cover: Carefully open the cover of your existing wired doorbell chime box.
- Connect Transmitter: Connect the wires from the Satisure wireless transmitter to the terminals of your existing doorbell control box. There is no distinction between positive (+) and negative (-) poles for this connection. Ensure the voltage is between 3-24V AC/DC.
- Secure Transmitter: Once connected, secure the transmitter inside the doorbell chime box using tape or other suitable means to prevent it from moving or interfering with the chime mechanism.
- Restore Power: Close the doorbell cover and restore power to your doorbell system at the circuit breaker.
- Verify Connection: Press your existing wired doorbell button. The LED on the transmitter should light up, and if a receiver is already paired and plugged in, it should ring.

Image: Connection diagram for the doorbell expander, illustrating how the transmitter integrates with the existing wired doorbell system and communicates with the wireless door chime.

Image: A quick installation guide showing four steps: opening the doorbell cover, connecting the radio transmitter, verifying the LED light and receiver ring, and securing the transmitter.
6. Operating Instructions
6.1 Pairing the Extender with the Receiver
If your receiver is not already paired, follow these steps:
- Ensure the extender is correctly connected to your wired doorbell and is working normally (i.e., the wired doorbell rings when pressed).
- Plug the receiver into a standard wall outlet.
- On the receiver, press and hold the Volume button for approximately 5-7 seconds until the receiver emits a
Related Documents - 1Extender-2Chime White (Model 1T2)

Satisure Wireless Door Chime B14-N05 User Manual
Comprehensive user manual for the Satisure Wireless Door Chime B14-N05, detailing features, specifications, installation, operation, and troubleshooting for this easy-to-use security product.
Satisure Anti-Theft Doorbell Mount: Installation Guide
Comprehensive guide for installing the Satisure Anti-Theft Doorbell Mount using both no-drill and drilling methods. Compatible with major video doorbell brands like Ring and Blink.
Satisure Wireless Solar Driveway Alarm User Manual
Comprehensive user manual for the Satisure Wireless Solar Driveway Alarm system. Covers product features, technical specifications, installation guide, operation instructions, pairing procedures, and troubleshooting. Includes a list of 58 available ringtones and guidance on contacting customer support.
Power Failure Alarm User Manual - Satisure L8DWUS
User manual for the Satisure L8DWUS Power Failure Alarm. This device detects power outages and alerts users with a loud alarm and LED flash. It features adjustable volume, a 12-hour battery backup, and an extended socket for additional appliance use. Includes FCC compliance information.
Satisure Door & Window 3in1 Alarm Reminder Chime User Manual
User manual for the Satisure Door & Window 3in1 Alarm Reminder Chime, covering its features as an entry chime, window/door alarm, and closing reminder. Includes specifications, operating instructions, installation guide, and troubleshooting tips for home and business security.