Introduction
Thank you for choosing the Gloryes Dual Dash Cam. This manual provides essential information for the proper installation, operation, and maintenance of your device. Please read it thoroughly before use to ensure optimal performance and safety.
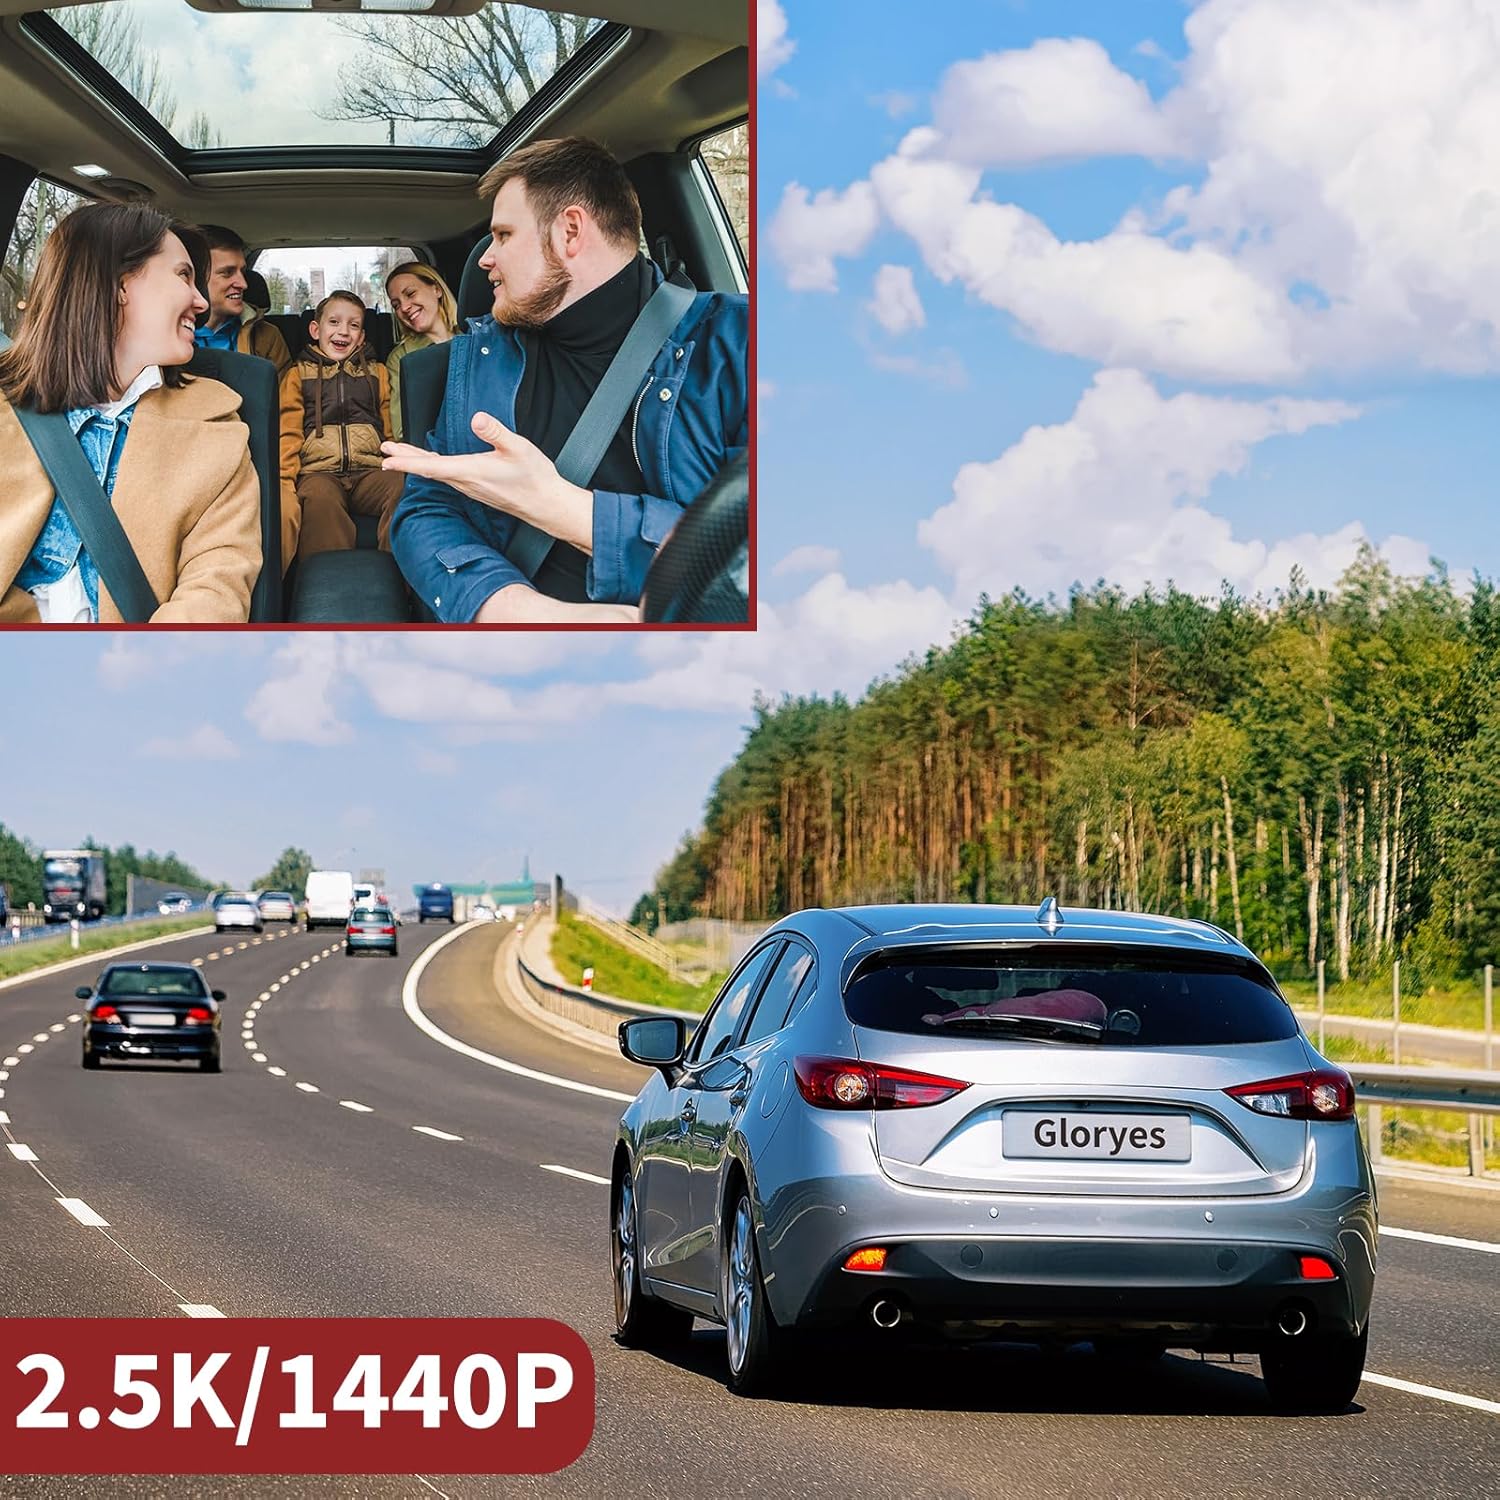
Image: The Gloryes Dual Dash Cam, showcasing its compact design and dual camera lenses for front and interior recording.
What's in the Box
Verify that all items listed below are present in your package:
- Dual Dash Cam Unit
- Car Charger
- Charging Cable
- Installation Tool
- User Manual
- 32GB SD Card (included)

Image: All components included in the Gloryes Dual Dash Cam package, neatly arranged.
Product Overview
The Gloryes Dual Dash Cam features a compact design with intuitive controls for easy operation.
Key Features:
- Dual 2K/1440P Front & 1080P Interior Recording: Captures high-resolution video of both the road ahead and the vehicle's interior.
- Super Night Vision & WDR: Enhanced low-light performance for clear recordings at night.
- Loop Recording: Automatically overwrites the oldest footage when the memory card is full.
- Built-in G-Sensor: Detects sudden impacts and automatically locks the current video file to prevent overwriting.
- Parking Monitor: When enabled, the dash cam will automatically start recording if it detects vibration or impact while the vehicle is parked. This feature requires a continuous power supply (e.g., via a hardwire kit, sold separately).
- User-Friendly Design: Buttons are conveniently located for easy access.

Image: Visual representation of Super Night Vision capabilities for both front and interior cameras.

Image: Close-up of the dash cam's right-side buttons, designed for user-friendly operation while driving.
Setup & Installation
Follow these steps to properly install your dash cam in your vehicle:
- Choose Mounting Location: Select a location on your windshield that does not obstruct your view of the road. Ensure the front camera has a clear view.
- Clean Surface: Clean the chosen area on the windshield thoroughly to ensure a strong adhesive bond or suction.
- Attach Mount:
- Suction Cup Mount: Press the suction cup firmly against the windshield and flip the lever to secure it.
- Adhesive Mount: Peel off the protective film from the adhesive pad and firmly press the mount onto the windshield. Hold for 30 seconds.
- Attach Dash Cam: Slide the dash cam onto the chosen mount until it clicks into place.
- Connect Power:
- Insert the charging cable into the dash cam's power port.
- Route the cable neatly along the edge of the windshield and dashboard using the provided installation tool to tuck it under trim panels.
- Plug the car charger into your vehicle's 12V power outlet (cigarette lighter socket).
- Insert SD Card: Insert the provided 32GB SD card into the designated slot on the dash cam. Ensure it is inserted correctly until it clicks.
- Adjust Camera Angle: Power on the dash cam and adjust the front and interior camera lenses to capture the desired viewing angles.
Video: Official Gloryes video demonstrating the installation process of the Dual Dash Cam, including mounting and cable routing.
Operating Instructions
Power On/Off
- The dash cam will automatically power on and begin recording when your vehicle's engine starts.
- It will automatically power off when the engine is turned off.
- To manually power on/off, press and hold the power button.
Recording Modes
- Loop Recording: Videos are recorded in continuous loops (e.g., 1, 3, or 5-minute segments). When the SD card is full, the oldest unlocked files are overwritten.
- G-Sensor (Emergency Recording): In the event of a sudden impact or collision, the G-sensor will automatically detect it and lock the current video file, preventing it from being overwritten by loop recording.
- Parking Monitor: When enabled, the dash cam will automatically start recording if it detects vibration or impact while your vehicle is parked. This feature requires a continuous power supply (e.g., via a hardwire kit, sold separately).

Image: Diagram showing how G-Sensor, Parking Monitor, and Loop Recording function to protect your vehicle.

Image: The Parking Monitor feature in action, capturing events like a child playing with a ball or a potential intruder near the vehicle.
Night Vision
The dash cam is equipped with Super Night Vision and Wide Dynamic Range (WDR) technology, along with 4 IR lights, to ensure clear video quality in low-light conditions, both for the front and interior cameras.
Video: A demonstration of the dash cam's camera quality during day and night, for both front and rear cameras, including audio quality test.
Video Playback & Download
You can review recorded videos directly on the dash cam's screen or transfer them to a computer.
- On-Device Playback: Use the navigation buttons on the dash cam to access the video playback menu.
- SD Card Transfer: Remove the SD card from the dash cam and insert it into a computer's card reader to access and transfer files.
- USB Transfer: Connect the dash cam directly to a computer using a USB cable to transfer files.

Image: Illustration of how to download recorded videos using either a USB connection or by directly transferring the SD card to a computer.
Maintenance
- Format SD Card Regularly: To ensure stable recording and prevent data corruption, it is recommended to format the SD card every 2-4 weeks.
- Clean Lenses: Use a soft, lint-free cloth to gently clean the camera lenses to maintain clear video quality.
- Firmware Updates: Check the official Gloryes website periodically for any available firmware updates to improve performance and add new features.
- Operating Temperature: Avoid exposing the dash cam to extreme temperatures for prolonged periods to prevent damage.
Troubleshooting
| Problem | Solution |
|---|---|
| Dash cam does not power on. |
|
| Video footage is blurry or unclear. |
|
| SD card error or recording stops. |
|
| Parking monitor not working. |
|
Specifications
| Feature | Detail |
|---|---|
| Model Number | dual 1080P dash cam |
| Front Camera Resolution | 2K/1440P |
| Interior Camera Resolution | 1080P |
| Screen Size | 2 Inches |
| Special Features | Super Night Vision, Parking Monitor, Loop Recording, G-Sensor |
| Connectivity Technology | USB |
| Mounting Type | Windshield Mount |
| Product Dimensions | 1.77 x 3.93 x 1.57 inches |
| Item Weight | 12.3 ounces |
| Batteries | 1 Lithium Polymer batteries required (included) |
Warranty & Support
For warranty information, technical support, or any inquiries regarding your Gloryes Dual Dash Cam, please refer to the contact information provided in the included User Manual or visit the official Gloryes website.
You can also reach out to Gloryes customer support via email: dayutech2023@163.com.

Image: Gloryes customer support details, including email address.