VINGVO VINGVO95it0qeg34-02
VINGVO Mini Digital Camera User Manual
Model: VINGVO95it0qeg34-02
Product Overview
The VINGVO Mini Digital Camera is a compact and portable camcorder designed for ease of use, making it ideal for children, teenagers, and beginners. It features a 16-megapixel sensor for clear photos and supports 720P HD video recording at 30 frames per second. The camera is equipped with a 2.4-inch LCD screen for convenient viewing and operation.

Figure 1: Front view of the VINGVO Mini Digital Camera, showcasing its compact design and lens.
What's in the Box
Upon opening the package, you should find the following items:
- VINGVO Mini Digital Camera (Gold)
- Instruction Manual
Note: AAA alkaline batteries are required for operation and are not included in the package. A memory card (up to 32GB) is also not included and must be purchased separately.
Setup
1. Installing Batteries
- Locate the battery compartment cover on the camera.
- Slide or lift the cover to open the compartment.
- Insert three (3) AAA alkaline batteries, ensuring correct polarity (+/-) as indicated inside the compartment.
- Close the battery compartment cover securely.
2. Inserting a Memory Card
The camera supports memory cards up to 32GB (not included). A memory card is essential for saving photos and videos.
- Locate the memory card slot, typically on the side of the camera.
- Gently insert the memory card into the slot until it clicks into place. Ensure the card is oriented correctly.
- To remove the card, gently push it in until it clicks, then release, and it will spring out.
Operating Instructions
Powering On/Off
- To power on: Press and hold the power button (usually marked with a circle and a vertical line) until the LCD screen illuminates.
- To power off: Press and hold the power button again until the screen turns off.
Basic Photography
The camera features a 16-megapixel sensor for high-resolution images.

Figure 2: The camera's 16MP sensor captures realistic and detailed images, as shown by the clarity of the bubbles.
- Turn on the camera.
- Frame your shot using the 2.4-inch LCD screen.
- Press the shutter button (typically on top of the camera) halfway down to focus, then press fully to capture the photo.
Video Recording
Record moments in 720P HD quality at 30 frames per second.
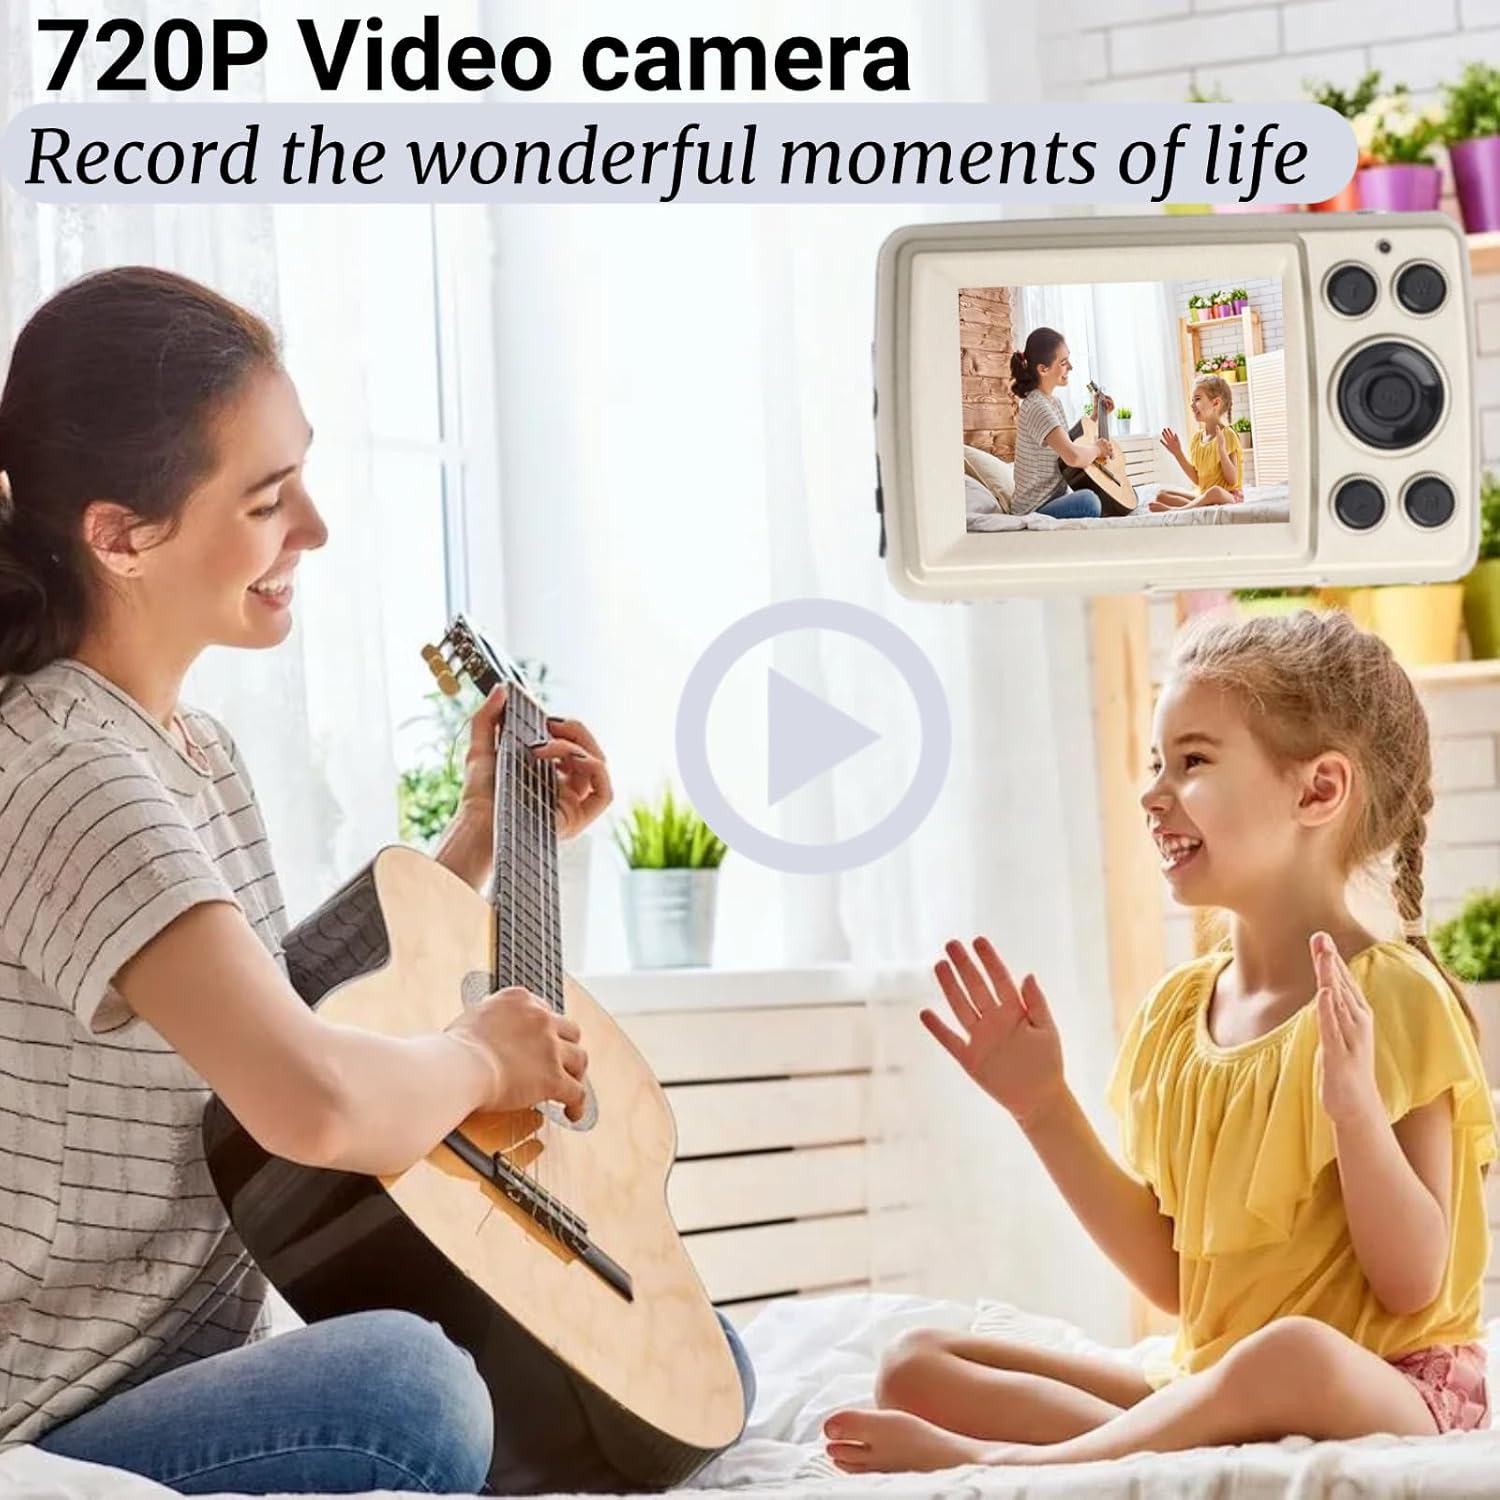
Figure 3: The camera's ability to record 720P video, capturing dynamic scenes with clarity.
- Switch the camera to video mode (if applicable, refer to on-screen icons).
- Press the record button (often marked with a red dot) to start recording.
- Press the record button again to stop recording.
Continuous Shooting (30FPS)
Capture fast-moving action with the 30 frames per second continuous shooting feature.

Figure 4: Illustration of the 30FPS continuous shooting function, ideal for capturing sequences of motion.
Consult the camera's on-screen menu or physical buttons for activating continuous shooting mode. This mode allows for rapid capture of multiple images in quick succession.
Self-Timer Function
Utilize the self-timer for group photos or stable self-portraits.

Figure 5: The camera supports a self-timer function, useful for capturing moments with everyone in the frame.
Access the self-timer settings through the camera's menu. Options typically include 2-second, 5-second, or 10-second delays before the photo is taken.
LCD Monitor Usage
The 2.4-inch LCD monitor provides a clear view for framing shots and reviewing content. Its 720*1280P pixel resolution allows for adjustments to grayscale, saturation, and brightness.

Figure 6: The 2.4-inch LCD display provides a clear and vibrant viewing experience for both capturing and reviewing images.
White Balance Settings
Adjust the white balance to ensure accurate color reproduction under different lighting conditions.

Figure 7: Various white balance settings available on the camera to optimize color accuracy in different environments.
Common white balance presets include Auto, Daylight, Cloudy, Fluorescent, and Tungsten. Select the setting that best matches your current lighting.
Maintenance
Cleaning the Camera
- Camera Body: Use a soft, dry cloth to wipe the camera body. For stubborn dirt, slightly dampen the cloth with water. Avoid harsh chemicals.
- Lens: Use a lens brush or a microfiber cloth specifically designed for camera lenses. Gently wipe in a circular motion from the center outwards. Do not touch the lens with your fingers.
- LCD Screen: Use a soft, lint-free cloth. For smudges, a screen cleaner spray designed for electronics can be used sparingly.
Storage
When not in use, store the camera in a cool, dry place away from direct sunlight and extreme temperatures. Remove batteries if the camera will not be used for an extended period to prevent leakage.
Troubleshooting
| Problem | Possible Cause | Solution |
|---|---|---|
| Camera does not turn on. | Batteries are dead or incorrectly inserted. | Replace with fresh AAA batteries, ensuring correct polarity. |
| Cannot take photos/videos. | Memory card is full, not inserted, or corrupted. | Insert a memory card, delete old files, or format the card (this will erase all data). |
| Images are blurry. | Lens is dirty; camera moved during capture; subject too close. | Clean the lens; hold the camera steady; ensure adequate distance from subject. |
| LCD screen is blank. | Camera is off; battery low; screen setting. | Turn on camera; replace batteries; check display settings in menu. |
Specifications

Figure 8: Detailed specifications of the VINGVO Mini Digital Camera.
| Feature | Detail |
|---|---|
| Brand | VINGVO |
| Model Name | VINGVO95it0qeg34-02 |
| Maximum Webcam Image Resolution | 16 MP |
| Photo Sensor Size | 1/2.3-inch |
| Photo Sensor Technology | MOS |
| Supported File Format | JPEG |
| Image Stabilization | Digital, Dynamic |
| Metering Description | Evaluative |
| Item Weight | 4.8 ounces |
| Power Source | 3 x AAA Batteries (not included) |
| Display | 2.4-inch LCD |
| Video Resolution | 720P HD (1280*720P 30fps) |
| Storage Support | Up to 32GB Memory Card (not included) |
Warranty and Support
VINGVO is committed to customer satisfaction. If you encounter any issues or have questions regarding your Mini Digital Camera, please do not hesitate to contact our customer support team.
For assistance, please refer to the contact information provided with your purchase or visit the official VINGVO store on Amazon: VINGVO Store.
We strive to provide prompt and helpful solutions to ensure your experience with our products is positive.