1. Introduction
The RX-Multi Receiver Controller is a versatile device designed for various remote control applications, particularly for garage doors and other access control systems. It operates on a wide AC/DC voltage range of 9-30V and supports multiple frequencies, including 433MHz and 868MHz, making it compatible with a broad range of remote controls. This manual provides detailed instructions for the safe installation, setup, operation, and maintenance of your RX-Multi Receiver Controller.

Figure 1: Front view of the RX-Multi Receiver Controller, highlighting its compact design, terminal block for wiring, and internal DIP switches for configuration. The device features clear labels for power (PWR), channels (CH1, CH2), ground (GND), and antenna (ANT) connections.
2. Product Features
- Wide Voltage Compatibility: Operates on AC/DC 9-30V, offering flexibility for various power sources.
- Multi-Frequency Support: Compatible with 433MHz and 868MHz remote controls, enhancing versatility.
- Dual Channel Output: Features two independent relay outputs (CH1, CH2) for controlling different devices.
- Compact Design: Small form factor for easy integration into existing systems.
- DIP Switch Configuration: Allows for easy setting of operating modes and frequencies.
- Durable Construction: Designed for reliable performance in industrial and home environments.
3. Safety Information
Please read and understand all safety instructions before installing or operating the RX-Multi Receiver Controller. Failure to follow these instructions may result in electric shock, fire, or serious injury.
- Electrical Safety: Ensure power is disconnected before making any wiring connections. All wiring should be performed by a qualified electrician if you are unsure.
- Voltage Range: Do not exceed the specified AC/DC 9-30V input voltage.
- Environmental Conditions: Do not expose the device to moisture, extreme temperatures, or corrosive environments.
- Intended Use: Use this device only for its intended purpose as a remote control receiver.
- Children and Pets: Keep the device and its components out of reach of children and pets.
4. Setup and Installation
4.1 Wiring Connections
Identify the terminal block on the receiver. Connect the power supply and controlled devices as follows:
- PWR: Connect the positive (+) terminal of your 9-30V AC/DC power supply.
- GND: Connect the negative (-) terminal of your 9-30V AC/DC power supply. This is also the common ground for the relay outputs.
- CH1: Relay output channel 1. Connect one side of the device to be controlled (e.g., garage door opener input) to this terminal.
- CH2: Relay output channel 2. Connect one side of another device to be controlled to this terminal.
- ANT: Connect the provided antenna to this terminal for optimal signal reception.

Figure 2: Top-down view of the receiver, clearly showing the screw terminals for PWR, CH1, CH2, GND, and ANT. Proper connection of these terminals is crucial for the device's functionality.
4.2 Frequency and Mode Configuration (DIP Switches)
The RX-Multi Receiver Controller features internal DIP switches to set the operating frequency and relay output mode. Carefully open the casing to access these switches.

Figure 3: An angled view of the receiver with its top cover removed, exposing the red DIP switch block. These switches are used to configure the operating frequency and relay output behavior.
Refer to the markings on the circuit board or the included quick-start guide for specific DIP switch settings for 433MHz, 868MHz, and various relay modes (e.g., momentary, toggle, latching). Ensure the power is disconnected before changing DIP switch settings.
4.3 Remote Control Pairing
To pair a remote control with the receiver:
- Ensure the receiver is powered on and configured to the correct frequency.
- Press the learning button (often labeled S1 or S2) on the receiver. An indicator LED (L1 or L2) will typically illuminate or flash.
- While the LED is active, press the button on your remote control that you wish to pair.
- The LED on the receiver should flash rapidly or turn off, indicating successful pairing.
- Repeat for additional remote buttons or channels as needed.

Figure 4: The RX-Multi Receiver Controller positioned alongside a typical remote control. This image visually represents the interaction between the receiver and the remote during the pairing or operational phase.
5. Operating Instructions
Once the receiver is wired, configured, and paired with your remote controls, operation is straightforward:
- Power Indicator: The PWR LED (L1 or L2) will be steadily lit when the device is powered on.
- Channel Activation: Press the corresponding button on your paired remote control.
- Relay Response: The receiver's internal relay for the activated channel (CH1 or CH2) will switch according to the configured mode (momentary, toggle, or latching).
- Status Indicators: LEDs (L1, L2) next to S1, S2 may indicate the status of the respective channels or learning mode.
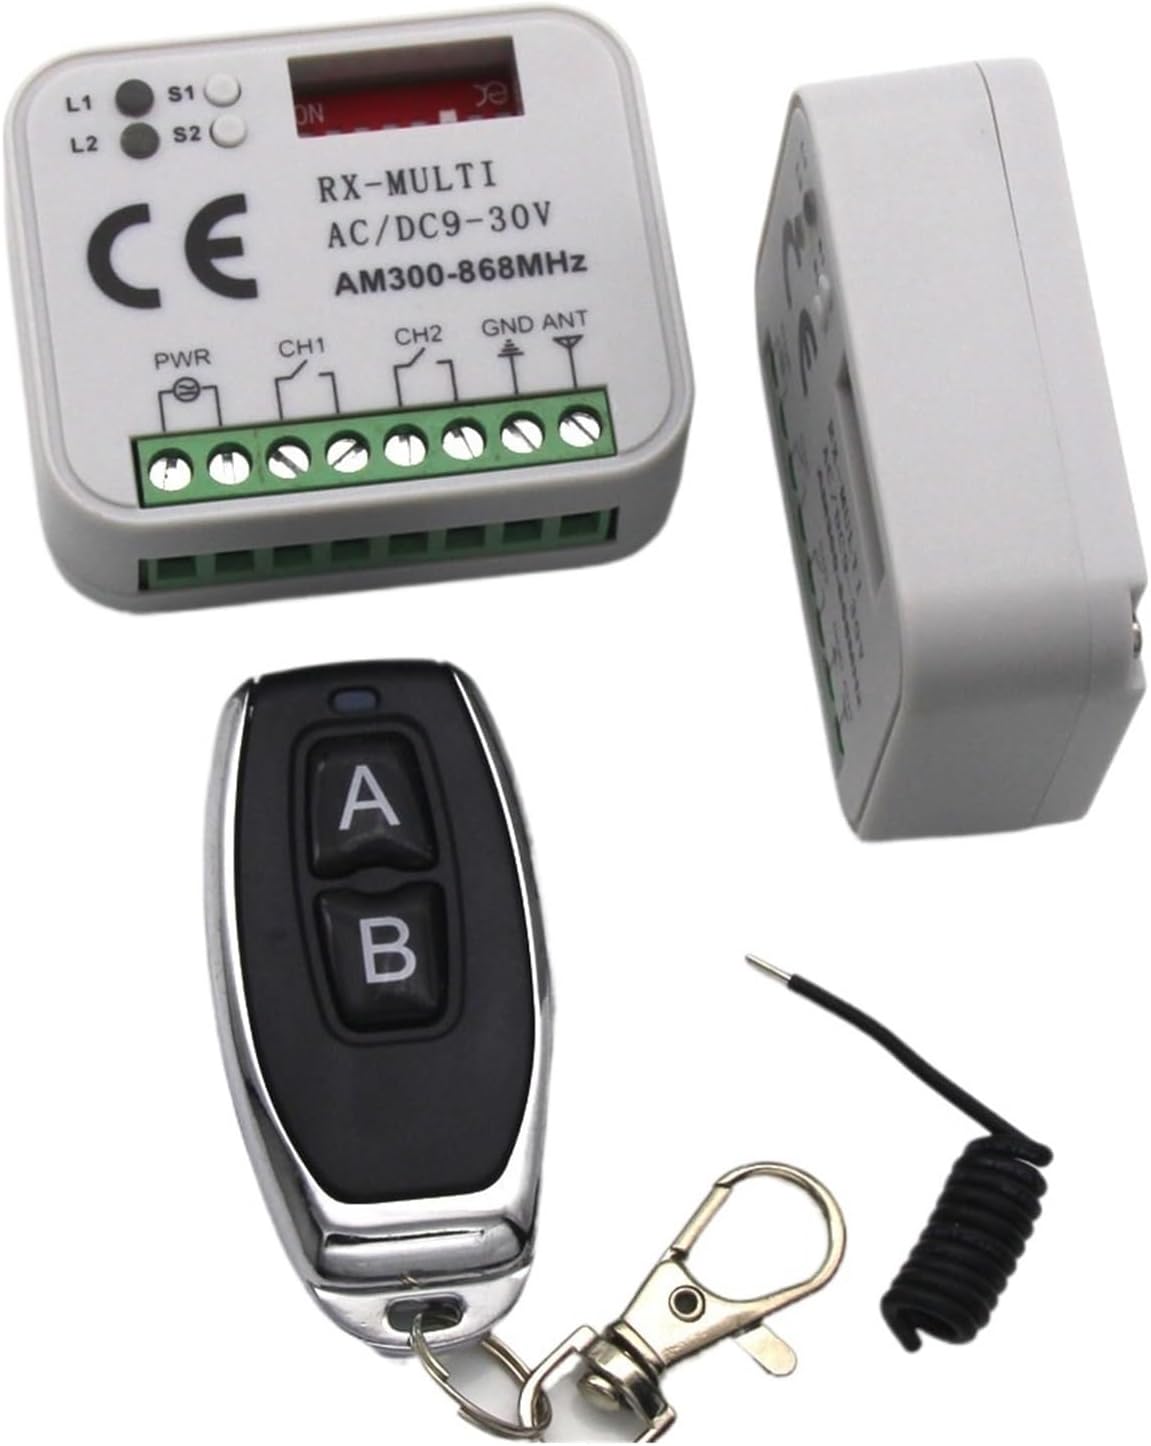
Figure 5: A complete view of the RX-Multi Receiver Controller kit, including the main receiver unit, a compatible remote control, and the external antenna. This illustrates all primary components required for operation.
6. Maintenance
The RX-Multi Receiver Controller is designed for low maintenance. Follow these guidelines to ensure longevity:
- Cleaning: Use a soft, dry cloth to clean the exterior of the device. Do not use liquid cleaners or solvents.
- Inspection: Periodically check wiring connections to ensure they are secure and free from corrosion.
- Environment: Ensure the device remains in a dry, stable environment, away from direct sunlight and extreme temperatures.
7. Troubleshooting
If you encounter issues with your RX-Multi Receiver Controller, refer to the following common problems and solutions:
| Problem | Possible Cause | Solution |
|---|---|---|
| Receiver not powering on (no PWR LED) | No power supply; incorrect wiring; faulty power supply. | Check power connections; verify power supply voltage (9-30V AC/DC); ensure correct polarity. |
| Remote control not activating receiver | Remote not paired; incorrect frequency setting; remote battery low; out of range. | Re-pair the remote; check DIP switch frequency settings; replace remote battery; reduce distance between remote and receiver. |
| Relay not switching | Incorrect wiring to controlled device; faulty relay mode setting. | Verify wiring to the controlled device; check DIP switch settings for relay mode (momentary, toggle, latching). |
| Short reception range | Antenna not connected or damaged; interference; receiver location. | Ensure antenna is securely connected and undamaged; relocate receiver away from metal objects or sources of interference. |
8. Specifications
| Specification | Value |
|---|---|
| Model Number | SAIFFE |
| Input Voltage | AC/DC 9-30V |
| Operating Frequencies | 433MHz, 868MHz (Multi-frequency) |
| Number of Channels | 2 (CH1, CH2) |
| Package Dimensions | 1.18 x 0.79 x 0.39 inches |
| Item Weight | 1.76 ounces |
| Manufacturer | SAIFFE |
| Number of Pieces | 1 |
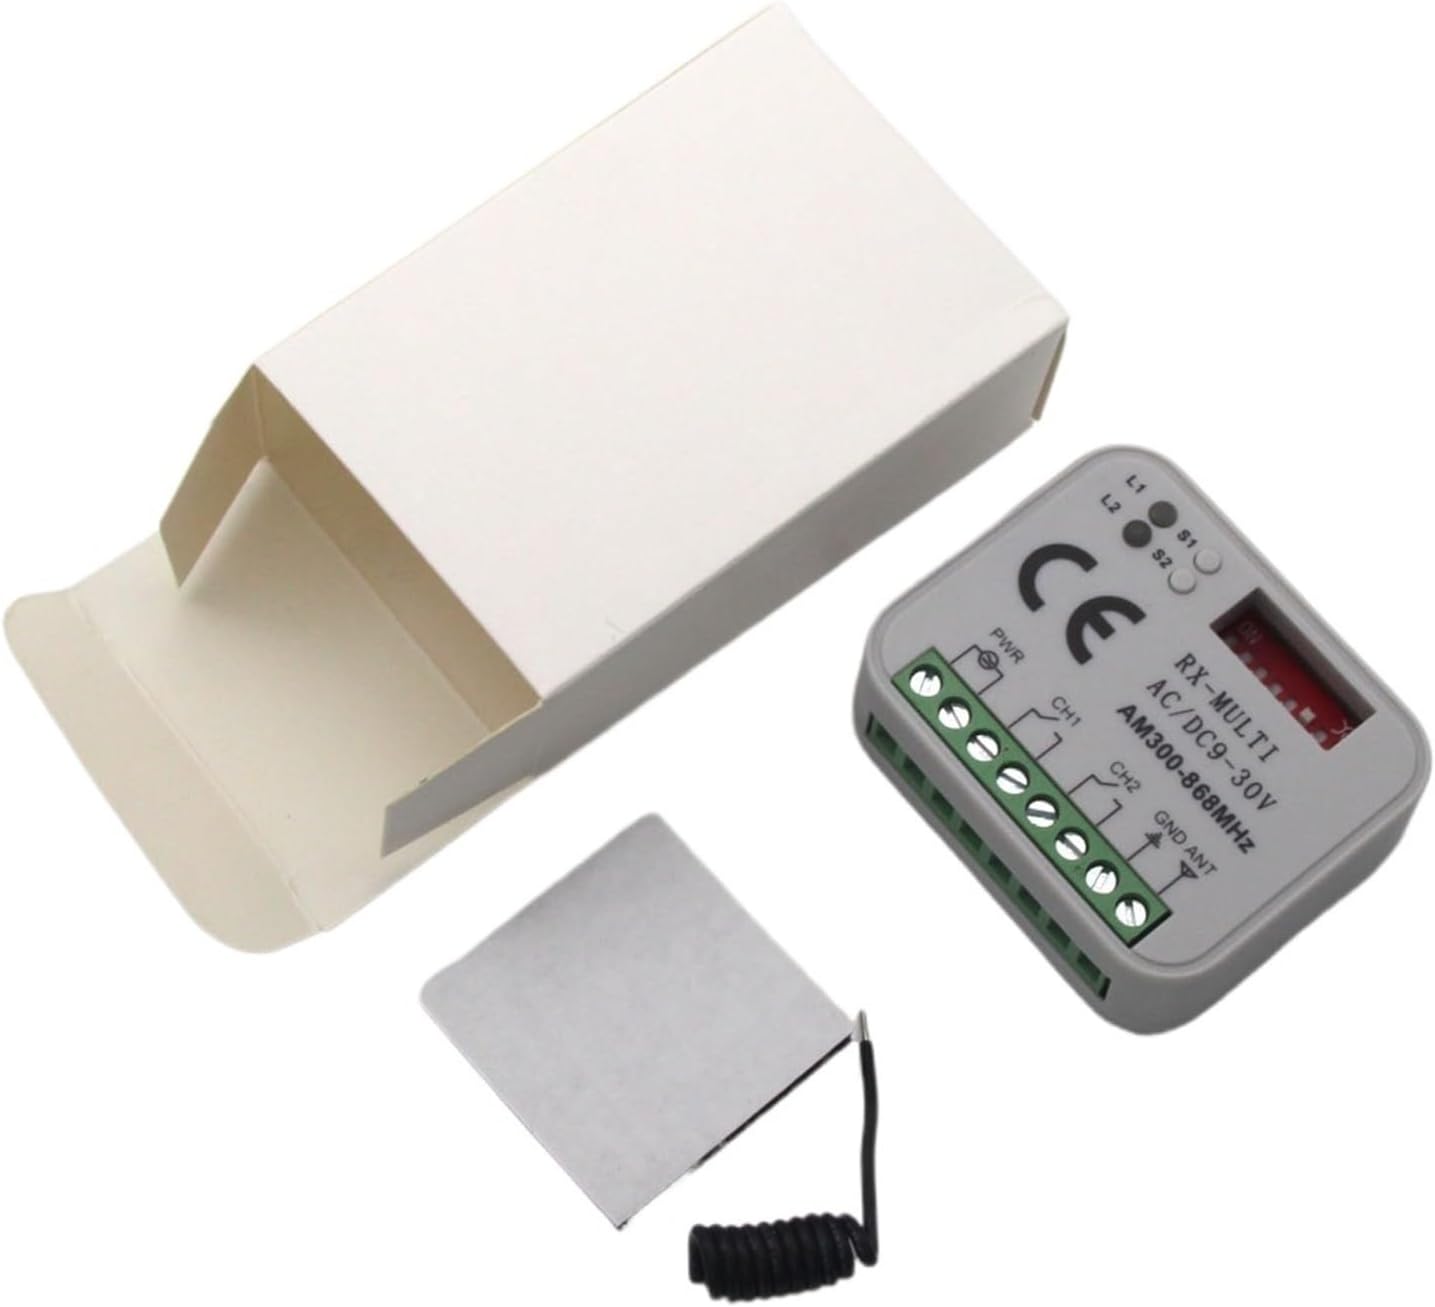
Figure 6: The RX-Multi Receiver Controller shown with its minimalist packaging box and the included antenna, demonstrating the complete product as received.
9. Warranty Information
This product is provided without an explicit warranty. Please refer to the seller's return policy for any issues upon receipt.
10. Support
For further assistance or technical inquiries, please contact the seller or manufacturer through the platform where the product was purchased. Provide your product model number (SAIFFE) and a detailed description of the issue for efficient support.