Introduction
Thank you for choosing the COSTWAY 9 FT Pre-Lit Snow Flocked Christmas Tree, Model CM22730. This artificial tree is designed to provide a festive atmosphere with its snow-flocked branches and integrated warm LED lights. This manual contains important information regarding the safe assembly, operation, and maintenance of your Christmas tree. Please read it thoroughly before setup and retain it for future reference.

Image: The fully assembled 9-foot pre-lit snow flocked Christmas tree standing in a festive room setting.
Safety Information
- Ensure the tree is placed on a stable, level surface to prevent tipping.
- Keep the tree away from heat sources, open flames, and direct sunlight.
- Do not overload electrical outlets. Use only the provided UL-approved adapter for the lights.
- Inspect the light strings for damage before each use. Do not use if wires are frayed or bulbs are broken.
- Unplug the tree from the power source when leaving the house, going to bed, or when not in use for extended periods.
- The snow flocking may shed slightly during initial setup. This is normal. Avoid excessive handling of flocked areas.
- This product is for indoor use only.
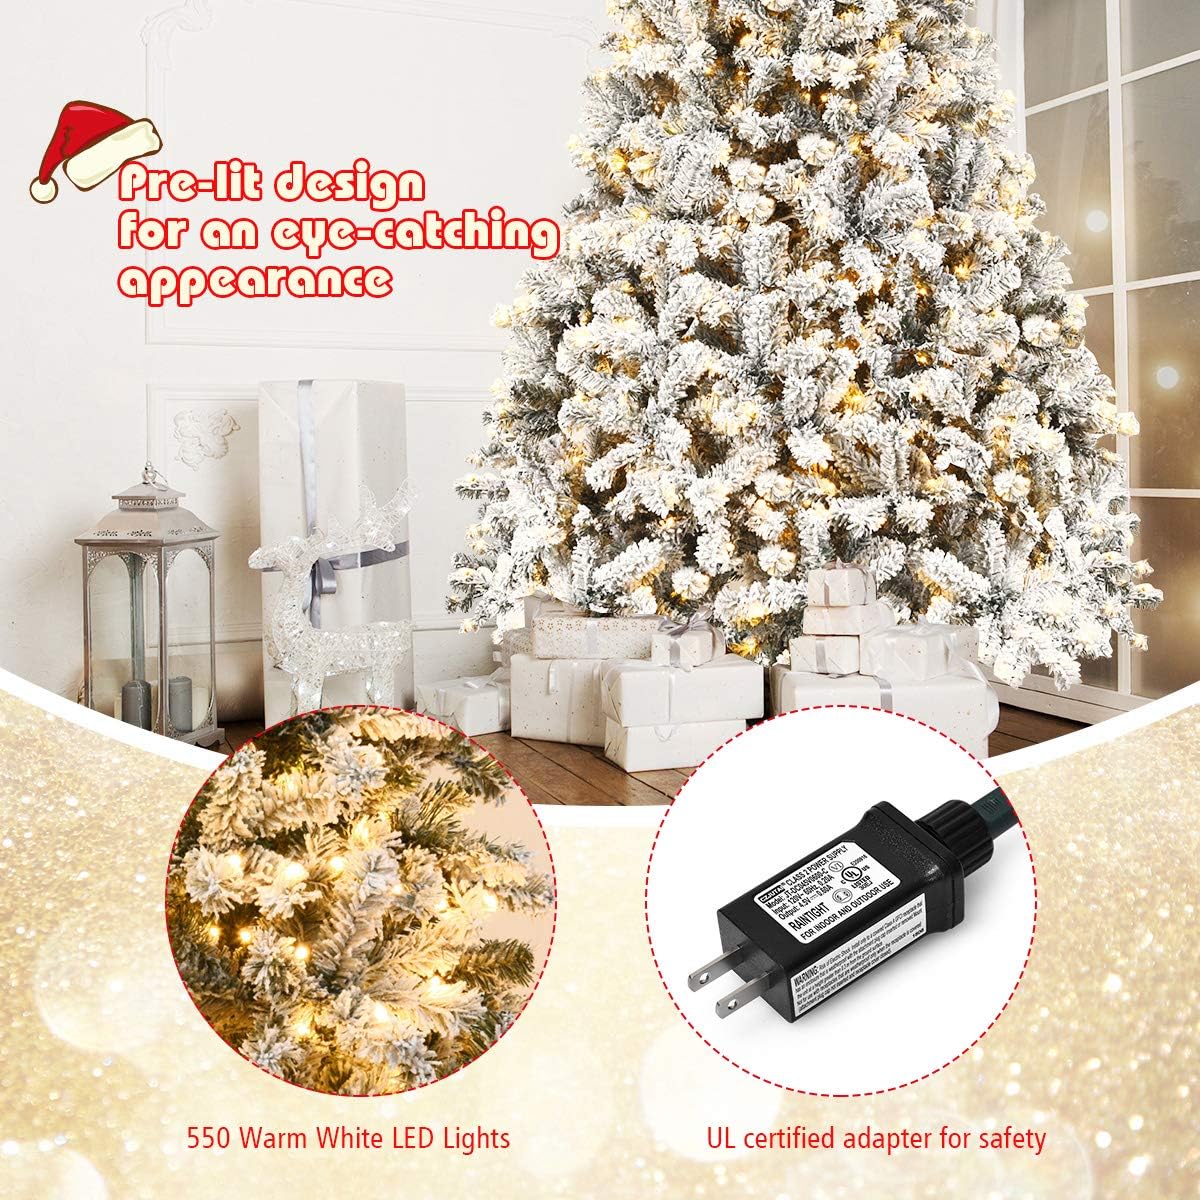
Image: Detail showing the pre-lit branches with warm white LED lights and the UL certified power adapter, emphasizing safety.
Package Contents
Verify that all components are present before beginning assembly:
- Tree Sections (typically 3-4 hinged sections for a 9ft tree)
- Metal Stand
- UL-Approved Power Adapter for LED Lights

Image: Visual representation of the tree's components, including the top section, the foldable metal stand, and a close-up of the realistic PVC needles with flocking.
Setup Instructions
- Assemble the Metal Stand: Unfold the metal stand and ensure it is fully open and stable. Tighten any screws if provided to secure the legs.
- Insert the Bottom Section: Carefully insert the bottom section of the tree into the center hole of the metal stand. Ensure it is firmly seated and upright.
- Connect Middle Sections: Continue by inserting the middle tree sections, one by one, into the section below it. The hinged branches will fall into place automatically.
- Attach the Top Section: Place the final top section onto the uppermost middle section.
- Fluff the Branches: Starting from the bottom, gently pull apart and shape each branch tip to create a full, natural appearance. Work your way up the tree, ensuring all gaps are filled. This process may take some time to achieve the desired fullness.
- Connect Lights: The tree comes pre-lit. Ensure all light string connectors between sections are securely plugged together.
- Plug In: Connect the UL-approved power adapter to the tree's main light cord and then plug it into a standard electrical outlet.

Image: A visual guide demonstrating the four steps for easy assembly: unfolding the stand, inserting sections, connecting sections, and fluffing branches.
Operating Instructions
Once assembled and plugged in, the integrated LED lights will illuminate. There are no complex controls; simply plug the tree into a working outlet to turn the lights on, and unplug it to turn them off. Ensure the power adapter is securely connected to the tree's light string.

Image: Two children in Santa hats are shown happily decorating the illuminated snow flocked Christmas tree.
Maintenance
- Cleaning: Dust the tree gently with a soft, dry cloth. Avoid using liquid cleaners or harsh chemicals, as these may damage the flocking or electrical components.
- Light Replacement: If individual LED bulbs fail, they are typically non-replaceable. However, the light strings are designed to remain lit even if one bulb goes out. If an entire section of lights fails, check all connections.
- Storage: Before storing, unplug the tree and allow it to cool completely. Disassemble the tree by reversing the assembly steps. Gently compress the branches. Store the tree sections and metal stand in their original box or a suitable storage bag in a cool, dry place, away from direct sunlight and extreme temperatures.
Troubleshooting
| Problem | Possible Cause | Solution |
|---|---|---|
| Lights are not working. | Power adapter unplugged, loose light connections, faulty outlet. | Ensure the adapter is securely plugged into the wall and the tree. Check all light string connections between tree sections. Test the outlet with another device. |
| Tree is unstable. | Stand not fully open, tree section not seated correctly. | Ensure the metal stand is fully extended and stable. Re-seat the bottom tree section firmly into the stand. |
| Excessive flocking shedding. | Normal during initial setup and handling. | Some shedding is expected. Use a vacuum cleaner to clean up fallen flocking. Avoid aggressive handling of branches. |
| Tree does not look full. | Branches not adequately fluffed. | Spend more time shaping and spreading out individual branch tips, starting from the inside out and bottom to top. |
Specifications
| Feature | Detail |
|---|---|
| Brand | COSTWAY |
| Model Number | CM22730 |
| Product Dimensions | 96"D x 96"W x 108"H (9 ft height) |
| Material | Metal, Polyvinyl Chloride (PVC) |
| Item Weight | 33 Pounds |
| Tip Count | 1498 |
| Built-in Lights | Yes |
| Number of LED Lights | 550 |
| Light Color | Warm White |
| Base Type | Metal Stand |
| Special Feature | Flocked, Pre-lit, Hinged Branches |
| Manufacturer | Zhejiang Yafei Art and Craft Co., Ltd. |
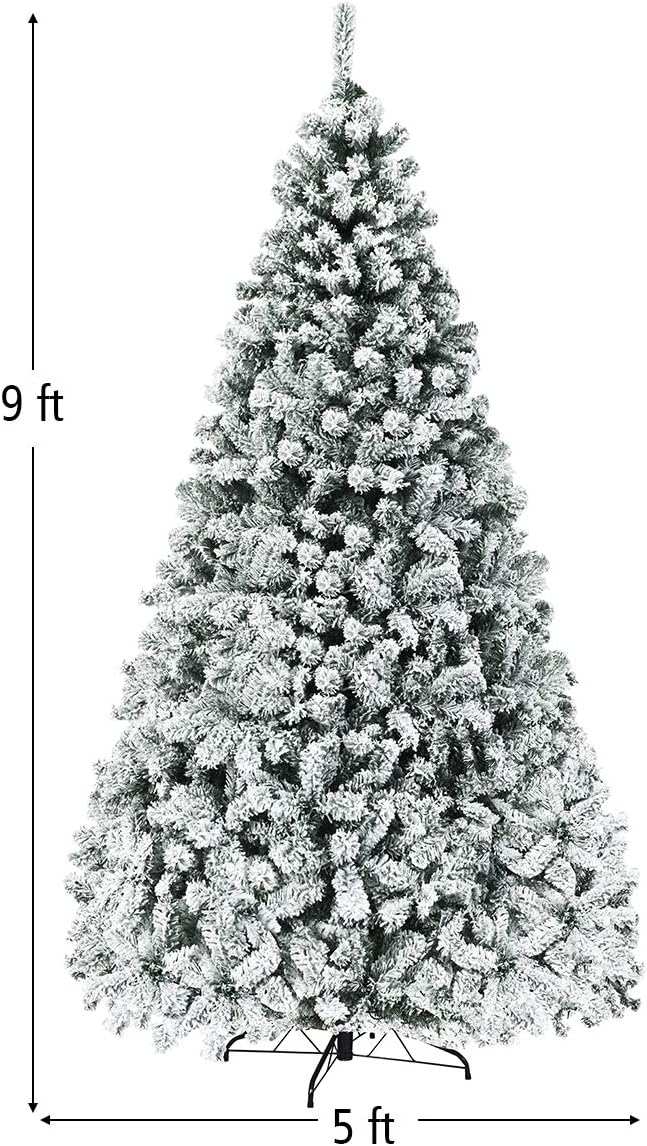
Image: A diagram illustrating the overall height (9 ft) and base diameter (5 ft) of the assembled Christmas tree.

Image: A table comparing specifications for different tree sizes (6 ft, 7.5 ft, 9 ft), including branch tip count, number of sections, LED lights, and net weight.
Warranty and Support
For warranty information or technical support, please refer to the documentation included with your purchase or contact COSTWAY customer service directly. Contact details can typically be found on the product packaging or the official COSTWAY website.


