1. Important Safety Information
Please read and understand all safety instructions before installing or operating this power supply unit. Failure to follow these instructions may result in electric shock, fire, or damage to the product and connected components.
- Electrical Hazard: Do not open the power supply casing. High voltages are present inside, even when the unit is unplugged. There are no user-serviceable parts inside.
- Ventilation: Ensure adequate airflow around the power supply. Do not block any ventilation openings.
- Environment: Install the power supply in a dry, well-ventilated area, away from direct sunlight, heat sources, and moisture.
- Grounding: Always connect the power supply to a grounded electrical outlet using the provided power cord.
- Cable Management: Route cables carefully to avoid pinching or damage. Ensure all connectors are securely seated.
- Power Rating: Do not exceed the maximum power output of 750 Watts.
2. Package Contents
Verify that all items are present in your package:
- High Power 750W 80 Plus Gold Certified PC Power Supply (Model: HP1-J750GD-F12S)
- AC Power Cord
- Mounting Screws
- Cable Ties (for management)
- User Manual (this document)
3. Product Overview
Key Features
- 750-Watt Output: Provides ample power for high-end graphics cards, processors, and peripherals.
- 80 Plus Gold Certified: Ensures up to 90% energy efficiency, reducing electricity costs and heat generation.
- ATX 3.0 Compatible & PCIe 5.0 Compliant: Designed for compatibility with modern motherboards and next-generation components.
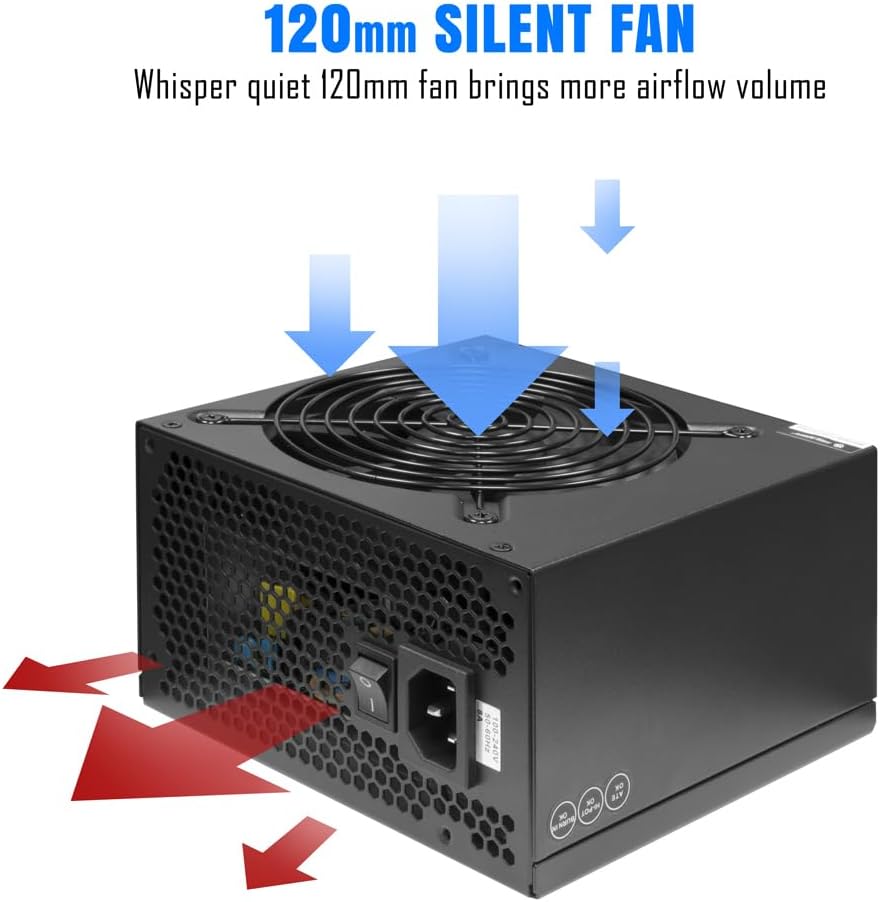
- Whisper Quiet 120mm Fan: Features intelligent temperature control for efficient cooling with minimal noise.
- Comprehensive Protection: Includes overcurrent (OCP), overvoltage (OVP), undervoltage (UVP), short circuit (SCP), overpower (OPP), and overtemperature (OTP) protection to safeguard your components.
- Reliable Performance: Built with premium components for stable and consistent power delivery.
Visual Overview


Product Video
4. Installation Guide (Setup)
Before You Begin
- Ensure your computer is completely powered off and unplugged from the wall outlet.
- Discharge any static electricity by touching a grounded metal object before handling components.
- Refer to your computer case and motherboard manuals for specific installation instructions.
Step-by-Step Installation
- Remove Old Power Supply (if applicable): Unscrew and disconnect all cables from your existing power supply. Carefully remove it from the case.
- Mount the New Power Supply: Place the High Power 750W PSU into the designated power supply bay in your computer case. Align the screw holes and secure it with the provided mounting screws.
- Connect Motherboard Power:
- Connect the 24-pin ATX power cable to the corresponding port on your motherboard.
- Connect the CPU 4+4 pin (EPS) power cable to the CPU power connector on your motherboard.
- Connect Graphics Card (GPU) Power: Connect the PCIe 6+2 pin cables to your graphics card(s). Ensure all required power connectors on the GPU are utilized.
- Connect Storage and Peripherals: Use SATA power cables for SSDs, HDDs, and optical drives. Use 4-pin HDD (Molex) connectors for other compatible peripherals if needed.
- Cable Management: Route cables neatly to improve airflow and aesthetics. Use cable ties to secure them.
- Final Checks: Double-check all connections to ensure they are secure and correctly oriented. Ensure no cables are obstructing fans or airflow.

5. Operating Instructions
Once the power supply is correctly installed and all components are connected, you can power on your system.
Power On/Off
- Power On: Ensure the power switch on the back of the PSU is in the 'I' (On) position. Connect the AC power cord to the PSU and then to a grounded wall outlet. Press the power button on your computer case.
- Power Off: Shut down your computer through the operating system. Once the system is off, you can flip the power switch on the back of the PSU to the 'O' (Off) position if desired, especially for extended periods of non-use or maintenance.
6. Maintenance
Proper maintenance helps ensure the longevity and optimal performance of your power supply.
- Dust Removal: Periodically clean the power supply fan and ventilation grilles to prevent dust buildup, which can impede airflow and lead to overheating. Use compressed air for this purpose, ensuring the system is powered off and unplugged.
- Cable Inspection: Regularly check all power cables for any signs of wear, fraying, or damage. Replace damaged cables immediately.
- Environmental Control: Maintain a stable operating environment for your PC, avoiding extreme temperatures and humidity.
7. Troubleshooting
If you encounter issues with your power supply, refer to the following table for common problems and solutions.
| Problem | Possible Cause | Solution |
|---|---|---|
| System does not power on. | Power switch off, loose power cable, faulty outlet, or internal PSU issue. | Ensure PSU switch is 'On'. Check AC power cord connection. Test outlet with another device. Verify all internal power connections. |
| System powers on but immediately shuts down. | Overload, short circuit, or component malfunction. | Disconnect non-essential components to check for overload. Inspect for any short circuits (e.g., loose screws). Ensure proper ventilation. |
| System is unstable or crashes randomly. | Insufficient power, fluctuating voltage, or overheating. | Verify total power draw is within PSU limits. Ensure all power connectors are secure. Check for proper cooling and dust buildup. |
| Loud fan noise from PSU. | Dust buildup, fan obstruction, or fan malfunction. | Clean the fan and grilles. Ensure no cables are hitting the fan blades. If noise persists, contact support. |
8. Specifications
| Feature | Specification |
|---|---|
| Model | HP1-J750GD-F12S |
| Output Wattage | 750 Watts |
| Efficiency Certification | 80 Plus Gold |
| Form Factor | ATX |
| Cooling Method | Air (120mm Fan) |
| Product Dimensions (L x W x H) | 10 x 8 x 4 inches (254 x 203.2 x 101.6 mm) |
| Item Weight | 4.1 pounds (1.86 kg) |
| Compatible Devices | Personal Computer |
| Connector Types | 24-Pin ATX, CPU 4+4 Pin, PCIe 6+2 Pin, SATA, 4 Pin HDD (Molex), 12VHPWR (450W) |
| Number of Connectors | 15 (Specific breakdown in Figure 4.1) |
| Protections | OCP, OVP, UVP, SCP, OPP, OTP |
9. Warranty Information
High Power products are manufactured to the highest quality standards. This power supply unit is covered by a limited warranty against defects in materials and workmanship from the date of purchase. Please retain your proof of purchase for warranty claims. Specific warranty terms and duration may vary by region and retailer. For detailed warranty information, please refer to the official High Power website or contact customer support.
10. Customer Support
If you have any questions, require technical assistance, or need to initiate a warranty claim, please contact High Power customer support through the following channels:
- Website: Visit the official High Power website for FAQs, support resources, and contact forms.
- Email: Refer to your product packaging or the official website for the customer support email address.
- Phone: Check the official High Power website for regional support phone numbers.
When contacting support, please have your product model number (HP1-J750GD-F12S) and proof of purchase readily available.


