1. Introduction
This user manual provides comprehensive instructions for the safe and efficient operation of your SPARROW 360 A10 AEE Drone Multicopter. Please read this manual thoroughly before using the product to ensure proper handling and to prevent damage or injury. Keep this manual for future reference.
2. Safety Guidelines
Always prioritize safety when operating the drone. Failure to follow these guidelines may result in injury, property damage, or legal consequences.
- Pre-Flight Check: Ensure the drone, remote controller, and battery are in good working condition before each flight.
- Environmental Conditions: Do not fly in strong winds, rain, snow, or fog. Avoid flying near power lines, buildings, or crowded areas.
- Battery Safety: Use only original batteries and chargers. Do not overcharge or short-circuit batteries. Discontinue use if batteries are damaged or swollen.
- Propeller Safety: Keep hands, face, and loose clothing away from rotating propellers.
- Line of Sight: Always maintain visual line of sight with the drone during flight.
- Respect Privacy: Be mindful of privacy laws and do not record individuals without their consent.
- Age Restriction: This product is not suitable for children under 14 years old.
3. Package Contents
Verify that all items are present in the package:
- SPARROW 360 A10 AEE Drone Multicopter
- Remote Controller
- Rechargeable Battery
- USB Charging Cable
- Spare Propellers (Set of 4)
- Propeller Guards (Pre-installed)
- User Manual
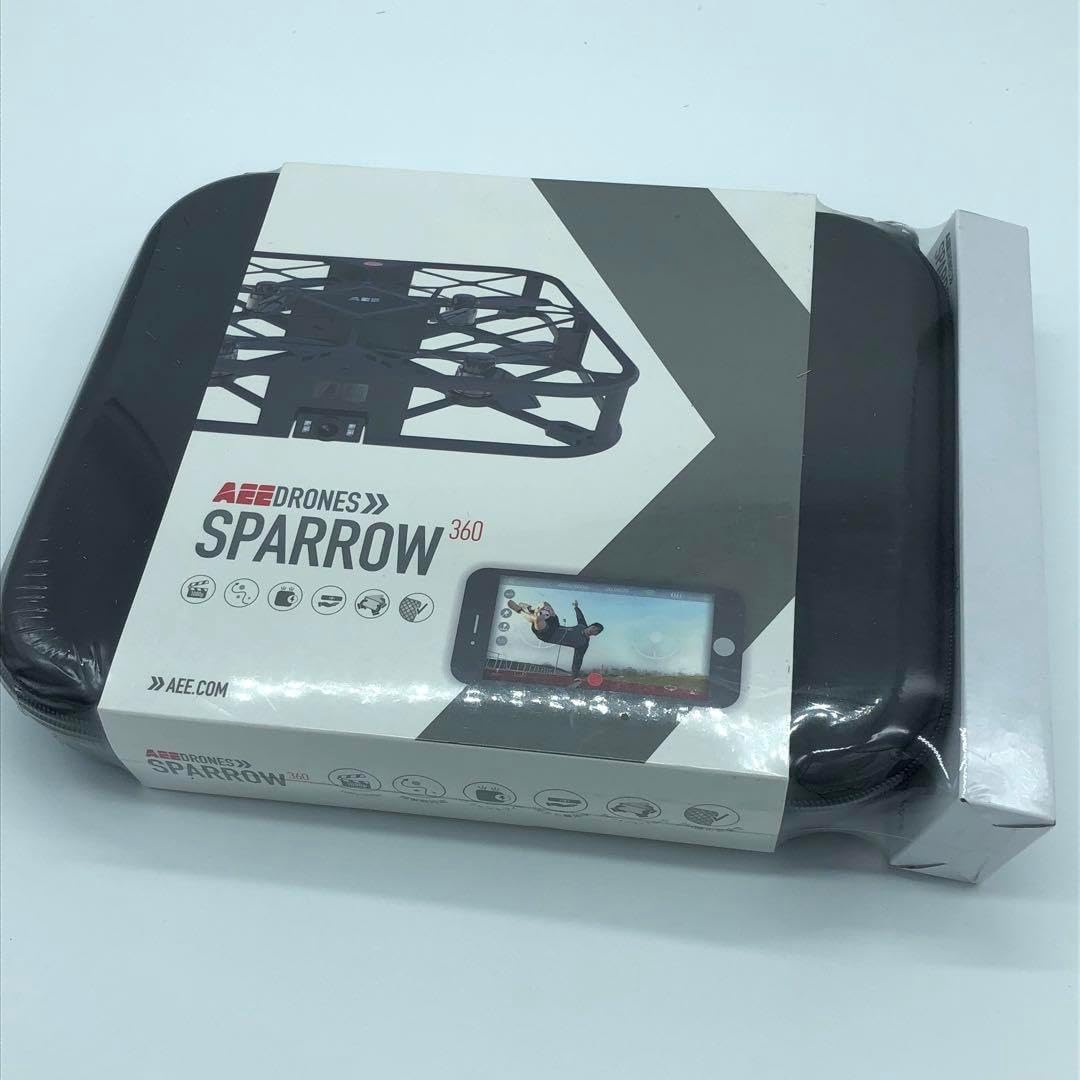
Image: The SPARROW 360 A10 AEE Drone Multicopter packaging, showing the drone case and product information sleeve.
4. Product Overview
Familiarize yourself with the main components of your SPARROW 360 A10 AEE Drone Multicopter.

Image: A top-down view of the SPARROW 360 A10 AEE Drone Multicopter, showcasing its protective frame, four propellers, and integrated camera at the front.
Drone Components:
- Propeller Guards: Integrated frame protecting propellers.
- Propellers: Four rotating blades for lift and thrust.
- Motors: Drive the propellers.
- Camera: Front-facing camera for photo and video capture.
- Battery Compartment: Located on the underside/rear for battery insertion.
- Power Button/Indicator Light: For turning the drone on/off and indicating status.
5. Setup
5.1 Charging the Battery
- Connect the USB charging cable to the drone's battery port or the battery itself (if removable).
- Plug the other end of the USB cable into a USB power adapter (5V/1A recommended) or a computer's USB port.
- The indicator light on the battery/drone will show charging status (e.g., red for charging, green for fully charged).
- Charging typically takes 60-90 minutes. Do not leave unattended while charging.
5.2 Installing the Battery
- Ensure the drone is powered off.
- Open the battery compartment cover.
- Insert the fully charged battery into the compartment, ensuring correct polarity.
- Close the battery compartment cover securely.
5.3 Pairing the Remote Controller
- Place the drone on a flat, level surface.
- Press and hold the power button on the drone until the indicator lights begin to flash.
- Turn on the remote controller. The indicator light on the controller will also flash.
- Push the left joystick on the remote controller all the way up, then all the way down.
- The indicator lights on both the drone and the remote controller will turn solid, indicating successful pairing.
6. Operating the Drone
6.1 Basic Flight Controls
- Left Joystick (Throttle/Yaw):
- Up/Down: Ascend/Descend
- Left/Right: Rotate Left/Right (Yaw)
- Right Joystick (Pitch/Roll):
- Up/Down: Fly Forward/Backward (Pitch)
- Left/Right: Fly Left/Right (Roll)
6.2 Take-off and Landing
- Manual Take-off: After pairing, push both joysticks down and outwards simultaneously to arm the motors. Then, slowly push the left joystick up to ascend.
- One-Key Take-off/Landing: Press the dedicated One-Key Take-off/Landing button (refer to remote controller diagram) to automatically take off or land.
- Manual Landing: Slowly pull the left joystick down until the drone lands. Once on the ground, push both joysticks down and inwards to disarm the motors.
6.3 Camera Operation
- Taking Photos: Press the Photo button on the remote controller once to capture an image.
- Recording Video: Press the Video button on the remote controller once to start recording. Press again to stop recording.
- Viewing Media: Connect the drone to a computer or insert the drone's memory card (if applicable) into a card reader to access recorded photos and videos.
7. Maintenance
7.1 Cleaning
- Use a soft, dry cloth to clean the drone body.
- Remove any dust or debris from the motors and propellers.
- Do not use liquid cleaners or solvents.
7.2 Propeller Replacement
- If a propeller is damaged, replace it with a spare propeller from the package.
- Ensure the correct propeller (A or B) is installed on the corresponding motor. Refer to markings on the drone and propellers.
7.3 Storage
- Store the drone and accessories in a cool, dry place, away from direct sunlight and extreme temperatures.
- For long-term storage, charge the battery to approximately 50% capacity.
8. Troubleshooting
| Problem | Possible Cause | Solution |
|---|---|---|
| Drone does not respond to remote controller. | Not paired; Low battery on drone or controller. | Re-pair the drone and controller; Charge batteries. |
| Drone drifts during flight. | Not calibrated; Uneven surface during take-off; Damaged propeller. | Perform gyroscope calibration (refer to remote controller instructions); Take off from a flat surface; Replace damaged propeller. |
| Propellers do not spin. | Motors not armed; Obstruction; Damaged motor. | Arm motors (joysticks down and out); Check for obstructions; Contact support if motor is damaged. |
| Poor camera image quality. | Dirty lens; Insufficient lighting. | Clean camera lens with a soft cloth; Ensure adequate lighting conditions. |
9. Specifications

Image: The SPARROW 360 A10 AEE Drone Multicopter packaging, displaying detailed specifications in Japanese.
| Feature | Detail |
|---|---|
| Product Model Number | A10 |
| ASIN | B0CLJD8B8J |
| Manufacturer | No Brand |
| First Available on Amazon.co.jp | 2023/10/21 |
| UPC | 6970464030537 |
| Dimensions | (Information not explicitly provided in English, refer to packaging image for Japanese text) |
| Flight Time | (Information not explicitly provided in English, refer to packaging image for Japanese text) |
| Camera Resolution | (Information not explicitly provided in English, refer to packaging image for Japanese text) |
10. Warranty and Support
This product is covered by a standard manufacturer's warranty. For specific warranty terms and conditions, please refer to the documentation included with your purchase or contact the retailer.
For technical support, troubleshooting assistance, or inquiries regarding spare parts, please contact your point of purchase or the manufacturer's customer service. Keep your purchase receipt as proof of purchase.
Note: As this product is listed as "No Brand," direct manufacturer support contact information may not be readily available. Please rely on the retailer for initial support.


