1. Introduction
This manual provides detailed instructions for the safe and efficient use of your Rusopobe Dimmable X-Ray Film Illuminator Light Box. This device is designed for professional viewing of X-ray films, offering high brightness, adjustable illumination, and an ultra-thin design for portability and ease of use. Please read this manual thoroughly before operating the device and retain it for future reference.
2. Safety Information
To ensure safe operation and prevent damage to the device or injury, please observe the following safety precautions:
- Always connect the device to a power source that matches the specified voltage (12V).
- Do not expose the device to water or excessive moisture.
- Avoid dropping or subjecting the device to strong impacts.
- Do not attempt to open or repair the device yourself. Refer all servicing to qualified personnel.
- Keep the device away from heat sources and direct sunlight.
- Ensure proper ventilation around the device during operation.
- Clean the surface with a soft, dry cloth. Avoid abrasive cleaners or solvents.
3. Package Contents
Verify that all items are present in the package:
- 1 x X-ray Film Illuminator Light Box
- 1 x Stand
4. Product Features
The Rusopobe X-Ray Film Illuminator Light Box incorporates several advanced features for optimal performance:
- Professional X-ray Viewer Light Panel: Utilizes imported optical acrylic plate for high-quality diffuse reflection and enhanced light guide efficiency. Double-sided light guide plate further improves brightness.
- High Brightness and Adjustable Light: Features LED chip light design with a brightness up to 4500 cd/m². Adjustable brightness (0-100 levels) ensures optimal viewing. Long lifespan of up to 100,000 hours with no flicker.
- Intelligent Touch Control: Allows for precise 100-level dimming adjustment. The film viewing device includes a ball clamping mechanism for secure film placement and easy insertion/removal without scratching.
- Ultra-Thin and Portable Design: With a thickness of only 2.5cm, the device is slim, lightweight, and easy to transport.
- Eye Care Technology: Advanced vision protection technology minimizes eye strain during prolonged use, featuring diffuse multi-angle compensation light to eliminate multi-layer ghosting.
- Energy-Saving LED Light Source: Offers higher brightness, longer service life, and significant energy efficiency.
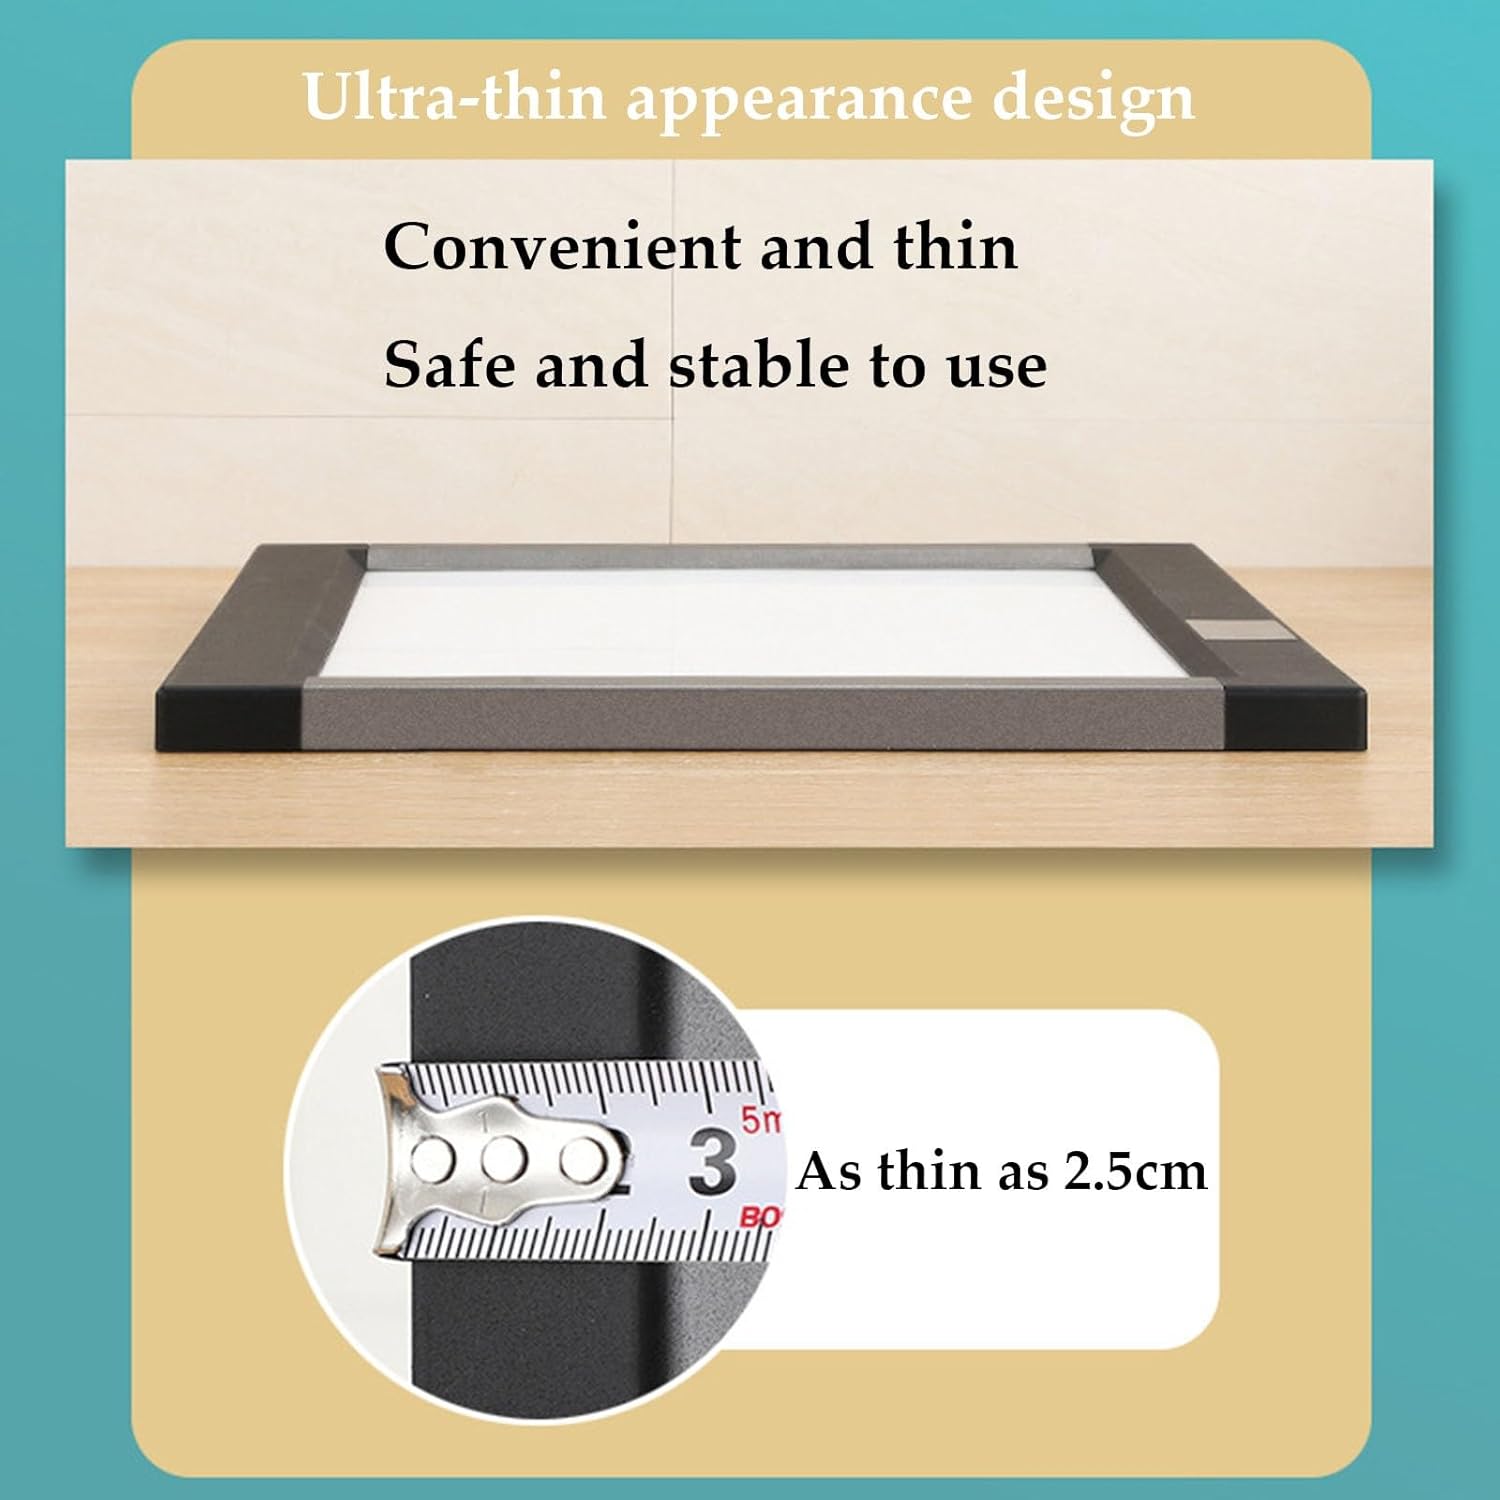
Figure 4.1: Ultra-thin design of the illuminator, measuring 2.5cm in thickness.
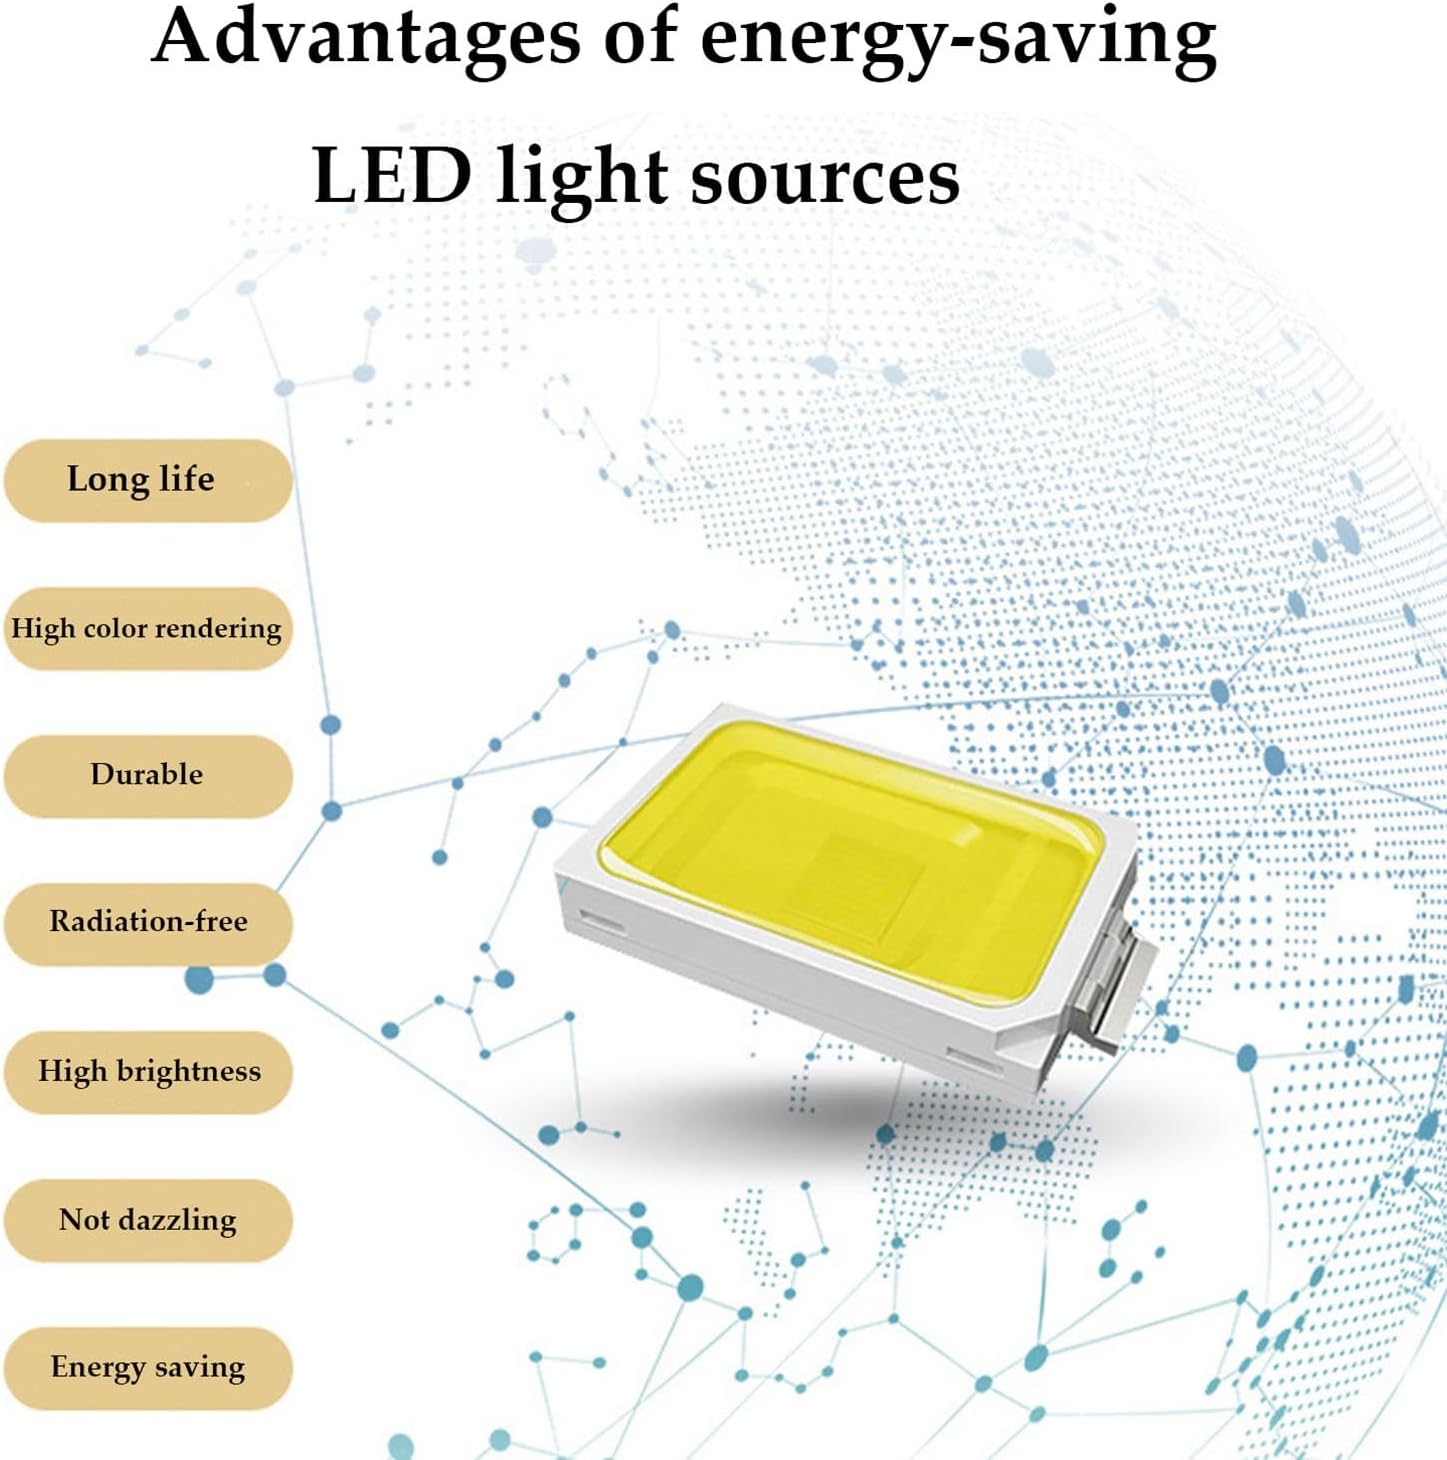
Figure 4.2: Advantages of the energy-saving LED light sources used in the device.
5. Setup
Follow these steps to set up your X-Ray Film Illuminator Light Box:
- Unpacking: Carefully remove all components from the packaging. Inspect for any signs of damage.
- Placement: The device supports both wall-mounted and vertical installation. Choose a stable and appropriate location for the illuminator. If using the included stand, attach it securely according to the stand's instructions.
- Power Connection: Connect the provided 12V power adapter to the device's power input port. Plug the adapter into a standard electrical outlet.
- Initial Check: Once connected, the device is ready for operation.
6. Operating Instructions
Operating the X-Ray Film Illuminator Light Box is straightforward:
- Power On/Off: Locate the power button on the control panel. Press the power button to turn the device on. Press it again to turn it off.
- Adjusting Brightness: The device features 100-level dimming. Use the '+' and '-' buttons on the control panel to increase or decrease the brightness to your desired level (0-100).
- Automatic Brightness (if applicable): If an 'AUTO' button is present, pressing it may activate an automatic brightness adjustment feature, optimizing the illumination for the film being viewed.
- Film Placement: Gently insert the X-ray film into the viewing area. The ball clamping device will hold the film securely in place. Ensure the film is flat against the viewing surface for optimal illumination.
- Viewing: Adjust the brightness as needed for clear and comfortable viewing of the X-ray film.

Figure 6.1: Control panel and film insertion process.

Figure 6.2: Detailed view of the intelligent touch control panel.

Figure 6.3: Professionals viewing an X-ray film on the illuminator.
7. Maintenance
Proper maintenance ensures the longevity and optimal performance of your device:
- Cleaning: Disconnect the power before cleaning. Use a soft, dry, lint-free cloth to wipe the surface of the illuminator. For stubborn marks, a slightly damp cloth with mild, non-abrasive cleaner can be used, followed by a dry cloth. Do not spray cleaners directly onto the device.
- Storage: When not in use for extended periods, store the device in a clean, dry environment, away from direct sunlight and extreme temperatures.
- Inspection: Periodically check the power cord and plug for any signs of damage. If damage is found, discontinue use and contact customer support.
8. Troubleshooting
Refer to the following table for common issues and their solutions:
| Problem | Possible Cause | Solution |
|---|---|---|
| Device does not power on. | No power supply; loose connection; faulty power adapter. | Ensure the power adapter is securely plugged into both the device and the wall outlet. Test the outlet with another device. If the issue persists, contact customer support. |
| Light is dim or flickers. | Brightness setting is too low; power fluctuation. | Adjust the brightness using the '+' button. Ensure the power supply is stable. |
| Film is not held securely. | Improper film insertion; foreign object in clamping mechanism. | Re-insert the film, ensuring it is properly seated in the ball clamping device. Check for any obstructions in the clamping mechanism. |
If you encounter problems not listed here or if the suggested solutions do not resolve the issue, please contact customer support.
9. Specifications
Key technical specifications for the Rusopobe X-Ray Film Illuminator Light Box:
- Product Name: X-ray Film Viewer
- Rated Voltage: 12V
- Rated Power: 12W
- Color Temperature: 9000K
- Brightness: 0-4500 cd/m² (adjustable)
- Product Size: 47.8 cm x 50.6 cm (approx. 18.8 x 19.9 inches)
- Thickness: 2.5 cm (approx. 0.98 inches)
- Installation: Wall-mounted and vertical installation
- Lifespan: Up to 100,000 hours (LED light source)

Figure 9.1: Product dimensions.
10. Warranty and Support
For warranty information, technical support, or service inquiries, please refer to the contact information provided with your purchase or visit the official Rusopobe website. Keep your purchase receipt as proof of purchase for warranty claims.