1. Product Overview
The NComputing L400 Ethernet Thin Client is designed to provide a cost-effective and efficient way to deliver virtual desktops in a vSpace Pro environment. This device connects to a central server running NComputing vSpace Pro software, allowing multiple users to share the resources of a single host computer while experiencing a full PC-like desktop experience.
Key features include:
- HDMI video output supporting resolutions up to 2560x1440 with DDC support.
- 8GB internal eMMC storage for local operating system and applications.
- 1GB RAM for efficient operation.
- Low power consumption, typically less than 5W.
- Includes power supply and VESA mount kit for flexible installation.
- Perpetual software connection license for vSpace Pro LTS and vSpace Pro Ads Edition.

Figure 1.1: Front view of the NComputing L400 Thin Client, showing the power button and NComputing logo.

Figure 1.2: Rear view of the NComputing L400 Thin Client, displaying HDMI, Ethernet, USB, audio, and power ports.
2. Setup Guide
2.1 Package Contents
Before proceeding with the setup, ensure all components are present:
- NComputing L400 Thin Client unit
- Power Supply
- VESA Mount Kit
2.2 Physical Connection
Follow these steps to connect your L400 Thin Client:
- Connect the Monitor: Plug one end of an HDMI cable into the HDMI port on the L400 and the other end into your monitor's HDMI input.
- Connect to Network: Connect an Ethernet cable from your network router or switch to the Ethernet port on the L400.
- Connect Peripherals: Plug your USB keyboard and mouse into the available USB ports on the L400. If desired, connect speakers or a microphone to the audio jacks.
- Connect Power: Insert the power supply cable into the DC-in port on the L400, then plug the power adapter into an electrical outlet.

Figure 2.1: Close-up of the HDMI and Ethernet ports on the rear of the L400.

Figure 2.2: Close-up of the USB, audio, and power switch ports on the side of the L400.
2.3 VESA Mounting
The included VESA mount kit allows you to attach the L400 Thin Client to the back of a compatible monitor or to a wall mount. Secure the VESA bracket to the L400 unit, then attach the bracket to the VESA mounting holes on your monitor or wall mount using the provided screws. Ensure the mount is securely fastened before releasing the device.

Figure 2.3: The L400 Thin Client mounted discreetly on the rear of a monitor.
2.4 Initial Power On
After all connections are made, press the power button on the front of the L400 unit. The device will boot up and attempt to connect to a vSpace Pro server on your network. Follow the on-screen prompts for initial configuration and user login.
3. Operating Instructions
3.1 Connecting to vSpace Pro
The L400 Thin Client is designed to seamlessly integrate with NComputing vSpace Pro software. Upon startup, the device will search for available vSpace Pro servers. Once a server is detected, you will be prompted to select a session or log in with your credentials, granting access to your virtual desktop.

Figure 3.1: Conceptual diagram of multiple L400 Thin Clients sharing resources from a single vSpace Pro server.
3.2 User Interface
Once connected to a vSpace Pro session, the L400 provides a standard desktop environment, typically Windows or Linux, depending on the host server configuration. You can interact with applications, files, and network resources as you would on a traditional PC.
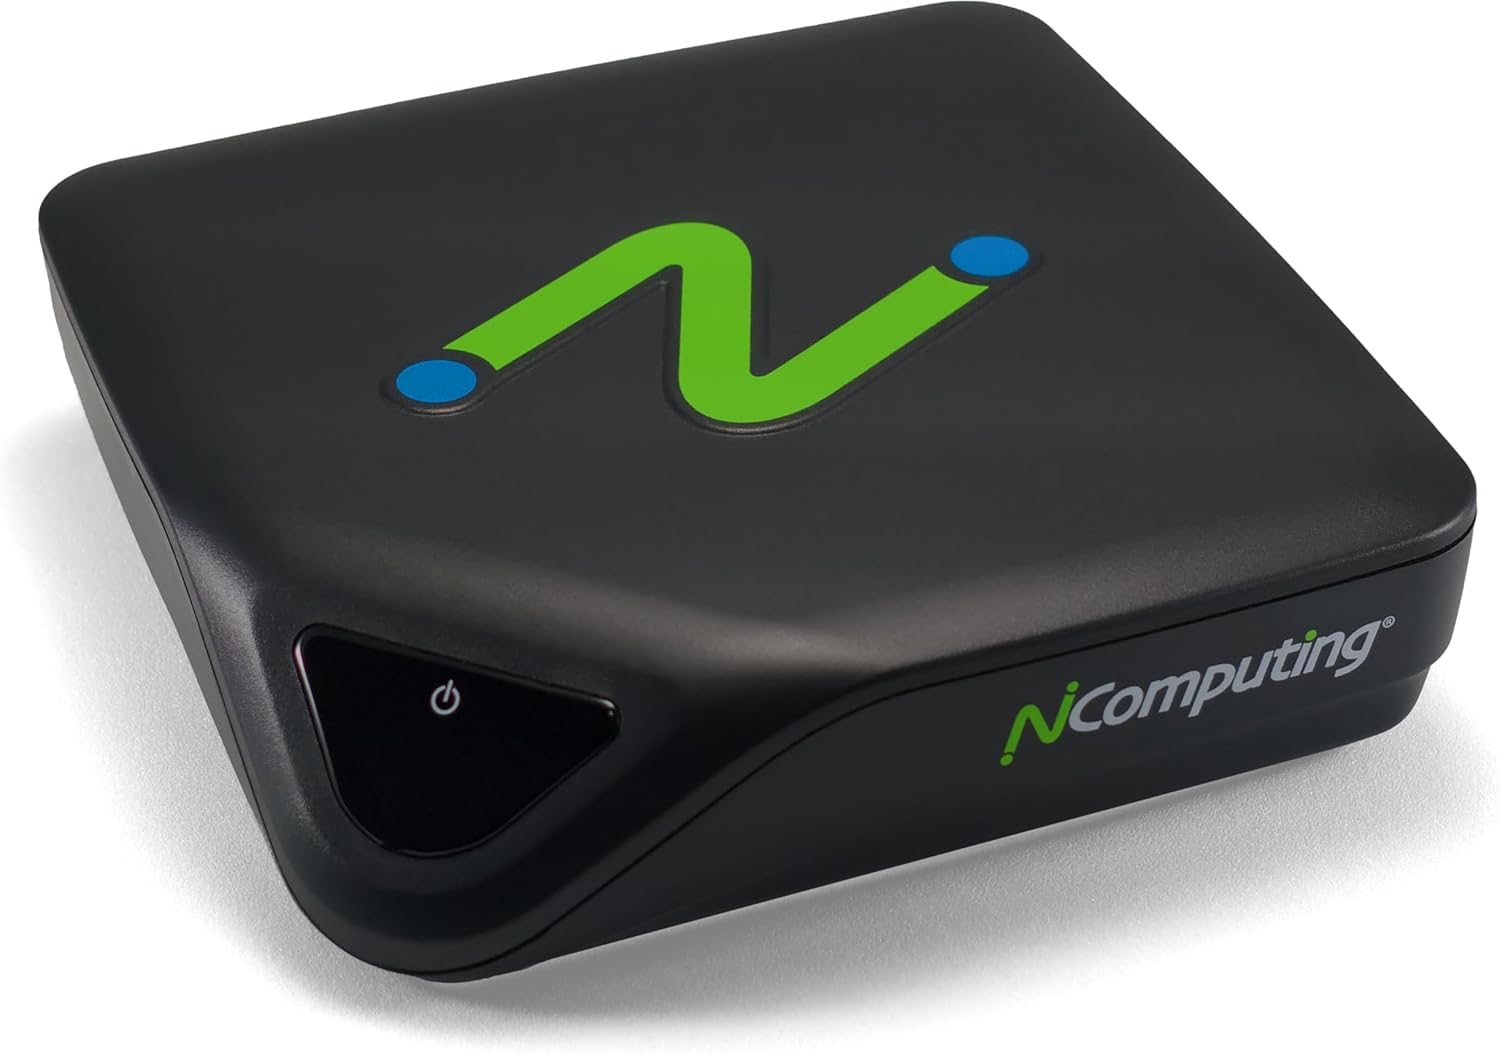
Figure 3.2: A typical desktop environment displayed through the L400 Thin Client.
3.3 Supported Resolutions
The L400 supports HDMI video output with resolutions up to 2560x1440. Ensure your monitor is capable of displaying the desired resolution for optimal visual experience.
4. Maintenance
4.1 Cleaning
To clean the L400 Thin Client, power off the device and disconnect it from the power source. Use a soft, dry, lint-free cloth to wipe the exterior. Do not use liquid cleaners, aerosols, or abrasive materials, as these can damage the device.
4.2 Software Updates
Regularly update your NComputing vSpace Pro server software to ensure optimal performance, security, and compatibility with the L400 Thin Client. Refer to the NComputing website or vSpace Pro documentation for the latest updates and instructions.
5. Troubleshooting
If you encounter issues with your L400 Thin Client, refer to the following common problems and solutions:
5.1 No Power
- Check Power Connection: Ensure the power adapter is securely connected to the L400 and the electrical outlet.
- Verify Outlet: Test the electrical outlet with another device to confirm it is functional.
- Power Button: Ensure the power button on the front of the unit has been pressed.
5.2 No Display
- HDMI Cable: Verify the HDMI cable is securely connected to both the L400 and the monitor.
- Monitor Input: Ensure your monitor is set to the correct HDMI input source.
- Monitor Functionality: Test your monitor with another device to confirm it is working correctly.
5.3 Network Connectivity Issues
- Ethernet Cable: Check that the Ethernet cable is firmly connected to the L400 and your network device (router/switch).
- Network Status: Verify your network is operational and the vSpace Pro server is accessible.
- Server Configuration: Ensure the vSpace Pro server is properly configured to accept connections from thin clients.
5.4 Peripheral Not Detected (Keyboard/Mouse)
- USB Ports: Try connecting the peripheral to a different USB port on the L400.
- Peripheral Functionality: Test the keyboard or mouse on another computer to ensure it is working.
- Host Drivers: Ensure the necessary drivers for the peripheral are installed on the vSpace Pro host server.
6. Technical Specifications
| Feature | Specification |
|---|---|
| Brand Name | NComputing |
| Model Name | L400 |
| Item Model Number | L400 |
| Operating System | Linux (Embedded) |
| CPU Manufacturer | ARM |
| RAM Memory Installed Size | 1 GB |
| Memory Storage Capacity | 8 GB eMMC |
| Graphics Card Description | Dedicated |
| Video Output | HDMI, up to 2560x1440 |
| Power Consumption | Less than 5W |
| Item Weight | 15.5 ounces |
| Package Dimensions | 5.98 x 5.87 x 3.58 inches |
| Personal Computer Design Type | Mini PC |
| Included Components | Thin Client Unit, Power Supply, VESA Mount Kit |
7. Warranty and Support
NComputing products are covered by a limited warranty. For specific warranty terms and conditions, please refer to the documentation included with your product or visit the official NComputing website. Keep your proof of purchase for warranty claims.
For technical support, product registration, and additional resources, please visit the NComputing support portal. You can find FAQs, troubleshooting guides, and contact information for customer service there.


