1. Introduction
This manual provides essential information for the safe and effective operation of the DSO2512G Digital Oscilloscope. Please read this manual thoroughly before using the device to ensure proper functionality and to prevent damage.
The DSO2512G is a versatile 2.8-inch screen digital oscilloscope featuring a 500MS/s sampling rate and 120MHz analog bandwidth. It supports waveform storage and offers two channels for comprehensive signal analysis.
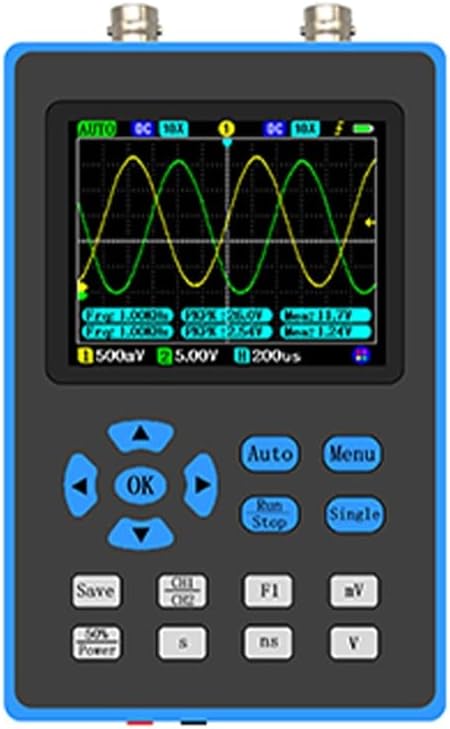
Figure 1.1: Front view of the DSO2512G Digital Oscilloscope, showing the display screen and control buttons.
2. Product Features
- Dual Channel Operation: Supports two channels for simultaneous signal input and analysis.
- High Bandwidth: 120MHz bandwidth when channel two is closed, 60MHz when both channels are open.
- High Sampling Rate: 500MS/s sampling rate for detailed waveform capture.
- Integrated Signal Generator: Outputs various waveforms (sine, square, triangle, half-wave, sing-wave) with adjustable frequencies. Sine wave frequency range: 0-10MHz; other waveforms: 0-2MHz.
- XY Mode: Capable of displaying Lissajous graphics or VI curves.
- Low Vertical Sensitivity: 10mV/div sensitivity for measuring weak signals or power supply noise.
- Waveform Storage: Supports saving captured waveforms.
- Measurement Options: Includes 14 measurement options such as Frequency, Peak-to-Peak, Duty Cycle, Amplitude, RMS, Average, Period, Pulse Width, Max, Min, Top, Base.
- Anti-Burn Protection: Designed with auto anti-burn features for enhanced safety.
- Video Output: Screen content can be projected to external displays.
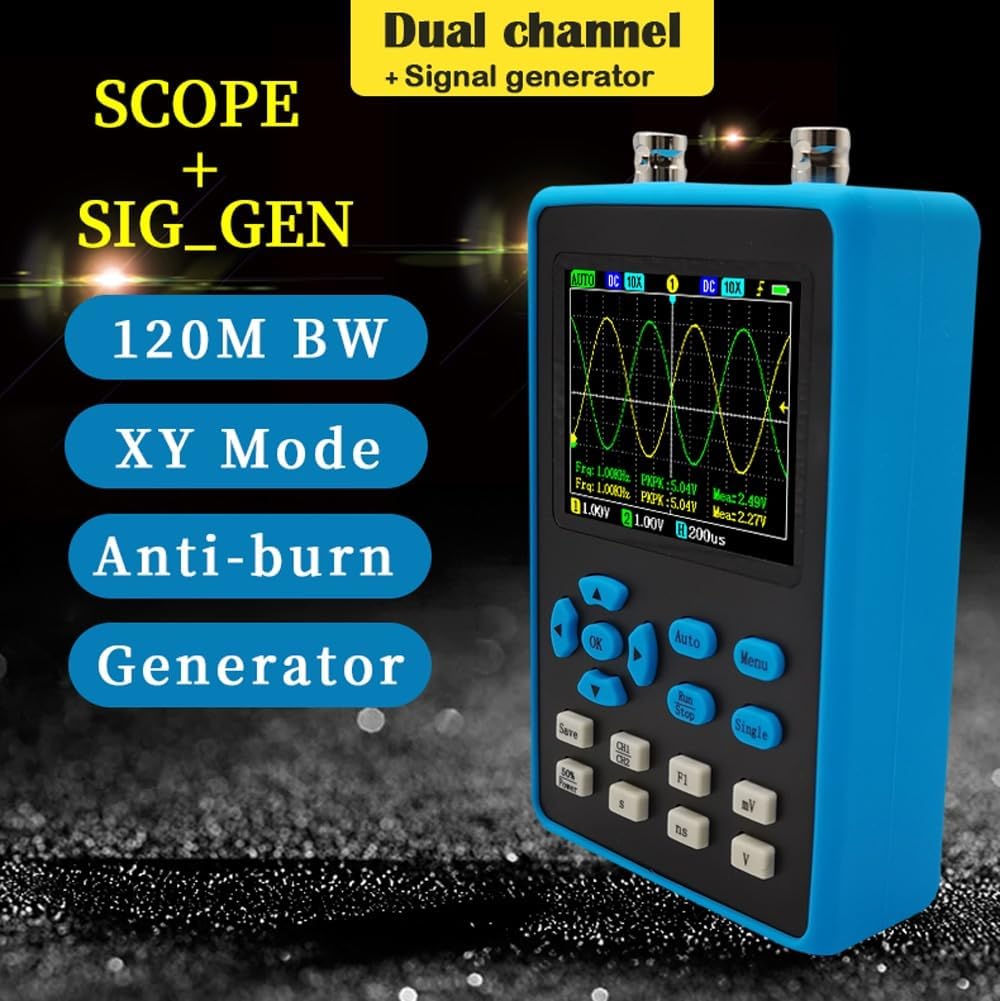
Figure 2.1: The DSO2512G Oscilloscope highlighting its dual channel, signal generator, 120M BW, XY Mode, Anti-burn, and Generator features.
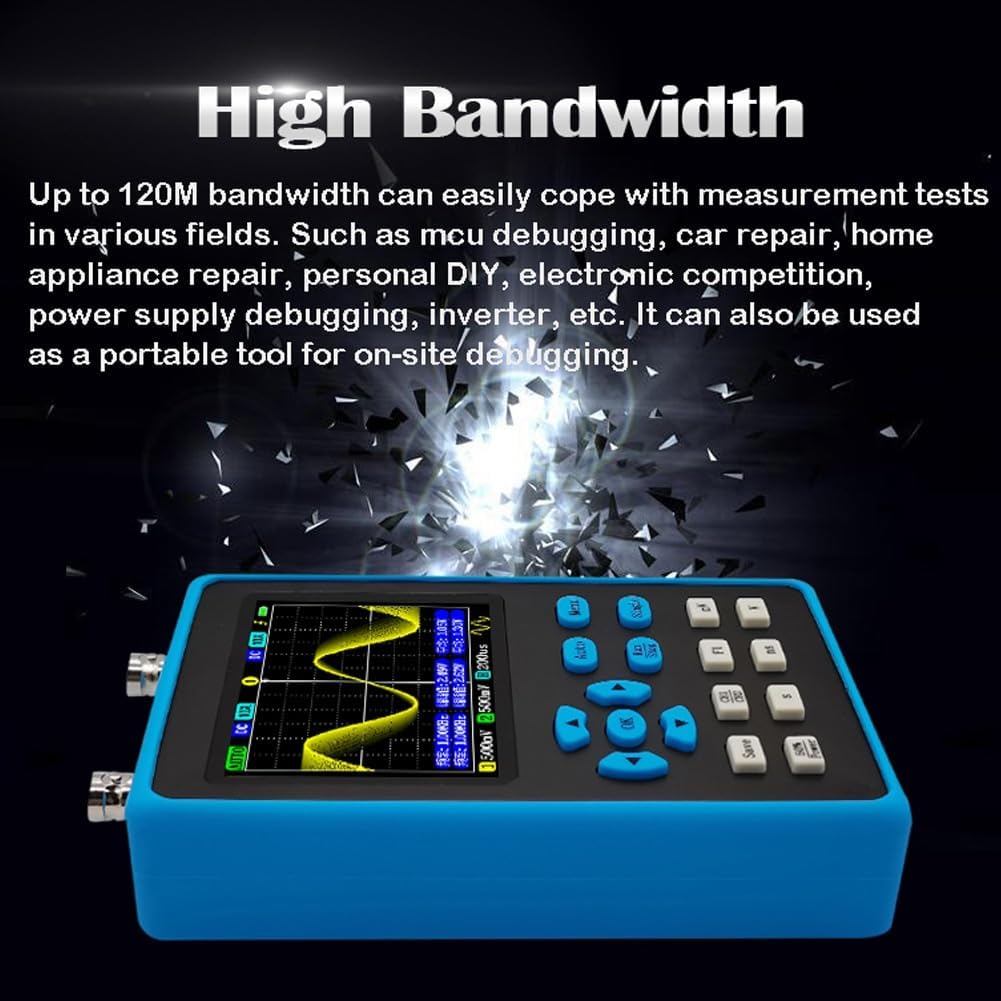
Figure 2.2: The DSO2512G Oscilloscope illustrating its high bandwidth capability of up to 120M for various measurement tests.
3. Setup
3.1 Unpacking and Inspection
- Carefully remove the oscilloscope and all accessories from the packaging.
- Inspect the device for any signs of physical damage during transit. If damage is found, contact your supplier immediately.
- Verify that all components listed in the packing list are present.
3.2 Powering On
- The device is equipped with a built-in 4000mAh lithium battery. Ensure the battery is sufficiently charged before first use.
- To power on, press and hold the power button located on the device.
- The screen will illuminate, and the device will perform a self-test.
3.3 Probe Connection
- Connect the oscilloscope probes to the BNC connectors on the top of the device.
- Ensure a secure connection by twisting the probe connector clockwise until it locks into place.
- For accurate measurements, it is recommended to calibrate new probes using the built-in signal generator's square wave output.
4. Operating Instructions
4.1 Basic Operation
- Navigation: Use the directional buttons (up, down, left, right) and the "OK" button to navigate through menus and confirm selections.
- Auto Button: Press "Auto" for automatic waveform adjustment and scaling.
- Menu Button: Access the main menu for advanced settings and functions.
- Run/Stop Button: Pause or resume waveform acquisition.
- Single Button: Capture a single waveform event.
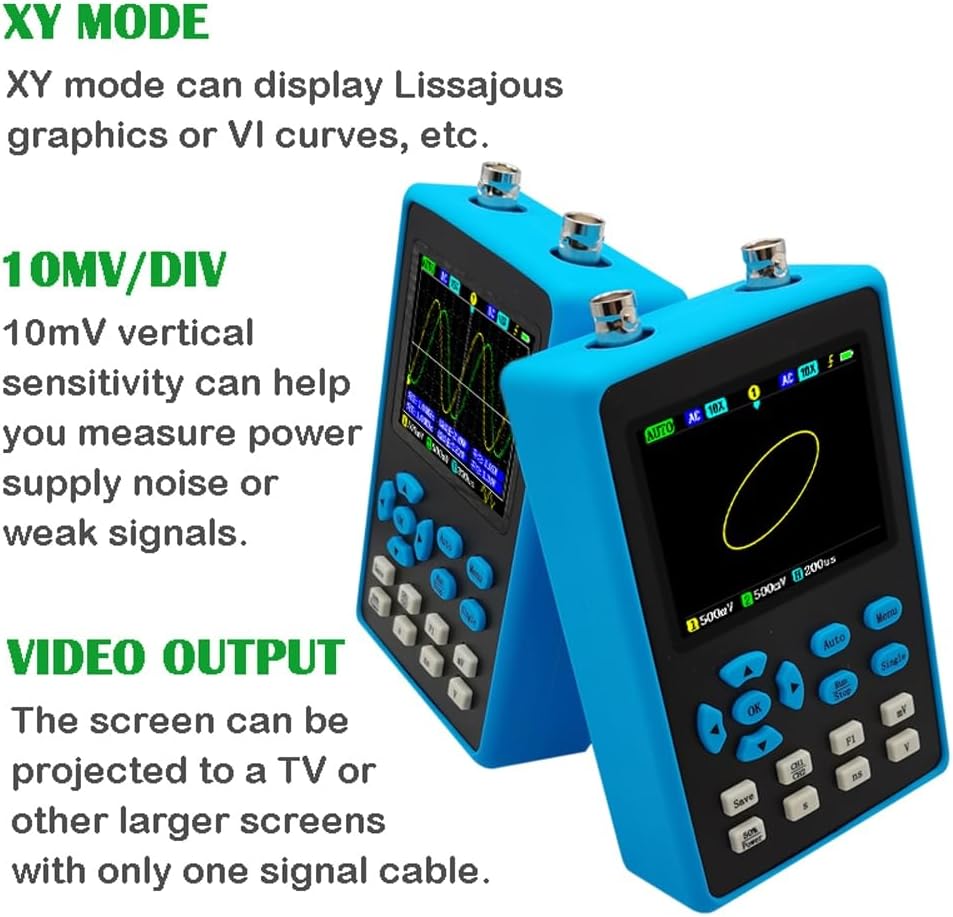
Figure 4.1: The DSO2512G Oscilloscope demonstrating XY mode for Lissajous graphics and its video output capability.
4.2 Signal Generator Function
- The oscilloscope can output various waveforms from its dedicated output port.
- Access the signal generator settings via the menu to select waveform type and frequency.
- Sine wave frequency range: 0-10MHz.
- Other waveforms (square, triangle, half-wave, sing-wave) frequency range: 0-2MHz.
- Output amplitude is 2.5V.
4.3 Measurement Functions
The device offers 14 types of automatic measurements. To access these:
- Press the "Menu" button.
- Navigate to the "Measurement" or "Measure" option.
- Select the desired measurement parameters (e.g., Frequency, Peak-to-Peak, RMS).
- The results will be displayed on the screen.
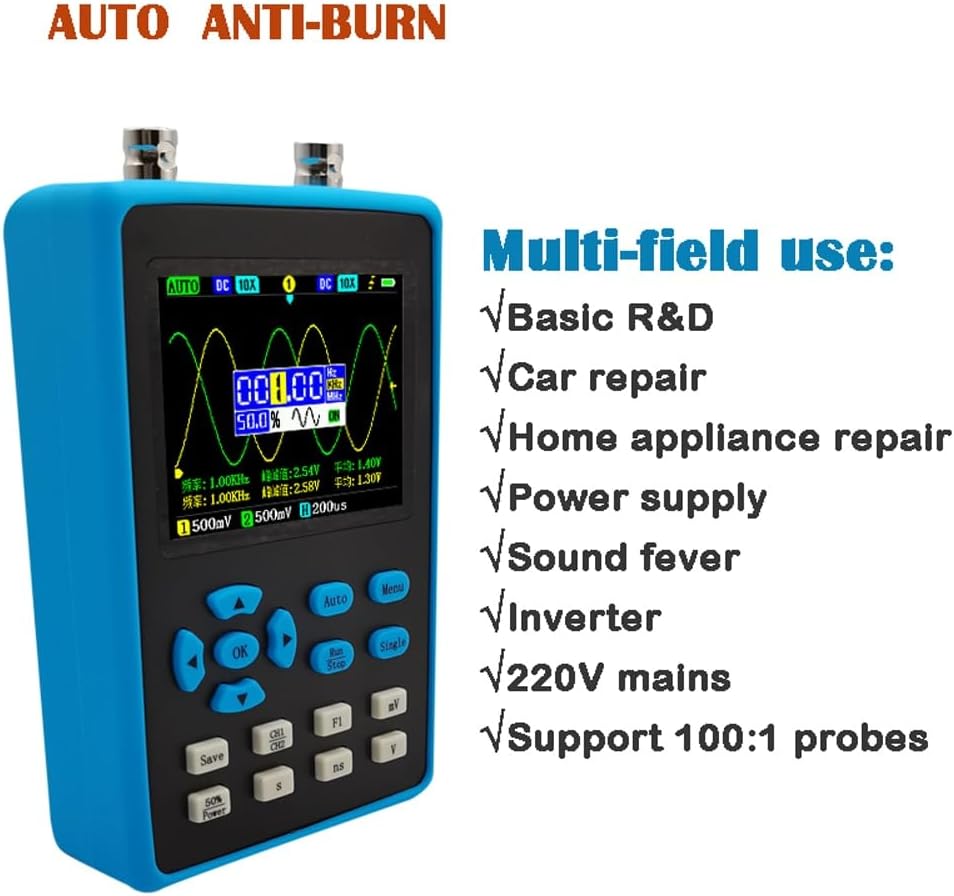
Figure 4.2: The DSO2512G Oscilloscope highlighting its multi-field use, including R&D, car repair, home appliance repair, and power supply debugging.
5. Maintenance
- Cleaning: Use a soft, dry cloth to clean the device. Do not use abrasive cleaners or solvents.
- Storage: Store the oscilloscope in a cool, dry place away from direct sunlight and extreme temperatures.
- Battery Care: For prolonged storage, ensure the battery is charged to approximately 50% to maintain its lifespan. Recharge periodically if stored for long periods.
- Probe Care: Handle probes carefully. Avoid bending or kinking the cables. Store them properly to prevent damage to the tips.
6. Troubleshooting
| Problem | Possible Cause | Solution |
|---|---|---|
| Device does not power on. | Low battery or power button not pressed correctly. | Charge the battery. Press and hold the power button firmly for a few seconds. |
| No waveform displayed. | Probe not connected, signal too weak, or incorrect vertical/horizontal settings. | Ensure probes are securely connected. Check signal source. Press "Auto" button to adjust settings. Adjust vertical sensitivity (V/div) and time base (s/div). |
| Unstable waveform. | Incorrect trigger settings. | Adjust trigger level and trigger type (rise/fall). Ensure trigger source is correctly selected. |
| Signal generator not working. | Incorrect settings or output cable not connected. | Verify signal generator settings in the menu. Ensure output cable is connected to the correct port. |
7. Specifications
| Parameter | Value |
|---|---|
| Channels | 2 |
| Coupling | AC/DC |
| Bandwidth | 120MHz (single channel), 60MHz (dual channel) |
| Sampling Rate | 500MS/s |
| Storage Depth | 128Kbit |
| Impedance | 1MΩ |
| Time Base Range | 5ns~10s |
| Vertical Sensitivity | 10mV/div~10V/div |
| Max Input Voltage | ±40V (x1 probe), ±400V (x10 probe) |
| Trigger Type | Rise/Fall |
| Display Mode | YT/Roll |
| XY Mode | Supported |
| Screenshot | Supported |
| FFT | Supported |
| Built-in Battery | 4000mAh Lithium Battery |
| Material | ABS Plastic |
| Item Weight | 4.41 pounds |
| Package Size | 210 * 140 * 115mm |
8. Warranty and Support
Specific warranty information for this product is not provided in the available documentation. For warranty claims or technical support, please contact the seller or manufacturer directly through your purchase platform.
Please refer to your purchase receipt or the product listing for contact details of the seller.