1. Introduction
The Garmin Xero C1 Pro is a compact, radar-based chronograph designed to accurately measure projectile velocities. This device provides precise data for various projectile types, including bullets, arrows, bolts, slugs, birdshot, paintballs, and airsoft BBs, with velocities ranging from 100 fps to 5,000 fps. Its portable design and intuitive operation make it suitable for use at the range or in the field.
2. Key Features
- Measures projectile velocities from 100 fps to 5,000 fps.
- Compatible with bullets, arrows, bolts, slugs, birdshot, paintballs, and airsoft BBs.
- Simple setup and operation: power on, aim, and shoot within approximately 15 inches of the device.
- Compact design for easy transport, fitting into a back pocket.
- Easy-to-read, backlit display.
- Button-operated interface for straightforward use.
- Up to 6 hours of battery life.
- Connects wirelessly to smartphones via the ShotView app for data recording, analysis, and tracking.
- Does not attach to the firearm, preserving zero and barrel harmonics.
- IPX7 water-resistant rating for durability in various weather conditions.
3. What's in the Box
Your Garmin Xero C1 Pro package typically includes the following components:
- Garmin Xero C1 Pro Compact Chronograph
- Integrated Tripod
- USB-C Cable (for charging and data transfer)
- GPS City Microfiber Cleaning Cloth
- Documentation (Quick Start Guide, Safety Information)

Image 3.1: Garmin Xero C1 Pro Chronograph with its integrated tripod and an included microfiber cleaning cloth.
4. Setup
4.1 Charging the Device
Before initial use, fully charge the Xero C1 Pro using the provided USB-C cable. Connect the cable to the device's charging port and a compatible USB power source. The battery indicator on the display will show charging status.
4.2 Mounting and Positioning
- Extend the integrated tripod legs for stable placement.
- Place the chronograph on a flat, stable surface approximately 10-15 inches (25-38 cm) from the muzzle of your firearm or the launch point of your projectile.
- Ensure the front of the chronograph (where the radar sensor is located) is pointed directly downrange, parallel to the path of the projectile. The projectile should pass directly over the device.
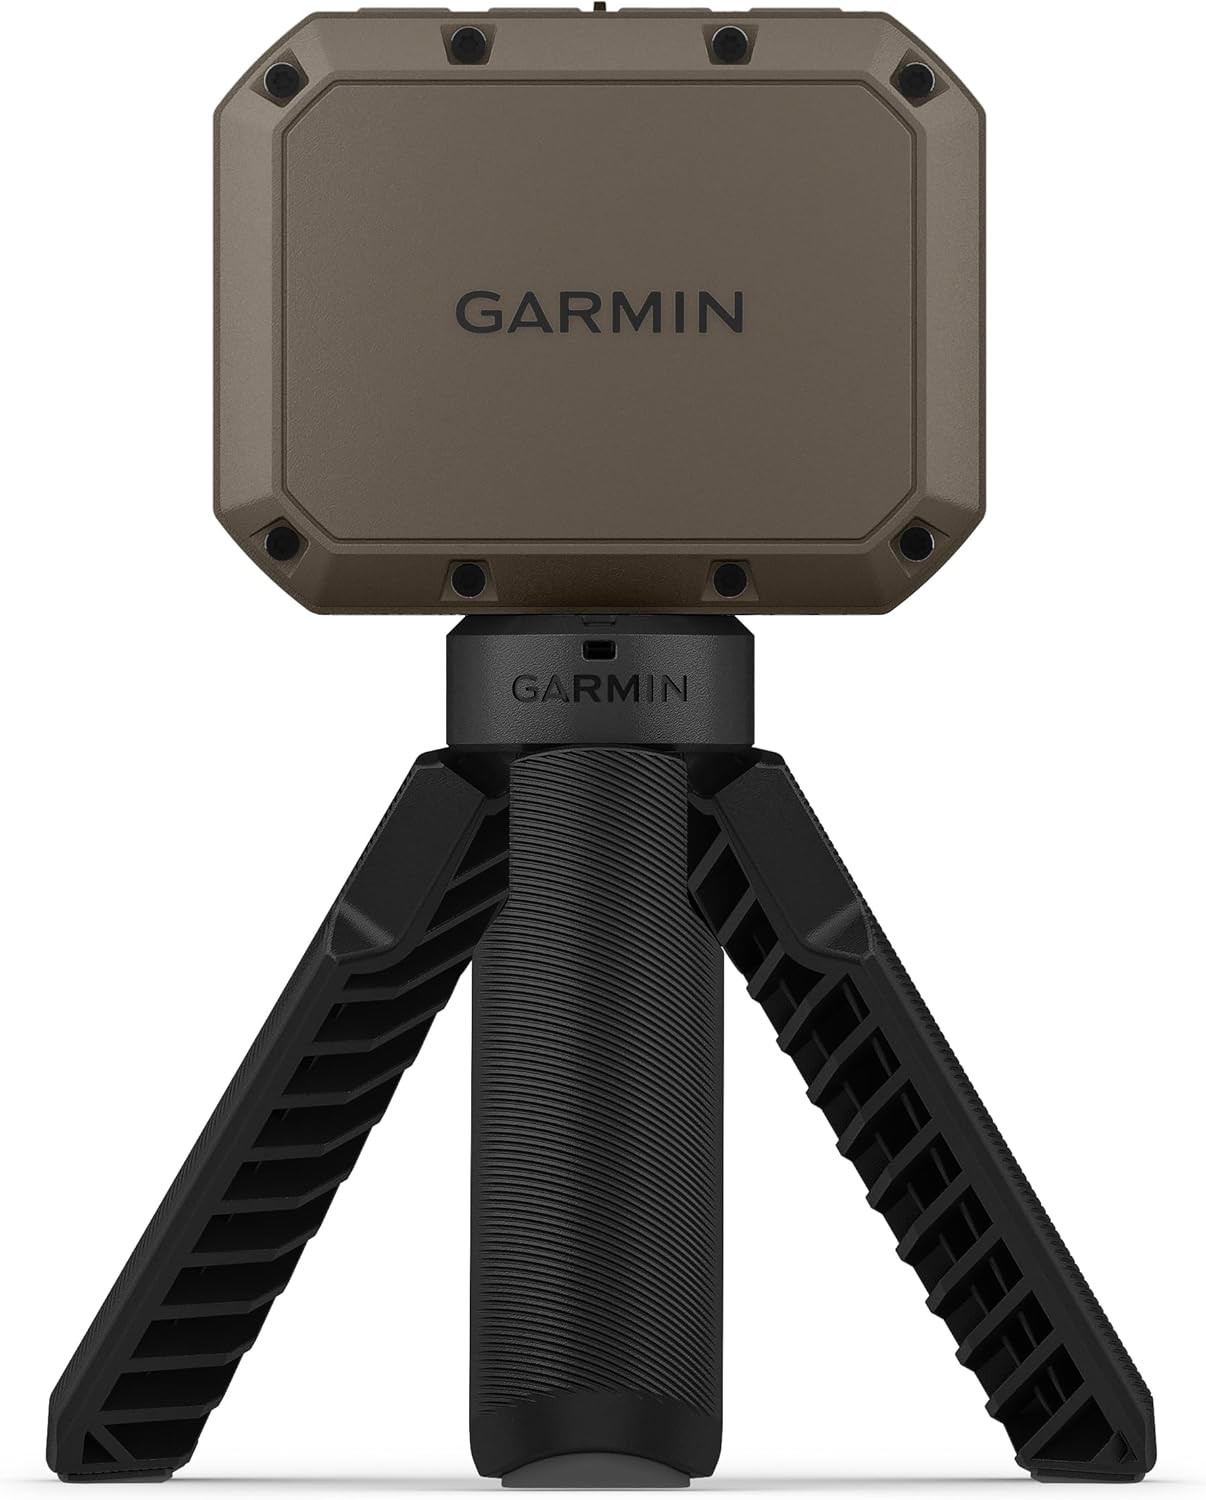
Image 4.1: Rear view of the Garmin Xero C1 Pro mounted on its integrated tripod, illustrating its compact form factor.
4.3 Powering On and Initial Configuration
- Press and hold the PWR button (located on the top of the device) to turn on the chronograph.
- Follow the on-screen prompts for initial setup, such as language selection and unit preferences (e.g., feet per second (fps) or meters per second (m/s)).

Image 4.2: Top view of the Garmin Xero C1 Pro, highlighting the 'OK', 'PWR' (return), 'Up', and 'Down' control buttons.
4.4 Pairing with the ShotView App
For enhanced data management, pair your Xero C1 Pro with the Garmin ShotView app on your smartphone.
- Download the Garmin ShotView app from your device's app store.
- Enable Bluetooth on your smartphone.
- On the Xero C1 Pro, navigate to the Bluetooth pairing menu (refer to the on-screen instructions).
- Follow the app's instructions to complete the pairing process.
5. Operating Instructions
5.1 Navigating the Menu
Use the buttons on the top of the device to navigate:
- OK: Select an option or confirm an action.
- PWR (Return): Go back to the previous screen or power off (hold).
- Up Arrow: Scroll up through menu options or increase values.
- Down Arrow: Scroll down through menu options or decrease values.
5.2 Selecting Projectile Mode
Before taking measurements, select the appropriate projectile mode to ensure accurate readings.
- From the main screen, use the arrow buttons to navigate to the 'Select Mode' option.
- Press OK to enter the mode selection.
- Choose from options such as Bow, Rifle, Pistol, Air Rifle, etc., using the arrow buttons, then press OK.

Image 5.1: The Xero C1 Pro display showing the 'Select Mode' menu, with options like Bow, Rifle, and Pistol.
5.3 Taking a Measurement
Once the device is positioned and the mode is selected, you can begin taking measurements.
- Ensure the chronograph is powered on and in the correct projectile mode.
- Fire your projectile directly over the chronograph, maintaining the recommended distance (approx. 10-15 inches).
- The velocity reading will instantly appear on the display.

Image 5.2: The Xero C1 Pro display showing a velocity measurement in Pistol mode, including kinetic energy and power factor.
5.4 Viewing Shot Data
The Xero C1 Pro stores shot data, which can be reviewed on the device or through the ShotView app.
- Current Shot Display: After each shot, the velocity is shown along with average, standard deviation, and maximum velocity for the current session.
- Shot List: Navigate to the 'Shot List' menu to view individual shot velocities and their deviation from the average.

Image 5.3: The Xero C1 Pro display showing a 'Shot List' with individual shot numbers, FPS, and deviation from average.
- Session Summary: Access the 'Session Summary' to see an overview of your shooting session, including minimum, average, maximum velocities, extreme spread, and standard deviation.

Image 5.4: The Xero C1 Pro display showing a 'Session Summary' with minimum, average, maximum, extreme spread, and standard deviation values.
5.5 Using the ShotView App
The ShotView app provides advanced features for managing and analyzing your data:
- Record and store shot results.
- Compare velocity for every shot fired.
- Calculate extreme spreads and standard deviations.
- Keep track of different projectile types and loads.
- Track deviation and other ballistic data.
6. Maintenance
6.1 Cleaning the Device
Regular cleaning helps maintain optimal performance and extends the lifespan of your chronograph.
- Use the provided GPS City microfiber cleaning cloth or a soft, lint-free cloth to gently wipe the display and exterior surfaces.
- Avoid using abrasive cleaners, solvents, or chemical sprays, as these can damage the device.
- For stubborn dirt, slightly dampen the cloth with water.
6.2 Battery Care
To maximize battery life and performance:
- Charge the device regularly, especially if it will be stored for an extended period.
- Avoid exposing the device to extreme temperatures, which can degrade battery performance.
- The device uses 3 nonstandard batteries (included). Do not attempt to replace them yourself; contact Garmin support if battery service is required.
6.3 Storage
When not in use, store the Xero C1 Pro in a cool, dry place, away from direct sunlight and extreme temperatures. The compact design allows for easy storage in a gear bag or pocket.
6.4 Water Resistance
The device has an IPX7 water-resistant rating, meaning it can withstand incidental exposure to water of up to 1 meter for 30 minutes. However, it is not designed for continuous submersion. Ensure the charging port cover is securely closed to maintain water resistance.
7. Troubleshooting
If you encounter issues with your Garmin Xero C1 Pro, refer to the following common troubleshooting steps:
7.1 Device Not Powering On
- Check Battery: Ensure the device is sufficiently charged. Connect it to a power source and allow it to charge for at least 30 minutes before attempting to power on again.
- Hard Reset: If unresponsive, try holding the PWR button for 10-15 seconds to perform a hard reset.
7.2 Inaccurate or Missing Readings
- Positioning: Verify the chronograph is correctly positioned approximately 10-15 inches from the muzzle and aligned parallel to the projectile's path.
- Projectile Type: Ensure the correct projectile mode is selected on the device.
- Environmental Factors: Strong winds or heavy rain can sometimes affect radar performance.
- Velocity Range: Confirm the projectile's velocity is within the device's measurable range (100 fps to 5,000 fps).
7.3 ShotView App Connectivity Issues
- Bluetooth: Ensure Bluetooth is enabled on both your smartphone and the Xero C1 Pro.
- App Update: Make sure the ShotView app is updated to the latest version.
- Re-pair Device: Try unpairing and re-pairing the device with your smartphone.
- App Permissions: Check that the ShotView app has necessary permissions on your smartphone.
8. Specifications
| Specification | Value |
|---|---|
| Item Weight | 11.6 ounces |
| Product Dimensions | 3.03 x 2.38 x 1.36 inches |
| Item Model Number | Xero C1 Pro |
| Batteries | 3 Nonstandard Battery batteries required (included) |
| Display Size | 2.17 Inches |
| Battery Life | Up to 6 Hours |
| Voice Command | Buttons |
| Brand | Garmin |
| Screen Size | 2.17 Inches |
| Connectivity Technology | Bluetooth |
| Mounting Type | Handheld (with integrated tripod) |
| Display Type | Transflective Monochrome LCD |
| Human Interface Input | Buttons |
9. Warranty and Support
The Garmin Xero C1 Pro is covered by a limited warranty. For specific warranty terms and conditions, please refer to the warranty information included with your product or visit the official Garmin website. For technical support, product registration, or additional assistance, please visit garmin.com/support.
10. Official Product Videos
No official product videos from the seller were available for embedding at this time.