1. Introduction
The CORSAIR iCUE Link H150i LCD Liquid CPU Cooler is an all-in-one (AIO) liquid cooling solution designed for high-performance processors. It features a 360mm radiator, three QX120 RGB fans, and a 2.1-inch IPS LCD screen on the pump head for displaying system information or custom visuals. This cooler integrates with the iCUE Link ecosystem for simplified cable management and comprehensive system control.

Image 1.1: The CORSAIR iCUE Link H150i LCD Liquid CPU Cooler, showcasing its white design, RGB fans, and customizable LCD screen.
2. Package Contents
Verify that all components are present in your package:
- CORSAIR iCUE Link H150i LCD Liquid CPU Cooler (360mm radiator with pre-installed QX120 RGB fans and pump/cold plate)
- iCUE Link System Hub
- Mounting brackets for Intel LGA 1700, 1200, 1156, 1155, 1151, 1150
- Mounting brackets for AMD AM5, AM4
- iCUE Link cable
- USB-C to USB 2.0 Y-cable
- 2-pin to CPU FAN header cable
- 6-pin PSU cable (Note: Power connector type may vary; refer to your product's specific power cable)
- Documentation (Quick Start Guide, Safety Information)
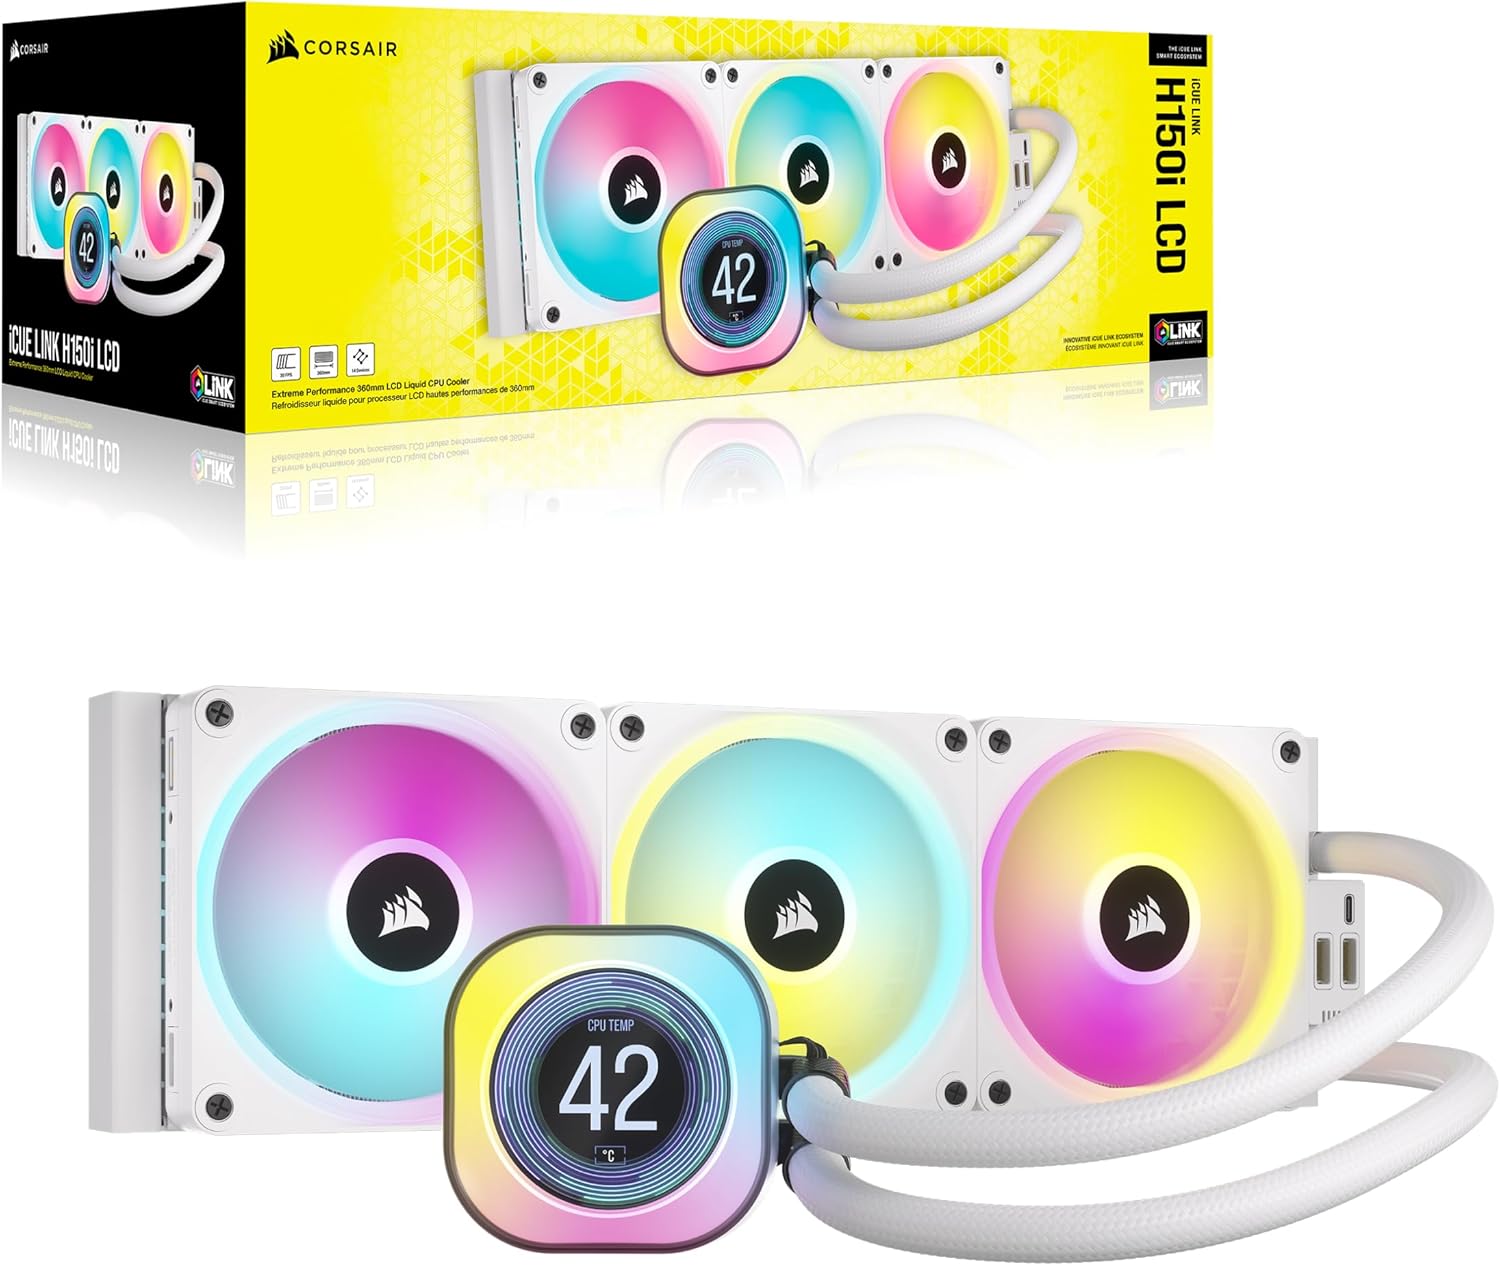
Image 2.1: The CORSAIR iCUE Link H150i LCD Liquid CPU Cooler and its packaging, indicating included components.

Image 2.2: The iCUE Link System Hub, a key component for connecting the cooler within the iCUE Link ecosystem.
3. Setup and Installation
Follow these steps for proper installation of your CORSAIR iCUE Link H150i LCD Liquid CPU Cooler.
3.1. Preparation
- Compatibility Check: Ensure your motherboard socket (Intel LGA 1700/1200/115x or AMD AM5/AM4) is supported.
- Power Off: Turn off your computer and disconnect all power cables from the wall outlet and the PC.
- Access Case: Open your PC case to access the motherboard and CPU area.
- Remove Old Cooler (if applicable): If replacing an existing cooler, carefully remove it and clean any old thermal paste from the CPU surface using isopropyl alcohol. The H150i LCD comes with pre-applied CORSAIR XTM70 thermal paste.
3.2. Radiator Mounting
- Determine the best location for the 360mm radiator in your case (e.g., front, top).
- Secure the radiator to the case using the provided screws. Ensure fans are oriented for optimal airflow (intake or exhaust) based on your case's cooling design.
3.3. CPU Block Mounting
- Select the appropriate mounting bracket for your CPU socket (Intel or AMD).
- Attach the chosen bracket to the pump head.
- Carefully align the pump/cold plate assembly over your CPU, ensuring the pre-applied thermal paste makes full contact with the CPU's integrated heat spreader (IHS).
- Secure the pump assembly to the motherboard using the provided thumb screws or standoffs. Tighten evenly in a cross pattern until snug. Do not overtighten.

Image 3.1: Included mounting brackets for Intel and AMD CPU sockets.

Image 3.2: The copper cold plate with pre-applied CORSAIR XTM70 thermal paste, designed for efficient heat transfer.
3.4. Cable Connections
- iCUE Link Cable: Connect the iCUE Link cable from the radiator's hidden connection port to one of the available ports on the iCUE Link System Hub.
- USB Connection: Connect the USB-C cable from the pump head to the USB 2.0 Y-cable, then connect the Y-cable to an available USB 2.0 header on your motherboard.
- CPU FAN Header: Connect the 2-pin cable from the iCUE Link System Hub to your motherboard's CPU FAN header. This provides RPM feedback to the motherboard.
- PSU Power: Connect the 6-pin PSU cable from the iCUE Link System Hub to an available 6-pin power connector from your power supply.
- Cable Management: Route all cables neatly to avoid interference with other components or airflow within your PC case.

Image 3.3: The hidden connection design on the radiator, simplifying cable routing and maintaining a clean aesthetic.

Image 3.4: A visual representation of the iCUE Link ecosystem, showing how components connect in a chain to the System Hub.
3.5. Software Installation
- Close your PC case and reconnect all power cables.
- Boot your computer.
- Download and install the latest CORSAIR iCUE software from the official CORSAIR website.
- Follow the on-screen instructions to detect and configure your iCUE Link H150i LCD cooler.
4. Operation
The CORSAIR iCUE Link H150i LCD is primarily controlled and customized through the CORSAIR iCUE software.
4.1. iCUE Software Control
Launch the iCUE software to manage your cooler's performance and aesthetics:
- Fan Control: Adjust fan curves and speeds for the QX120 RGB fans. Choose from preset profiles (e.g., Quiet, Balanced, Extreme) or create custom profiles. The software supports Zero RPM mode, allowing fans to stop completely at low temperatures for silent operation.
- Pump Control: Adjust pump speed for optimal cooling performance and noise levels.
- RGB Lighting: Customize the 34 RGB LEDs per fan and the 20 RGB LEDs on the pump cap. Synchronize lighting effects with other CORSAIR iCUE compatible devices for a cohesive system aesthetic.
- LCD Display Customization:
- Display real-time CPU temperature, coolant temperature, or other system information.
- Upload custom animated GIFs, images, or logos to personalize the 2.1-inch IPS LCD screen. The screen supports 480x480 resolution, 30 FPS, and 24-bit true color depth.
- Monitoring: Use iCUE to monitor CPU and coolant temperatures, fan speeds, and pump speeds in real-time.

Image 4.1: The 2.1-inch IPS LCD screen on the pump head, capable of displaying real-time CPU temperature and custom visuals.

Image 4.2: The CORSAIR iCUE software interface, providing comprehensive control over fan speeds, RGB lighting, and LCD display content.
5. Maintenance
Regular maintenance helps ensure optimal performance and extends the lifespan of your cooler.
- Dust Cleaning: Periodically clean dust from the radiator fins and fans using compressed air. Ensure the system is powered off and unplugged before cleaning.
- Cable Check: Verify all cable connections are secure and free from damage.
- Coolant: The AIO cooler is a sealed, closed-loop system and does not require user-added coolant. Do not attempt to open the cooler to add or replace coolant, as this will void the warranty.
- Thermal Paste: The cooler comes with pre-applied thermal paste. If the cooler is removed and reinstalled, it is recommended to clean the old thermal paste from the CPU and cold plate and apply new high-quality thermal paste.
6. Troubleshooting
This section addresses common issues you might encounter.
6.1. No Power, RGB, or LCD Display
- Check Connections: Ensure all cables are securely connected: iCUE Link cable, USB cable, CPU FAN header cable, and 6-pin PSU cable.
- System Hub: Verify the iCUE Link System Hub is properly powered and connected.
- Software: Ensure the iCUE software is installed, updated, and running.
6.2. High CPU Temperatures
- Mounting: Confirm the pump/cold plate is securely mounted to the CPU and making good contact.
- Airflow: Check fan orientation on the radiator for proper airflow (intake or exhaust).
- iCUE Settings: Adjust fan and pump speeds in iCUE software to a more aggressive profile (e.g., 'Extreme').
- Dust: Ensure there is no excessive dust buildup on the radiator fins.
6.3. Excessive Fan Noise
- iCUE Settings: Adjust fan curves in iCUE software to a quieter profile (e.g., 'Quiet' or a custom profile).
- Zero RPM: Enable Zero RPM mode if temperatures allow for silent operation at low loads.
- Obstructions: Check for any obstructions or loose fan blades.
6.4. LCD Screen Not Displaying
- USB Connection: Ensure the USB connection from the pump head to the motherboard is secure.
- iCUE Software: Verify iCUE software is running and the cooler is detected. Check LCD settings within iCUE.
6.5. iCUE Software Not Detecting Cooler
- Restart Software/PC: Restart the iCUE software and/or your computer.
- Connections: Ensure all USB and iCUE Link connections are firm.
- Reinstall: Reinstall iCUE software if necessary.
- Conflicts: Check for conflicting software that might interfere with iCUE.
7. Specifications
| Feature | Specification |
|---|---|
| Brand | Corsair |
| Model Number | CW-9061010-WW |
| Cooling Method | Water |
| Radiator Size | 360mm |
| Fan Type | QX120 RGB PWM Fans |
| Maximum Rotational Speed | 2400 RPM |
| Air Flow Capacity | 63.1 Cubic Feet Per Minute |
| Noise Level | 37 dB |
| LCD Screen Size | 2.1 inches IPS |
| LCD Screen Resolution | 480x480 |
| Compatible Devices | Desktop |
| CPU Socket Compatibility | Intel LGA 1700, 1200, 1156, 1155, 1151, 1150; AMD AM5, AM4 |
| Power Connector Type | 2-Pin (for CPU FAN header) |
| Voltage | 12 Volts |
| Wattage | 12 watts |
| Item Weight | 4.1 pounds |
| Product Dimensions (LxWxH) | 11.69 x 4.72 x 1.06 inches |
| UPC | 840006665946 |
8. Warranty and Support
Warranty: CORSAIR products typically come with a limited warranty. The EU Spare Part Availability Duration of 6 years indicates long-term support for components. For specific warranty terms and duration applicable to your region and product, please refer to the official CORSAIR website or the warranty card included with your product.
Support: For technical assistance, driver downloads, software updates, and further documentation, visit the official CORSAIR support website:
https://www.corsair.com/support
You can also find FAQs and community forums on the support website for additional help.


