LUTH Premium Profi Parts 1244pj4e
LUTH Premium Profi Parts Ribbed V-Belt 1244pj4e Instruction Manual
Model: 1244pj4e | Part Number: 2466300200
1. Introduction
This manual provides essential information for the installation, operation, and maintenance of your LUTH Premium Profi Parts 1244pj4e Ribbed V-Belt. This high-quality replacement part is designed for compatibility with various washing machine models, ensuring reliable performance. Please read this manual thoroughly before attempting any installation or maintenance.
2. Product Overview and Specifications
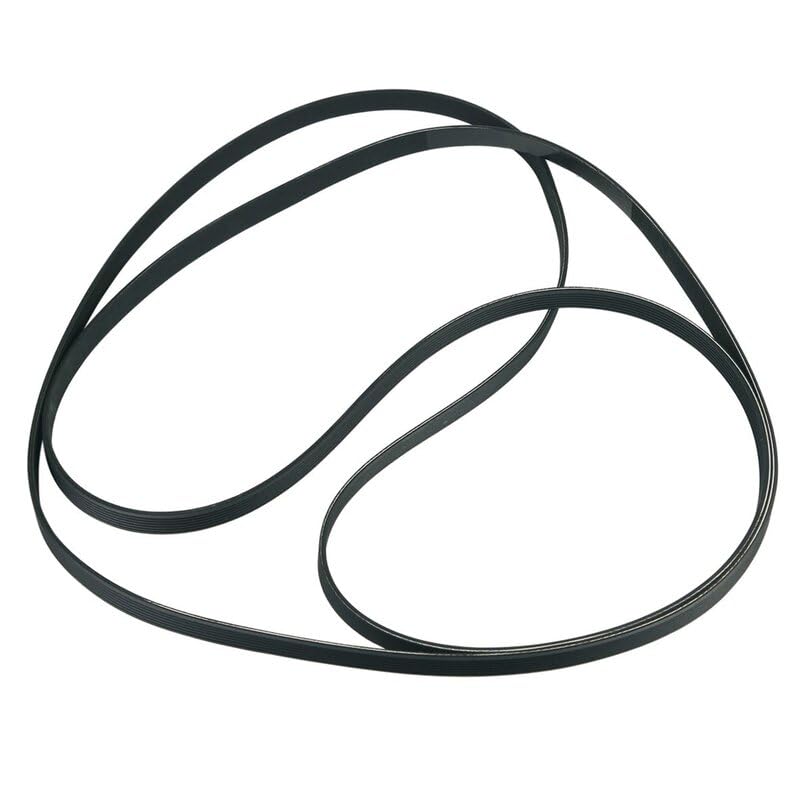
Image: The LUTH Premium Profi Parts 1244pj4e Ribbed V-Belt, a black multi-ribbed belt designed for appliance drive systems.
Key Features:
- Type: E (elastic)
- Rib Form: PJ
- Number of Ribs: 4
- Length: 1244 Millimeters
- Width: 140 Millimeters
- Height: 3.5 Millimeters
- Distance between Ribs: 2.34 Millimeters
- Part Number: 2466300200
- Manufacturer: LUTH Premium Profi Parts
3. Compatibility
This ribbed V-belt is compatible with a wide range of washing machine models from various brands. It is a suitable replacement for original parts with numbers 2466300200, 2816750100, and 2845710100 from Arçelik, Arctic, Altus, Beko, Blomberg, ElektraBregenz, Grundig, and Leisure. It also replaces Contitech 4PJE1244.
Known Compatible Models (Partial List):
- ALTUS AL281E-TUR B1 C08 PL1AB7STS
- ALTUS AL181B-TUR B1 C08 PL1AB7SLEDTS
- ALTUS AL182B-TUR B1 C08 PL1AB7SLEDTS
- ALTUS AL 181 BS
- ALTUS AL191B-TUR B1 C10 PL1AB7SLED TS
- ALTUS AL161B-TUR B1 C06 PL1AB7SLED TS
- ALTUS ALX 6112 SD
- ALTUS AL191E-TUR B1 C10 PL1AF16 TS
- ALTUS AL191XYC-TUR B1 C F16 1000 TS TP Compact 1002
- ALTUS LE5100-ISP B1 C10 PL2F8 TS
- ALTUS AL291E-TUR B1 C10 PL1AB7STS
- ALTUS AL5100+-ISP B1 E401005 NEVAPLUSTS
- ALTUS ALM601-TUR B1 E401006 PL1NEVAPLUSTS
- ALTUS ALM 581 A
- ALTUS AL5600 L
- ALTUS AL 6100 L
- ALTUS ALX6112W
- ALTUS ALX 6112 WD
- ALTUS ALX 6111 W
- ALTUS AL 6100 ML
- ALTUS Compact 1202
- ALTUS 161XYD-TUR B1 C06 PL2AF16 600 TS
- ALTUS AL161E-TUR B1 C06 PL1AF16 TS
- ALTUS 161XYC-TUR B1 C F16 600 TS TP
- ALTUS ALX 5011 W
- ALTUS WF6
For a complete list of compatible models, please refer to the product description or consult your appliance's service manual.
4. Installation Guide
Safety First: Always disconnect the appliance from the power supply before attempting any installation or repair. Wear appropriate personal protective equipment, such as gloves.
- Access the Drive System: Depending on your washing machine model, you may need to remove the back panel, top panel, or front panel to gain access to the motor and drum pulley system. Refer to your appliance's specific service manual for detailed instructions on accessing these components.
- Remove the Old Belt: If an old belt is present, carefully inspect its condition. Note how it is routed around the motor pulley and the drum pulley. To remove it, you may need to gently pry it off one of the pulleys while rotating the other, or if it's broken, simply remove the pieces.
- Clean Pulleys: Before installing the new belt, ensure both the motor pulley and the drum pulley are clean and free of any debris, grease, or remnants of the old belt.
- Install the New Belt:
- Place the new ribbed V-belt around the smaller motor pulley first.
- Next, stretch the belt over the larger drum pulley. This type of belt is elastic, so it will require some force to stretch it into place.
- While holding the belt on the motor pulley, slowly rotate the drum pulley by hand. Guide the belt onto the drum pulley's grooves. It may take several rotations for the belt to fully seat itself. Ensure the ribs of the belt align perfectly with the grooves on both pulleys.
- Verify Installation: Once the belt is fully seated, rotate the drum by hand a few more times to ensure the belt runs smoothly and does not slip or rub against any other components.
- Reassemble Appliance: Carefully reattach any panels or covers that were removed. Ensure all screws are tightened securely.
- Test Operation: Reconnect the appliance to the power supply and run a short wash cycle to confirm proper operation and that the drum rotates correctly.
5. Operating Principles
The ribbed V-belt serves as the crucial link between the washing machine's motor and the drum. When the motor operates, it rotates the smaller motor pulley. The belt transfers this rotational energy to the larger drum pulley, causing the washing machine drum to spin. The ribbed design ensures maximum grip and efficient power transfer, while its elastic nature allows for proper tension and absorbs minor vibrations during operation.
6. Maintenance
Ribbed V-belts are generally low-maintenance components. However, periodic inspection can extend their lifespan and prevent unexpected failures:
- Visual Inspection: Approximately once a year, or if you notice unusual noises, inspect the belt for signs of wear, cracking, fraying, or glazing. A worn belt may appear shiny or have visible damage to its ribs.
- Tension Check: While the belt is elastic, ensure it maintains adequate tension. A loose belt can slip, leading to inefficient operation or drum not spinning.
- Cleanliness: Keep the area around the belt and pulleys free from lint, dust, and detergent residue, which can accumulate and cause premature wear.
- Avoid Overloading: Consistently overloading your washing machine can put excessive strain on the drive belt, leading to accelerated wear.
7. Troubleshooting
| Problem | Possible Cause | Solution |
|---|---|---|
| Drum not spinning or spinning slowly | Broken or slipped drive belt | Inspect and replace the belt if broken. Re-seat the belt if slipped. |
| Loud squealing or grinding noise during spin cycle | Worn, glazed, or misaligned belt | Inspect belt for wear. Clean pulleys. Ensure belt is properly seated in grooves. Replace if necessary. |
| Burning rubber smell | Belt slipping due to wear or misalignment | Immediately stop the appliance. Inspect and replace the belt. Ensure proper alignment. |
| Excessive vibration | Belt damage or imbalance | Inspect belt for damage. Ensure it is correctly installed and tensioned. |
If troubleshooting steps do not resolve the issue, it is recommended to consult a qualified appliance technician.
8. Warranty and Support
For information regarding warranty coverage for your LUTH Premium Profi Parts product, please refer to the purchase documentation or contact your retailer. For technical support or further assistance, please visit the official LUTH Premium Profi Parts store on Amazon or contact their customer service directly.
LUTH Premium Profi Parts Store: Visit Store
Ask a question about this manual
Ask about setup, troubleshooting, compatibility, parts, safety, or missing instructions. Manuals+ will review the question and use this page’s manual context to help answer it.