
Introduction
This manual provides detailed instructions for the Awesome Pattern Studio DS1292 White Shrimp Diamond Painting Kit. This kit allows users to create a vibrant, full-drill 5D diamond art piece featuring a White Shrimp design. The process involves placing small resin diamonds onto a pre-printed, adhesive canvas to form a sparkling image. This activity is designed to be engaging and relaxing for crafters of all skill levels.

Image 1: Example of a completed diamond painting artwork, showcasing the White Shrimp design.
What's Included
Your Awesome Pattern Studio Diamond Painting Kit contains all necessary components to complete your artwork. Please verify that all items listed below are present in your package:
- Printed Pattern Canvas: One pre-printed canvas with the White Shrimp design, featuring a precise color-coded grid.
- Presorted Eco-Friendly Resin Diamonds: Individually packaged bags of resin diamonds, sorted by color and labeled.
- Extra Resealable Bags: Additional bags for organizing diamonds.
- Storage Stickers: Labels for diamond bags to aid organization.
- Applicator Pens (x2): Two diamond applicator pens for picking up and placing diamonds.
- Diamond Trays (x2): Two grooved trays for holding and arranging diamonds.
- Glue/Wax: A small block of adhesive wax for the applicator pen.
- Instructions: A detailed guide for the diamond painting process.
- Cover Page: A colorful cover page for the design.
- Color Chart Page: A user-friendly chart correlating symbols on the canvas to diamond colors.

Image 2: All items included in a typical Diamond Painting Kit.
Setup
Before beginning your diamond painting project, follow these steps to prepare your workspace and materials:
- Unpack the Kit: Carefully remove all components from the protective packaging tube. The tube is designed to protect your kit during shipping and can be used for safe storage of unused items.
- Prepare the Canvas: Lay the printed pattern canvas flat on a clean, stable surface. The canvas is made from durable material with double-sided lamination, which helps protect it from moisture and makes it stiffer for easier handling.
- Organize Diamonds: Open the bags of presorted resin diamonds. Refer to the color chart and storage stickers to organize them. You may use the extra resealable bags for further organization if desired.
- Prepare Tools: Place a small amount of the provided glue/wax into the tip of an applicator pen. This will make the pen sticky, allowing it to pick up diamonds. Have the diamond trays ready.
- Consult Color Chart: Familiarize yourself with the color chart, which links the symbols on the canvas to the corresponding diamond colors and their labels.

Image 3: The branded tube packaging for the DIY kit.

Image 4: Sample image of a printed pattern for a diamond painting kit.

Image 5: Presorted eco-friendly resin diamonds in resealable bags.
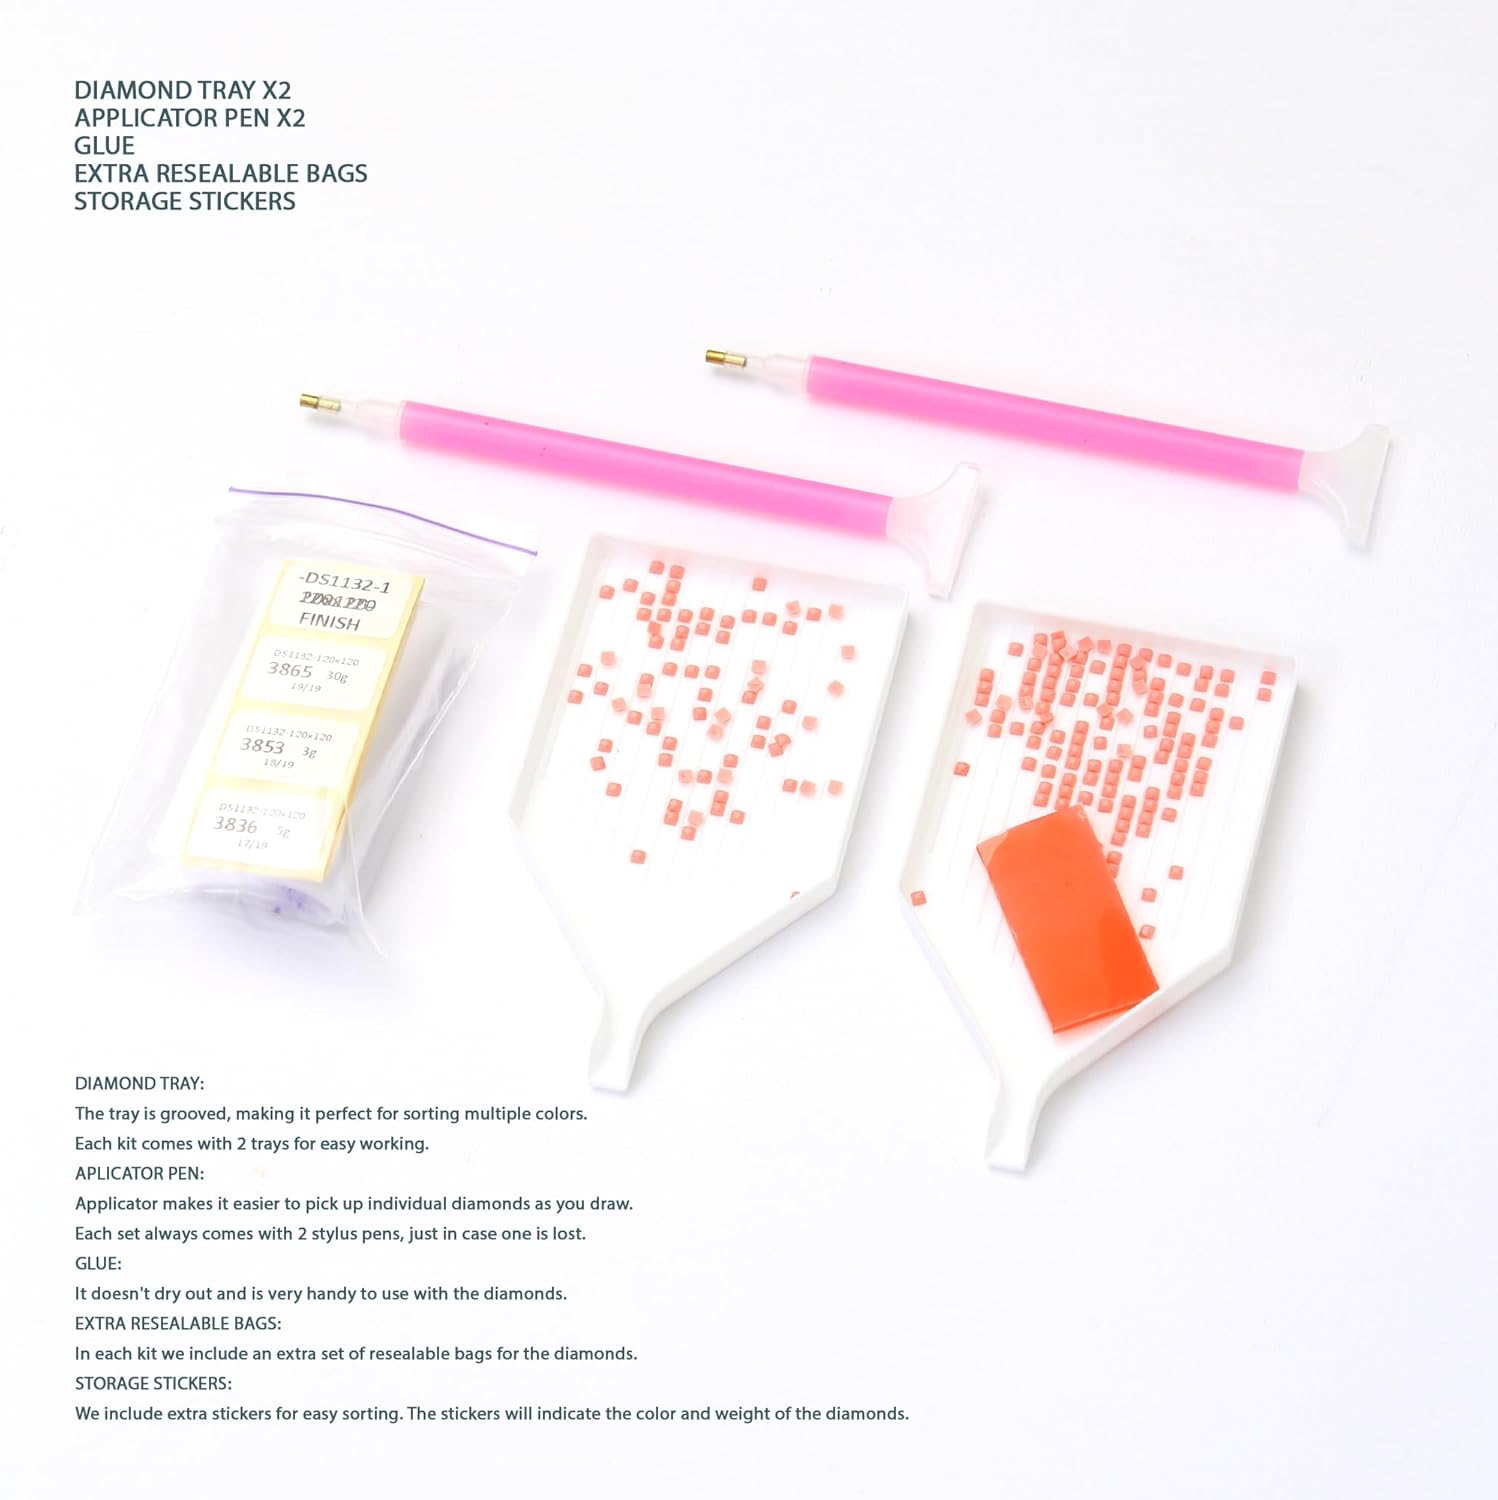
Image 6: Diamond trays, applicator pens, and glue/wax for diamond painting.

Image 7: Sample of the cover page, color chart, and step-by-step instructions.
Operating Instructions
Follow these steps to create your diamond painting artwork:
- Identify Section: Choose a small section of the canvas to work on. Peel back a small portion of the protective film from the canvas. Do not remove the entire film at once to prevent the adhesive from drying out or collecting dust.
- Match Symbols: Identify the symbols on the exposed canvas section and locate the corresponding diamond color using your color chart.
- Pour Diamonds: Pour a small quantity of the required diamond color into one of the diamond trays. Gently shake the tray to settle the diamonds with their flat side down.
- Pick Up Diamond: Dip the tip of your applicator pen into the glue/wax. Then, gently press the pen tip onto the rounded, faceted side of a diamond to pick it up.
- Place Diamond: Carefully place the diamond onto the corresponding symbol on the adhesive canvas. Ensure the diamond is seated firmly.
- Repeat: Continue this process, working section by section, until all symbols in your chosen area are covered with diamonds.
- Finishing Touches: Once the entire canvas is covered with diamonds, gently press down on the completed artwork with a flat object (like a book) to ensure all diamonds are securely adhered.
- Framing (Optional): The finished artwork can be framed to display. A picture frame is not included with the kit.
Care and Maintenance
- Protect Finished Artwork: To prevent dust accumulation and maintain the sparkle, consider framing your completed diamond painting behind glass or applying a clear sealant specifically designed for diamond paintings.
- Store Unused Diamonds: Keep any remaining diamonds in their sealed bags or the provided resealable bags. Store them in a cool, dry place away from direct sunlight to preserve their color and integrity.
- Clean Tools: Wipe applicator pens and trays clean after use.
- Canvas Storage: If you pause your project, ensure the protective film is carefully reapplied to the canvas to keep the adhesive fresh and free from debris.
Troubleshooting
- Diamonds Not Sticking: Ensure the canvas adhesive is clean and free of dust. Re-dip the applicator pen in glue/wax if it loses its stickiness. Press diamonds firmly onto the canvas.
- Missing Diamonds: Each kit includes extra diamonds. If you find you are short on a specific color, use the provided reserve.
- Canvas Wrinkles: Gently flatten the canvas by placing it under heavy books for a few hours. Avoid creasing the adhesive area.
- Diamonds Misaligned: Use tweezers or the blunt end of the applicator pen to gently adjust misplaced diamonds before the adhesive fully sets.
Specifications
| Feature | Detail |
|---|---|
| Brand | Awesome Pattern Studio |
| Model Name | DS1292N120x162 |
| Design | White Shrimp |
| Pattern Size | 30x40.5 cm (12"x16") |
| Diamond Type | Full Drill 5D Eco-Friendly Resin Diamonds |
| Number of Colors | 22 Colors |
| Material | Canvas, Paper, Resin Diamonds |
| Item Dimensions (L x W x H) | 3.15 x 14.57 x 3.15 inches (packaged) |
| Item Weight | 400 Grams (14.1 ounces) |
Warranty and Support
For any questions regarding your Awesome Pattern Studio Diamond Painting Kit, including missing parts or instructions, please contact the manufacturer directly through their official channels. While specific warranty details are not provided in this manual, the manufacturer is committed to customer satisfaction. Please retain your purchase receipt as proof of purchase.