1. Product Overview
The ORIKOOL TSSP72 is a 72-inch commercial sandwich prep table refrigerator designed for efficient food preparation and storage in commercial kitchens. This unit features a durable stainless steel construction, a spacious 22 cubic feet capacity, and precise temperature control to maintain optimal freshness for your ingredients.
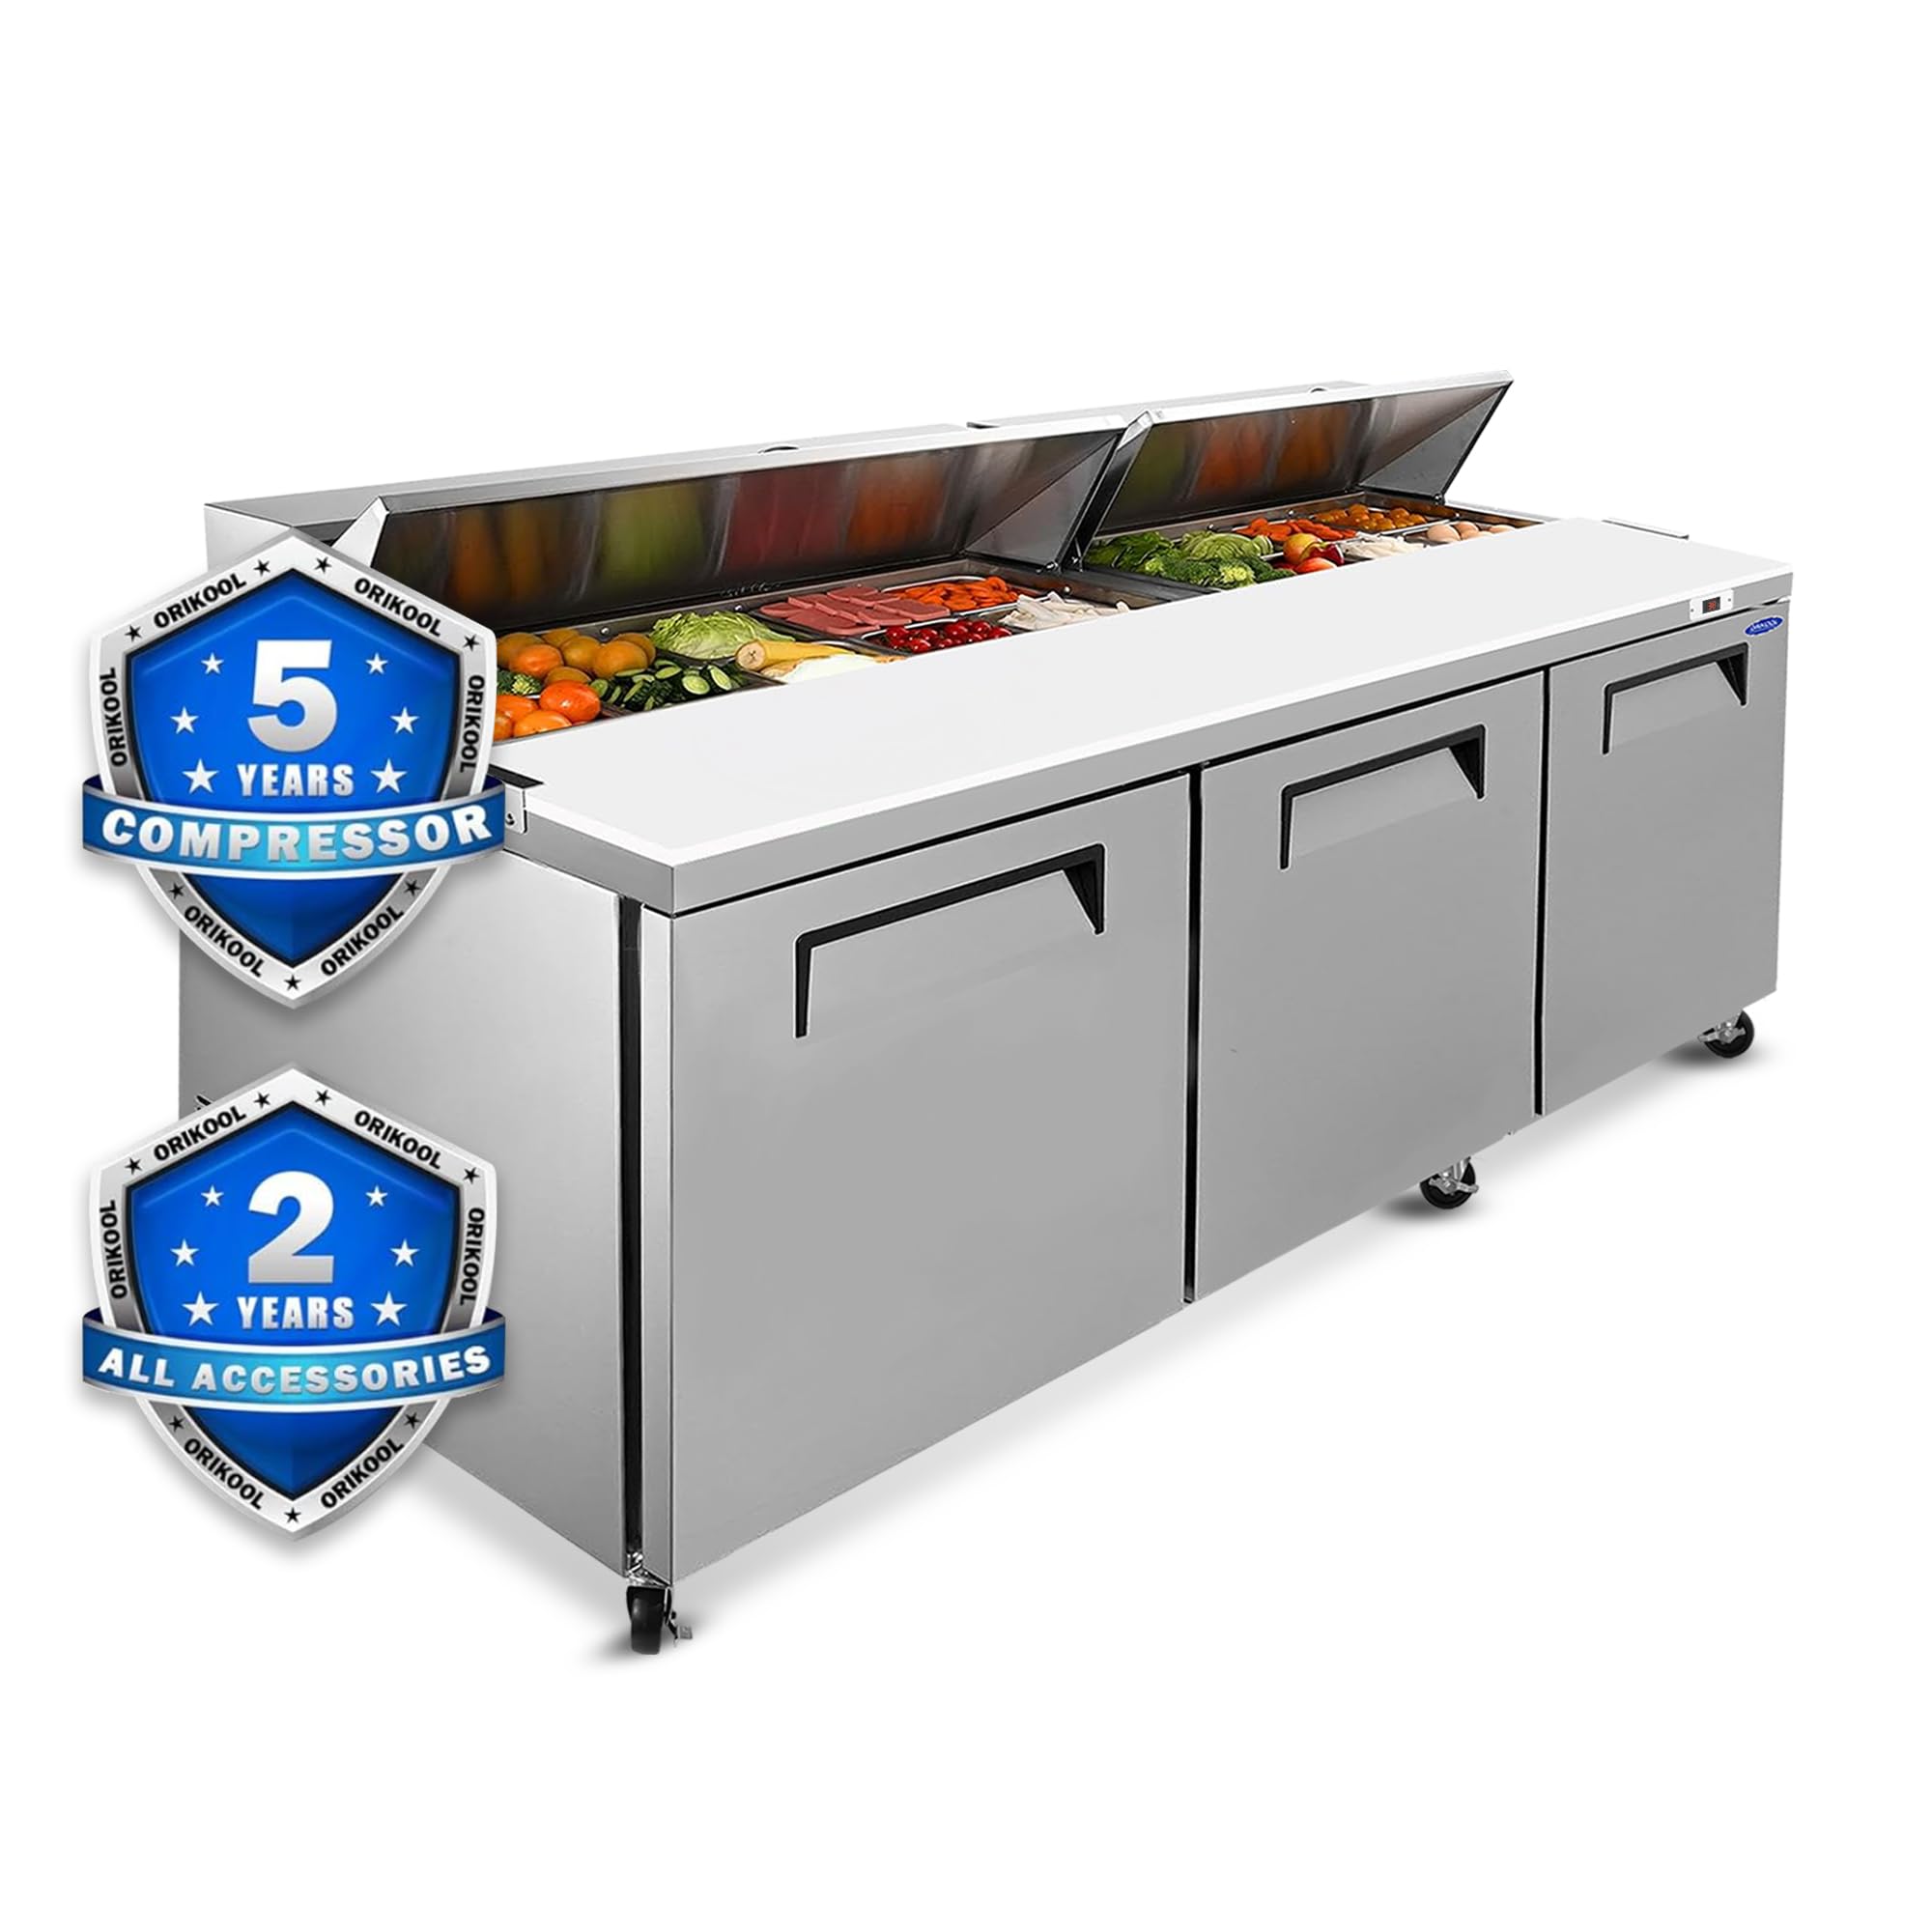
Figure 1: ORIKOOL TSSP72 Commercial Sandwich Prep Table Refrigerator
Key Features:
- Spacious Capacity: 22 Cu.Ft of refrigerated storage.
- Durable Construction: Commercial-grade 430 stainless steel exterior and pre-coated aluminum interior.
- Precision Cooling: Digital temperature control (33-40°F ±1° accuracy) with R290 eco-friendly refrigerant.
- Automatic Defrost: Prevents frost buildup for consistent performance.
- Adjustable Shelves: Epoxy-coated shelves with 155 lb. load capacity each.
- Mobility: Heavy-duty 5-inch casters (3 locking) for easy movement and secure placement.
- Self-Closing Doors: Doors automatically seal when opened less than 90°.
- ETL-Sanitation Certified: Ensures food safety compliance.
2. Setup and Installation
Follow these steps for proper setup and installation of your sandwich prep table refrigerator.
2.1 Unboxing and Initial Inspection
- Unbox the Outer Carton: Carefully cut the straps and open the top flaps of the outer carton.
- Remove Plastic Packaging: Remove the plastic bag covering the unit.
- Remove Protective Foam: Carefully remove all protective flame-retardant foam pieces from around and inside the unit.
- Inspect for Damage: Check the unit for any visible damage incurred during shipping. Report any damage immediately to the carrier and supplier.
Video 1: Unboxing and Initial Setup Guide. This video demonstrates the unboxing process, including removing the outer carton, plastic packaging, protective foam, and installing the cutting board and corner guards. It also shows how to remove the power cord for initial setup and lock the wheels.
2.2 Component Installation
- Install the Cutting Board: Place the full-length cutting board onto the designated area on the top surface and secure it if necessary.
- Install Corner Guards: Remove the two bumper feet (corner guards) from the instruction manual bag and install them on the bottom corners of the unit.
- Position Casters: Ensure the heavy-duty casters are positioned straight to facilitate moving the unit. Lock the wheel brakes once the unit is in its final desired location.
- Install Shelves: Place the three adjustable epoxy-coated wire shelves inside the refrigerated compartments. Adjust their height as needed.

Figure 2: Package contents including 1/6 pans, cutting board, and adjustable shelves.

Figure 3: Details of the removable cutting board and rubber cushion blocks for heat dissipation.
2.3 Power Connection
- Remove Power Cord: Locate and remove the power cord from the back of the refrigerator.
- Allow to Settle: After moving the unit, allow it to stand upright for at least 2-4 hours before plugging it in. This allows the refrigerant and oils to settle, preventing damage to the compressor.
- Connect to Power: Plug the unit into a dedicated 115V electrical outlet.
3. Operating Instructions
This section covers the basic operation of your ORIKOOL TSSP72 sandwich prep table.
3.1 Powering On and Temperature Control
- Turn On: Press the power button on the digital thermostat to turn on the unit. The display will show the current internal temperature.
- Set Temperature: Use the digital temperature control panel to set your desired temperature between 33°F and 40°F. Refer to the specific instructions for the Carel digital controller for detailed setting procedures.
- Monitor Temperature: The digital display provides accurate temperature readings, allowing for easy monitoring.

Figure 4: Digital temperature display for precise control.

Figure 5: Illustration of the digital temperature control and self-closing door mechanism.
3.2 Food Preparation Area
- Ingredient Pans: Utilize the provided 1/6-size pans (4" deep) for organizing ingredients in the top preparation area.
- Cutting Board: Use the integrated cutting board for convenient food preparation.
- Storage: Store bulk ingredients or prepped items on the adjustable shelves in the refrigerated compartments below.
4. Maintenance
Regular maintenance ensures the longevity and optimal performance of your refrigerator.
4.1 Cleaning
- Exterior: Wipe down the stainless steel exterior with a soft cloth and mild detergent. Avoid abrasive cleaners.
- Interior: Clean the pre-coated aluminum interior and shelves regularly with a food-safe cleaner. Shelves are removable for easier cleaning.
- Cutting Board: The cutting board is easily removable for cleaning and replacement.
- Condenser Coil: Periodically clean the condenser coil to ensure efficient cooling. Refer to the full manual for detailed instructions on condenser cleaning.

Figure 6: Adjustable shelves for flexible storage and dynamic fan cooling for even temperature distribution.
4.2 Automatic Defrost
The unit is equipped with an automatic defrost function. This system prevents ice buildup on the evaporator coil, ensuring consistent cooling performance. No manual defrosting is typically required.
4.3 Door Gasket Replacement
If the door gasket becomes worn or damaged, it can be replaced to maintain proper sealing and energy efficiency.
Video 2: Door Gasket Removal & Installation. This video demonstrates the process of removing an old door gasket and installing a new one on a commercial refrigerator, ensuring a snug fit and proper closure.
5. Troubleshooting
This section provides solutions to common issues you might encounter.
5.1 Unit Not Cooling
- Check Power: Ensure the unit is plugged in and the power switch on the thermostat is ON.
- Circuit Breaker: Check the circuit breaker or fuse box for tripped breakers or blown fuses.
- Temperature Setting: Verify the temperature is set correctly (between 33-40°F).
- Door Seal: Ensure doors are closing properly and gaskets are sealing tightly.
- Condenser Coil: A dirty condenser coil can reduce cooling efficiency. Clean as per maintenance instructions.
5.2 Unusual Noise
- Leveling: Ensure the unit is level. Adjust casters if necessary.
- Fan Obstruction: Check if anything is obstructing the condenser or evaporator fan blades.
- Loose Components: Inspect for any loose parts that might be vibrating.
5.3 Digital Display Errors
If the digital display shows an error code, consult the full Carel digital controller manual for specific error definitions and troubleshooting steps.
6. Specifications
Detailed technical specifications for the ORIKOOL TSSP72 Commercial Sandwich Prep Table Refrigerator.
| Specification | Value |
|---|---|
| Product Dimensions (D x W x H) | 31.46"D x 71.93"W x 45.08"H |
| Brand | ORIKOOL |
| Capacity | 22 Cubic Feet |
| Number of Doors | 3 |
| Color | Silver |
| Special Features | Adjustable Shelves, Automatic Defrost, Digital Temperature Control, Inverter Compressor, Low Noise |
| Installation Type | Countertop |
| Defrost System | Auto Cycle Defrost |
| Voltage | 115 Volts |
| Shelf Type | Wire |
| Cooling Method | Compressor |
| Number of Shelves | 3 |
| Adjustable Temperature Control | Yes |
| Refrigerant | R-290 |
| Finish Type | Stainless Steel |
| Door Material Type | Stainless Steel |
| Model Name | TSSP72 |
| Model Number | TSSP72 |
| Manufacturer Part Number | ORKTSSP72 |
| Included Components | 3 wire shelves |
| Certification | ETL-Sanitation |
7. Warranty and Support
ORIKOOL stands behind the quality of its products.
7.1 Warranty Information
- Compressor Warranty: 5 years (tested for 100,000 cycles).
- Parts Warranty: 2 years on accessories.
7.2 Customer Support
For any after-sales issues, technical questions, or assistance with shipping and delivery, please contact ORIKOOL customer service. Our team aims to respond to inquiries within 24 hours, and technicians can fix issues within 72 hours for commercial addresses nationwide.

Figure 7: ORIKOOL customer service commitment.