1. Introduction
This manual provides detailed instructions for the assembly, setup, operation, and maintenance of your Dancing Wings Hobby 1.2M Piper Cub J3 Balsa Wood Electric Airplane Kit, model S0804B-R10. This kit is designed for enthusiasts who enjoy building and flying remote-controlled aircraft. Please read this manual thoroughly before beginning assembly or operation to ensure safe and correct usage.
2. Safety Information
Operating remote-controlled aircraft requires adherence to safety guidelines to prevent injury or damage. Please observe the following:
- Always operate your aircraft in open areas, away from people, buildings, and obstacles.
- Ensure all components are correctly assembled and secured before each flight.
- Verify battery charge levels for both the aircraft and the transmitter before flying.
- Do not fly in strong winds or adverse weather conditions.
- Keep hands and loose clothing away from the propeller when the motor is active.
- Familiarize yourself with local regulations regarding RC aircraft operation.
- Adult supervision is recommended for younger builders and pilots.
3. Package Contents
Carefully unpack all components and verify against the list below. If any parts are missing or damaged, contact your retailer.
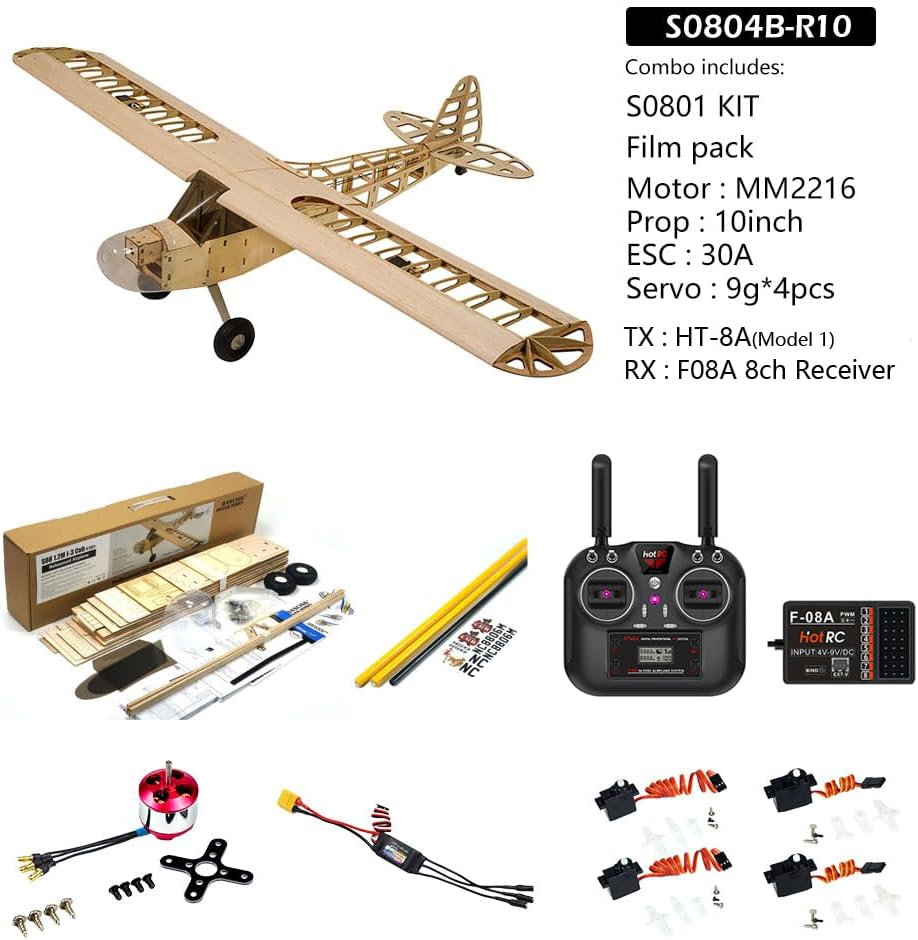
Image 3.1: Overview of the S0804B-R10 kit contents.
- Balsa Wood and Plywood Kit (S0801)
- Covering Film Pack (Yellow 4M)
- MM2216 920KV Electric Motor
- 10x6 Propeller
- 30A Electronic Speed Controller (ESC)
- 9g Servos (4 pieces)
- HOT RC HT-8A Transmitter (Right Throttle)
- HOT RC F08A 8CH Receiver
- Molded Plastic Cowl and Windscreen
- Functional Landing Gear Components
- Comprehensive Hardware Pack (rods, hinges, connectors, etc.)
- Assembly Manual and 1:1 Plan for Wing

Image 3.2: Kit box and various components.
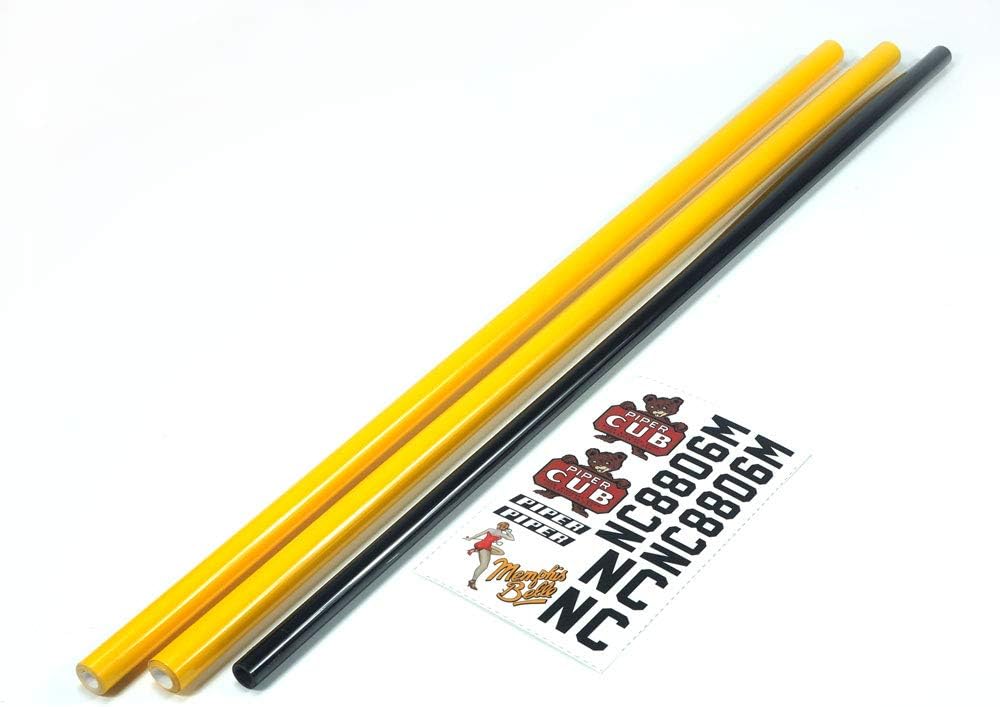
Image 3.3: Electronic components included in the kit.

Image 3.4: Covering film and decals.
4. Assembly Instructions
This kit requires traditional model building skills. Refer to the included detailed assembly manual and 1:1 wing plan for precise step-by-step guidance. The following provides a general overview of the assembly process.
4.1 Fuselage Construction
Begin by assembling the fuselage frame using the laser-cut balsa and plywood parts. Ensure all joints are secure and aligned according to the plans. Install the functional landing gear components as specified.
4.2 Wing Assembly
Construct the wings following the 1:1 plan. The design features an 1180mm upper wingspan for stability. Pay close attention to the dihedral and alignment. Install the servos into the designated wing bays.
4.3 Tail Section
Assemble the horizontal and vertical stabilizers. Ensure they are properly aligned with the fuselage before securing.
4.4 Covering
Once the airframe is complete, apply the provided covering film. Use a heat iron designed for model aircraft covering to shrink and adhere the film smoothly over the balsa structure. This step is crucial for both aesthetics and structural integrity.

Image 4.1: Assembled airframe structure.

Image 4.2: Underside view of the assembled airframe.

Image 4.3: Top view of the assembled airframe.
5. Electronic Setup
Install the electronic components carefully, ensuring all connections are secure and correct.
5.1 Motor and ESC Installation
- Mount the MM2216 920KV motor to the firewall using the provided hardware.
- Connect the 30A ESC to the motor. Ensure correct phasing if using brushless motor.
- Secure the ESC within the fuselage, allowing for adequate airflow for cooling.
5.2 Servo Installation and Linkages
- Install the four 9g servos into their respective locations for ailerons, elevator, and rudder.
- Connect the control rods from the servos to the control surfaces (ailerons, elevator, rudder) ensuring free movement and correct throw.
5.3 Receiver and Transmitter Binding
- Connect the HOT RC F08A 8CH receiver to the ESC and servos according to the receiver's manual.
- Bind the receiver to the HOT RC HT-8A transmitter following the instructions provided with the radio system.
- Verify all control surfaces respond correctly to transmitter inputs. Adjust servo directions and throws as needed.

Image 5.1: HOT RC HT-8A Transmitter.
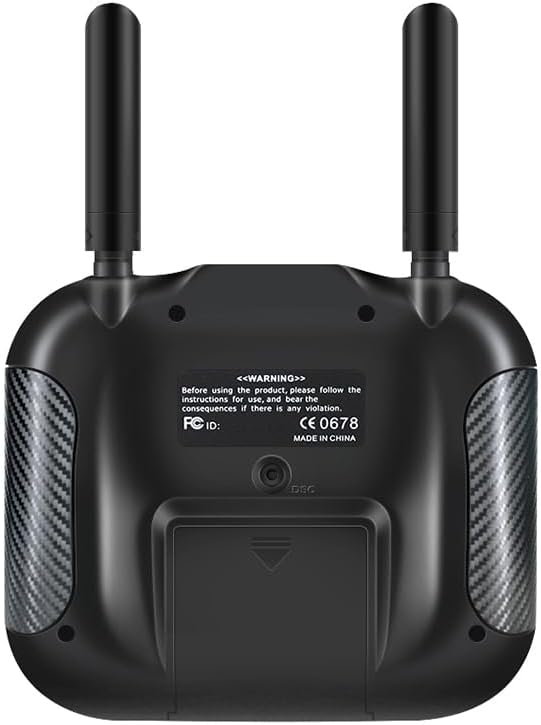
Image 5.2: Rear view of the HOT RC HT-8A Transmitter.
5.4 Battery Installation
Install a compatible 3S 2200mAh LiPo battery (not included) into the designated battery compartment. Ensure the battery is secured to prevent shifting during flight. Proper center of gravity (CG) is critical for stable flight; adjust battery position as necessary to achieve the recommended CG.
6. Operating Instructions
Before your first flight, perform a range check of your radio system and ensure all control surfaces move freely and correctly. Always fly in a safe, open area.
6.1 Pre-Flight Check
- Check all control surfaces for free movement and correct direction.
- Ensure the propeller is securely attached and undamaged.
- Verify battery levels on both the aircraft and transmitter.
- Confirm the aircraft's center of gravity (CG) is within the recommended range.
6.2 Takeoff
Place the aircraft on a smooth surface facing into the wind. Gradually increase throttle while applying slight up-elevator to lift off. Maintain a steady climb to a safe altitude.
6.3 Flight
The Piper Cub J3 is known for its stable flight characteristics, making it suitable for beginners to improve flying skills. Practice gentle turns and altitude control. Avoid aggressive maneuvers until you are fully comfortable with the aircraft's response.
6.4 Landing
Approach the landing strip into the wind. Reduce throttle and gradually decrease altitude. Maintain control with elevator and rudder. Flare gently just above the ground to achieve a smooth touchdown.
7. Maintenance
Regular maintenance will ensure the longevity and safe operation of your aircraft.
- After Each Flight: Inspect the airframe for any damage, loose connections, or worn parts. Check propeller for cracks or chips.
- Periodically: Check all screws and fasteners for tightness. Lubricate moving parts if necessary. Inspect wiring for fraying or damage.
- Storage: Store the aircraft in a cool, dry place away from direct sunlight. Remove the battery if storing for extended periods.
8. Troubleshooting
| Problem | Possible Cause | Solution |
|---|---|---|
| Aircraft does not respond to controls | Low battery (aircraft or transmitter), receiver not bound, loose connections. | Charge batteries, re-bind receiver, check all wiring connections. |
| Motor not spinning | ESC not armed, motor/ESC connection issue, damaged motor/ESC. | Ensure throttle is at zero when connecting battery, check motor/ESC wires, replace faulty component. |
| Unstable flight | Incorrect CG, control surface trim, damaged wing/fuselage. | Adjust battery position for correct CG, trim controls, inspect airframe for damage. |
| Short flight time | Battery not fully charged, old/damaged battery, inefficient propeller. | Fully charge battery, replace old battery, ensure correct propeller size and pitch. |
9. Specifications
| Feature | Detail |
|---|---|
| Model | S0804B-R10 |
| Wingspan | 1180mm |
| Fuselage Length | 780mm |
| Flying Weight | 600g |
| Electric Motor | MM2216 920KV |
| ESC | 30A |
| Servos | 9g * 4pcs |
| Propeller | 10 inch |
| Suggested Battery | 3S 2200mAh (Not included) |
| Radio System | HOT RC HT-8A (Right Throttle) + HOT RC F08A 8CH Receiver |
| Material | Balsa Wood and Plywood |
| Product Dimensions | 2.4 x 0.6 x 0.3 inches (packaging/component dimensions) |
| Item Weight | 2.2 pounds (packaging/component weight) |
10. Support and Contact
For technical assistance, missing parts, or any questions regarding your Dancing Wings Hobby product, please contact your retailer or visit the official Dancing Wings Hobby website for support information.