1. Introduction
Thank you for choosing the Voxelab Aquila X3 Plus 3D Printer. This manual provides essential information for the safe and efficient operation, setup, and maintenance of your device. Please read this manual thoroughly before operating the printer to ensure optimal performance and longevity.
The Aquila X3 Plus is designed for reliability and ease of use, featuring a large build volume, automatic bed leveling, and open-source hardware and firmware for customization.
2. Safety Instructions
- Always operate the printer in a well-ventilated area to avoid inhaling fumes from heated plastics.
- Keep the printer away from flammable materials, heat sources, and direct sunlight.
- Do not touch the hot nozzle or heated bed during operation or immediately after printing. Allow components to cool down.
- Keep children and pets away from the printer during operation.
- Use only the power adapter supplied with the printer.
- Do not attempt to modify or disassemble the printer beyond what is described in this manual.
- Ensure proper grounding to prevent electrical hazards.
3. Setup
3.1 Unpacking and Initial Inspection
Carefully remove all components from the packaging. Inspect for any signs of damage during transit. Ensure all parts listed in the packing list are present. If any parts are missing or damaged, contact customer support.
3.2 Assembly
Follow the included quick start guide for step-by-step assembly instructions. Typically, this involves attaching the gantry to the base, connecting cables, and mounting the filament holder.
3.3 Automatic Bed Leveling
The Aquila X3 Plus features an improved 25-point automatic bed leveling system. This system simplifies the calibration process, ensuring a consistent first layer adhesion for successful prints.

The Voxelab Aquila X3 Plus features an advanced 25-point automatic bed leveling system, simplifying the calibration process for consistent first layer adhesion.
To initiate auto-leveling, navigate to the 'Leveling' option on the printer's display and follow the on-screen prompts. The printer will probe multiple points on the print bed to create a mesh for compensation during printing.
4. Operating Instructions
4.1 Loading Filament
- Place the filament spool onto the filament holder.
- Feed the filament through the filament run-out sensor.
- Preheat the nozzle to the recommended temperature for your filament type.
- Insert the filament into the extruder until it is gripped by the gears.
- Push the filament further until it extrudes from the nozzle, indicating it is loaded correctly.
4.2 Starting a Print
- Prepare your 3D model using a slicing software (e.g., Cura, PrusaSlicer) and save it as a GCODE file.
- Transfer the GCODE file to a compatible storage device (e.g., SD card, USB drive).
- Insert the storage device into the printer.
- On the printer's display, navigate to 'Print' and select your GCODE file.
- Confirm the print job to begin. The printer will preheat and start printing.
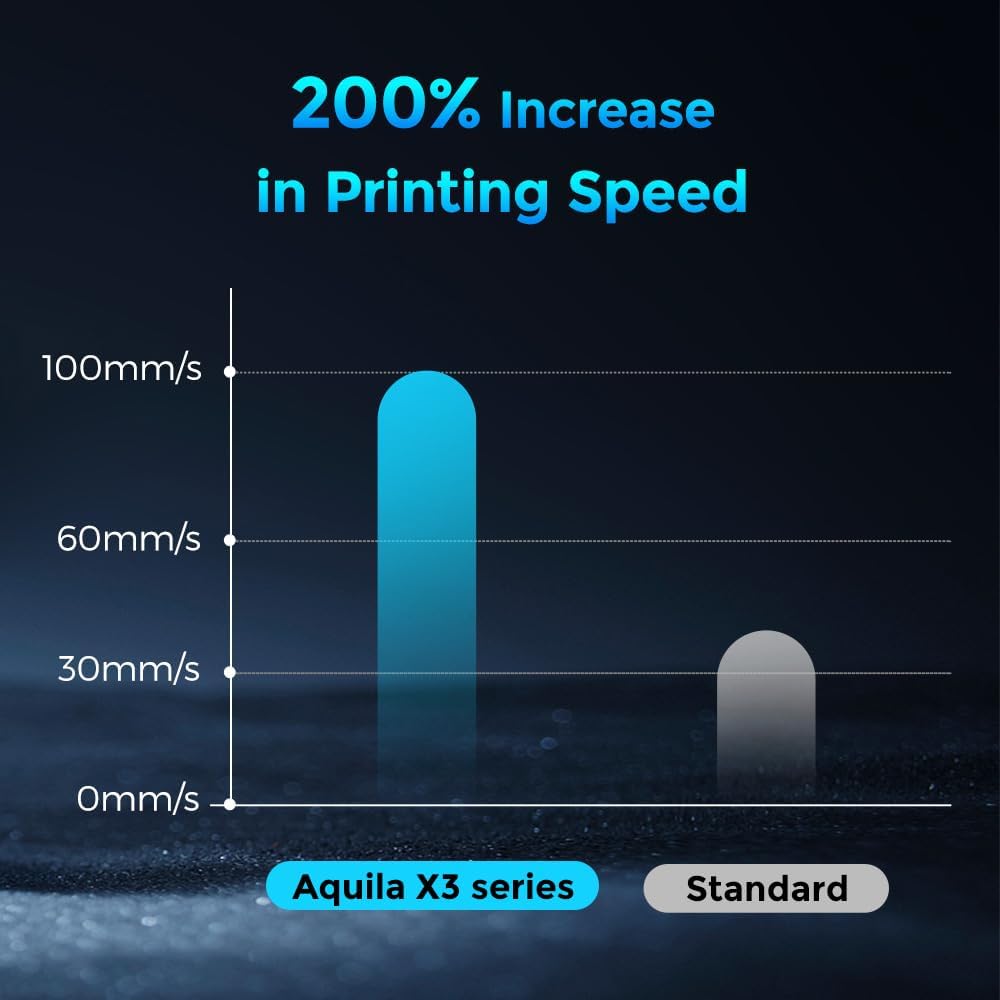
Experience significantly faster printing speeds with the Aquila X3 Plus, designed to reduce print times and enhance efficiency.
4.3 Filament Run-out Detection and Power Failure Recovery
The Aquila X3 Plus is equipped with intelligent features to prevent print failures. If the filament runs out or breaks during a print, the printer will automatically pause the print and display a notification. After replacing the filament, you can resume the print from where it left off.
Similarly, in the event of a power outage, the printer will save the current print progress. Once power is restored, you can resume the print, minimizing material waste and lost time.

Equipped with filament run-out detection and power failure recovery, the printer automatically pauses and resumes prints, preventing failed jobs due to material depletion or power interruptions.
4.4 Open Source Hardware and Firmware
The Aquila X3 Plus features open-source hardware and firmware (N32 motherboard). This allows users to modify or update the program as desired, fostering continuous development and customization. Regular firmware updates ensure the device is equipped with useful functions and improvements.
5. Maintenance
5.1 Regular Cleaning
- Regularly clean the print bed with isopropyl alcohol to ensure good adhesion.
- Remove any filament debris from the nozzle and extruder assembly.
- Keep the printer's moving parts free from dust and debris.
5.2 Firmware Updates
Check the official Voxelab website periodically for the latest firmware updates. Updating your firmware can introduce new features, improve performance, and fix bugs. Follow the instructions provided with the firmware update package carefully.
5.3 Dual Z-axis Stability
The Aquila X3 Plus incorporates an ultra-stable dual Z-axis design for enhanced precision and print quality. Periodically inspect the Z-axis lead screws and guides for smooth operation and lubricate if necessary.

The dual Z-axis design ensures enhanced stability and precision during printing, contributing to higher quality prints and reliable operation.
6. Troubleshooting
6.1 Common Printing Issues
- Poor First Layer Adhesion: Ensure the print bed is clean and properly leveled. Adjust Z-offset if necessary.
- Filament Not Extruding: Check for clogged nozzle, tangled filament, or incorrect temperature settings.
- Print Quality Issues (e.g., layer shifts, stringing): Verify belt tension, print speed, retraction settings, and filament quality.
- Printer Not Responding: Restart the printer. Check all cable connections.
For more detailed troubleshooting guides, refer to the Voxelab official support resources or community forums.
7. Specifications

The Aquila X3 Plus offers a generous build volume of 300 x 300 x 300 mm, providing ample space for larger prints and creative projects.
| Feature | Specification |
|---|---|
| Brand | Voxelab |
| Model | Aquila X3 Plus |
| Build Volume | 300 x 300 x 300 mm (11.8" x 11.8" x 11.8") |
| Color | Black |
| Compatible Materials | PLA (Polylactic Acid) and other plastic filaments |
| Supported File Formats | STL, OBJ, GCODE |
| Operating System Compatibility | Windows, macOS, Linux |
| Connectivity Technology | USB |
| Compatible Devices | Tablet, Laptop, PC, Smartphone |
| Automatic Bed Leveling | 25-point system |
| Z-axis | Dual Z-axis |
8. Warranty and Support
All Voxelab 3D printers come with a one-year warranty and lifetime technical support. If you have any questions regarding the product's operation, software, or require assistance, please do not hesitate to contact Voxelab customer service. Refer to the official Voxelab website for contact information and support resources.