1. Introduction
This manual provides detailed instructions for the installation, operation, and maintenance of your CEMELI Wireless 433MHz Light Switch Receiver and Wall Panel Transmitter system. Please read this manual thoroughly before installation and use to ensure proper function and safety.
2. Product Overview
The CEMELI wireless light switch system consists of a receiver unit and one or more wireless wall panel transmitters. This system allows for convenient control of lighting fixtures without the need for new wiring for the switch location.
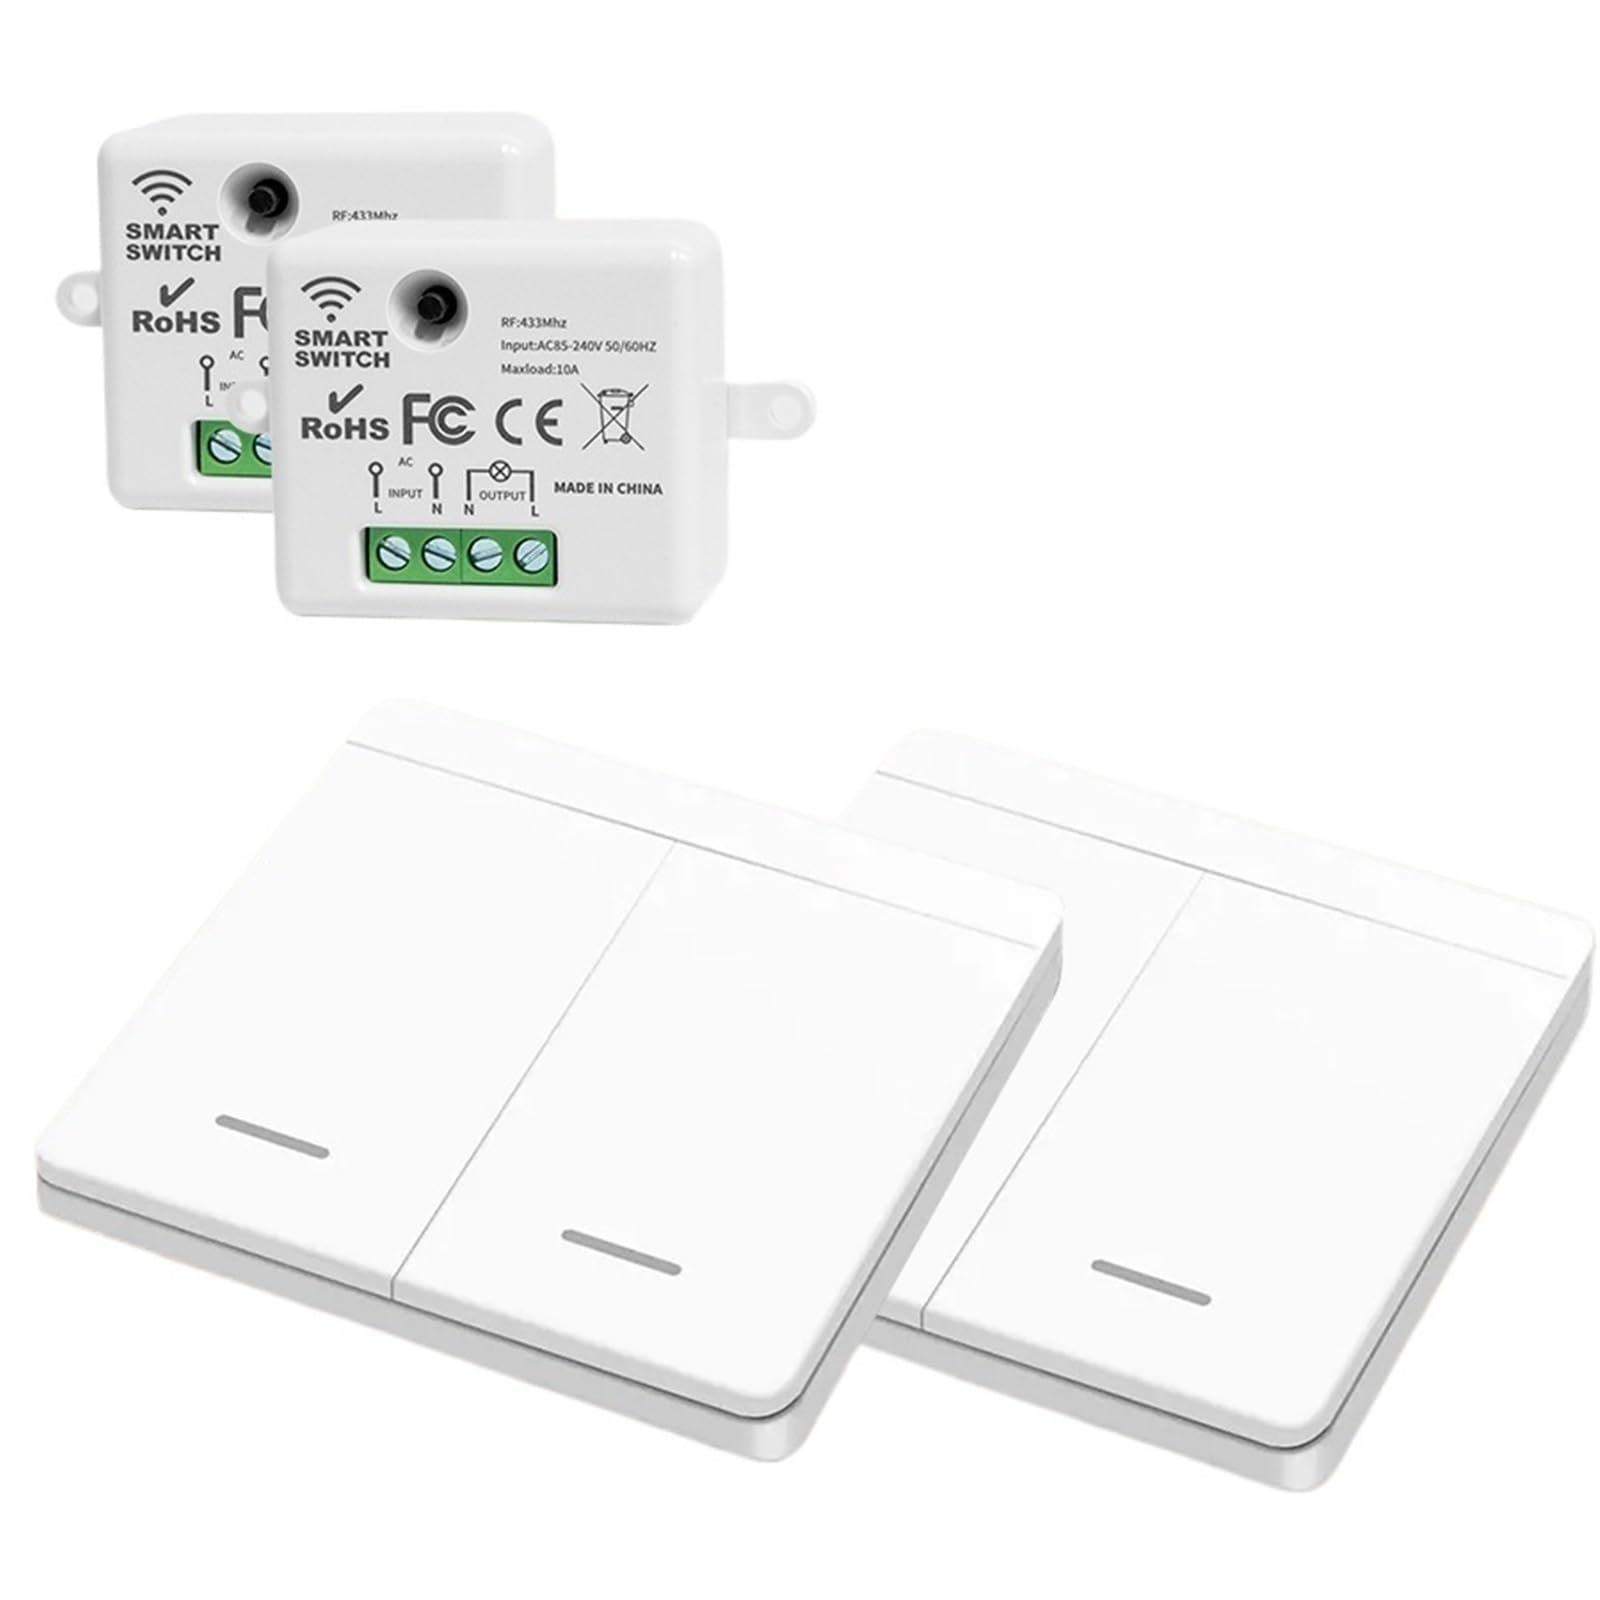
Figure 1: CEMELI Wireless Receiver Module and Wall Panel Transmitters.
This image displays the compact white receiver module at the top, featuring input/output wiring terminals and technical specifications printed on its surface. Below it are three white, rectangular wireless wall panel switches, each with a subtle horizontal line indicating the push-button area.
Components:
- Receiver (Controller): This unit connects to your lighting fixture and power supply. It receives wireless signals from the wall panel transmitter.
- Wireless Wall Panel Transmitter: This is the physical switch that sends wireless signals to the receiver to control the light. It operates on DC power (battery-powered).
3. Specifications
Receiver (Controller)
- Working Voltage: AC 85-240V 50Hz/60Hz
- Working Frequency: 433MHz
- Standby Power Consumption: <0.3W
- Maximum Load: <1100W
- Receiving Sensitivity: -108dBm
- Working Way: Wireless Control
- Coding Way: Learning Code
- Modulation: ASK
- Working Temperature: -10°C ~ +70°C
- Size: 47.4 x 42 x 22.8 mm
Wireless Wall Switch (Transmitter)
- Working Voltage: DC 3.0V
- Working Frequency: 433MHz
- Standby Current: <1uA
- Transmitting Power: <10mW
- Working Way: Wireless Control
- Coding Way: EV1527 Learning Code
- Modulation: ASK
- Working Temperature: -10°C ~ +70°C
- Size: 86 x 86 x 15 mm
4. Setup and Installation
4.1 Receiver Wiring
WARNING: Ensure power is OFF at the circuit breaker before performing any wiring. Incorrect wiring can cause electric shock or damage to the device.
- Locate the wiring terminals on the receiver module. These are typically labeled "INPUT" and "OUTPUT".
- Connect the AC power supply (Live and Neutral) to the "INPUT" terminals.
- Connect your lighting fixture (Live and Neutral) to the "OUTPUT" terminals.
- Ensure all connections are secure.
Figure 2: Receiver Wiring Diagram.
This image shows a detailed view of the receiver module's wiring terminals. The "INPUT" section has terminals labeled 'L' and 'N' for Live and Neutral power input. The "OUTPUT" section also has 'N' and 'L' terminals for connecting to the load (e.g., a light fixture). An AC symbol indicates the power type.
4.2 Pairing the Wall Panel Transmitter with the Receiver
After wiring the receiver, you need to pair the wireless wall panel transmitter(s) with it.
- Turn ON the power to the receiver.
- Press and hold the learning button on the receiver (refer to the receiver for exact location, often a small button or hole). The indicator light on the receiver will typically blink or change state.
- While the receiver is in learning mode, press the desired button on your wireless wall panel transmitter.
- The receiver's indicator light should confirm successful pairing (e.g., by blinking rapidly and then turning off, or by a solid light).
- Repeat for additional wall panel transmitters if you have multiple switches to pair with the same receiver.
5. Operating Instructions
Once paired, operating the system is straightforward:
- To Turn ON the Light: Press the designated ON button (or one side of a rocker switch) on the wireless wall panel transmitter.
- To Turn OFF the Light: Press the designated OFF button (or the other side of a rocker switch) on the wireless wall panel transmitter.
The wireless wall panel transmitter can be mounted on any flat surface using adhesive or screws (not included), providing flexibility in switch placement.
6. Maintenance
- Cleaning: Wipe the surfaces of the receiver and wall panel transmitters with a soft, dry cloth. Do not use abrasive cleaners or solvents.
- Battery Replacement (Wall Panel Transmitter): The wireless wall panel transmitter is battery-powered. If the switch becomes unresponsive, replace the internal battery (typically a coin cell battery). Refer to the transmitter's casing for instructions on how to open it and the battery type.
- Environmental Conditions: Avoid exposing the devices to extreme temperatures, high humidity, or direct water contact.
7. Troubleshooting
- Light does not turn ON/OFF:
- Check if the receiver is properly wired and receiving power.
- Ensure the light bulb is functional.
- Verify that the wall panel transmitter is paired with the receiver. If not, repeat the pairing process (Section 4.2).
- Replace the battery in the wall panel transmitter.
- Reduced Wireless Range:
- Ensure there are no significant metal obstructions between the transmitter and receiver.
- Check for other 433MHz devices that might be causing interference.
- Replace the battery in the wall panel transmitter.
8. Warranty and Support
For warranty information or technical support, please refer to the product packaging or contact CEMELI customer service through your retailer or the official CEMELI website. Keep your purchase receipt for warranty claims.