1. Introduction
This manual provides essential instructions for the proper installation, operation, and maintenance of your Yomoly Carburetor. This carburetor is designed as a replacement part for Powermate WX1200 and PM0141201 1200-1500 Watt Gas Generators. Please read this manual thoroughly before installation and use to ensure optimal performance and safety.
2. Product Overview
The Yomoly Carburetor is a high-quality aftermarket component engineered to restore fuel delivery and engine performance in compatible gas generators. It is designed for direct replacement, ensuring a precise fit and reliable function.
2.1 Included Components
- Yomoly Carburetor
- Gasket
2.2 Product Features
- Brand new, high-quality aftermarket carburetor.
- Designed for compatibility with Powermate WX1200 PM0141201 1200-1500 Watt Gas Generators.
- Ensures proper fuel-air mixture for efficient engine operation.
2.3 Visual Reference
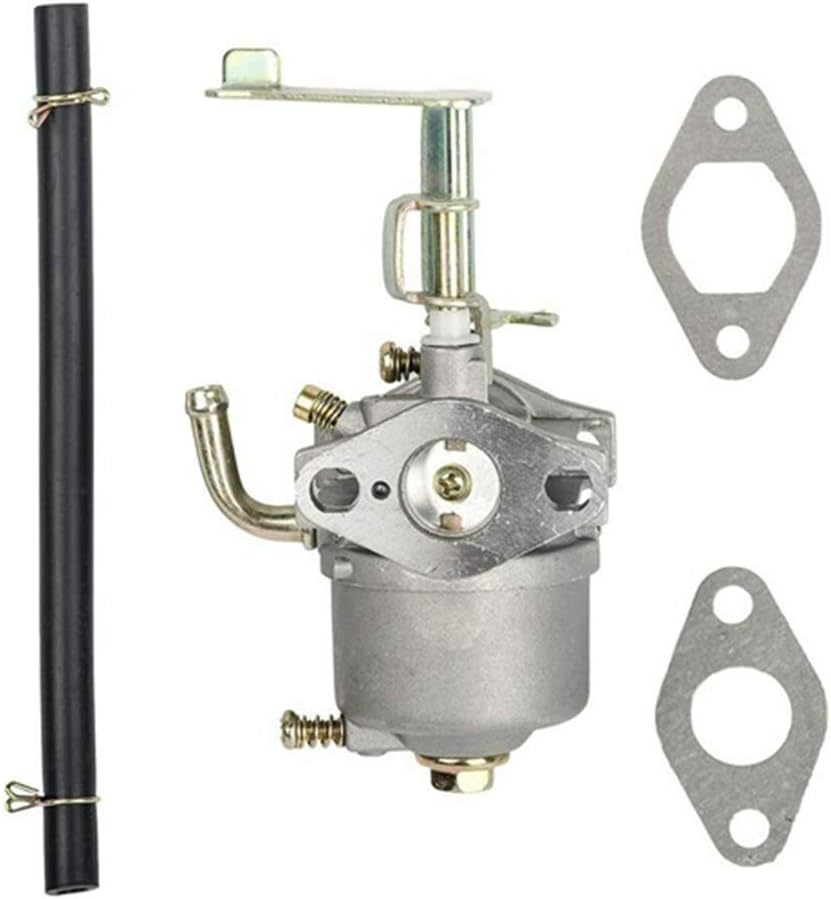
Figure 1: Yomoly Carburetor with included fuel line and gaskets. This image displays the main carburetor unit, a black fuel hose, and two paper gaskets, indicating a complete replacement kit.

Figure 2: Side view of the Yomoly Carburetor, showing the throttle linkage and fuel inlet. This perspective highlights the metal construction and the various adjustment screws and levers.
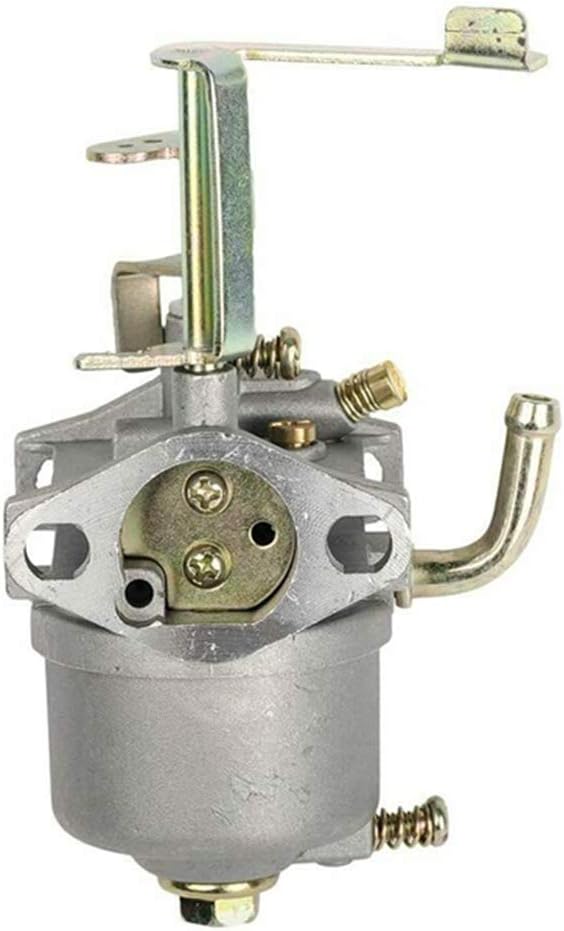
Figure 3: Front view of the Yomoly Carburetor, illustrating the air intake and choke mechanism. The circular opening for air intake and the choke plate are clearly visible.
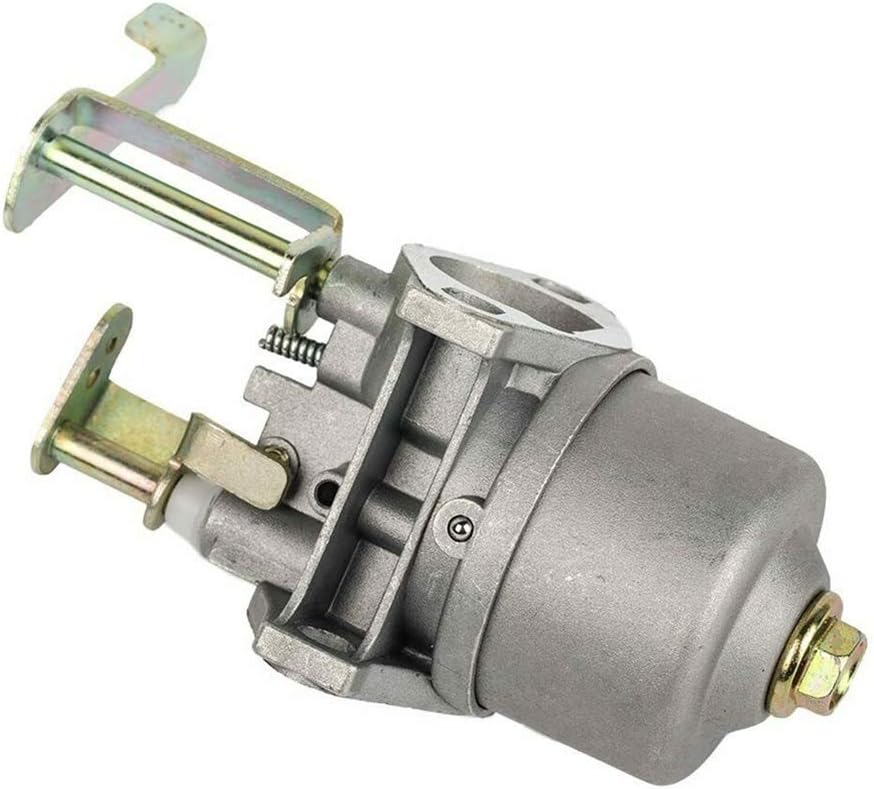
Figure 4: Angled view of the Yomoly Carburetor, showcasing the mounting points and fuel bowl. This view provides a good look at the overall shape and the attachment points for the generator engine.

Figure 5: Top-down view of the Yomoly Carburetor, highlighting the various jets and internal components. This detailed view shows the intricate parts responsible for fuel atomization.
3. Setup and Installation
Safety Warning:
- Always disconnect the spark plug wire and ensure the generator is cool before performing any maintenance or installation.
- Work in a well-ventilated area.
- Wear appropriate personal protective equipment, including gloves and eye protection.
- Ensure the fuel tank is empty or the fuel line is clamped to prevent spills.
3.1 Pre-Installation Checklist
- Confirm the new carburetor matches the original unit.
- Gather necessary tools (wrenches, screwdrivers, pliers).
- Have a clean work surface.
3.2 Installation Steps
- Remove Air Filter Assembly: Carefully detach the air filter housing and any associated ducting to gain access to the carburetor.
- Disconnect Fuel Line: Clamp the fuel line or drain the fuel tank. Disconnect the fuel line from the old carburetor. Be prepared for minor fuel spills.
- Disconnect Linkages: Detach the throttle and choke linkages from the old carburetor. Note their positions for reassembly.
- Remove Mounting Bolts: Unscrew the bolts holding the old carburetor to the engine manifold.
- Remove Old Carburetor and Gaskets: Carefully remove the old carburetor. Ensure all old gasket material is completely removed from the mounting surfaces.
- Install New Gaskets: Place the new gaskets provided with the Yomoly Carburetor onto the mounting studs. Ensure they are correctly oriented.
- Mount New Carburetor: Position the new Yomoly Carburetor onto the mounting studs, aligning it with the gaskets and manifold. Secure it with the mounting bolts, tightening them evenly.
- Reconnect Linkages: Reattach the throttle and choke linkages to the new carburetor. Verify smooth operation of both.
- Reconnect Fuel Line: Connect the fuel line to the new carburetor's fuel inlet. Secure with a clamp if necessary.
- Reinstall Air Filter Assembly: Reattach the air filter housing and any other components removed earlier.
4. Operating Instructions (Post-Installation)
After installing the new carburetor, follow these steps to start and operate your generator.
- Refill Fuel Tank: Ensure the generator's fuel tank contains fresh, appropriate fuel.
- Open Fuel Valve: Turn the fuel valve to the "ON" position.
- Set Choke: Move the choke lever to the "CHOKE" or "START" position (usually fully closed) for cold starts. For warm starts, the choke may not be necessary or only partially needed.
- Start Engine: Follow your generator's specific starting procedure (e.g., pull starter cord or press electric start button).
- Adjust Choke: Once the engine starts and runs smoothly, gradually move the choke lever to the "RUN" or "OPEN" position.
- Monitor Performance: Allow the generator to warm up for a few minutes. Listen for smooth engine operation and check for any unusual noises or fuel leaks.
5. Maintenance
Proper maintenance of your carburetor ensures longevity and reliable performance of your generator. Regular inspection and cleaning are recommended.
5.1 General Carburetor Care
- Fuel Quality: Always use fresh, clean fuel. Stale or contaminated fuel is a primary cause of carburetor issues. Consider using a fuel stabilizer if the generator will be stored for extended periods.
- Fuel Filter: Regularly check and replace the generator's fuel filter to prevent debris from reaching the carburetor.
- Air Filter: Ensure the air filter is clean and properly installed. A dirty air filter can restrict airflow and affect the fuel-air mixture.
5.2 Cleaning the Carburetor
If the carburetor becomes clogged or dirty, it may require cleaning. This procedure should only be performed by individuals with mechanical aptitude.
- Disassembly: Carefully remove the carburetor from the engine as described in the installation section. Disassemble the fuel bowl and any accessible jets.
- Cleaning: Use a carburetor cleaner spray to clean all passages, jets, and the fuel bowl. Ensure all small holes are clear. Do not use wire or hard objects that could damage the jets.
- Inspection: Inspect gaskets and O-rings for damage. Replace if necessary.
- Reassembly: Reassemble the carburetor carefully, ensuring all components are correctly seated.
- Reinstallation: Reinstall the carburetor onto the generator.
6. Troubleshooting
This section addresses common issues that may arise with carburetor operation. If problems persist, consult a qualified service technician.
| Problem | Possible Cause | Solution |
|---|---|---|
| Engine will not start |
|
|
| Engine runs rough or surges |
|
|
| Fuel leaks from carburetor |
|
|
7. Specifications
| Attribute | Detail |
|---|---|
| Brand | Yomoly |
| Model | Carburetor (Replacement) |
| Compatibility | Powermate WX1200 PM0141201 1200-1500 Watt Gas Generators |
| Item Weight | 9.7 ounces |
| Package Dimensions | 4.37 x 3.62 x 3.15 inches |
| Manufacturer Part Number | Carburetor |
8. Warranty Information
The product is covered by a full refund guarantee if it does not fit the specified models. For specific warranty terms and conditions, please refer to the seller's policy at the time of purchase or contact Yomoly customer support.
9. Customer Support
For further assistance, technical support, or inquiries regarding your Yomoly Carburetor, please contact the seller directly through the platform where the purchase was made. Ensure you have your purchase details and product model information available.