Introduction
Thank you for choosing the DUMOS L-Shaped Computer Desk. This manual provides detailed instructions for assembly, operation, maintenance, and troubleshooting to ensure optimal use and longevity of your product. Please read all instructions carefully before beginning assembly.
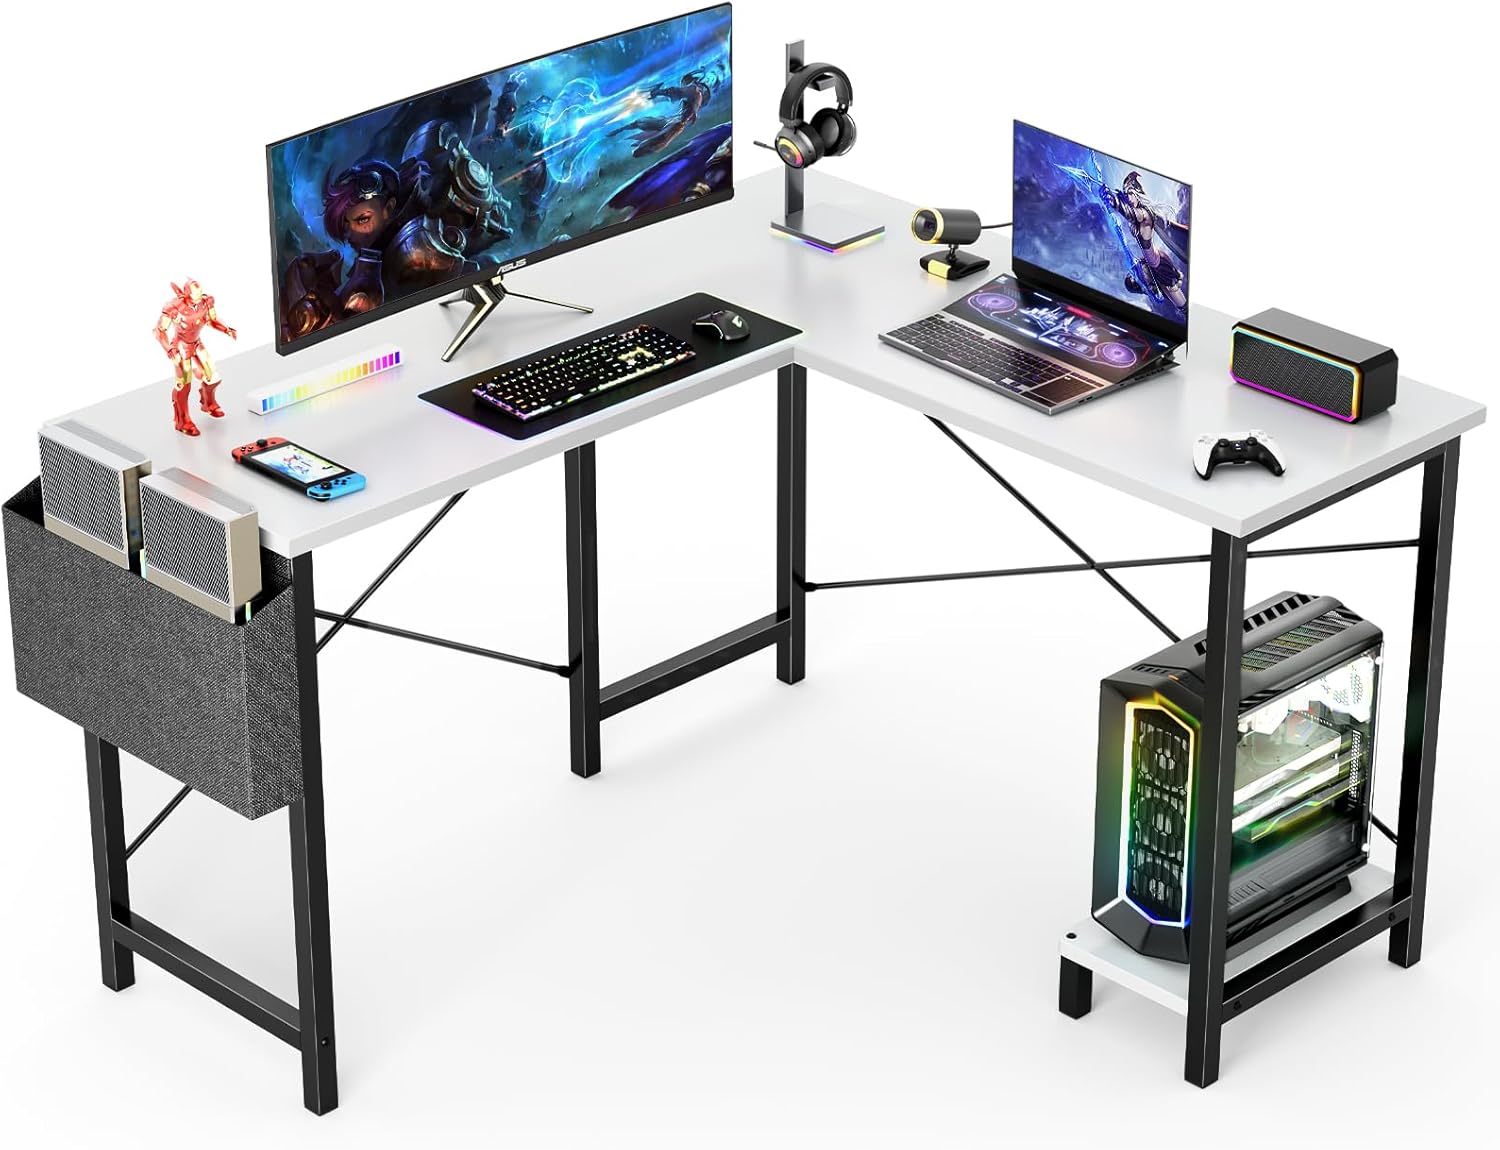
Image: The DUMOS L-Shaped Computer Desk configured for a gaming setup, featuring multiple monitors, keyboard, mouse, and a PC tower on the integrated stand.
Safety Information
- Ensure all parts are present and undamaged before assembly. Do not use if any parts are missing or broken.
- Assemble the desk on a soft, clean surface to prevent scratches.
- Do not overtighten screws during assembly, as this may damage the material. Tighten screws firmly but gently.
- Keep small parts away from children to prevent choking hazards.
- Do not stand or sit on the desk. The maximum load capacity is 200 lbs.
- Regularly check and retighten all connections to ensure stability.
Package Contents
Verify that all components listed below are included in your package:
| Part | Description | Quantity |
|---|---|---|
| A | Board (Main Desktop) | 1 |
| B | Board (Side Desktop) | 1 |
| C | Stand (CPU Stand) | 1 |
| D | Leg | 1 |
| E | Leg | 1 |
| F | Leg | 1 |
| G | Crossbar | 2 |
| H | Crossbar | 1 |
| I | Crossbar | 1 |
| J | Foot | 2 |
| K | Bar | 1 |
| L | Bar | 1 |
| M | Felt Bag | 1 |
| 1 | Screws (various sizes) | Various |
| 2 | Screws (various sizes) | Various |
| 3 | Nut | Various |
| 4 | Wooden Pins | 2 |
| 5 | Screws (various sizes) | Various |
| 6 | Wrench | 1 |
| 7 | Hole Stickers | Various |
Setup and Assembly
Follow these steps for proper assembly. Refer to the installation video for visual guidance.
Video: Official DUMOS L-Shaped Desk Installation Video. This video provides a step-by-step visual guide for assembling the desk, demonstrating how to connect each component and tighten screws.
- Step 1: Assemble the Leg Frames. Use Wrench (6) and Screws (1)*4 to connect Crossbeam G*2 to Legs E*1 and F*1 respectively.

Image: The DUMOS L-Shaped Computer Desk set up in a home office environment, showcasing its corner-fitting design and side storage bag.
- Step 2: Connect Crossbeam I. Connect Crossbeam I*1 to Legs F*1 and D*1 using Wrench (6) and Screws (1)*2.
Note: Pay attention to the orientation of hole I on the crossbeam and the hole orientation for legs F and D. - Step 3: Attach Bar L. Connect Bar L*1 and Leg F*1 and D*1 respectively with Wrench (6) and Screw (2)*4. Then tighten the center screw of Bar L*1 by 100%.
- Step 4: Attach Crossbeam H. Use Wrench (6) and Screw (1)*2 to connect Crossbeam H*1 and Crossbeam I*1 and Leg E*1 respectively.
Note: The screws are only tightened by 50%. Pay attention to the orientation of the H-hole on the crossbeam. - Step 5: Attach Bar K. Connect Bar K*1 and legs E*1 and F*1 respectively with Wrench (6) and Screw (2)*4. Then tighten the center screw of Bar K*1 by 100%.
- Step 6: Attach Table Board A. Use Wrench (6) and Screws (1)*5 to connect Table Board A*1 and Legs F*1 and D*1 respectively.
Note: The screws are only tightened by 50%. Ensure that the frame structure is flush when installing the desktop board. - Step 7: Attach Table Board B. Use Wooden Pins (4)*2 as well as Wrench (6) and Screws (1)*5 to connect Table Board B*1 and legs E*1 and F*1 respectively, using Hole Stickers (7)*2 to cover the exposed screw holes in the plate.
Note: The screws are only tightened by 50%. Ensure that the frame structure is flush when installing the desktop board. - Step 8: Attach Felt Bag M. First, use Wrench (6) to unscrew the screws attached to the top of Leg E and Crossbeam H. Then use Wrench (6) and Screw (1)*2 and Nut (3)*1 to attach the Felt Bag M*1 to Leg E.
- Step 9: Attach Tabletop C. Use Wrench (6) and Screw (1)*2 to connect the Tabletop C*1 and Leg J*2. Finally, use Wrench (6) and Screw (5)*2 again to attach Tabletop C*1 to either side of either of the two legs (E and F).
- Final Tightening: Tighten all screws in steps 4, 6, and 7 from 50% to 100% and fully lock them.
Operating the Desk
The DUMOS L-Shaped Computer Desk is designed for versatility and can be used for various purposes:
- Gaming Setup: The L-shaped design provides ample space for multiple monitors, keyboards, mice, and other gaming peripherals. The integrated CPU stand keeps your computer off the floor, protecting it from dust and improving airflow.
- Home Office: Utilize the spacious desktop for your laptop, printer, documents, and other office essentials. The side storage bag offers convenient access to books, notebooks, and magazines, helping to keep your workspace organized.
- Small Spaces: The L-shaped design efficiently uses corner space, making it ideal for smaller rooms or apartments where maximizing usable area is crucial.
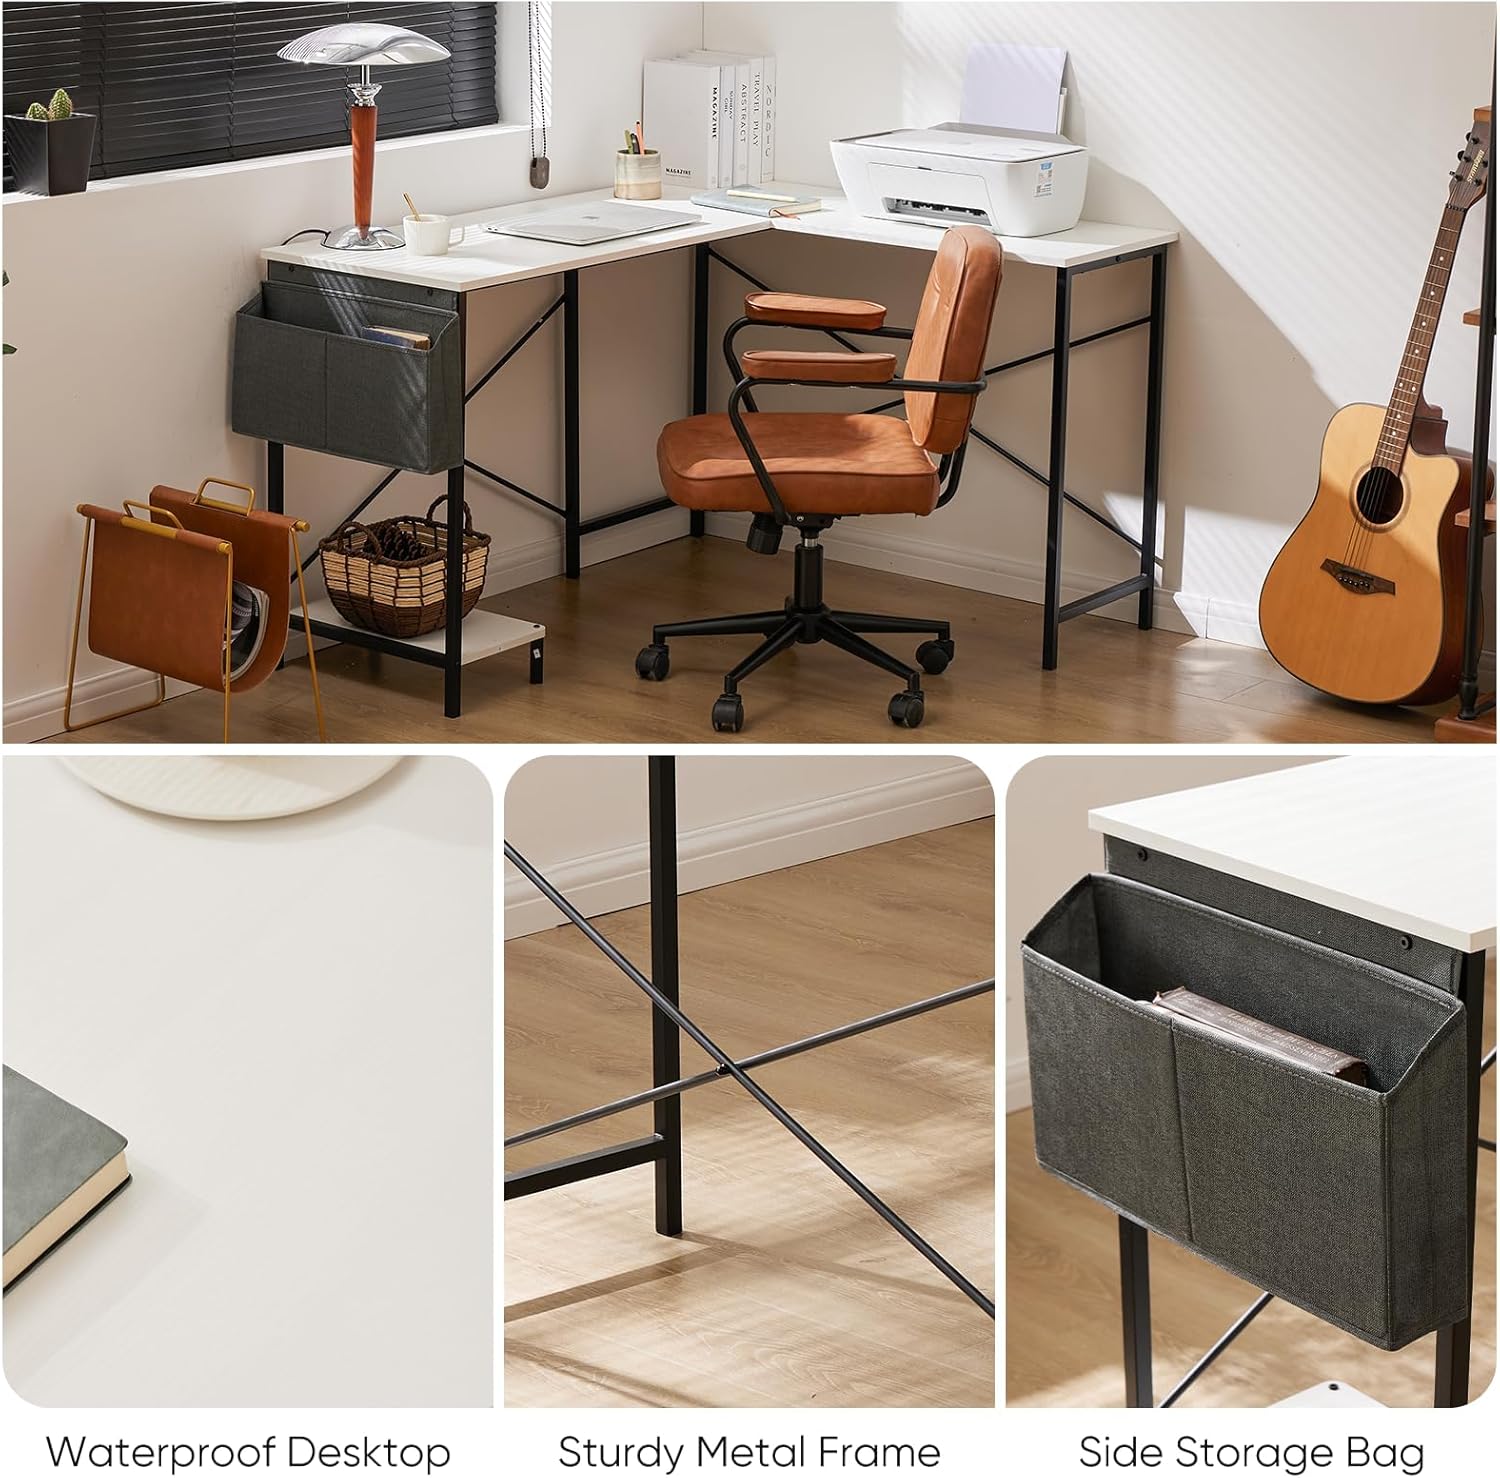
Image: Close-up views highlighting key features of the DUMOS L-Shaped Computer Desk, including the waterproof desktop surface, the sturdy X-shaped metal frame, and the convenient side storage bag.
Maintenance
- Cleaning: The desktop is friction-resistant and easy to clean. Use a soft, damp cloth to wipe down surfaces. Avoid harsh chemicals or abrasive cleaners that could damage the finish.
- Regular Checks: Periodically inspect all screws and connections to ensure they remain tight. Retighten if necessary to maintain stability and prevent wobbling.
- Weight Distribution: Distribute weight evenly across the desktop to prevent stress on any single point. Avoid placing excessively heavy items on one side.
- Environmental Conditions: Avoid exposing the desk to extreme temperatures or humidity, which can affect the wood and metal components.
Troubleshooting
- Wobbling Desk: If the desk feels wobbly, ensure all screws are fully tightened. Check that the crossbars are correctly installed and secured. Uneven flooring can also cause wobbling; consider using furniture pads or shims under the legs.
- Missing Parts: If you find any parts missing upon unboxing, please refer to the "Package Contents" section and contact DUMOS customer support immediately for assistance.
- Difficulty Assembling: Review the assembly steps and the installation video carefully. Ensure you are using the correct screws for each step and that components are oriented correctly. If issues persist, contact customer support.
Specifications
| Feature | Detail |
|---|---|
| Brand | DUMOS |
| Model Number | D-L01 |
| Product Dimensions | 41.34"D x 49.61"W x 29.13"H |
| Color | White |
| Style | Modern |
| Base Material | Metal Wood |
| Finish Type | Wood |
| Special Feature | Easy Clean |
| Recommended Uses | Gaming, Home Office |
| Maximum Weight Recommendation | 200 Pounds |
| Required Assembly | Yes |
| Recommended People for Assembly | 1 |
| Included Components | Installation tools, installation manuals |
Warranty and Support
DUMOS is committed to providing high-quality products and customer satisfaction. For any questions, concerns, or assistance with your DUMOS L-Shaped Computer Desk, please contact our professional customer support team. We are dedicated to resolving any issues you may encounter.
Please retain your purchase receipt for any warranty claims.


