
1. Introduction
This manual provides detailed instructions for the assembly, operation, maintenance, and troubleshooting of your Flieks Queen Size Wood Platform Bed Frame. Please read all instructions carefully before beginning assembly and retain this manual for future reference.

Figure 1.1: Assembled Flieks Queen Size Wood Platform Bed Frame.
2. Safety Information
- Weight Capacity: Do not exceed the maximum weight capacity of 500 pounds. Exceeding this limit may cause structural damage and injury.
- Assembly: Follow all assembly instructions carefully. Incorrect assembly can lead to instability and potential hazards.
- Children: Keep small parts away from children during assembly to prevent choking hazards.
- Tools: Use appropriate tools as specified in the assembly section.
- Placement: Ensure the bed frame is placed on a level surface to prevent wobbling.
3. Parts List
Before assembly, verify that all components are present and undamaged. If any parts are missing or damaged, contact customer support.
| Part | Description | Quantity |
|---|---|---|
| A | Headboard | 1 |
| B | Footboard | 1 |
| C | Side Rails | 2 |
| D | Center Support Beam | 1 |
| E | Support Legs | Varies (typically 2-3) |
| F | Wooden Slats | 10 |
| G | Hardware Pack (bolts, washers, nuts, Allen wrench) | 1 |

Figure 3.1: Overview of bed frame components.
4. Setup and Assembly Instructions
Assembly typically takes less than an hour with the help of a friend. Ensure you have enough space to work.
Step 4.1: Unpack and Identify Parts
- Carefully unpack all components from the box.
- Lay out all parts on a soft, clean surface to prevent scratches.
- Compare the parts with the Parts List (Section 3) to ensure everything is present.
Step 4.2: Assemble Headboard and Footboard
- Attach any decorative elements or support posts to the Headboard (A) and Footboard (B) if they are separate pieces, using the provided hardware. Do not fully tighten bolts yet.
Step 4.3: Attach Side Rails
- Connect the Side Rails (C) to the Headboard (A) and Footboard (B) using the appropriate bolts and washers from the Hardware Pack (G).
- Ensure the hooks or connection points are securely engaged. Hand-tighten all bolts.

Figure 4.1: Side rails attached to the frame.
Step 4.4: Install Center Support Beam and Legs
- Position the Center Support Beam (D) along the middle of the bed frame, connecting it to the headboard and footboard.
- Attach the Support Legs (E) to the Center Support Beam (D) and any other designated points on the side rails. Adjust leg height if necessary to ensure even support.

Figure 4.2: Center support and legs installed.
Step 4.5: Place Wooden Slats
- Lay the Wooden Slats (F) across the side rails, ensuring they are evenly spaced.
- Secure the slats in place using any pre-drilled holes or fastening mechanisms provided.
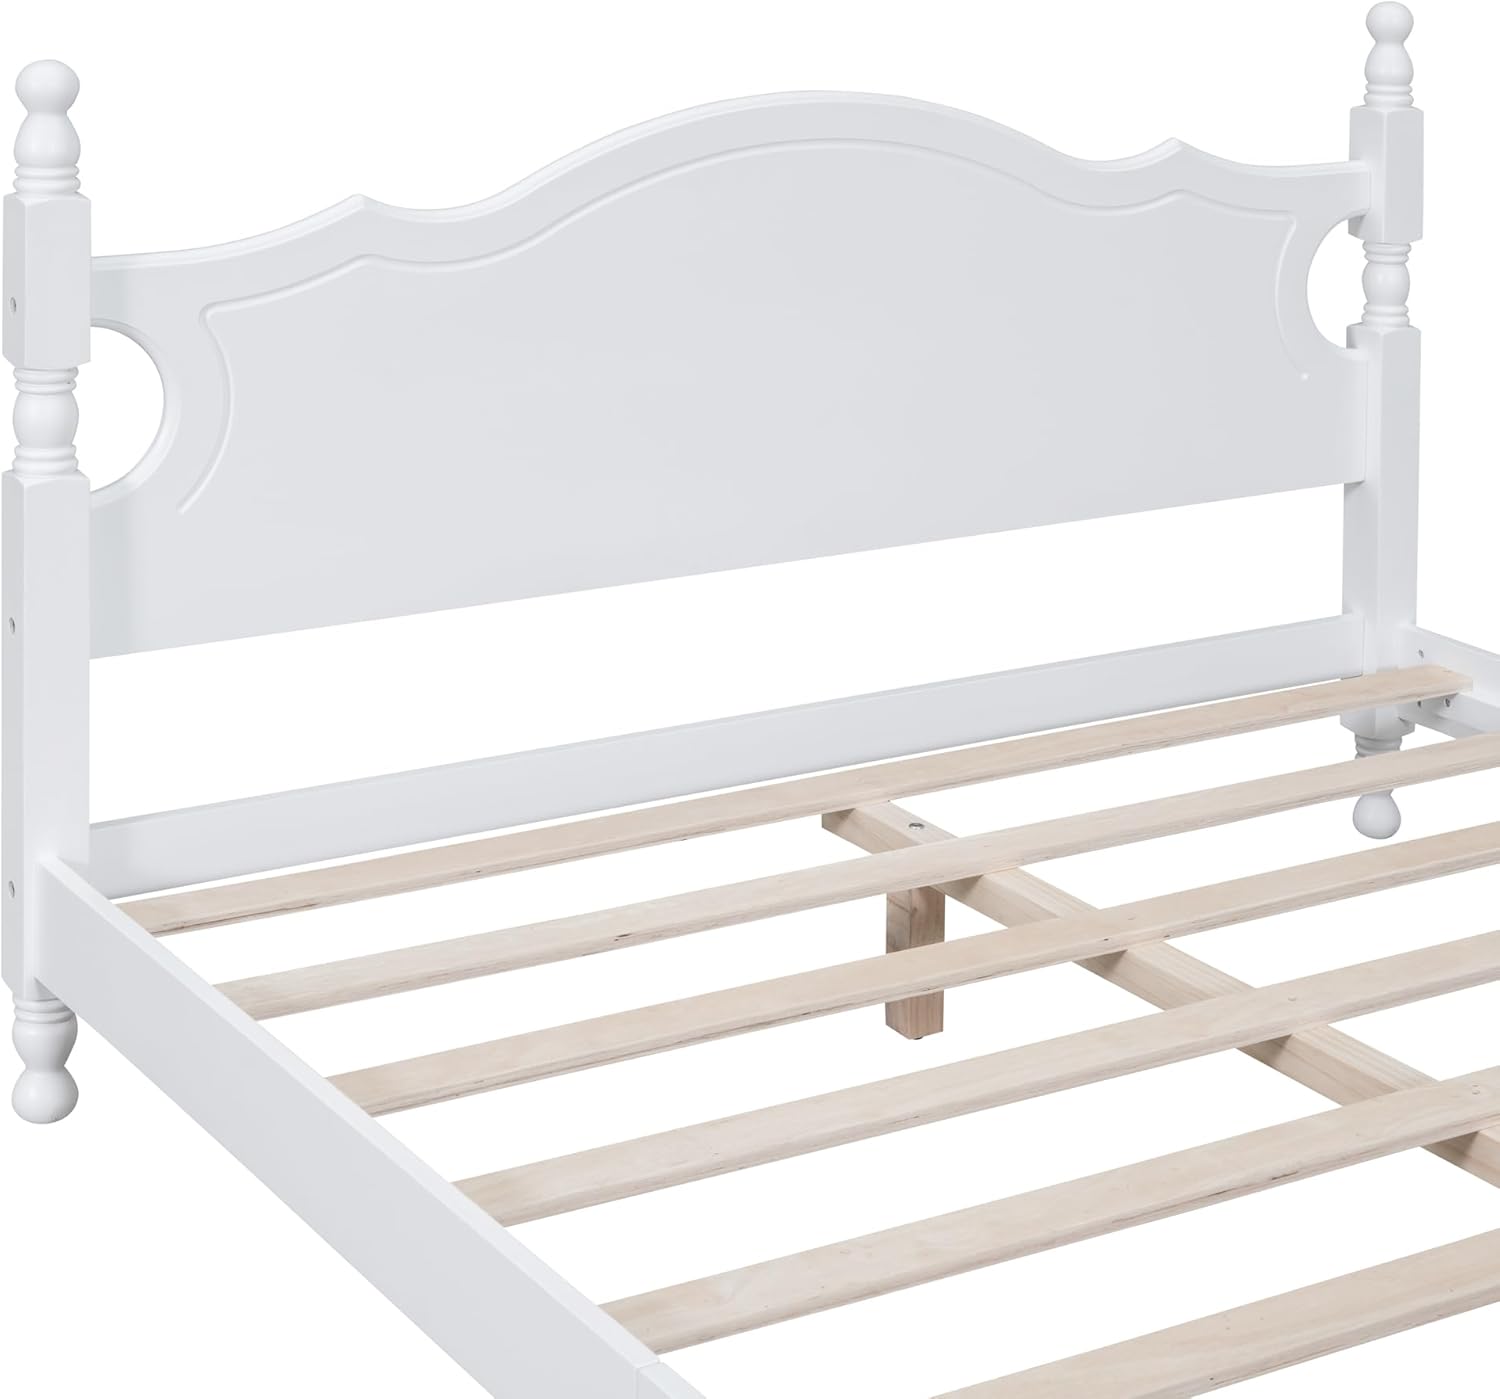
Figure 4.3: Wooden slats in position.
Step 4.6: Final Tightening
- Once all parts are assembled, go back and fully tighten all bolts using the Allen wrench provided. Do not overtighten.
- Ensure the frame is stable and all connections are secure.
5. Operating Instructions
- Mattress Placement: Place your Queen size mattress directly onto the wooden slats.
- No Box Spring Required: This platform bed frame is designed to be used without a box spring. The wooden slats provide adequate support for your mattress.
- Even Weight Distribution: For optimal longevity and support, distribute weight evenly across the bed surface.
6. Maintenance
- Cleaning: Wipe the bed frame with a dry cloth to remove dust and debris. Avoid using harsh chemicals or abrasive cleaners, which may damage the finish.
- Regular Checks: Periodically check all bolts and connections to ensure they remain tight. Retighten if necessary to maintain stability.
- Avoid Moisture: Keep the bed frame away from excessive moisture or direct sunlight to prevent warping or discoloration of the wood.
7. Troubleshooting
- Wobbling Frame: If the bed frame wobbles, ensure all bolts are fully tightened. Check that the bed is on a level surface. Adjust support legs if they are uneven.
- Squeaking Noises: Squeaking can often be resolved by tightening all bolts. If squeaking persists, check slat placement and ensure they are securely fastened.
- Missing Parts: If you find any parts missing during assembly, refer to the Parts List (Section 3) and contact customer support for assistance.
8. Specifications
| Feature | Detail |
|---|---|
| Product Dimensions (L x W x H) | 85.2" x 62.5" x 39.4" |
| Material | MDF, Plywood, Pine |
| Size | Queen |
| Weight Capacity | 500 LBS |
| Number of Slats | 10 |
| Recommended Mattress Thickness | 10 inches |
| Assembly Required | Yes |
| Country of Origin | Vietnam |

Figure 8.1: Product dimensions.
9. Warranty and Support
For warranty information or customer support, please refer to the purchase documentation or contact Flieks customer service directly. Keep your purchase receipt and model number (WF310132AAK-MZJ) handy for faster service.