1. Introduction
Thank you for purchasing the MLMLANT MLA-SH1200 Ceramic Heater. This manual provides essential information for the safe and efficient operation, maintenance, and troubleshooting of your new heater. Please read it thoroughly before use and retain it for future reference.

Image 1.1: MLMLANT MLA-SH1200 Ceramic Heater and Remote Control
2. Important Safety Instructions
To reduce the risk of fire, electric shock, or injury, always follow these basic precautions:
- Read all instructions before using this heater.
- Ensure the power supply matches the voltage specified on the heater's rating label.
- Do not operate any heater with a damaged cord or plug, or after the heater malfunctions or has been dropped or damaged in any manner.
- Keep combustible materials, such as furniture, pillows, bedding, papers, clothes, and curtains at least 3 feet (0.9 m) from the front of the heater and keep them away from the sides and rear.
- Do not use outdoors.
- This heater is equipped with an intelligent Tip-Over Protection feature that automatically shuts off the unit if it is accidentally knocked over.
- The heater also includes Overheat Protection, which turns off the unit if it reaches an unsafe temperature.
- The product is PSE Certified and UL Tested for safety.
- Do not insert or allow foreign objects to enter any ventilation or exhaust opening as this may cause an electric shock or fire, or damage the heater.
- Always unplug the heater when not in use.

Image 2.1: Safety Features in Action (Tip-Over Protection)
3. Product Overview
3.1 Components
- Heater Unit (Main Body)
- Stable Base
- LED Display Panel
- Control Buttons (on top of unit)
- Remote Control
- Power Cord
3.2 Control Panel and LED Display
The heater features an intuitive LED display and touch controls on the top panel. The display shows current temperature, mode, and timer settings.

Image 3.1: LED Display and Control Panel
3.3 Remote Control
A remote control is included for convenient operation from a distance. It allows you to power on/off, change modes, adjust temperature, set the timer, and control oscillation.
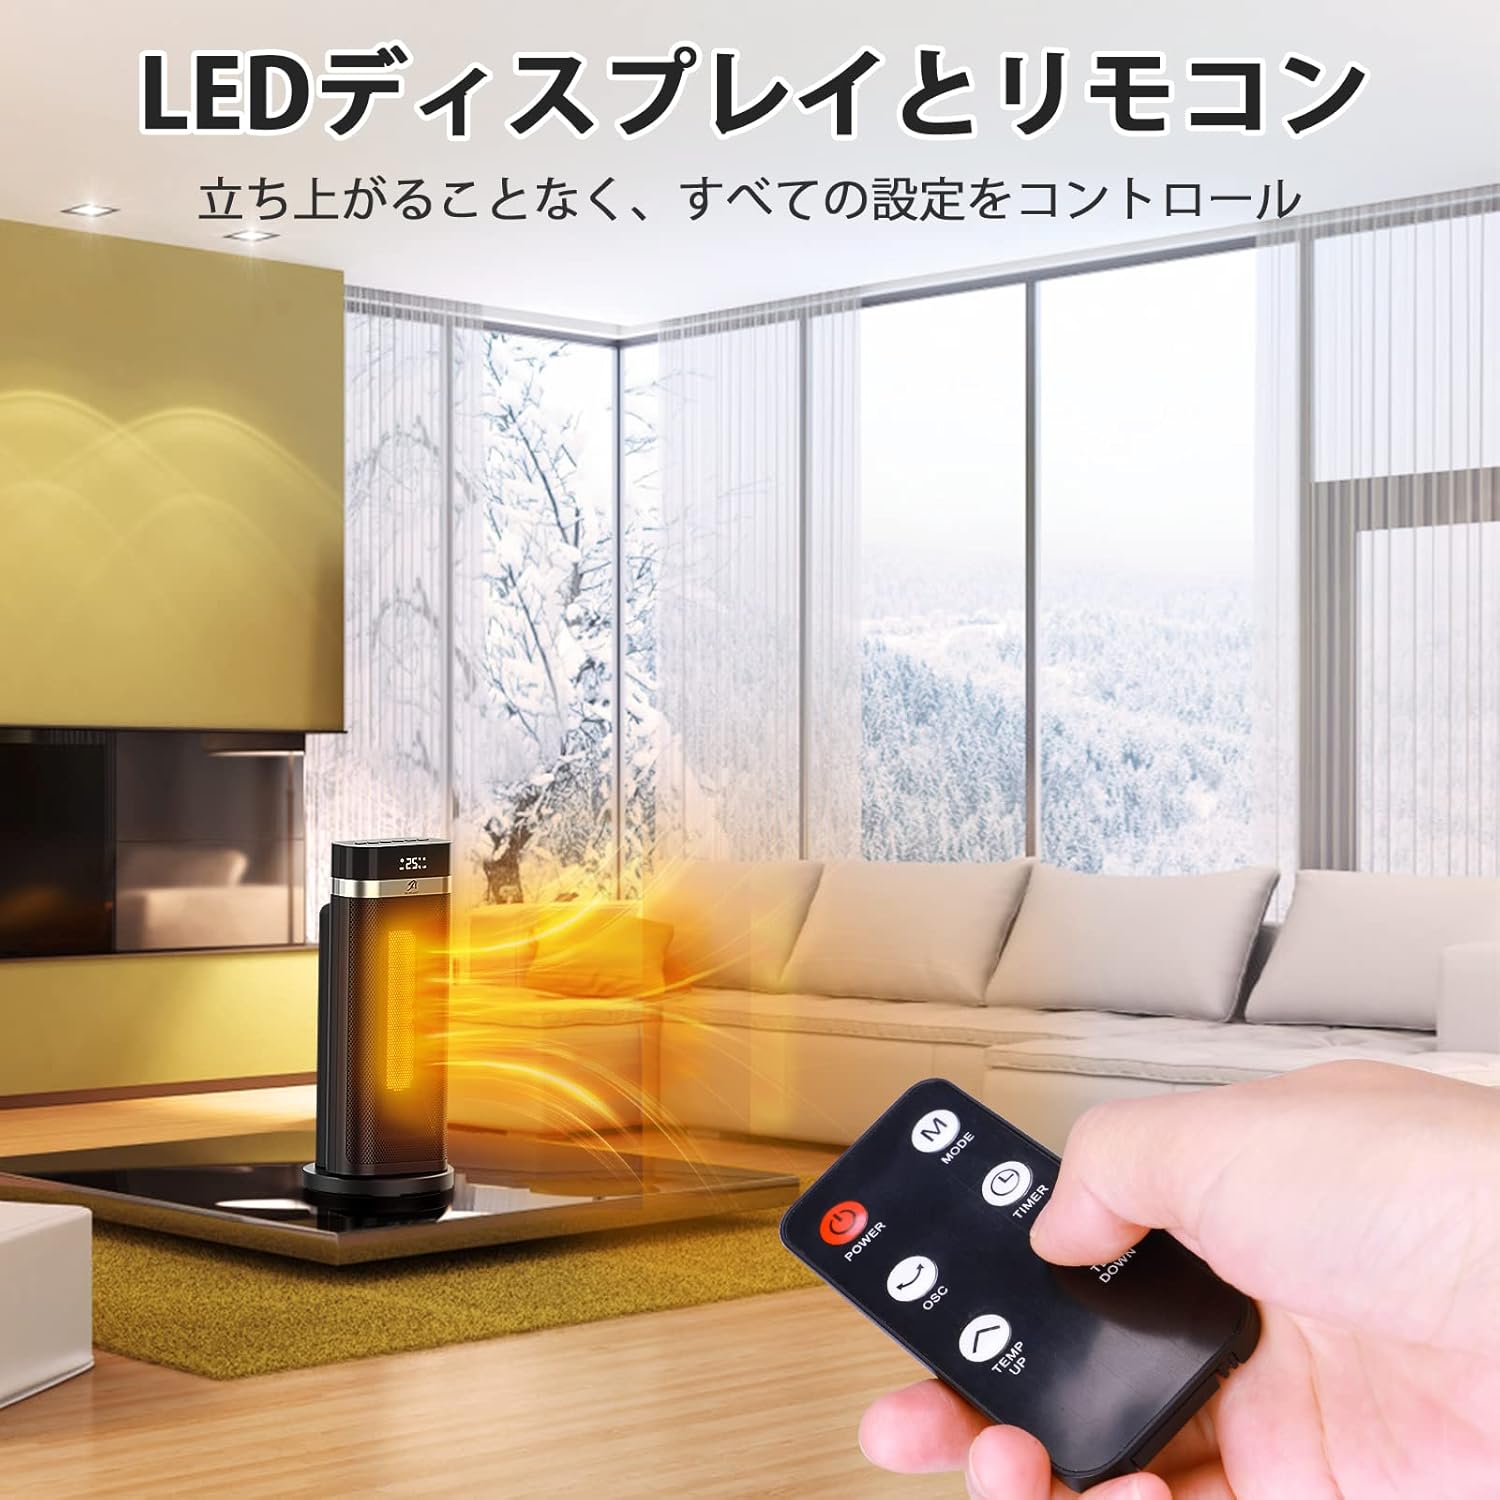
Image 3.2: Remote Control Usage
4. Setup
- Unpack: Carefully remove the heater from its packaging. Retain packaging for storage.
- Placement: Place the heater on a firm, level surface. Ensure there are no obstructions within 3 feet (0.9 m) of the front, sides, and rear of the unit. Do not place it on soft surfaces like beds or rugs where openings may become blocked.
- Power Connection: Plug the power cord into a grounded 100V-120V AC electrical outlet. Ensure the outlet is in good condition and not overloaded with other appliances.
5. Operating Instructions
5.1 Power On/Off
Press the Power button on the control panel or remote control to turn the heater on or off.
5.2 Mode Selection
Press the Mode button to cycle through the available heating modes:
- High Heat (1200W): Provides maximum heating power for rapid warming.
- Low Heat (750W): Provides moderate heating for sustained warmth.
- ECO Mode: An energy-saving mode that automatically adjusts heating power (750W or 1200W) based on the set temperature and ambient room temperature. Temperature can only be set in ECO mode.
- Fan Only: Circulates air without heating.

Image 5.1: Heater Operating Modes
5.3 Temperature Adjustment (ECO Mode)
In ECO Mode, use the Temperature Up/Down buttons on the control panel or remote to set your desired temperature. The heater will automatically switch between 750W and 1200W to maintain the set temperature:
- If the ambient temperature is 2°C below the set temperature, 750W heating activates.
- If the ambient temperature is 4°C below the set temperature, 1200W heating activates.
5.4 Oscillation Function
Press the OSC button on the control panel or remote to activate the 90° oscillation feature, distributing warm air evenly across the room. Press again to stop oscillation.

Image 5.2: 90° Oscillation for Even Heat Distribution
5.5 Timer Function
Press the Timer button to set an auto-off timer from 1 to 12 hours. Each press increases the timer by one hour. The heater will automatically turn off once the set time has elapsed.
5.6 24-Hour Auto-Off
For added safety, the heater is equipped with a 24-hour automatic shutdown feature. If the unit operates continuously for 24 hours without interruption, it will automatically power off.
5.7 Child Lock
To activate the child lock, press and hold the designated button (usually the Timer button) for 3 seconds. This prevents accidental changes to settings. Repeat the action to unlock.
6. Maintenance
6.1 Cleaning
- Always unplug the heater and allow it to cool completely before cleaning.
- Use a soft, damp cloth to wipe the exterior surfaces of the heater. Do not use abrasive cleaners or solvents.
- Do not immerse the heater in water or allow water to drip into the interior of the heater.
- Clean the air inlet and outlet grilles with a vacuum cleaner or a soft brush to remove dust and lint.
6.2 Storage
When not in use, store the heater in its original packaging in a cool, dry place. Avoid storing it in areas with high humidity or extreme temperatures.
7. Troubleshooting
If your heater is not operating correctly, please check the following:
| Problem | Possible Cause | Solution |
|---|---|---|
| Heater does not turn on. | No power supply; Tip-over switch activated; Overheat protection activated. | Ensure power cord is securely plugged in. Check circuit breaker. Place heater on a flat, stable surface. Allow heater to cool down for 30 minutes before restarting. |
| No heat output. | Fan Only mode selected; Temperature setting too low in ECO mode. | Switch to High, Low, or ECO heating mode. Increase the set temperature in ECO mode. |
| Heater stops unexpectedly. | Tip-over switch activated; Overheat protection activated; Timer function activated; 24-hour auto-off. | Ensure heater is upright. Allow to cool. Check timer settings. Unit may have reached 24 hours of continuous operation. |
| Remote control not working. | Batteries are dead or incorrectly inserted; Obstruction between remote and heater. | Replace batteries with new ones, ensuring correct polarity. Remove any obstructions. Ensure remote is pointed at the heater. |
If the problem persists after checking these points, please contact customer support.
8. Specifications
| Feature | Detail |
|---|---|
| Model | MLA-SH1200 |
| Brand | MLMLANT |
| Power Output | 1200W / 750W |
| Dimensions (L x W x H) | 19.5 x 19.4 x 44.6 cm (approx. 7.7 x 7.6 x 17.6 inches) |
| Weight | 2.24 kg (approx. 4.94 lbs) |
| Heating Element | PTC Ceramic |
| Modes | High Heat, Low Heat, ECO Mode, Fan Only |
| Oscillation | 90° |
| Timer | 1-12 Hours Auto-Off |
| Safety Features | Tip-Over Protection, Overheat Protection, 24-Hour Auto-Off, Child Lock |
| Control | Touch Control Panel, Remote Control |
| Display | LED Digital Display |
| Noise Level | Below 40dB |
| Certifications | PSE, UL Tested |

Image 8.1: Product Dimensions and Weight
9. Warranty and Support
MLMLANT products are designed and manufactured to the highest quality standards. This product comes with a standard manufacturer's warranty. For specific warranty details, please refer to the warranty card included in your product packaging or contact MLMLANT customer support.
Customer Support
If you have any questions, concerns, or require assistance with your MLMLANT MLA-SH1200 Ceramic Heater, please contact our customer support team. Contact information can typically be found on the product packaging, our official website, or your purchase receipt.