
Overview
The LEFXMOPHY Door Bell Mount is a durable replacement backplate designed for compatibility with the Blink Video Doorbell (BDM00200U). This product provides a secure and reliable mounting solution, ensuring your doorbell remains firmly in place. It is an ideal replacement for a broken or worn original backplate, offering easy installation and a precise fit.
Package Contents
Verify that all items listed below are present in your package:
- 2 x LEFXMOPHY Door Bell Backplates (Black)
- Mounting Screws
- Small Removal Tool

Image: Contents of the LEFXMOPHY Door Bell Mount package, showing two backplates, associated screws, and a small tool.
Specifications
| Feature | Detail |
|---|---|
| Model Number | LF-BACKPLATE-BLACK-2 |
| Compatibility | Blink Video Doorbell (BDM00200U) |
| Material | Durable Raw Material |
| Color | Black |
| Package Dimensions | 5.71 x 1.77 x 0.75 inches |
| Item Weight | 2.08 ounces |
Setup Instructions
Follow these steps to properly install the LEFXMOPHY Door Bell Mount with your Blink Video Doorbell:
- Step 1: Prepare Doorbell and Backplate.
Ensure you have your Blink Video Doorbell and the new LEFXMOPHY backplate ready. If replacing an old backplate, carefully remove the doorbell from the existing mount. - Step 2: Align and Push Upwards.
Align the Blink Video Doorbell with the new backplate. Gently press the doorbell onto the backplate and then push it upwards. This action engages the internal clips of the backplate with the doorbell unit. - Step 3: Secure the Backplate.
Continue pushing the doorbell upwards until you hear or feel a distinct click. This indicates that the backplate has firmly locked into place, securing the doorbell. Ensure it is snug and does not wobble. - Step 4: Mount to Surface.
Once the doorbell is securely attached to the backplate, use the provided mounting screws to attach the entire assembly to your desired surface (e.g., wall, door frame). Ensure the screws are tightened sufficiently for a stable mount.

Image: The Blink doorbell positioned next to the LEFXMOPHY backplate, illustrating the initial alignment for installation.

Image: A visual guide demonstrating the process of attaching the doorbell to the backplate, from initial alignment to the final secure click.
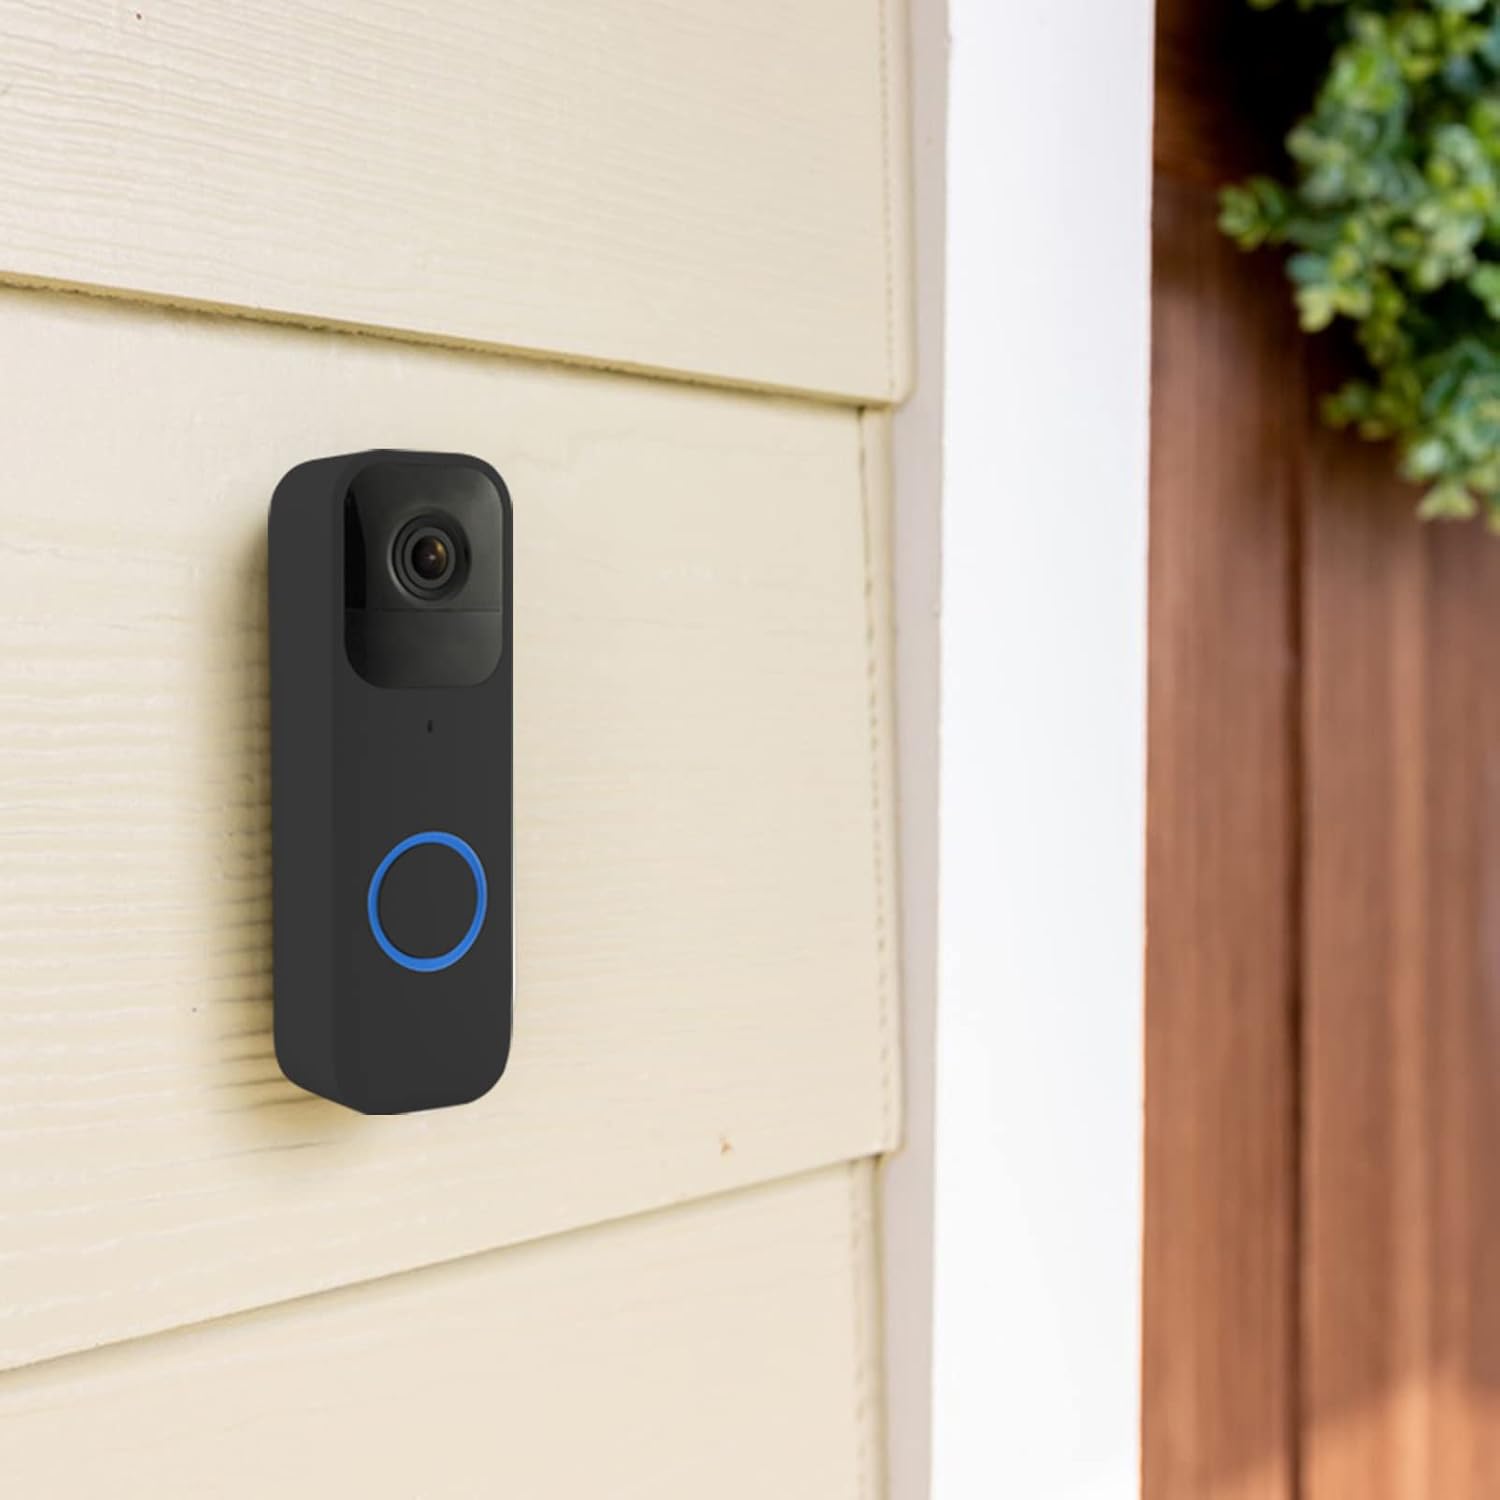
Image: The Blink doorbell, with the LEFXMOPHY backplate, successfully installed on an exterior wall.
Operation
The LEFXMOPHY Door Bell Mount serves as a static mounting component. Once installed, its primary function is to securely hold your Blink Video Doorbell in its intended position. There are no active operational controls on the backplate itself.
Maintenance
To ensure the longevity and proper function of your LEFXMOPHY Door Bell Mount:
- Cleaning: Wipe the backplate periodically with a soft, damp cloth to remove dust and dirt. Avoid abrasive cleaners or solvents.
- Inspection: Regularly check the backplate for any signs of damage, cracks, or loosening from the mounting surface. Ensure the doorbell remains securely attached to the backplate.
- Environmental Exposure: While durable, prolonged exposure to extreme weather conditions may affect the material over time. Consider protective measures if installed in harsh environments.
Troubleshooting
If you encounter issues with your LEFXMOPHY Door Bell Mount, consider the following:
- Doorbell Not Clicking Securely: Ensure the doorbell is correctly aligned with the backplate's clips. Apply firm, even pressure while pushing upwards until a click is heard. Check for any obstructions or debris in the mounting grooves.
- Backplate Feels Loose on Surface: Verify that the mounting screws are adequately tightened. If installed on a soft material, consider using appropriate wall anchors (not included) for better stability.
- Rubber Gasket Issues: Some backplates may include a rubber gasket for weather sealing. If the gasket appears loose or falls out, carefully re-seat it into its groove. A small amount of non-permanent adhesive can be used to hold it in place if necessary, ensuring it does not interfere with the doorbell's fit.
Warranty and Support
LEFXMOPHY stands behind the quality of its products. For specific warranty information or technical support, please refer to the contact details provided with your purchase or visit the official LEFXMOPHY website. Keep your proof of purchase for warranty claims.