Introduction
This manual provides comprehensive instructions for the operation and maintenance of your FEKTIK M506 10-in-1 Bluetooth Record Player. This versatile audio system combines vintage aesthetics with modern functionality, allowing you to enjoy music from various sources including vinyl records, CDs, cassettes, FM radio, Bluetooth-enabled devices, and external audio inputs. Please read this manual thoroughly before use to ensure proper operation and to maximize your listening experience.
Important Safety Instructions
- Power Source: Connect the unit only to the specified power supply as indicated in the specifications.
- Ventilation: Ensure adequate ventilation around the unit. Do not block ventilation openings.
- Water and Moisture: Do not expose the unit to rain, moisture, dripping, or splashing. Do not place objects filled with liquids on the unit.
- Heat: Keep the unit away from heat sources such as radiators, heat registers, stoves, or other apparatus that produce heat.
- Cleaning: Clean only with a dry cloth. Avoid using liquid cleaners or aerosol cleaners.
- Servicing: Do not attempt to service this product yourself. Refer all servicing to qualified service personnel.
- Placement: Place the unit on a stable, flat surface to prevent accidental falls.
Product Overview
Familiarize yourself with the various components and controls of your record player.
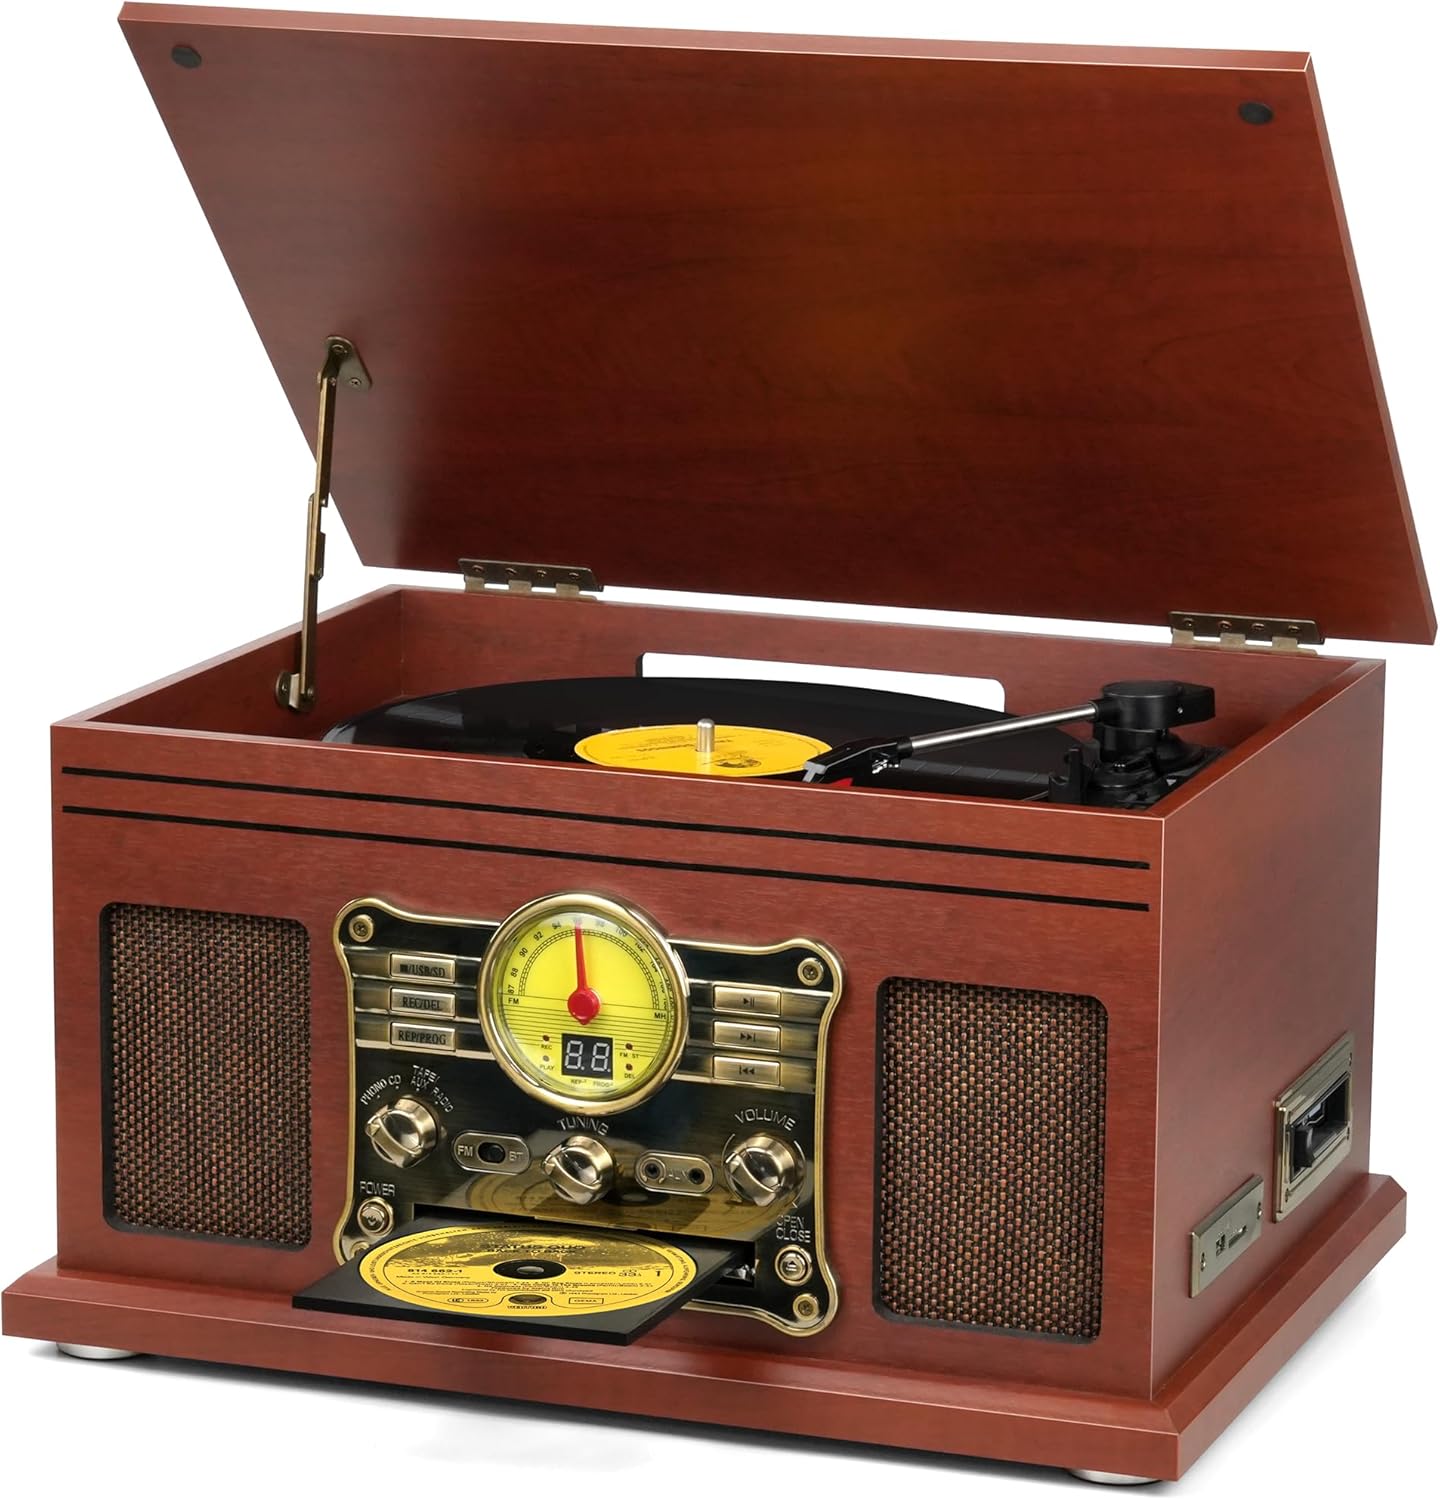
Figure 1: Front view of the FEKTIK M506 10-in-1 Bluetooth Record Player, showcasing its mahogany finish, open lid revealing the turntable, and the vintage-style control panel.
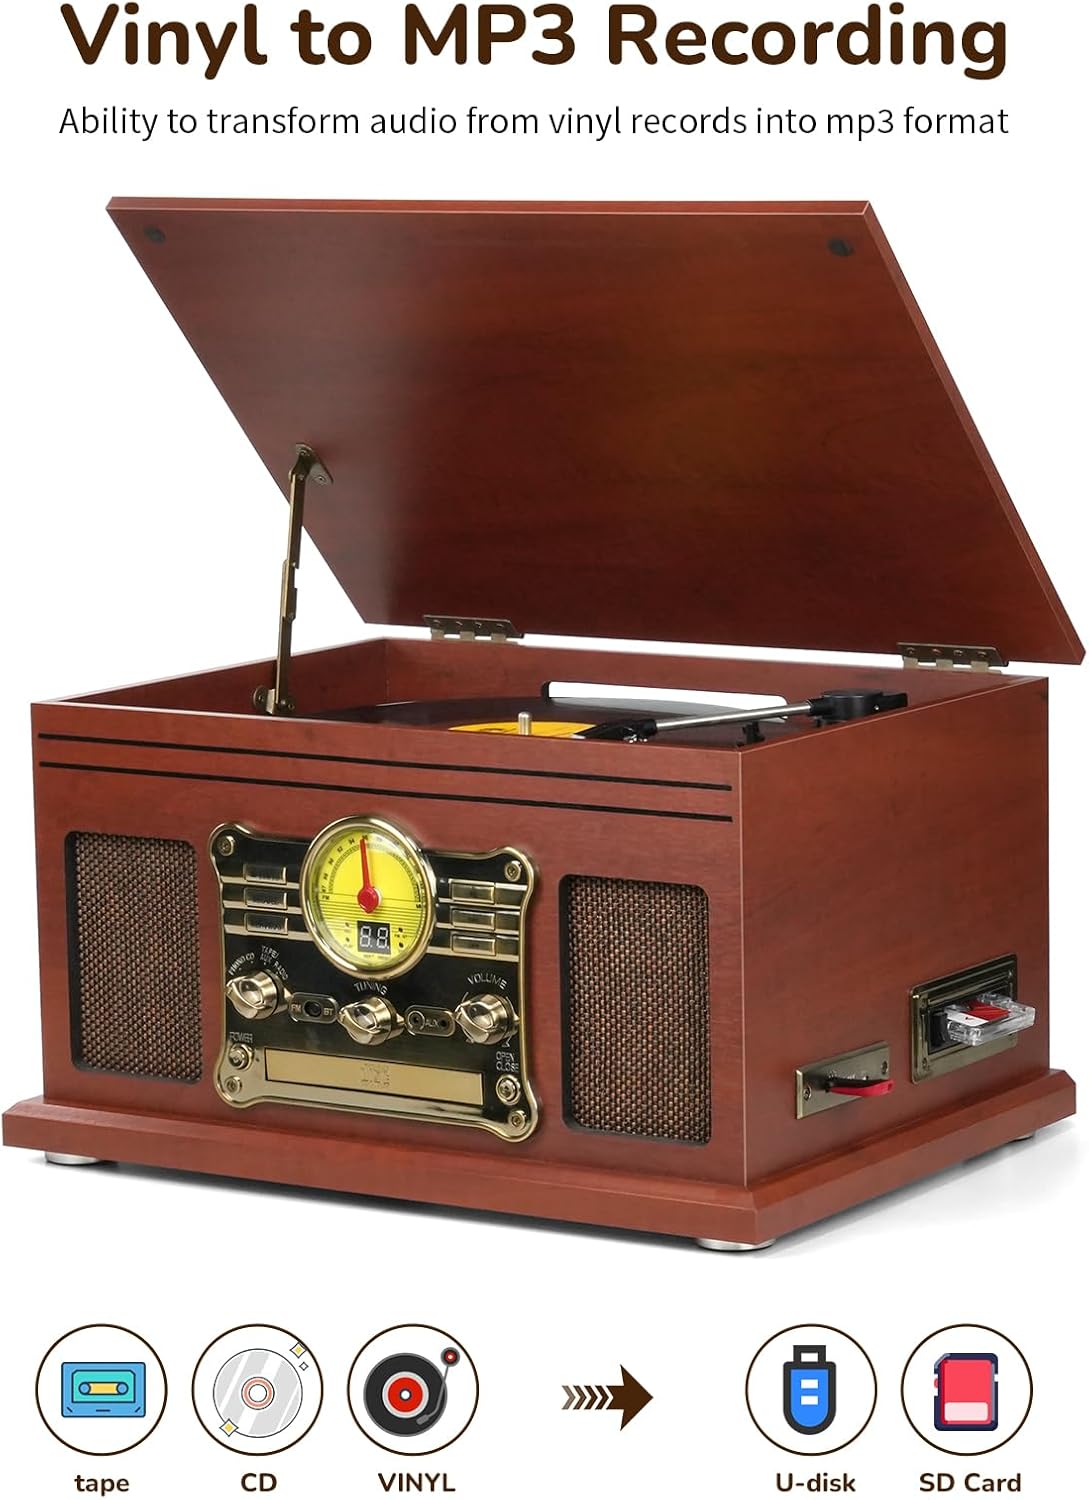
Figure 2: Detailed view of the control panel, featuring the illuminated FM radio dial, digital display, function selection knob (Phono, CD, Tape/Aux, Radio), USB/SD/MMC slots, record/delete buttons, playback controls, AUX input, and volume control.

Figure 3: Side panel illustrating the cassette player slot, USB port, and SD/MMC card slot for recording and playback.
Figure 4: Rear panel displaying the RCA Line Out ports for connecting external speakers, the FM antenna connection, and the DC 12V power input.
Setup
Follow these steps for initial setup of your record player:
- Unpacking: Carefully remove the unit from its packaging. Retain all packaging materials for future transport or storage.
- Placement: Place the record player on a stable, level surface away from direct sunlight, heat sources, and excessive dust or moisture.
- Power Connection: Connect the provided power adapter to the DC 12V input on the rear of the unit (Figure 4), then plug the adapter into a wall outlet.
- FM Antenna: Extend the FM antenna wire on the rear of the unit for optimal radio reception.
Video 1: This video demonstrates the initial setup and various functions of the FEKTIK 10-in-1 Bluetooth Record Player, including power connection and media playback.
Operating Instructions
1. Turntable Operation (Vinyl Playback)
- Lift the dust cover.
- Place a vinyl record on the turntable platter.
- Select the desired speed (33 1/3, 45, or 78 RPM) using the speed selector switch.
- Gently lift the tonearm and position the stylus over the desired track of the record.
- Lower the tonearm slowly onto the record. Playback will begin automatically.
- To stop playback, lift the tonearm and return it to its rest.

Figure 5: The turntable in operation, with the tonearm and stylus positioned on a vinyl record.
2. CD Player Operation
- Press the 'CD' button on the function selector knob to switch to CD mode.
- Press the 'Open/Close' button next to the CD tray to open it.
- Place a CD into the tray with the label side facing up.
- Press the 'Open/Close' button again to close the tray. The unit will read the CD and begin playback.
- Use the 'Play/Pause', 'Forward', and 'Rewind' buttons for control.
3. Cassette Player Operation
- Insert a cassette tape into the cassette slot on the side of the unit (Figure 3).
- Press the 'Tape/Aux Radio' button on the function selector knob to switch to Tape mode.
- Playback will begin automatically. Use the control buttons for fast forward or rewind.
- To eject the cassette, press the 'Eject' button.
4. FM Radio Operation
- Press the 'FM' button on the function selector knob to switch to FM radio mode.
- Use the 'Tuning' knob to scan for available FM radio stations.
- Adjust the FM antenna (Figure 4) for optimal reception.
5. Bluetooth Connectivity
- Press the 'BT' button on the function selector knob to switch to Bluetooth mode. The unit will enter pairing mode, indicated by a flashing Bluetooth indicator.
- On your external device (smartphone, tablet, etc.), enable Bluetooth and search for available devices.
- Select 'Turntable' from the list of devices to pair. Once paired, a confirmation tone will sound, and the Bluetooth indicator will stop flashing.
- You can now stream audio wirelessly from your device to the record player.
Video 2: This video demonstrates the Bluetooth pairing process and other all-in-one features of the record player.
6. LP to MP3 Recording (USB/SD)
- Insert a USB flash drive or SD/MMC card into the corresponding slot on the side of the unit (Figure 3).
- Select the desired audio source (Phono, CD, or Tape/Aux Radio).
- Begin playback of the audio you wish to record.
- Press the 'REC' button to start recording. The recording indicator will illuminate.
- Press the 'STOP' button to end the recording. The recorded audio will be saved as an MP3 file on your USB drive or SD card.
- To delete a recorded file, use the 'REC/DEL' button.
7. External Audio Connections
- AUX-IN: Connect an external audio device (e.g., MP3 player, smartphone) to the AUX-IN port on the front panel (Figure 2) using a 3.5mm audio cable. Select 'AUX' mode using the function selector knob.
- RCA Line Out: Connect the RCA Line Out ports on the rear panel (Figure 4) to an external amplifier or powered speakers using RCA cables (included) to enhance the audio output.
Maintenance
Cleaning
- Always unplug the unit from the power outlet before cleaning.
- Use a soft, dry cloth to clean the exterior surfaces. Do not use abrasive cleaners or solvents.
- Gently wipe the dust cover with a soft, damp cloth.
- For the stylus, use a soft brush to carefully remove dust from front to back.
Stylus Replacement
The stylus (needle) is a delicate component and will wear out over time. A spare stylus is included with your unit. Refer to the detailed instructions in the included user manual for proper replacement procedures.
Troubleshooting
If you encounter any issues with your record player, please consult the following table for common problems and solutions:
| Problem | Possible Cause | Solution |
|---|---|---|
| No power | Power cord not connected or outlet not working. | Ensure power cord is securely plugged in. Test the outlet with another device. |
| No sound | Volume too low, incorrect input selected, or external speakers not connected/powered. | Increase volume. Select correct input source. If using external speakers, ensure they are connected and powered on. |
| Vinyl skipping | Record is dirty or scratched, stylus is worn or dirty, or unit is not level. | Clean the record. Clean or replace the stylus. Ensure the unit is on a stable, level surface. |
| Bluetooth not pairing | Bluetooth mode not selected, device too far, or device already paired to another unit. | Ensure unit is in Bluetooth pairing mode. Move device closer. Disconnect device from other Bluetooth connections. |
| Poor radio reception | FM antenna not extended or poor signal area. | Fully extend and adjust the FM antenna. Try repositioning the unit. |
Technical Specifications
| Feature | Detail |
|---|---|
| Model Number | M506 |
| Product Dimensions | 21 x 16.5 x 12.48 inches |
| Item Weight | 16.66 pounds |
| Turntable Speeds | 33 1/3, 45, 78 RPM |
| Connectivity | Bluetooth, AUX-IN, RCA Line Out, USB, SD/MMC Card |
| Media Playback | Vinyl, CD, Cassette, FM Radio, MP3 (via USB/SD) |
| Recording Function | LP to MP3 (via USB/SD) |
| Included Components | Record player, RCA Cables, User Manual, Extra Stylus |
| Material | Wood |
| Color | Mahogany |
Warranty Information and Customer Support
FEKTIK products are manufactured with quality and care. This product comes with a standard manufacturer's warranty against defects in materials and workmanship. Please refer to the warranty card included in your packaging for specific terms and conditions, including the warranty period and how to make a claim.
For technical assistance, troubleshooting not covered in this manual, or warranty inquiries, please contact FEKTIK customer support through the contact information provided on your warranty card or the official FEKTIK website.