Product Overview
The PERSUPER 13" Large Digital Wall Clock is a versatile timepiece designed for clear visibility and multiple functionalities. It features a large LED display with RGB color-changing options, integrated temperature and calendar displays, and a remote control for convenient operation. This clock is suitable for various environments including living rooms, bedrooms, offices, and gyms.

Image: PERSUPER 13 inch RGB Digital Wall Clock displaying time, date, and temperature.
Package Contents
Upon opening the package, you should find the following items:
- RGB Digital Wall Clock (13" display)
- Power Adapter + 1.5 meter Power Cord
- Wireless Remote Control (with 2 AAA batteries included)
- Product Manual
Video: Unboxing and initial overview of the PERSUPER 13" Large Digital Wall Clock with Remote.
Setup
1. Power Connection
- Connect the provided power cord to the DC input port on the back of the clock.
- Plug the power adapter into a standard wall outlet. The clock display will illuminate.
- The clock includes a built-in memory backup battery to retain settings during power outages. This battery does not power the display.
2. Remote Control Battery Installation
- Open the battery compartment on the back of the remote control.
- Remove any plastic protection from the included 2 AAA batteries.
- Insert the batteries, ensuring correct polarity (+/-).
- Close the battery compartment.
3. Mounting and Placement
The clock offers flexible placement options:
- Tabletop Placement: Utilize the integrated foldable stands on the back of the clock for stable placement on any flat surface.
- Wall Mounting: Use the two keyhole slots on the back of the clock to securely mount it to a wall. Ensure appropriate wall anchors and screws are used (not included).

Image: The digital clock displayed in various settings, including tabletop and wall-mounted configurations.
Operating Instructions
1. Basic Time and Date Setting
Use the remote control for easy adjustments:
- Press the SET button to enter setting mode.
- Use the HR, MIN, and SEC buttons to adjust the respective values.
- Press SET again to confirm and move to the next setting (Year, Month, Date).
- Press SET once more to exit setting mode.
2. Brightness Adjustment
The clock features a 3-level adjustable brightness display and an auto-dimming function:
- Manual Adjustment: Use the Light + and Light - buttons on the remote to cycle through High, Medium, and Low brightness levels.
- Auto Dimming: The built-in light sensor automatically adjusts brightness based on ambient light conditions. This can be enabled/disabled via the switch on the back of the clock (High-Auto-Medium-Low).

Image: The clock demonstrating its 3-level manual brightness adjustment and automatic dimming feature.
3. RGB Color Changing Display
The clock offers 6 regular colors and 5 dynamic RGB color modes:
- Press the Color Switch button on the remote to cycle through the available colors and dynamic modes.
- Dynamic modes include fixed gradient, random color, left-right gradient, top-down gradient, and one color that changes automatically every day.

Image: The clock showcasing its 11 RGB digital color display options, including static and dynamic modes.
4. Alarm Settings
The clock supports two separate alarms and 25 unique ringtones:
- Press and hold either Alarm 1 or Alarm 2 button on the remote to enter alarm setting mode.
- Use HR and MIN buttons to set the desired alarm time.
- Press SET to confirm the time and proceed to ringtone selection.
- Use V+ and V- buttons to browse through 25 ringtones. Press SET to confirm your choice.
- To activate/deactivate an alarm, short press the corresponding Alarm 1 or Alarm 2 button. An alarm icon will appear/disappear on the display.
- To snooze, press the SNOOZE button when the alarm rings.
- To stop the alarm, press any other button except SNOOZE.
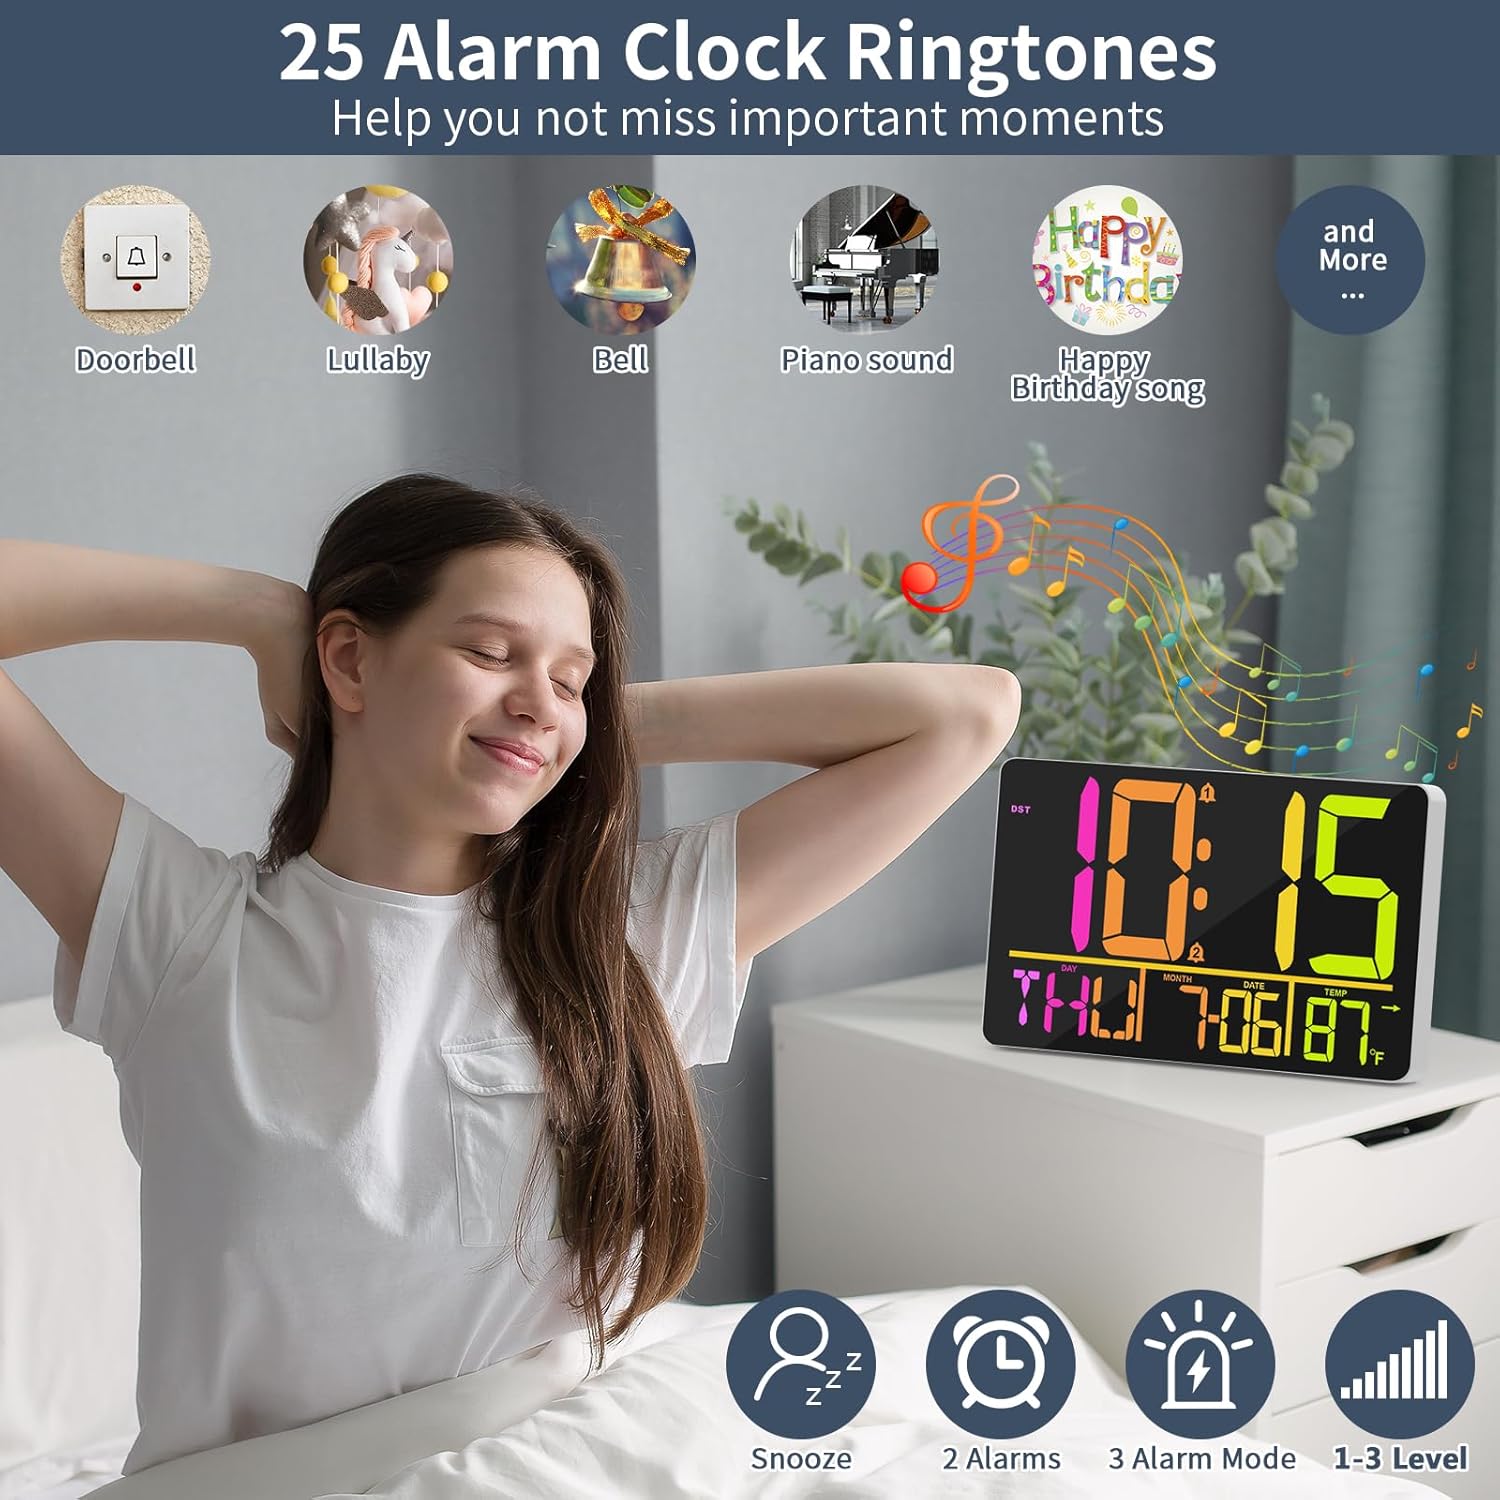
Image: The clock displaying various alarm ringtone options and snooze function.
5. Timer Functions (Count-Up/Count-Down)
The clock includes versatile timer capabilities:
- Press Enter/Exit Timer button to enter timer mode.
- Use HR, MIN, and SEC buttons to set the desired countdown time.
- Press Timer ST/SP to start or pause the timer.
- Press Timer Reset to clear the timer to zero.
- To use as a count-up timer, set the timer to 00:00:00 and press Timer ST/SP.

Image: The clock displaying its three modes: standard clock, countdown timer, and alarm clock.
6. Temperature Display
- The clock displays indoor temperature.
- Press the °C/°F button on the remote to switch between Celsius and Fahrenheit.

Image: Close-up of the clock displaying temperature in Celsius and Fahrenheit.
7. 12/24 Hour Format & Daylight Saving Time (DST)
- Press the 12-24HR button on the remote to switch between 12-hour (with AM/PM indicator) and 24-hour formats.
- Press the DST button on the remote to activate or deactivate Daylight Saving Time. The DST indicator will appear/disappear on the display.

Image: The clock displaying the DST feature and automatic time adjustment.
Specifications
| Feature | Detail |
|---|---|
| Brand | PERSUPER |
| Model Number | 104-RGB |
| Display Type | Digital LED |
| Screen Size | 13 Inches |
| Color Options | 6 Regular Colors, 5 Dynamic RGB Colors |
| Brightness Levels | 3-Level Manual, Auto Dimmable |
| Ringtones | 25 Unique Ringtones |
| Alarms | 2 Separate Alarms |
| Time Formats | 12/24 Hour |
| Temperature Display | Celsius/Fahrenheit |
| Power Source | Corded Electric (Power Adapter Included) |
| Memory Function | Built-in Backup Battery (retains settings during power outage) |
| Mounting Type | Wall Mount, Tabletop Stand |
| Product Dimensions | 7.5"W x 11.5"H |
| Item Weight | 0.85 Kilograms |
Maintenance
- Clean the display and casing with a soft, dry cloth. Avoid abrasive cleaners or solvents.
- Ensure the clock is placed in a dry environment, away from direct sunlight or extreme temperatures.
- If the clock will not be used for an extended period, unplug it from the power source. The backup battery will maintain settings.
Troubleshooting
- Clock not powering on: Ensure the power adapter is securely connected to both the clock and a working wall outlet.
- Remote control not responding: Check if the AAA batteries in the remote are correctly inserted and have sufficient charge. Ensure there are no obstructions between the remote and the clock.
- Incorrect temperature reading: The clock displays indoor temperature. Ensure it is not placed near heat sources or in direct sunlight, which could affect accuracy.
- Settings lost after power outage: While the clock has a backup battery, ensure it is functioning correctly. If settings are consistently lost, the backup battery may need replacement.
- Alarm not sounding: Verify that the alarm is activated (alarm icon visible on display) and the volume is not set to zero.
Warranty & Support
PERSUPER is committed to providing quality products and first-class service. If you have any dissatisfaction or questions about your digital clock, please email us. We will reply as soon as possible within working days to assist you.