Eridanus 107
Eridanus Bathroom Sink Instruction Manual
Model: 107
Brand: Eridanus
Introduction
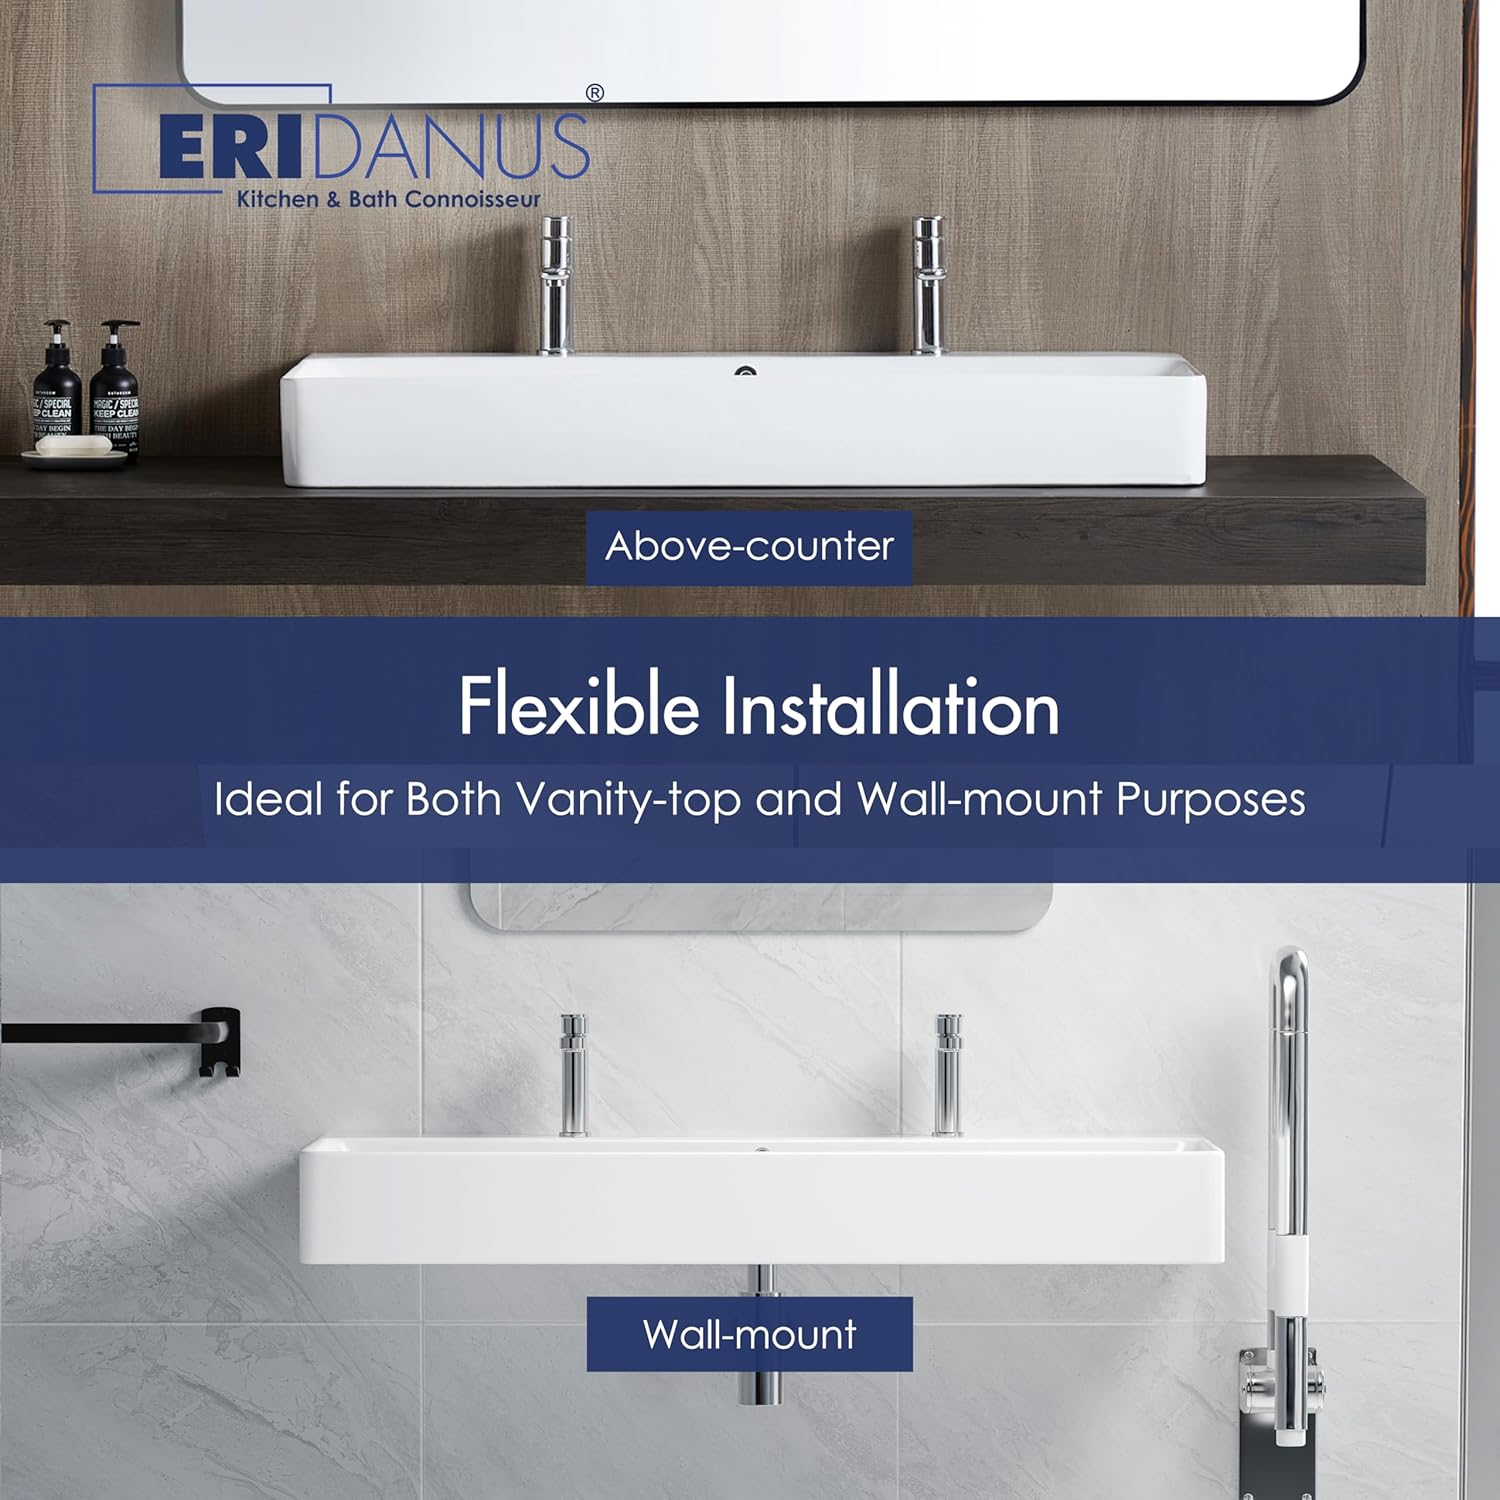
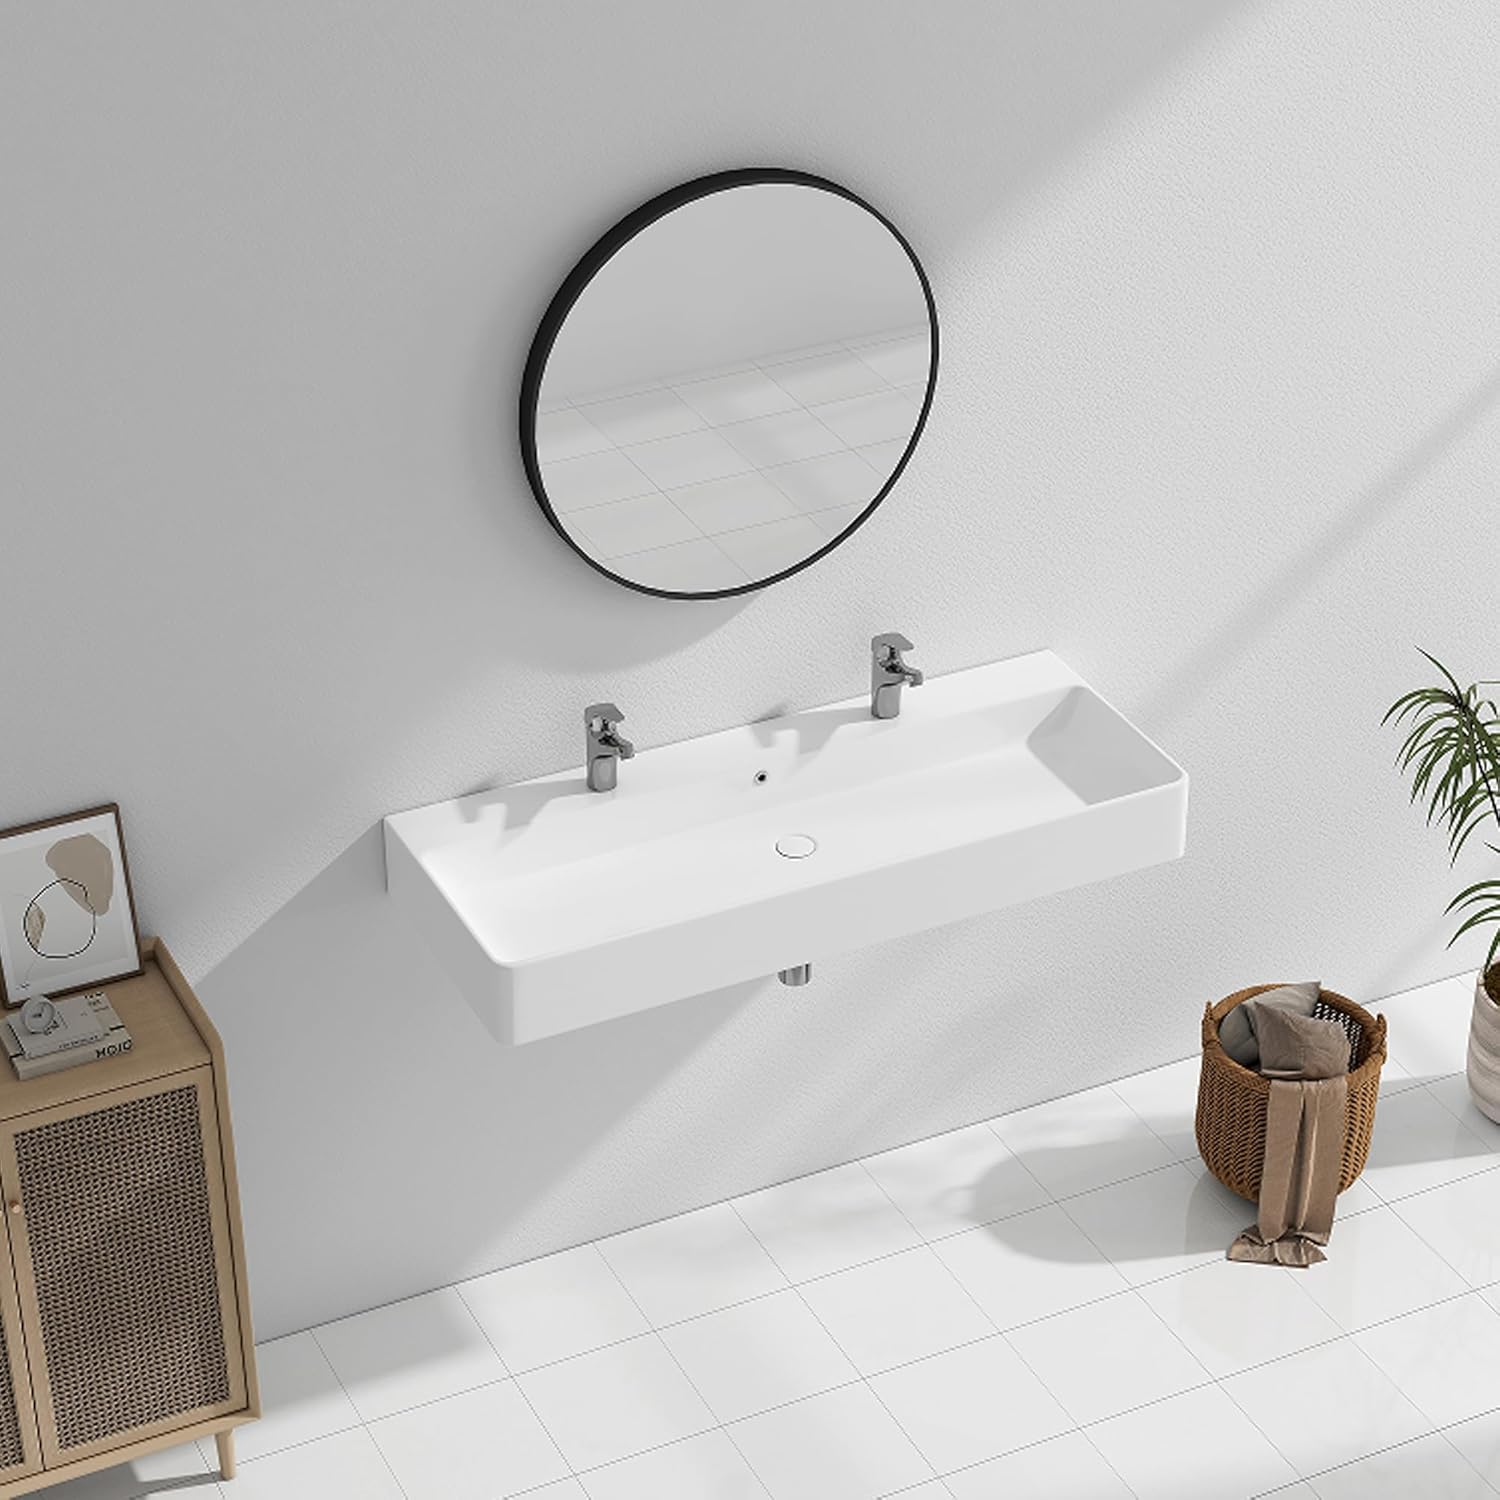
This manual provides comprehensive instructions for the installation, operation, and maintenance of your Eridanus Bathroom Sink. Designed for versatility, this vitreous ceramic sink can be installed as either a countertop vessel or a wall-mounted unit, offering a sleek and modern aesthetic to any bathroom space.
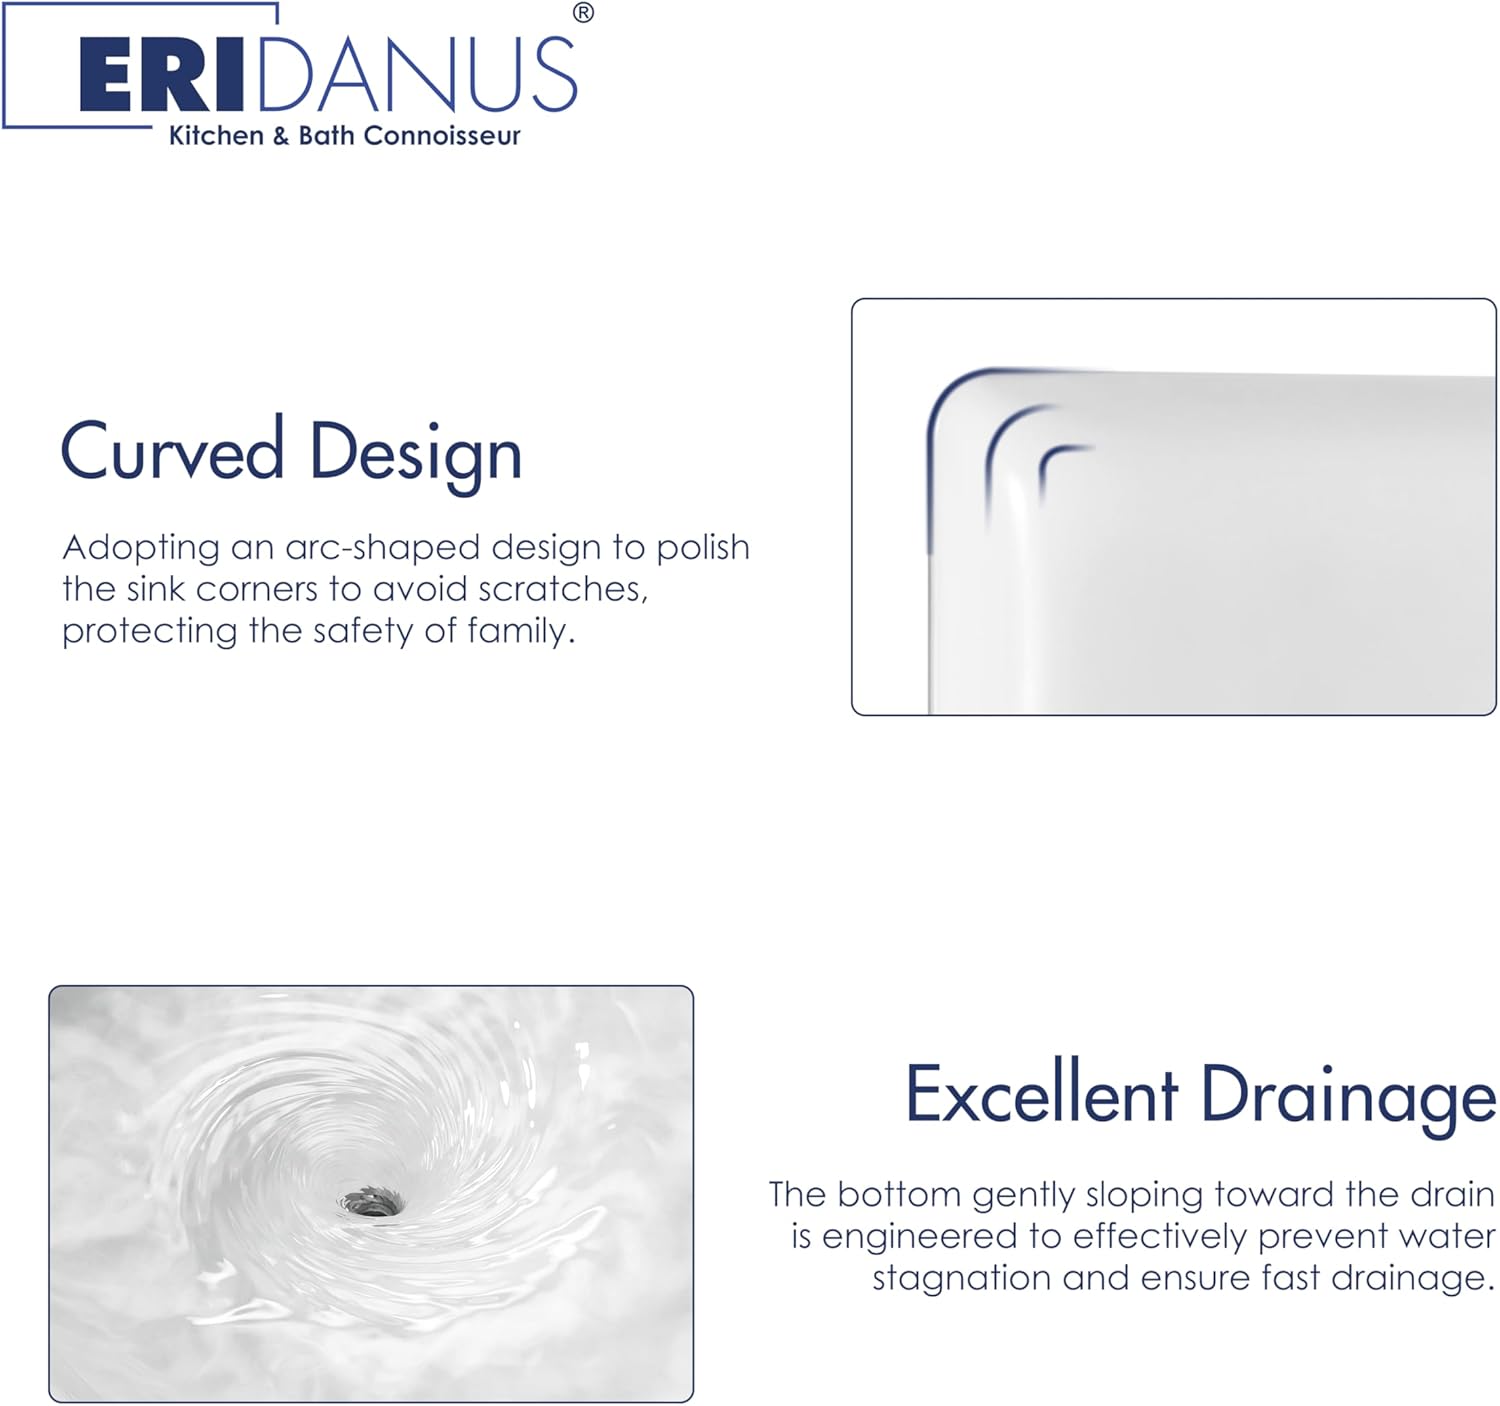
Key features include durable ceramic construction, a smooth glazed surface for easy cleaning, and a standard 1.75-inch drain opening with overflow. Please read all instructions carefully before beginning installation.
Safety Information
WARNING:
- Always wear appropriate personal protective equipment, such as safety glasses, when cutting or drilling.
- Ensure all local plumbing and building codes are observed during installation.
- Shut off hot and cold water supplies before beginning any plumbing work.
- This sink is heavy (approximately 68 pounds). It is recommended that installation be performed by at least two people to prevent injury and ensure proper handling.
- Unpack the new sink and inspect it for damage. If any damage is found, do not proceed with installation and contact customer support.
Package Contents
Verify that all components are present before beginning installation:

- Eridanus Bathroom Sink
- Mounting Hardware (anchors, bolts, washers, nuts)
- Installation Guide (printed manual)
Tools Required
The following tools are recommended for installation:
- Safety Glasses
- Measuring Tape
- Pencil
- Drill
- Hole Drill (for countertop installation)
- Level
- Wrench
- Silicone Caulk / Sealant
Specifications
| Attribute | Specification |
|---|---|
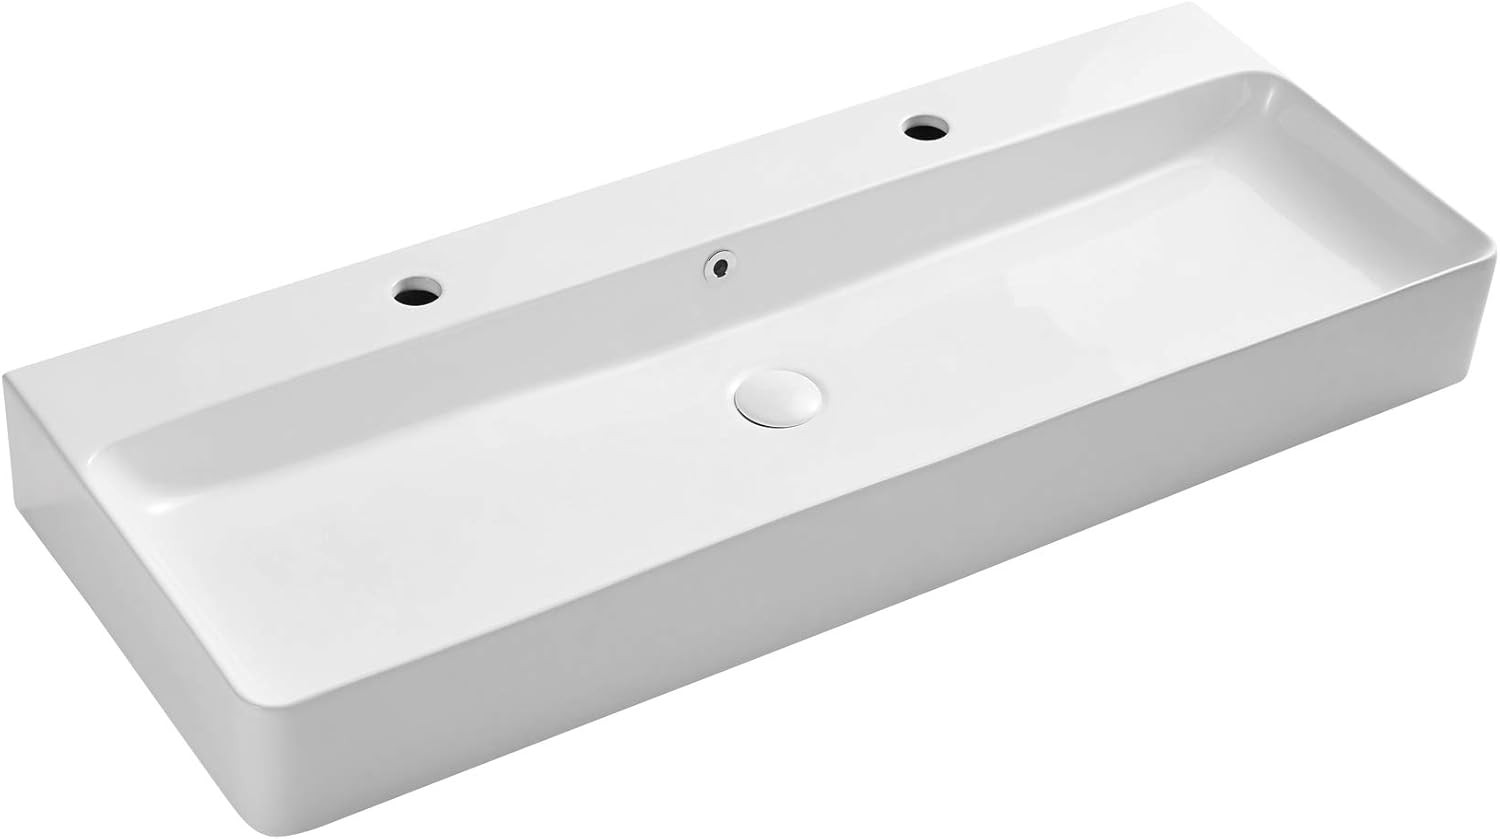
| Dimensions (L x W x H) | 43.25" x 16.5" x 5.25" |
| Material | Vitreous Ceramic |
| Color | Glossy White |
| Installation Type | Countertop & Wall Mount |
| Drain Opening | 1.75 inches (standard) |
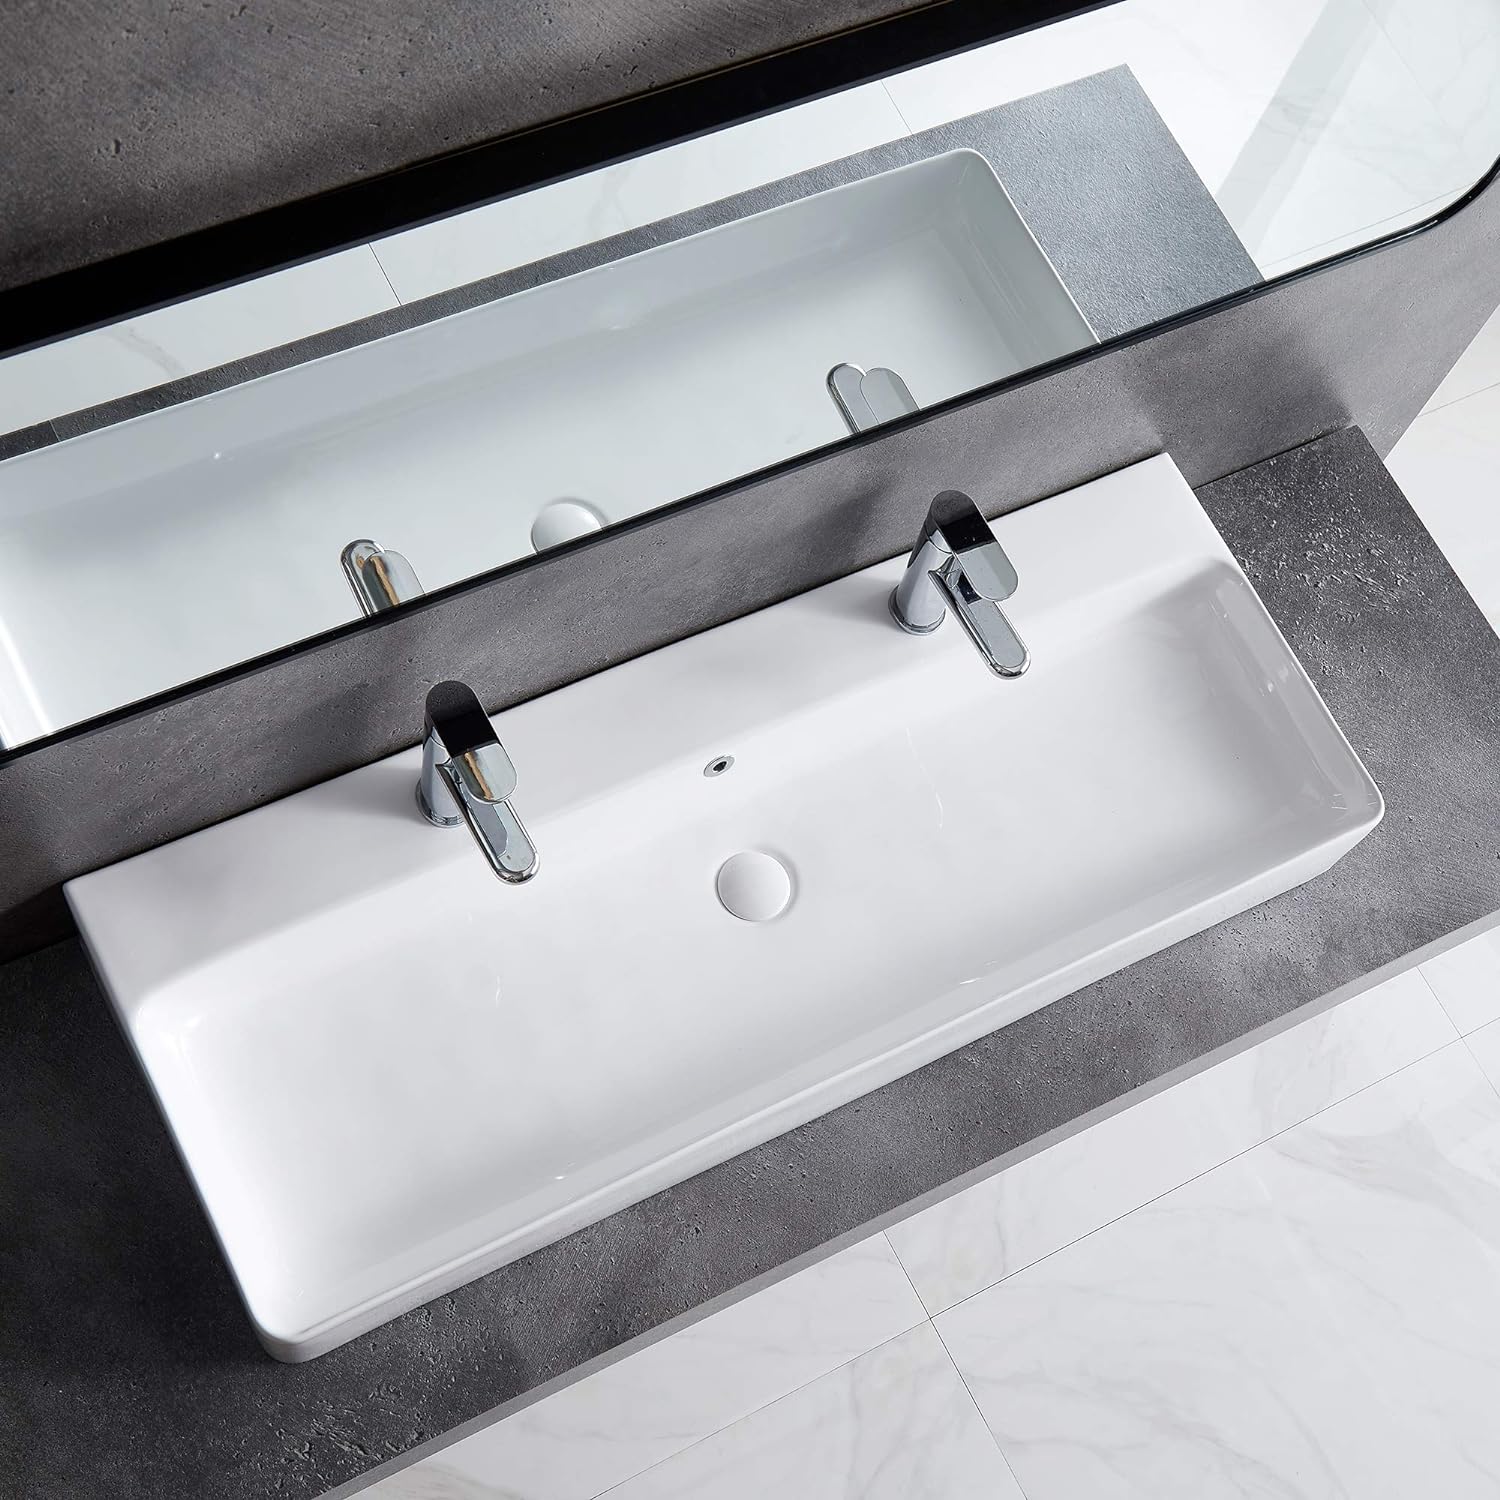
| Faucet Holes | Two, 1.375 inches (standard 1 3/8") |
| Overflow | Yes |
| Item Weight | 68 pounds |

Installation
The Eridanus Bathroom Sink supports both wall-mounted and countertop installations. Choose the method that best suits your bathroom design and structural requirements.
Wall Mount Installation
For a visual guide, please refer to the official installation video below:
Video 1: Bathroom Sink Wall Mounted Installation. This video demonstrates the step-by-step process for securely mounting the sink to a wall.
- Prepare the Wall: Ensure the wall is structurally sound and capable of supporting the sink's weight (68 lbs) plus water and usage. Use a level and measuring tape to mark the desired height and the precise locations for the mounting holes based on the sink's dimensions.
- Drill Holes: Using an appropriate drill bit for your wall type (e.g., masonry bit for concrete, wood bit for studs), drill holes at the marked locations.
- Insert Anchors and Bolts: Securely insert the provided wall anchors into the drilled holes. Then, thread the mounting bolts into the anchors, ensuring they are firmly seated and protrude sufficiently to engage the sink.
- Mount the Sink: Carefully lift the sink and align its pre-drilled mounting holes with the protruding bolts on the wall. Slide the sink onto the bolts.
- Secure the Sink: From underneath the sink, attach the washers and nuts to the bolts. Tighten the nuts evenly with a wrench until the sink is securely fastened to the wall. Do not overtighten.
- Apply Sealant: Apply a bead of silicone sealant along the joint where the back of the sink meets the wall to prevent water penetration.
Countertop Installation
This sink can also be installed as a vessel on a countertop. Ensure your countertop is sturdy and properly prepared for the sink's weight.
Video 2: Bathroom Trough Sink Display. This video showcases the sink's features and can provide context for countertop placement.
- Mark Holes: Place the sink on the desired location on the countertop. Using a pencil, carefully mark the positions for the drain hole (1.75" diameter) and the two faucet holes (1.375" diameter) on the countertop.
- Drill Holes: Remove the sink. Using an appropriate hole drill for your countertop material, carefully drill the marked drain and faucet holes. Ensure the holes are clean and smooth.
- Apply Adhesive: Apply a continuous bead of silicone adhesive or sealant around the perimeter of the sink's base that will contact the countertop.
- Place Sink: Carefully lower the sink onto the countertop, aligning the sink's drain and faucet holes with the drilled holes in the countertop. Press firmly to ensure good adhesion.
- Wipe Excess: Immediately wipe away any excess adhesive that squeezes out from under the sink.


Drain Installation
The sink features a standard 1.75-inch drain opening with an overflow. Ensure you use a pop-up drain compatible with overflow sinks.
- Assemble Drain: Follow the manufacturer's instructions for your specific pop-up drain assembly. Ensure all gaskets and seals are correctly positioned.
- Insert Drain: Insert the top portion of the drain assembly into the sink's drain opening.
- Secure Drain: From underneath the sink, attach the bottom portion of the drain assembly, tightening the nuts to secure it. Ensure a watertight seal.
- Connect Plumbing: Connect the P-trap and other plumbing components to the drain assembly according to standard plumbing practices.
Operating Your Sink
Once installed and plumbing connections are verified, your Eridanus Bathroom Sink is ready for use. Simply operate your chosen faucets to control water flow. The integrated overflow feature helps prevent accidental spills by diverting excess water into the drain if the sink fills too high.
Maintenance
The Eridanus Bathroom Sink is made from durable vitreous ceramic with a smooth, non-porous glazed surface, making it easy to clean and maintain its glossy finish.
- Daily Cleaning: Wipe the sink with a soft, dry cloth after each use to prevent water spots and soap scum buildup.
- Regular Cleaning: For a more thorough cleaning, use a mild, non-abrasive cleaner and a soft sponge or cloth. Rinse thoroughly with water and dry completely.
- Avoid Harsh Chemicals: Do not use abrasive cleaners, scouring pads, or harsh chemical cleaners (e.g., bleach, acid-based cleaners) as these can damage the ceramic glaze.
- Stain Removal: For stubborn stains, a paste of baking soda and water can be applied, left for a few minutes, then gently scrubbed and rinsed.
Troubleshooting
If you encounter any issues with your Eridanus Bathroom Sink, consider the following common solutions:
- Leaking: Check all plumbing connections for tightness. Ensure that all gaskets and seals on the drain assembly are properly seated and not damaged. Re-apply plumber's putty or silicone sealant if necessary.
- Slow Drainage: This is often caused by a clog in the drain or P-trap. Remove and clean the pop-up drain stopper. If the issue persists, inspect the P-trap for blockages.
- Sink Not Level (Wall Mount): Re-check the levelness of the mounting bolts and adjust as needed. Ensure the sink is securely fastened to the wall.
- Scratches/Chips: While the ceramic is durable, extreme impact can cause damage. Minor scratches may sometimes be buffed out with specialized ceramic repair kits. For significant damage, professional repair or replacement may be necessary.
If problems persist, please contact customer support.
Warranty and Support
Eridanus stands behind the quality of its products. Your Eridanus Bathroom Sink comes with a 2-Year Support period from the date of purchase.
For any questions, technical assistance, or warranty claims, please contact Eridanus Customer Support. Have your purchase details and model number (107) ready when contacting support.
You can also refer to the official PDF manuals for additional information: