1. Introduction and Overview
The YORK Pro Series Bench 306 ID is a versatile and durable piece of fitness equipment designed for strength training. This adjustable bench features multiple positions for both the backrest and seat, accommodating a wide range of exercises. Its robust 13-gauge steel construction and thick padding ensure comfort and stability during use. The integrated foot hold-down provides additional support for declined exercises. This manual provides essential information for the safe assembly, operation, and maintenance of your Pro Series Bench.
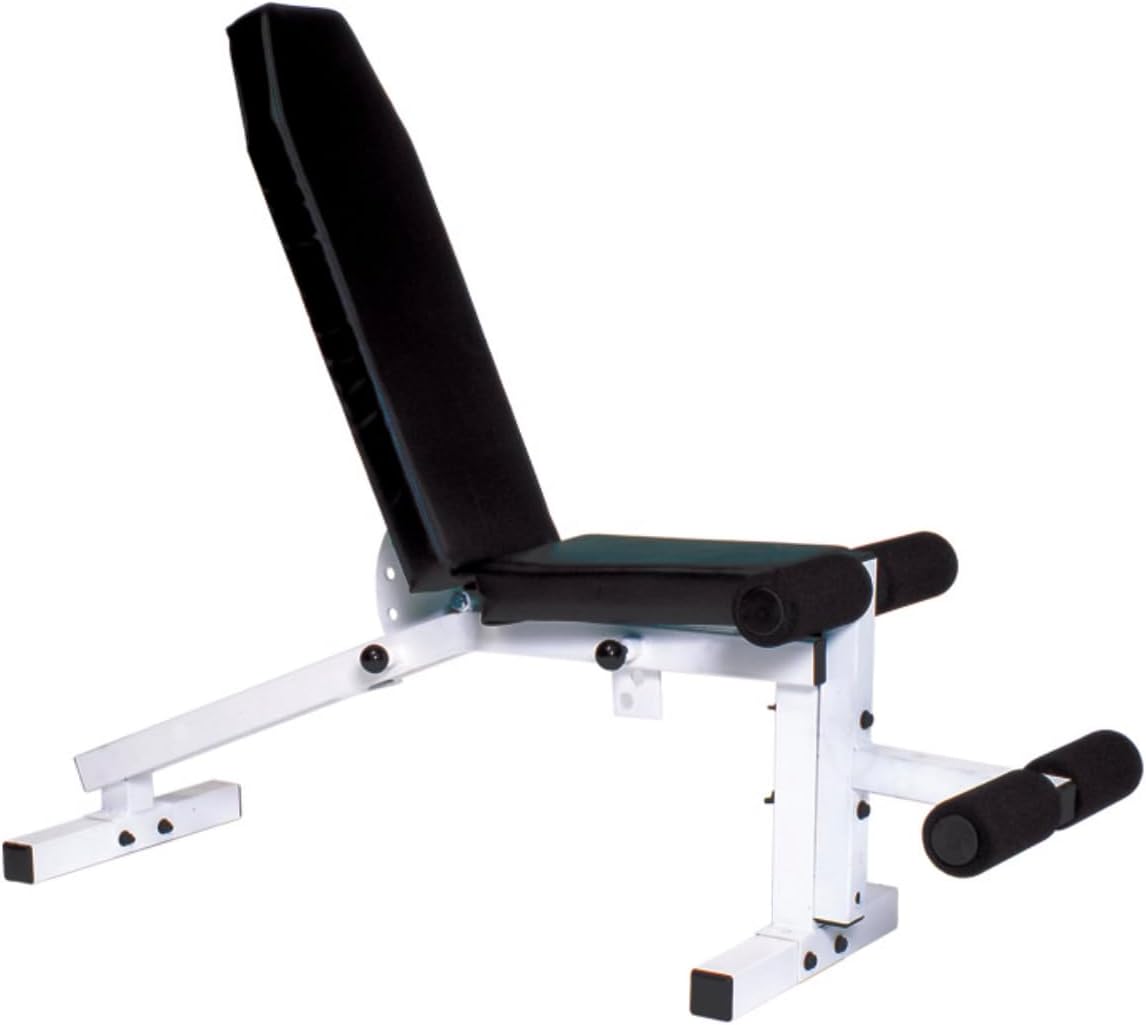
Figure 1: The YORK Pro Series Bench 306 ID. This image displays the adjustable bench with its backrest in an inclined position and the seat slightly angled. The bench features black padded sections for the back and seat, supported by a white alloy steel frame. A foot hold-down mechanism with black foam rollers is visible at the front.
2. Safety Information
Before using the YORK Pro Series Bench, please read and understand all safety instructions. Failure to follow these instructions may result in injury or damage to the equipment.
- Consult a Physician: Always consult with a healthcare professional before starting any new exercise program.
- Weight Limit: Do not exceed the maximum user weight limit of 300 pounds (136 kg). This limit includes the user's body weight and any weights being lifted.
- Proper Assembly: Ensure all components are correctly assembled and all fasteners are securely tightened before each use. Refer to the assembly instructions.
- Stable Surface: Place the bench on a flat, stable, and non-slip surface to prevent tipping or movement during exercise.
- Clearance: Maintain adequate clear space around the bench to allow for safe movement and exercise.
- Inspect Before Use: Before each workout, inspect the bench for any signs of wear, damage, or loose parts. Do not use the bench if any issues are found.
- Adjustments: Ensure all adjustments (backrest, seat, foot hold-down) are securely locked into place before beginning an exercise.
- Children and Pets: Keep children and pets away from the equipment during use.
- Proper Form: Use proper exercise form to prevent injury. If you experience pain or discomfort, stop exercising immediately.
3. Package Contents
Carefully unpack all components and verify that you have received all items listed below. If any parts are missing or damaged, do not proceed with assembly and contact customer support.
- Main Frame Assembly
- Backrest Pad
- Seat Pad
- Foot Hold-Down Assembly (with foam rollers)
- Adjustment Pins/Knobs
- Assembly Hardware (bolts, washers, nuts)
- Instruction Manual
4. Assembly Instructions
Assembly typically requires two people. Ensure you have sufficient space and the necessary tools (e.g., wrenches, Allen keys) before beginning. Follow these general steps:
- Unpack Components: Lay out all parts on a clean, flat surface and compare them with the package contents list.
- Attach Stabilizer Bases: Secure the front and rear stabilizer bases to the main frame using the provided bolts and washers. Ensure they are tightly fastened.
- Install Seat Pad: Attach the seat pad to the main frame using the designated hardware.
- Install Backrest Pad: Attach the backrest pad to its adjustable support mechanism on the main frame.
- Assemble Foot Hold-Down: Connect the foot hold-down assembly to the front of the bench frame. Ensure the foam rollers are securely in place.
- Insert Adjustment Pins: Insert the adjustment pins for the backrest and seat into their respective positions.
- Final Inspection: Double-check all bolts, nuts, and pins to ensure they are securely tightened and locked. Test the stability of the bench before first use.
Note: Specific diagrams and detailed steps may vary. Refer to any included diagrams for precise hardware placement.
5. Operating and Adjusting the Bench
The YORK Pro Series Bench offers multiple adjustment options for varied exercises.
- Backrest Adjustment:
To adjust the backrest angle:
- Locate the backrest adjustment pin/knob at the base of the backrest support.
- Pull the pin out or loosen the knob to disengage the locking mechanism.
- Carefully raise or lower the backrest to your desired angle. The available degree options are: -20, -10, 0, 20, 45, 70 degrees.
- Once the desired angle is reached, release the pin or tighten the knob, ensuring it fully engages in a locking hole. Gently rock the backrest to confirm it is secure.
- Seat Adjustment:
To adjust the seat angle:
- Locate the seat adjustment pin/knob beneath the seat pad.
- Pull the pin out or loosen the knob to disengage the locking mechanism.
- Adjust the seat to your desired angle. The available degree options are: 0, 15, 25 degrees.
- Release the pin or tighten the knob, ensuring it fully engages in a locking hole. Confirm the seat is secure before use.
- Foot Hold-Down:
The foot hold-down provides stability for declined exercises. Position your feet securely under the foam rollers. Ensure the rollers are at a comfortable height for your legs. Some models may allow for height adjustment of the foot hold-down; if so, adjust and secure it using its dedicated pin or knob.
6. Maintenance
Regular maintenance will extend the life of your YORK Pro Series Bench and ensure safe operation.
- Cleaning: Wipe down the pads and frame with a damp cloth after each use to remove sweat and dirt. Use a mild soap solution for deeper cleaning, then wipe dry. Avoid abrasive cleaners or solvents.
- Inspection: Periodically inspect all bolts, nuts, and adjustment pins for tightness. Tighten any loose fasteners. Check the upholstery for tears or excessive wear.
- Storage: Store the bench in a dry, climate-controlled environment away from direct sunlight and extreme temperatures.
- Lubrication: Moving parts, such as adjustment mechanisms, may benefit from occasional lubrication with a silicone-based spray to ensure smooth operation.
7. Troubleshooting
If you encounter issues with your YORK Pro Series Bench, refer to the following common solutions:
- Bench feels unstable:
- Ensure the bench is on a flat, level surface.
- Check all assembly bolts and nuts for tightness. Retighten if necessary.
- Difficulty adjusting backrest/seat:
- Ensure the adjustment pin is fully disengaged before attempting to move the section.
- Check for any obstructions or debris in the adjustment holes.
- Apply a small amount of silicone lubricant to the moving parts if they feel stiff.
- Squeaking noises:
- Identify the source of the squeak.
- Tighten any loose bolts or connections in that area.
- Apply silicone lubricant to pivot points or areas where metal components rub together.
If these solutions do not resolve the issue, please contact York Barbell customer support.
8. Specifications
| Model | 306 ID |
| Brand | York Barbell |
| Unit Dimensions (L x W x H) | 54"D x 16.5"W x 20"H (137.16 cm x 41.91 cm x 50.8 cm) |
| Back Pad Length | 29.5" (74.93 cm) |
| Seat Pad Length | 15.75" (40.01 cm) |
| Pad Width | 10" (25.4 cm) |
| Adjustable Back Degree Options | -20, -10, 0, 20, 45, 70 degrees |
| Adjustable Seat Degree Options | 0, 15, 25 degrees |
| Item Weight | 47 lbs (21.32 kg) |
| Maximum Weight Limit | 300 lbs (136 kg) |
| Material | Alloy Steel (Frame) |
| Color | White (Frame), Black (Pads) |
| UPC | 753951464550 |
9. Warranty and Support
York Barbell products are manufactured to high standards. For specific warranty details regarding your YORK Pro Series Bench 306 ID, please refer to the warranty card included with your purchase or visit the official York Barbell website. For technical assistance, replacement parts, or any other inquiries, please contact York Barbell customer support directly.
York Barbell Contact Information:
- Website: www.yorkbarbell.com (Please check the official website for the most current contact details.)
- Customer Service: Refer to the website or product packaging for phone numbers and email addresses.