1. Introduction
This manual provides detailed instructions for the assembly, operation, and maintenance of your Lyromix Outdoor Dog Kennel. Please read all instructions carefully before assembly and use to ensure safe and proper installation and to maximize the lifespan of your product.
Safety Information:
- Always ensure all connections are secure before placing a pet inside.
- Regularly inspect the kennel for any signs of wear, damage, or loose components.
- Do not allow children to play unsupervised near or inside the kennel.
- Ensure the kennel is placed on a level and stable surface.
2. Package Contents
Please verify that all components listed below are present before beginning assembly. If any parts are missing or damaged, please contact customer support.
- Galvanized Steel Frame Tubes
- Chain Link Wire Mesh Panels
- Adjustable Feeding Door with 2 Stainless Steel Bowls
- Waterproof and UV-Resistant Roof Cover
- Metal Ties (approximately 300 pieces)
- Door Latch Mechanism
- Assembly Hardware and Tools (if included)
3. Assembly Instructions
Assembly typically requires two people. Follow these steps carefully:
- Prepare the Area: Choose a flat, level outdoor area for the kennel. Clear any debris or obstacles.
- Assemble the Base Frame: Connect the bottom galvanized tubes to form the rectangular base of the kennel. Ensure all connections are secure.
- Install Vertical Supports: Attach the vertical galvanized tubes to the base frame. These will form the uprights for the kennel walls.
- Attach Top Frame: Connect the top galvanized tubes to the vertical supports, creating the upper frame of the kennel.
- Install Wire Mesh Panels: Unroll and attach the chain link wire mesh panels to the frame using the provided metal ties. Ensure the mesh is taut and securely fastened to prevent loosening or bending. The mesh features a 2.5mm thick wire for enhanced durability.
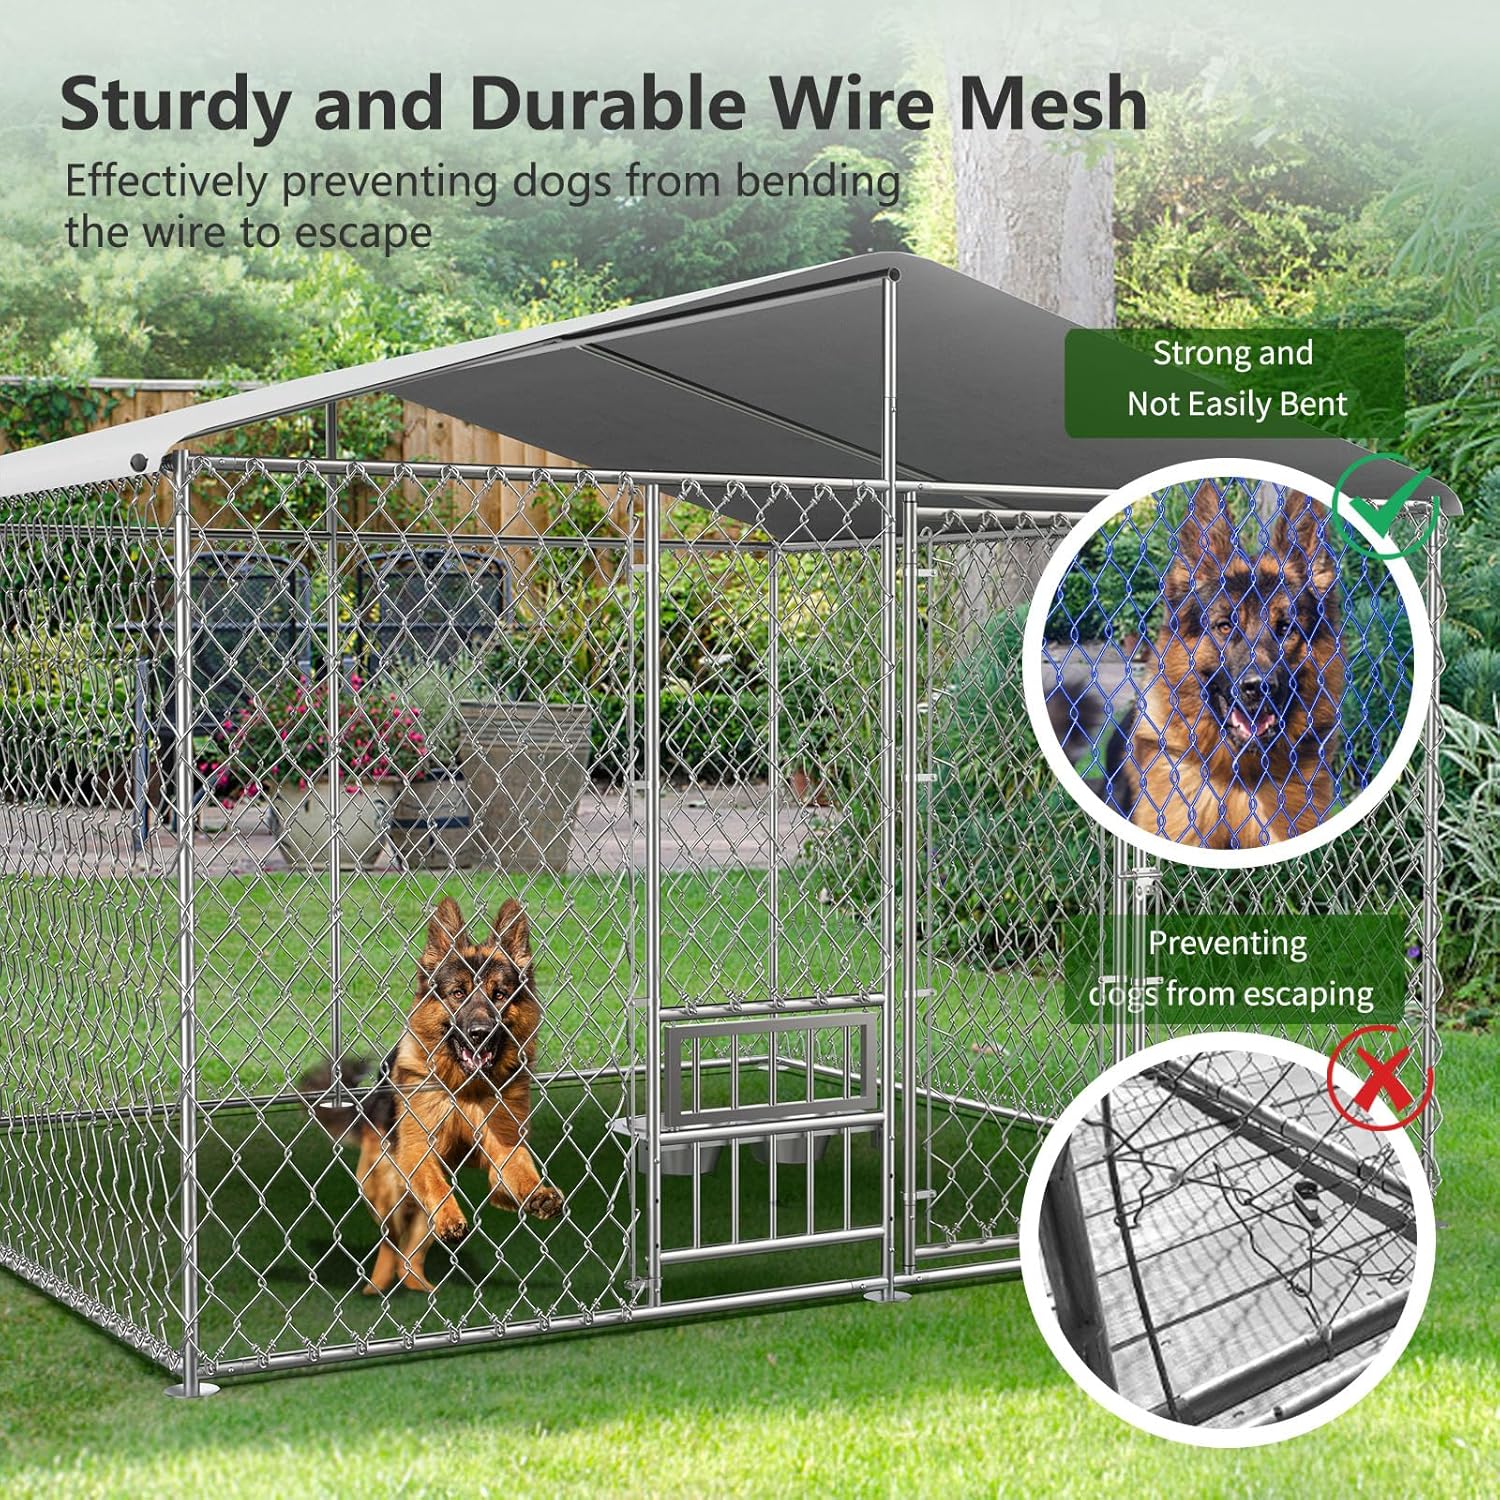
Image: Sturdy and durable wire mesh construction, designed to prevent bending and escape.
- Install the Main Door: Attach the main entrance door to the designated frame section. Ensure it swings freely and the latch mechanism operates correctly.
- Install the Feeding Door: Mount the adjustable feeding door assembly. This door allows for convenient feeding without entering the kennel. It includes two stainless steel bowls and offers three levels of height adjustment to suit different dog sizes.

Image: Adjustable feeding device with two bowls, designed for convenience and pet comfort.
- Attach the Roof Cover: Secure the waterproof and UV-resistant PE roof cover to the top frame. Ensure it is taut and properly positioned to provide shelter from sun and rain. The roof is designed to prevent water accumulation.

Image: The kennel's roof provides protection from UV rays and rain.

Image: Overview of the assembled Lyromix Outdoor Dog Kennel.
Video: An overview of the Lyromix Outdoor Dog Kennel, demonstrating its features and structure.
4. Operating Instructions
Using your Lyromix Outdoor Dog Kennel is straightforward:
- Main Door: To open, slide the latch mechanism and pull the door open. Ensure the door is securely latched when your pet is inside.
- Feeding Door: The upper section of the feeding door can be opened independently to add food or water to the bowls. To adjust the height of the bowls, locate the adjustment pins on the side of the feeding device and reposition them to the desired level.
5. Maintenance
Regular maintenance will help prolong the life of your dog kennel:
- Cleaning: Clean the galvanized frame and wire mesh regularly with mild soap and water. Rinse thoroughly and allow to air dry. The stainless steel bowls should be cleaned after each use.
- Roof Cover: Periodically clean the roof cover to remove dirt and debris. Ensure it remains securely attached and free of tears or damage.
- Inspection: Routinely check all connections, latches, and the wire mesh for any signs of wear, rust, or damage. Tighten any loose bolts or ties. Replace any damaged parts immediately to maintain safety and integrity.
6. Troubleshooting
Here are solutions to common issues:
- Loose Wire Mesh: If the wire mesh becomes loose, re-secure it using additional metal ties or adjust existing ones to ensure tightness.
- Door Not Latching: Check for any obstructions in the latch mechanism. Ensure the door frame is properly aligned.
- Roof Sagging: Verify that the roof cover is evenly stretched and securely fastened at all attachment points. Adjust tension if necessary.
7. Specifications
| Feature | Detail |
|---|---|
| Product Dimensions (L x W x H) | 116.4" x 116.4" x 84" (approximately 9.7 ft x 9.7 ft x 7 ft) |
| Material | Galvanized Steel (frame), PE (roof cover) |
| Wire Mesh Thickness | 2.5 mm |
| Tube Diameter | 1.18 inches (0.8 mm thickness) |
| Included Components | Kennel frame, wire mesh, feeding door with 2 stainless steel bowls, roof cover, metal ties, door latch. |
| Target Species | Dog (Large Breeds Recommended) |

Image: Detailed product dimensions for planning and setup.
8. Warranty and Support
Your Lyromix Outdoor Dog Kennel comes with a 3-month warranty from the date of purchase, covering manufacturing defects. Please retain your proof of purchase.
For technical assistance, missing parts, or warranty claims, please contact Lyromix customer support through your retailer or the official Lyromix website.