
Introduction
This manual provides comprehensive instructions for the installation, operation, and maintenance of your The-new-style RCB09A Touch Screen Programmable Thermostat Remote Control Kit. This kit is designed to provide convenient temperature control for millivolt gas valve fireplaces and stoves, offering both manual and programmable settings.
Package Contents
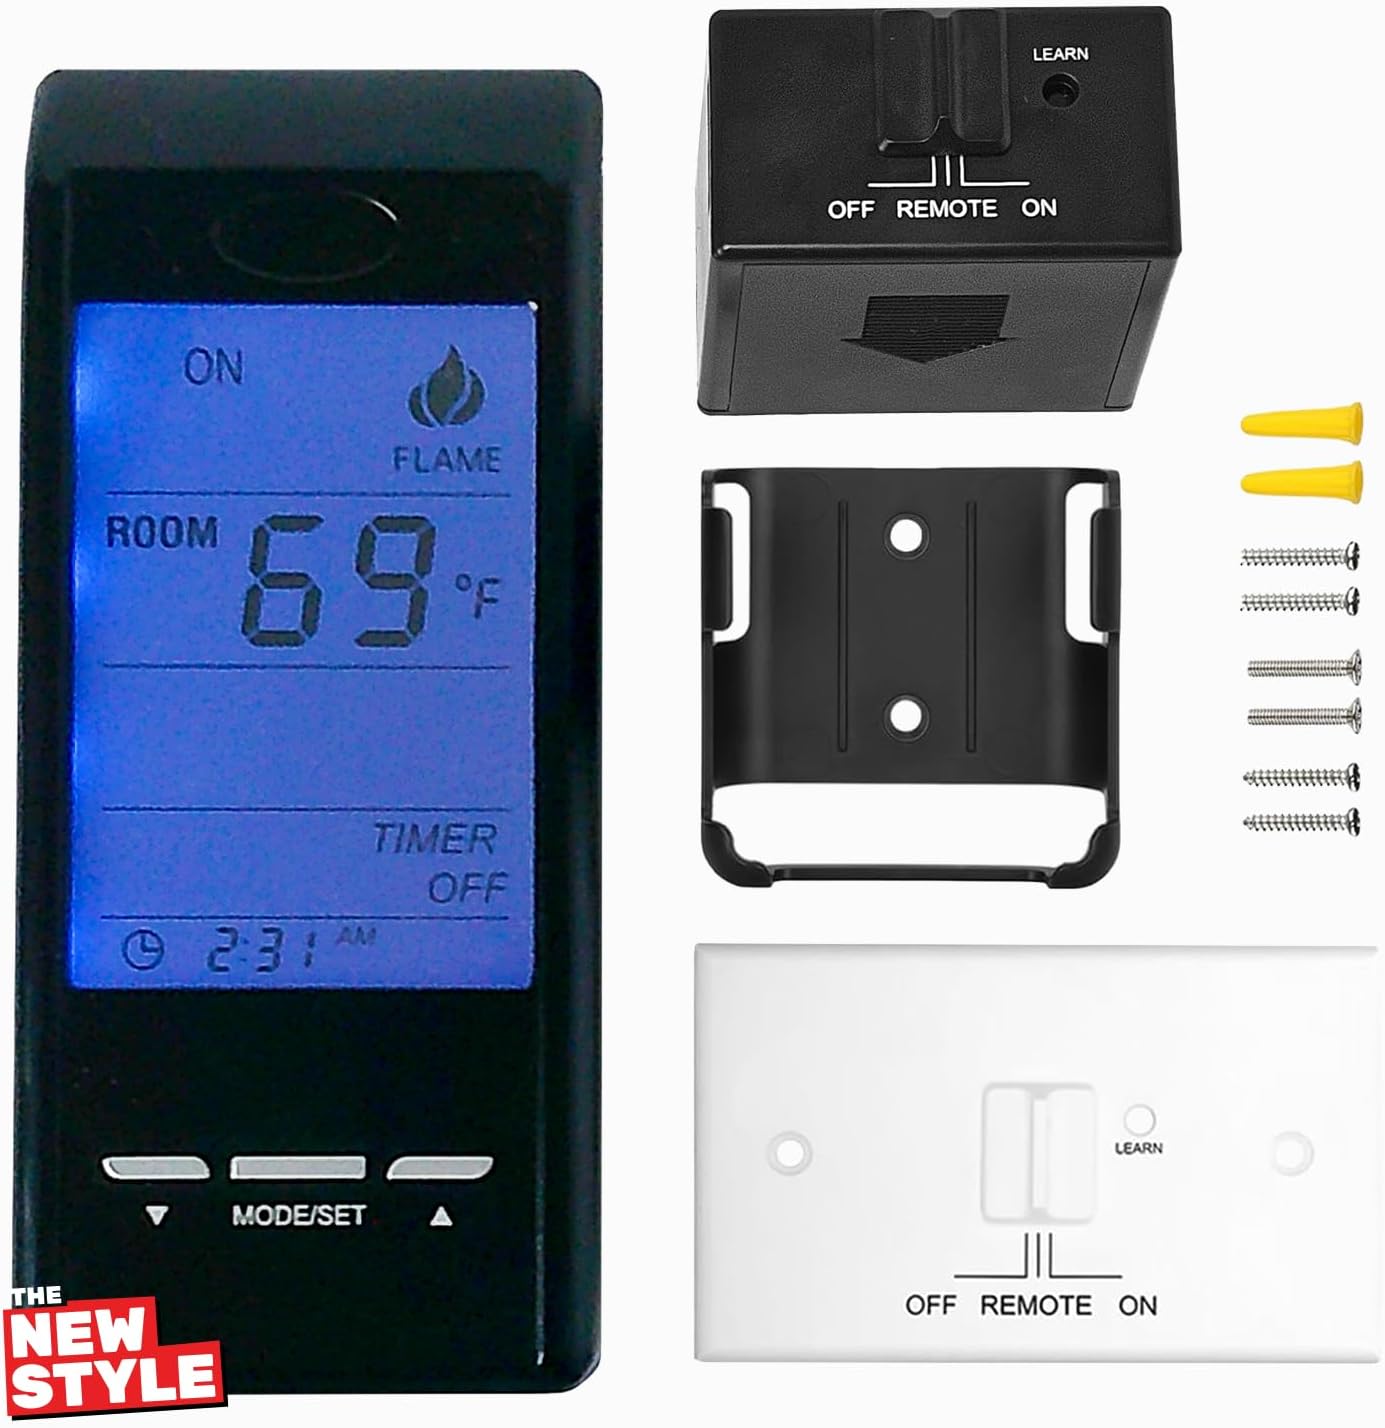
Please verify that all items listed below are included in your package:
- Remote Control Unit
- Receiver Unit
- Wall Plate
- 18-inch Wiring Assembly
- Plastic Wall Anchors (for transmitter)
- Screws
Setup
1. Battery Installation
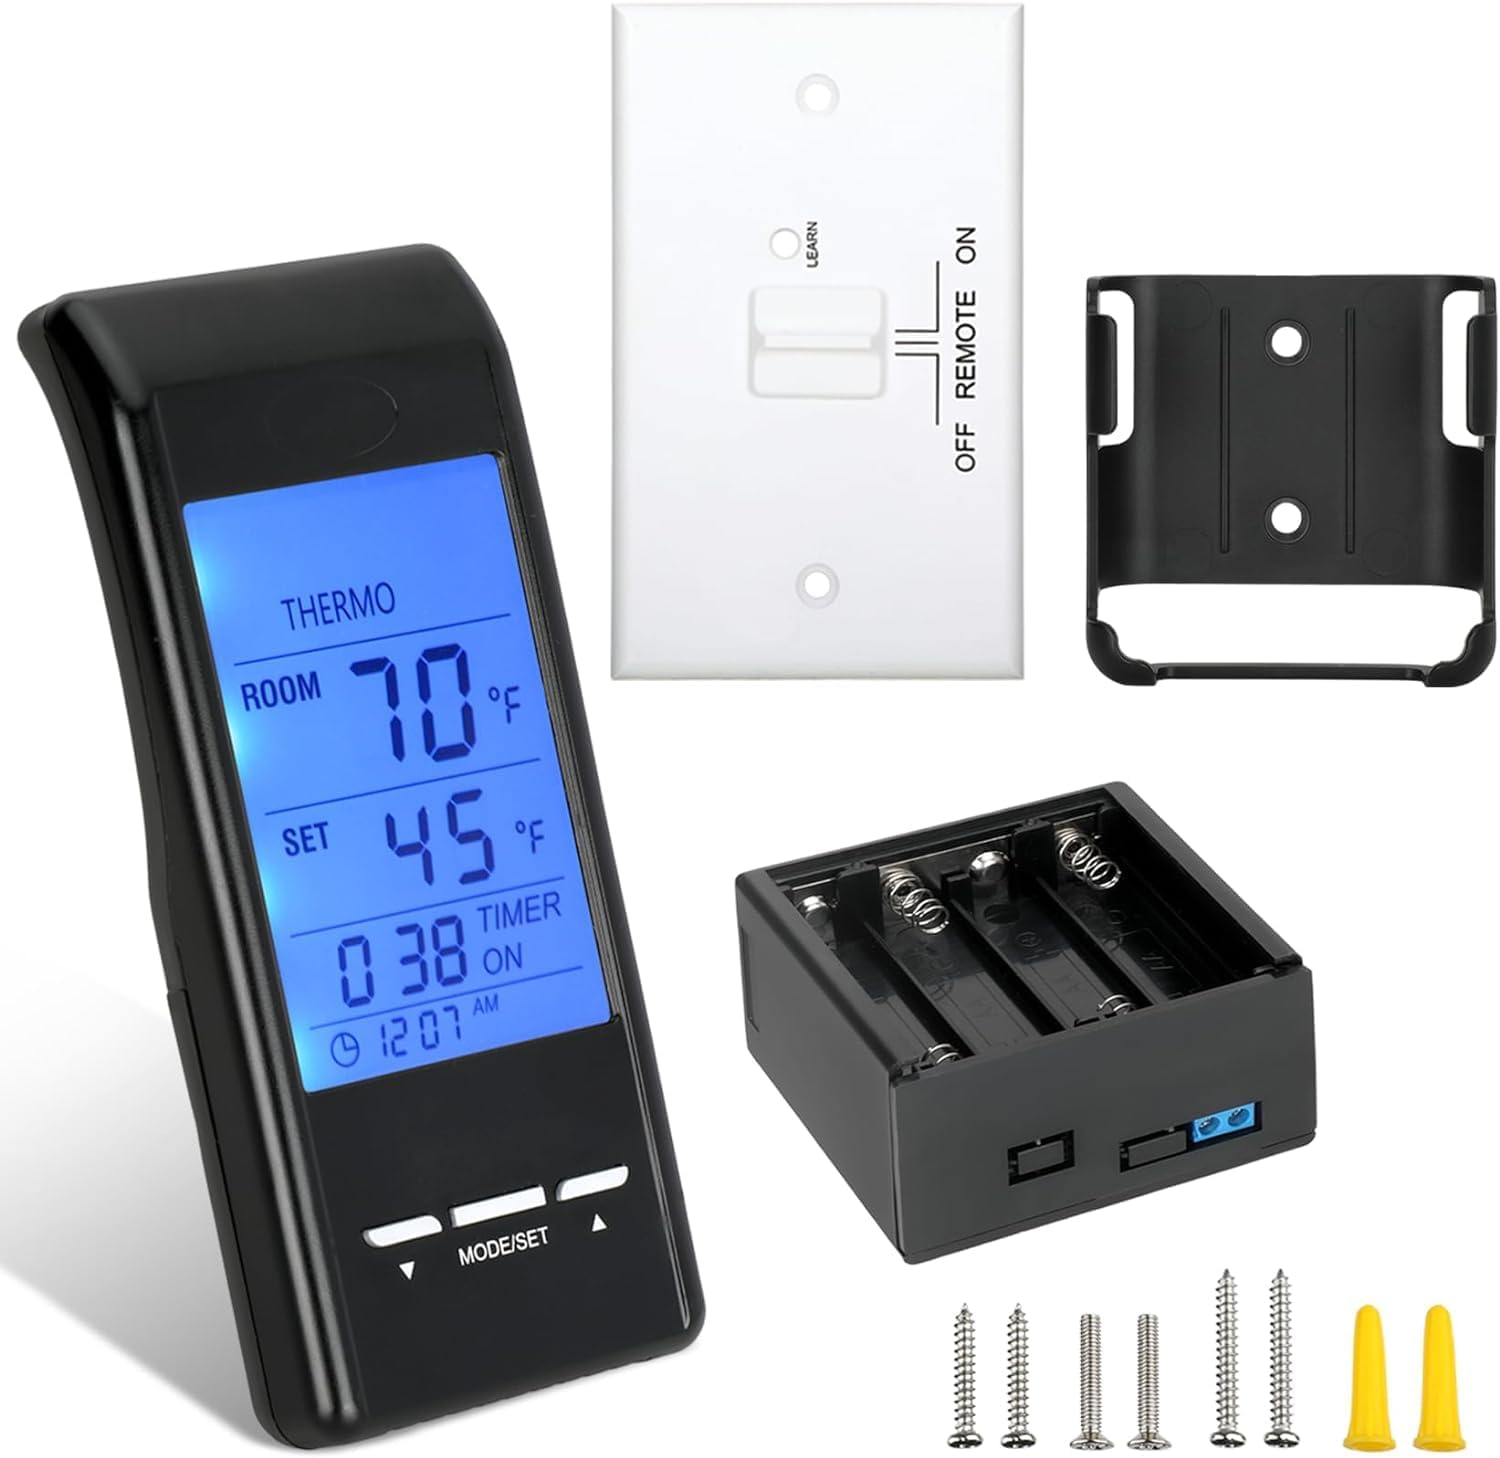
Install batteries into both the remote control and the receiver unit. Ensure correct polarity.
- Remote Control: Requires 4xAAA batteries (not included).
- Receiver Unit: Requires 4xAA batteries (not included).


2. Connecting the Receiver to the Gas Valve
The receiver connects to any standard millivolt gas valve system. Simply connect the two terminals of the 18-inch wiring assembly to the TH and TH/TP terminals of your millivolt valve. After successful connection, the receiver will emit a beep sound, indicating it is ready for use.

3. Mounting the Wall Plate
Secure the wall plate to a desired location using the provided plastic wall anchors and screws. The remote control can then be placed securely into this base.

Operating Instructions
The remote control features a blue backlit touch screen for clear visibility and intuitive operation.

1. Power On/Off and Temperature Control
- Use the remote to turn your gas logs ON or OFF.
- Set your desired temperature directly on the touch screen. The thermostat will maintain the set temperature.
2. Time Clock Settings
To adjust the time:
- Press and hold the clock section on the LCD screen for 3 seconds.
- The clock flag will flash, indicating real-time adjustment mode.
- Press the UP or DOWN buttons to adjust the clock to your desired time.
3. Fahrenheit (F) and Celsius (C) Scale Settings
The factory default temperature setting is Fahrenheit (F). To change to Celsius (C):
- Press and hold both the UP button and the DOWN button on the transmitter simultaneously.
4. Child-Proof Protection
To activate or deactivate the child-proof lock:
- Press the Mode/Set and UP buttons at the same time for 5 seconds.
- The lock icon will appear on the LCD screen when activated.
- Repeat the same procedure to deactivate the child-proof protection.
Maintenance
1. Battery Replacement
Replace batteries in both the remote and receiver when the low battery indicator appears on the remote's display or if the unit becomes unresponsive. Always use fresh, high-quality batteries for optimal performance.
2. Cleaning
Wipe the remote control and receiver with a soft, dry cloth. Avoid using abrasive cleaners or solvents, as these can damage the finish or electronic components.
Troubleshooting
- Remote not responding: Check battery levels in both the remote and receiver. Ensure the receiver's switch is in the 'REMOTE' or 'ON' position.
- Inaccurate temperature readings: Ensure the remote is placed in a central location away from direct heat sources or drafts.
- Receiver not beeping after connection: Double-check the wiring to the millivolt valve terminals (TH and TH/TP). Ensure batteries are correctly installed and are new/fully charged.
- Intermittent operation: Replace batteries in both units with new, strong batteries. Weak batteries can cause inconsistent performance.
Specifications
| Brand | The-new-style |
| Model Name | RCB09A Touch |
| Controller Type | Hand Control |
| Special Feature | Low Battery Indicator |
| Color | Black |
| Specific Uses | Residential and commercial gas fireplace and stove control |
| Temperature Control Type | Manual or Automatic |
| Connectivity Technology | RF |
| Included Components | Remote, Receiver, Wall Plate, 18" Cable Mount, Plastic Wall Anchors for Transmitter, Screws |
| Power Source | Battery Powered |
| Item Weight | 10.56 ounces |
| Voltage | 24 Volts |
| Material | Plastic Metal |
| Display Type | LCD |
| Control Method | Remote, Touch |
| Mounting Type | Wall Mount |
| Backlight | Yes |
| UPC | 742978868571 |
| Product Dimensions | 4 x 2.5 x 1 inches |
Warranty and Support
This product comes with a 1-Year Warranty. For any issues or questions regarding this product, please contact The-new-style customer support. Refer to your purchase documentation for specific contact information.